Drywalls pose a unique challenge when trying to hang objects on them after all nails are too smooth to grip drywall and screws tear through the wall. Normally you would want to hang items by attaching them to the wall studs but this isn't always possible because the place where you need to hang the fixtures might not have any studs.
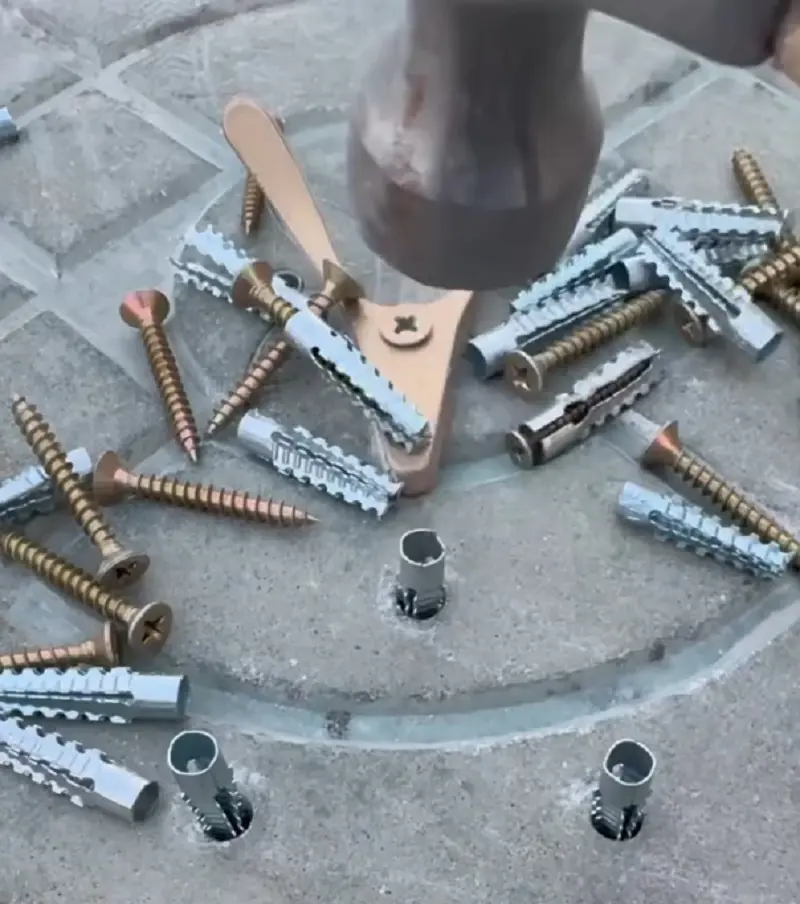
Luckily there is an entire industry dedicated to solving this problem, drywall anchors are designed specifically for hanging objects from drywalls. This guide covers everything from the various types of drywall anchors and how to install them:
How To Install Drywall Anchors: Step-By-Step
Making mistakes when installing anchors due to not properly learning how to use anchors in drywall can be expensive. As driving self-screw anchors too far into the drywall or having a loose toggle can not only weaken the grip of the anchor but also damage the drywall and any objects being hung.
Thus, with drywall anchors how to install them with proper steps is something that can't just be glanced over. Also, do not install any heavy items such as sinks, large furniture, and kitchen wall cabinets to the drywall, instead, they should be attached to the wall studs.
Before installing the anchors, you should use a tape measure and a pencil to mark the correct position for each drywall anchor especially if you need to attach 2 or greater anchors to hold the same fixture.
Make sure to also use a level to ensure those two marked locations are level before you get drilling since there's no going back once you make a hole in the drywall. Sure, you could always fill it with a filler putty but it won't be as sturdy as drywall as strange as it may sound.
Installing Expansion Anchors
1. Select Drill Bit
Before you can install the anchor, you will need to first drill a pilot hole with an appropriate drill bit size. If you're not sure about what drill you should use, consult the instruction booklet in the drywall anchor packaging to get the correct size.
If you don't have the instructions, you can estimate by comparing the bits to the shaft of the sleeves, however, a safer option is to use a size slightly smaller so if it doesn't fit, you can enlarge the hole and try again.
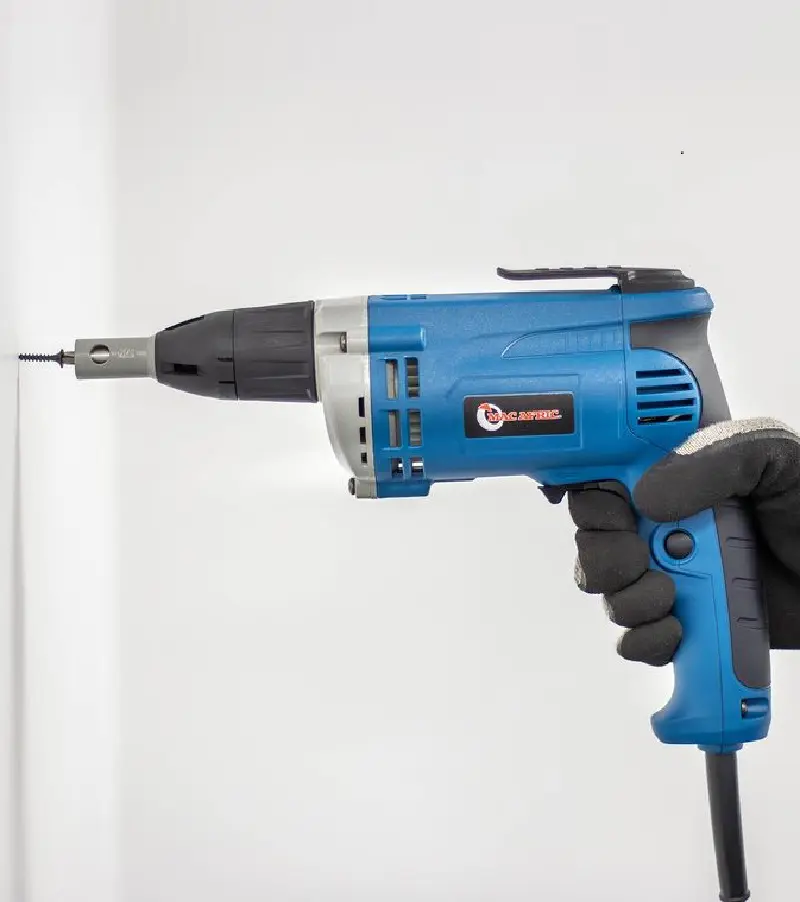
Now you have selected the drill bit, you can drill a hole to create the pilot hole in order to install the drywall anchor. Drill slowly and steadily to have a straight hole and to avoid mistakes.
Use a wire detector to make sure there are no wires in the places that you are drilling, you may have to turn on all the lights to make sure the wires are detected properly. Afterward, drill through the first anchor point marked on the wall safely while squeezing the trigger.
3. Tap The Sleeve
First, align the expansion anchor with the hole by hand then using a hammer or a mallet, gently tap the sleeve until it is flush with the drywall. Push the sleeve into the hole by hand. If the sleeve is tight, gently tap it with the hammer until it is completely driven down and flush with the drywall.
If there is some resistance, rather than continuing to tap, you should remove it and enlarge the hole before trying again.
Once the anchor is in place, drive a screw into the anchor with a drill or a screwdriver until it is completely driven down. This process will result in the anchor's shaft expanding and its barbs latching securely to the drywall.
Installing Self-Drilling Anchors
1. Pierce a Hole
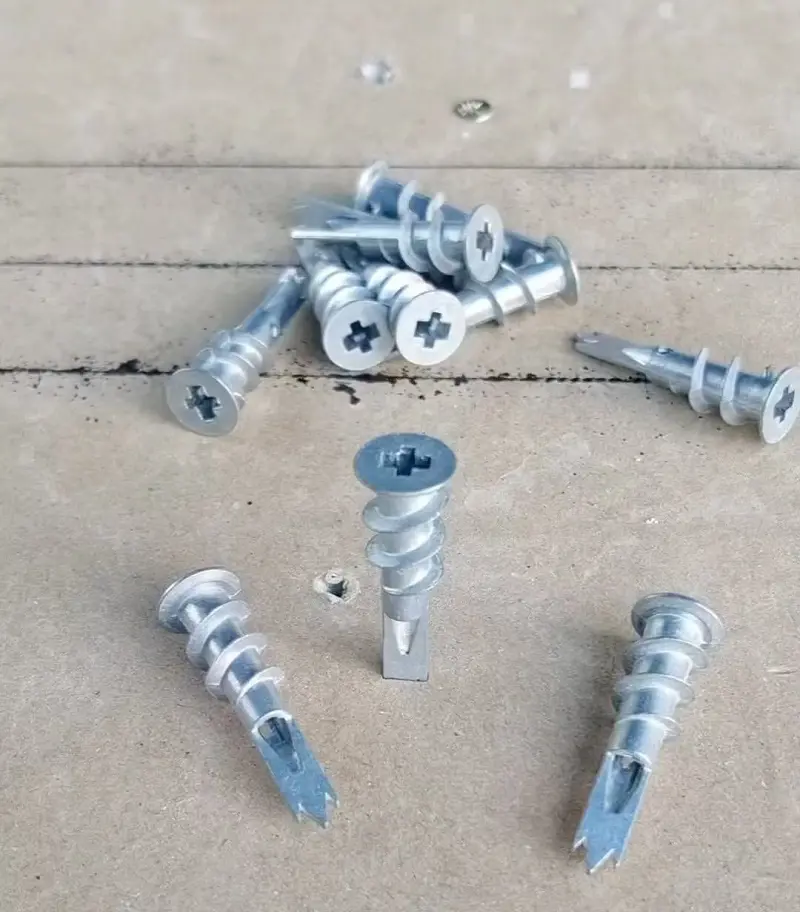
Learning how to use screw anchors is pretty straightforward and is perhaps the simplest anchor to install out of all the anchors. If you are using nylon or plastic threaded anchor then you should create a small starting hole by tapping a nail into the drywall.
You can ignore this step if the anchor is made of metal as their end bits are strong enough on their own.
Keep twisting the anchor with a screwdriver clockwise with a slight amount of pressure to draw the anchor into the drywall. You will want to keep doing this Place a Phillips or flat-head screwdriver in the notched head of the anchor. Turn clockwise. Apply firm (but not hard) pressure, to draw the anchor into the drywall.
If you're using self-drilling anchors, insert the driver bit into the drywall anchor and position the tip of the anchor against the marked point of the wall. Squeeze the trigger to start the rotation of the drill bit while applying pressure to the anchor in order to drive it into the wall.
3. Avoid Over Tightening
While you are turning the anchor until it is flush with the drywall, avoid twisting too hard or you risk damaging the drywall that the anchor grips onto. There is also a chance of stripping the head of the anchor which will make it difficult to install a screw into the anchor for hanging the fixtures.
4. Install Screw
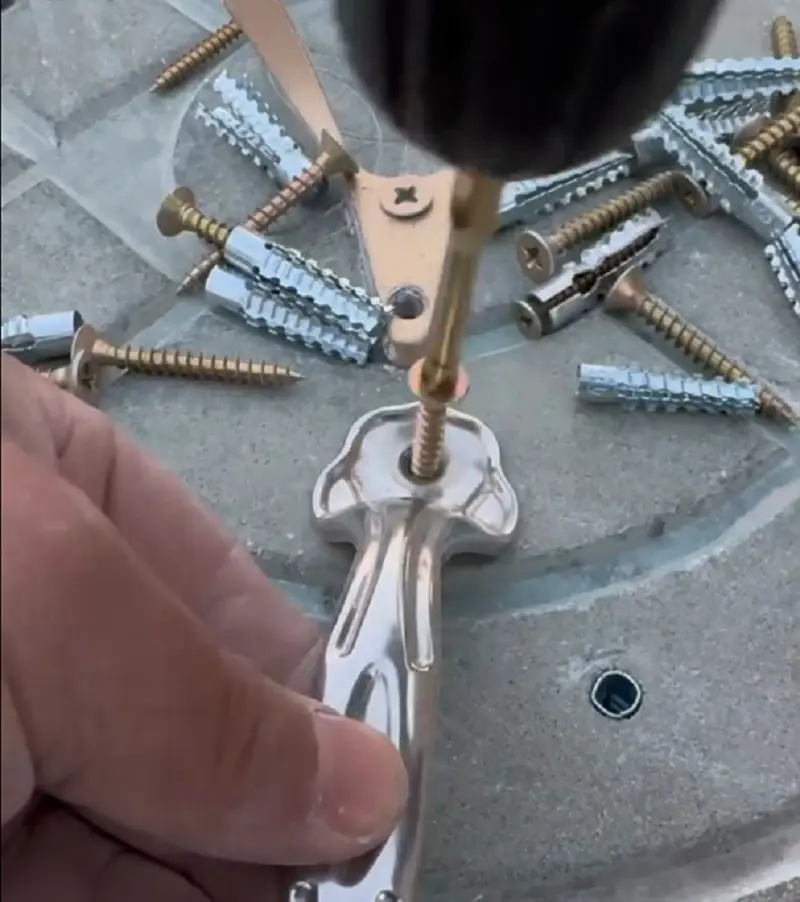
After the installation of the anchor is complete, you will need to install a regular screw to the anchor to be able to hold or hang any fixtures. If the hanging hole in the fixture is smaller than the screw head such as in a clothes rack then first insert the screw into the fixture and then into the anchor.
Installing Hollow Wall Anchors
1. Make A Pilot Hole
Using an appropriately sized drill bit, make a hole that is larger than the shaft of your molly anchor. You don't have to fear the hole being too large as the screw head of the hollow wall anchors are particularly large which allows them to cover the hole which is usually not the case in other types of anchors.
Yet again, you will have to install the anchor by pushing it into the hole. However, since the hole is larger here, you shouldn't have to install the anchor by tapping it with a hammer. If you have to do so then do it gently as tapping with a hammer might damage the expanding section of the anchor.
3. Unscrew The Anchor
Unlike the sleeve anchor which requires another screw to be drilled and installed to activate the anchor, the molly-type anchor will get activated once you start unscrewing the anchor which will contract the screw's outer jacket until it forms a plug shape.
Once you have completely removed the screw, the molly plug will still be fastened securely to the wall without falling off, align the fastening hole of the fixture with the anchor hole then drive the screw through the item to the anchor. Tighten the screw until there is no more give and both the anchor and item will have been installed.
Installing Toggle Bolt Anchors
1. Drill The Hole
Using the production's instruction panel, select an appropriate drill size to make a hole through the drywall to insert the wings of the bolt. Although not strictly necessary, you can also eyeball it to drill the appropriate size hole as it only needs to allow the wing/toggle to slide through.
2. Attach Bolt To Item
In the toggle bolt type anchor, the hole is going to be larger than the head of the bolt, hence it is not possible to flush the bolt with the drywall. It is also to be noted that you cannot remove the bolt completely once the toggle is passed through as the toggle will fall to the bottom on the insides of the drywall.
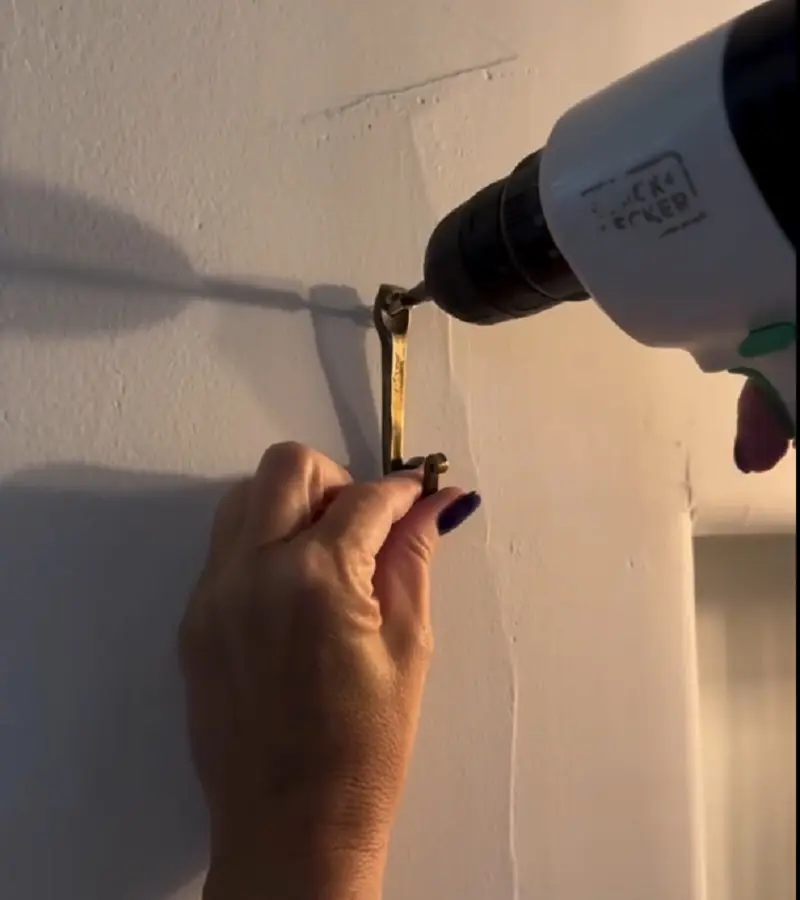
Remove the wings to attach the bolt to the item affixing hole then reinsert the wing. Make sure to face the open part of the wings towards the head of the bolt.
3. Insert the Wings and Bolt in the Hole
After attaching the item and the wings to the bolt, compress the wings until they are flat so they slide into the hole. Keep sliding the wings until you hear them snap open once it goes through the hole.
Once the wings open, pull the bolt and the attached item until you feel the wings touch the back of the wall. Ideally, the wings behind the wall should be vertical to offer an optimal load-bearing capability.
4. Fasten Bolt And Item
Either using a drill or a screwdriver, you will have to thread the bolt screw through the hole to continue tightening the gap between the wall and the toggle. Continue doing this until the item's mounting bracket and the bolt head are almost flush to the wall.
Although there is no threat of weakening the anchor due to overtightening, avoid doing so to prevent breaking the drywall through compressive force. Since toggle anchors tend to leave a large gap, some may also want to fill drywall screw holes.
Installing Toggle Strap Anchors
1. Drill The Hole
Similar to the previous installation of a toggle bolt anchor, you should drill an appropriately sized hole that is slightly larger than the shaft of the anchor. In this design, there is a lesser tolerance for an open hole as the wings are more compact.
This means the toggle can fit through a smaller hole and there is a also plastic strap at the head to hold the metal channel securely in place. If the hole is too large for the plastic strap then the anchor will not be fastened.
Compress the toggle sideways until they are flat so they will fit through the hole. Once you slide the wing through the hole, it will become perpendicular to the anchor shaft due to a spring action.
Once the toggle snaps open, you should pull the toggle until they are resting against the backside of the drywall. Make sure to align the orientation of the wing vertically to ensure effective load distribution and maximum bearing capability.
3. Snap off The Straps
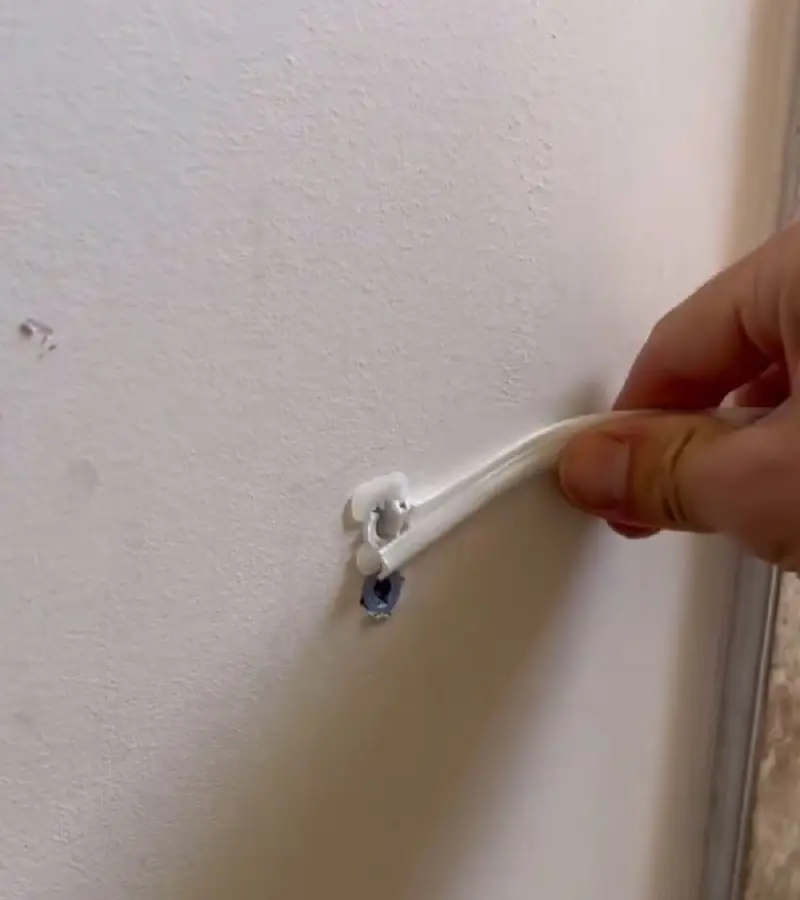
After you have pulled the strap towards you while perpendicular to the drywall, there should be an anchor collar near the top end of the straps. Slide the anchor collar along the straps until it sits flush and securely in the pilot hole.
Snap off the remaining excess plastic strap and throw it away. Now you can install the screw in the pilot hole.
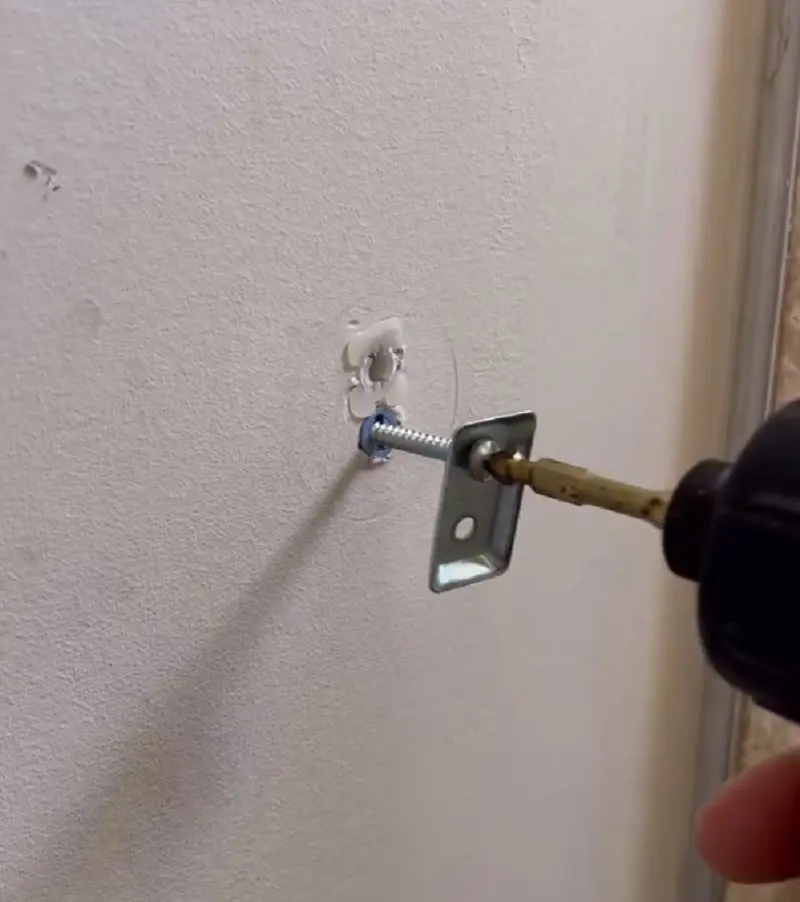
Depending on the type of fixture, either run the screw through the mounting bracket of the item into the pilot hole or simply drive the screw into the anchor hole until the item is securely fastened to the wall.
If you want to mount or remove an item feel free to unmount the screw without the fear of the anchor falling off inside the wall then remount the screw after attaching the item. Once you're done make sure to clean the wall from any paint or sheetrock shavings.
Safety Considerations
Dry-wall anchors should not be used to attach heavy items such as pedestal sinks, massive furniture, and kitchen cabinets. While doing any installation work, you should make sure that there are no wires behind the walls in the area that you are working on.
Most anchors require the drywall to be a certain thickness to be effective with most requiring at least about 1/2 inch of thickness or as stated in the anchor package instructions. Insufficient thickness, old drywall, or the item being too heavy will cause the anchor to pull out of the wall and drop the item.
Types of Drywall Anchors
Before learning how to put anchors into drywall, you need to first understand the different varieties of drywall anchors to make the best purchasing decision to avoid overspending as well as avoid buying an anchor insufficient for the job and coming off while ripping through the drywall.
Each of the drywall anchors works in a specific way to meet your wall-hanging needs, this creates a difference in cost and load-bearing capacity due to their manufacturing costs and capability. This guide doesn't cover all the drywall anchors but it will cover the most commonly available and used anchors suitable for a DIY project:
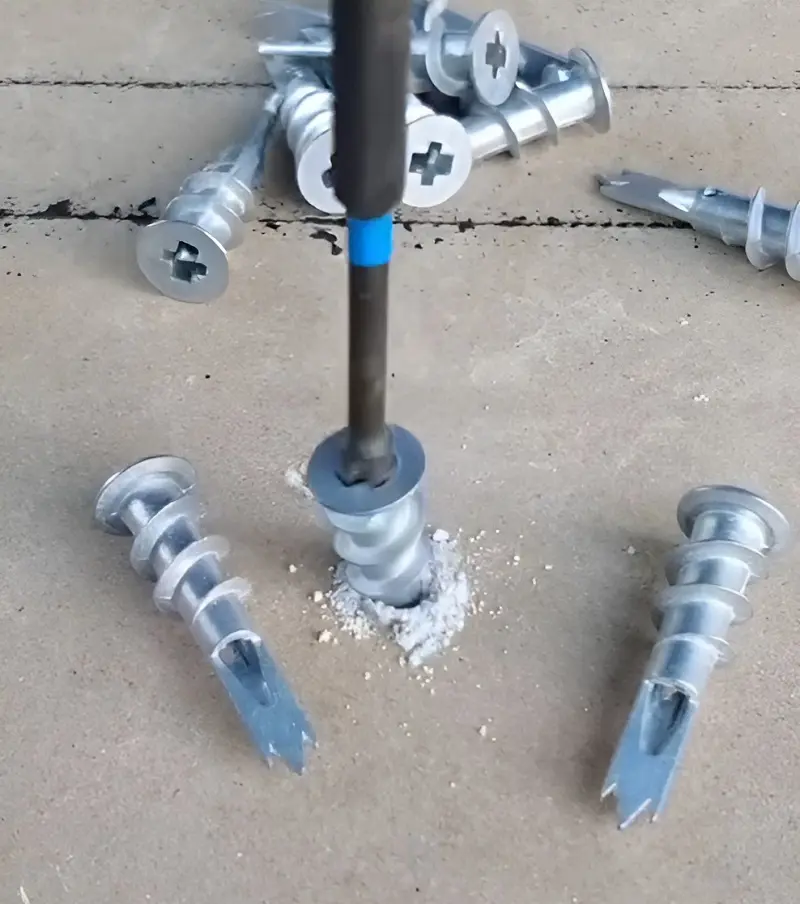
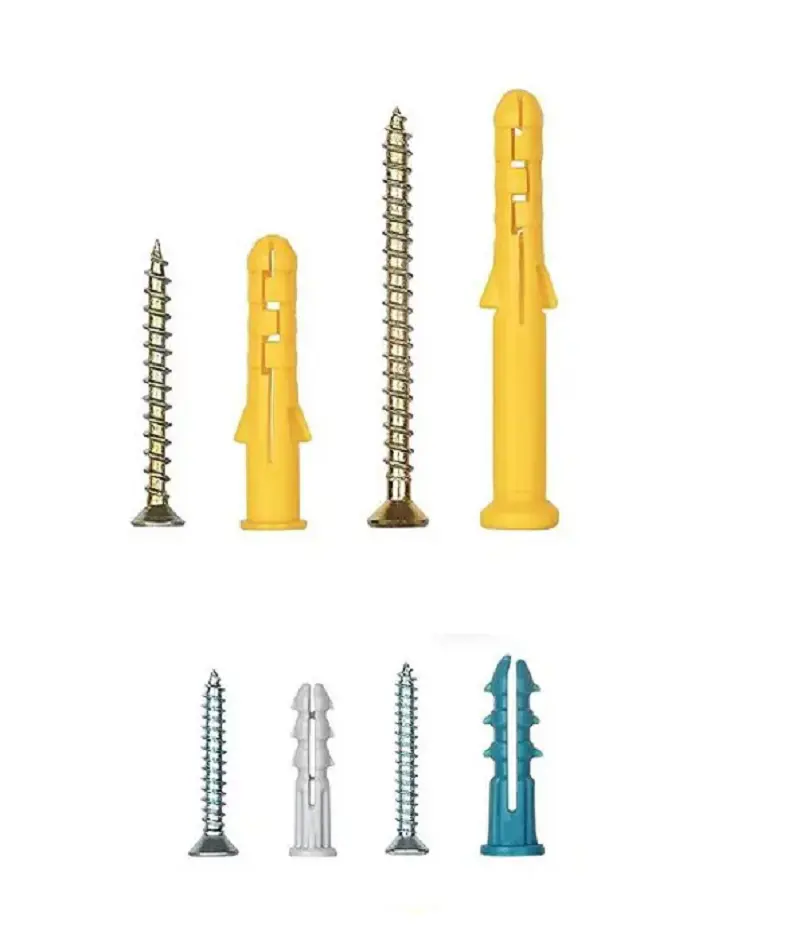
Expansion drywall anchors are probably the most commonly used anchors in drywall for DIY projects. After all, they are small, cheap, and easy to install. For dry walls, plastic expansion anchors are sufficient since metal expansion anchors can be over-spec and are instead usually reserved for masonry walls.
Expansion anchors are usually conical in shape and might have raised rings or barbs along the length of their body which expand to lock into the drywall once installed. The shank or the barbs of the anchors widen and expand once the screw is installed.
Self-drilling drywall anchors are also similar to expansion anchors in that expand inside the wall, however, they also have a sharp durable tip and screw ribbing so they do not require pilot holes instead, you can screw in anchors for drywalls directly. This not only saves you time but the anchor is also fastened more securely than expansion types.
Furthermore, when a screw is installed in the self-drilling anchors, it will expand inside the wall for more load-bearing capability and be better secured. However, despite its convenience, if you overtighten a self-drilling anchor, it will slightly tear through the drywall material and loosen its grip.
Other Names: Molly Bolt Anchor, Plastic Winged Anchor
If you don't want to deal with the potential of messing up by accidentally overtightening your self-drilling drywall screw anchors then you can consider getting hollow-wall anchors. Like before, hollow-wall anchors can have a plastic or a metal variant which changes their load-bearing capability.
Hollow-wall drywall anchors typically have a pointed metal or plastic body with a spiked collar, once you fit the anchor through the pilot hole, the screw contracts the anchor body which locks the flanges of the anchor against the back of the drywall.
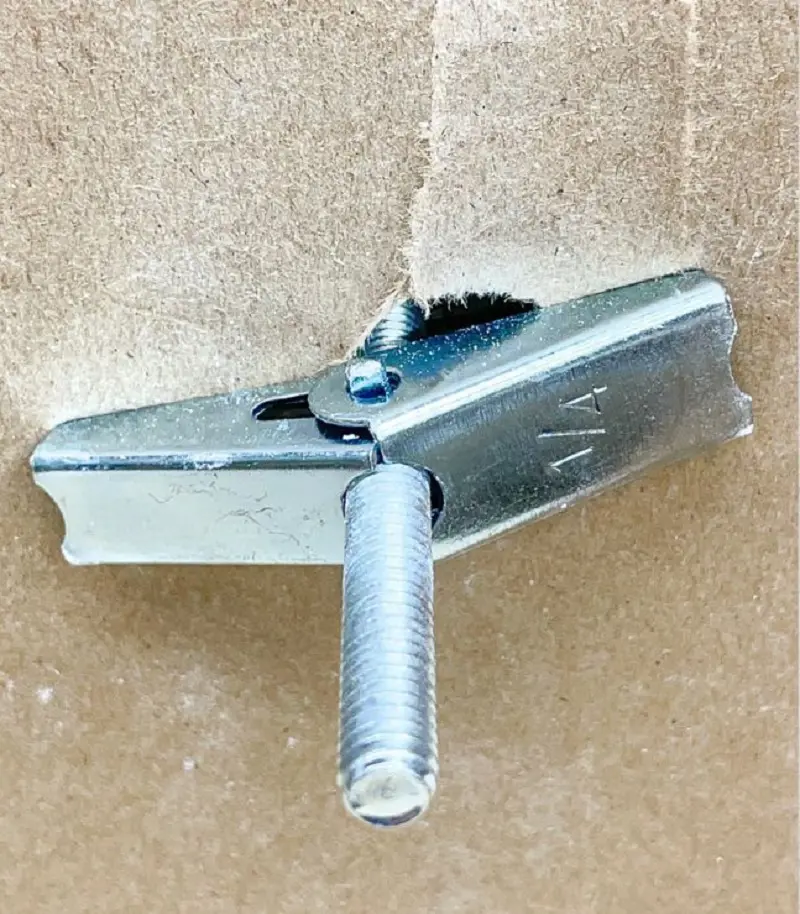
Toggle bolt drywall anchor screw is called such because they have a spring metal toggle that needs to be inserted into a pilot hole. Once inserted, the spring-loaded toggle flips back perpendicularly to the screw of the anchor.
You will then need to pull the toggle to the back of the wall and tighten the screw and the straps. Its installation is lengthy but has the best load-bearing capacity of all the anchors. However, the downside is that the toggle is non-reusable as removing the screw to remove the fixture results in the toggle falling to the floor inside the drywall.
Other Names: Winged Strap Anchor, Winged Snap Anchor
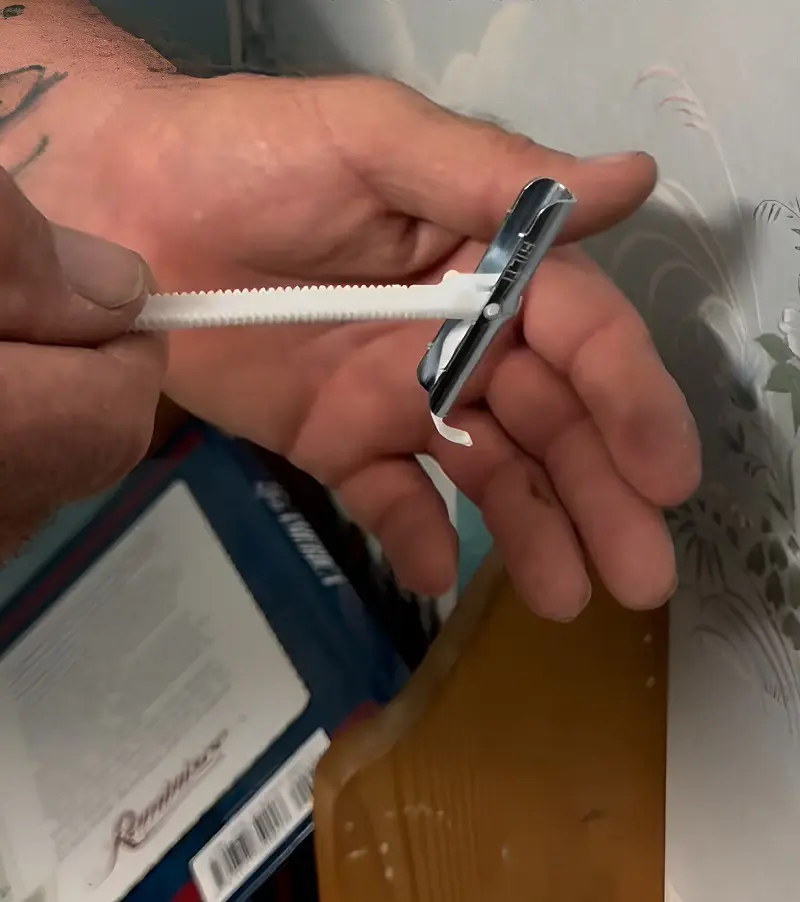
Toggle strap drywall anchors are meant to address the problems that toggle bolt anchors have, although they aren't as re-useable as self-drilling screw anchors, they won't fall off the wall once the screw is removed allowing you to remove and install a different fixture in the same location without having to install a new toggle.
When the toggle strap is inserted through the pilot hole, the plastic strap needs to be pulled and tightened to insure the toggle is tight against the drywall, afterwards the plastic straps will have to be snapped off before a screw can be attached to secure the fixture to the drywall.
Choosing the Right Wall Anchors
Now that you have a general idea of choices available to you before learning how to use anchors for drywall, the main deciding factors for the type of anchor for you to choose will be the price as well as the weight load. Your anchors should be rated for more than the actual weight of the item.
Although we have given a general weight-bearing capacity, some brands offer several grades of anchors that have different loads despite being the same type so make sure to always read the label as well. Don't forget to account for additional weight for things that will be added if you are attaching shelves or racks.
Drywall anchors are designed only to be fastened into drywall so they should not be used as a substitute to be attached to masonry such as bricks and cement. Furthermore, if you can find studs in wall then anchors are entirely unnecessary and a simple nail will more than get the job done.
Similarly, unless it is explicitly stated or designed for holding things from the ceiling, avoid using drywall anchors to hang fixtures from the ceiling as not all the anchors are designed to do so. If you have discovered mold while making a pilot hole, you need to clean mold off walls immediately rather than ignoring it and allowing it to get worse.