You might have experienced frozen pipes in your home and garden. Getting frozen pipes is a common problem people often face during cold weather. So it is essential to know how to handle the situation safely and professionally.
If water gets frozen inside a pipe, it expands, leading to cracks or ruptures. A significant knowledge about how to safely unfreeze pipes can save your time, cost as well as it protects you from any inconvenience caused.
Unfreezing pipes promptly and safely can prevent extensive damage and costly repairs. Here in this piece, we discuss some preventive measures that can reduce the risk of frozen pipes during winter.
And yes, always remember! prioritize safety and consult professionals for any complex issues.
Why Do Pipes Freeze?
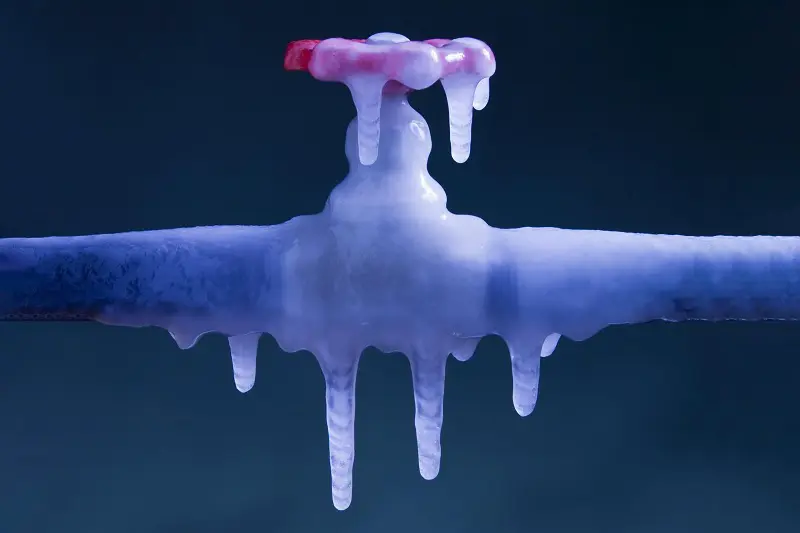
As you know pipes freeze when the water inside them is suddenly exposed to freezing temperatures. It can typically be 32 F(0) - or below it. As the temperature in winter drops, the water inside a pipe starts to cool and solidify into ice. As water expands, unlike most other substances, it freezes, by increasing its volume upto 9%, this expansion in the pipes creates pressure inside, which leads to a rupturing of the pipes if the pressure exceeds the pipe's capacity.
Different factors play a role in pipe freezing, like poor insulation, unheated areas like basements or attics, and sudden drops in the temperature make pipes more vulnerable to freezing. Chill wind can also speed up the freezing process by lowering the pipe's surface temperature, especially in exposed or outdoor pipes.
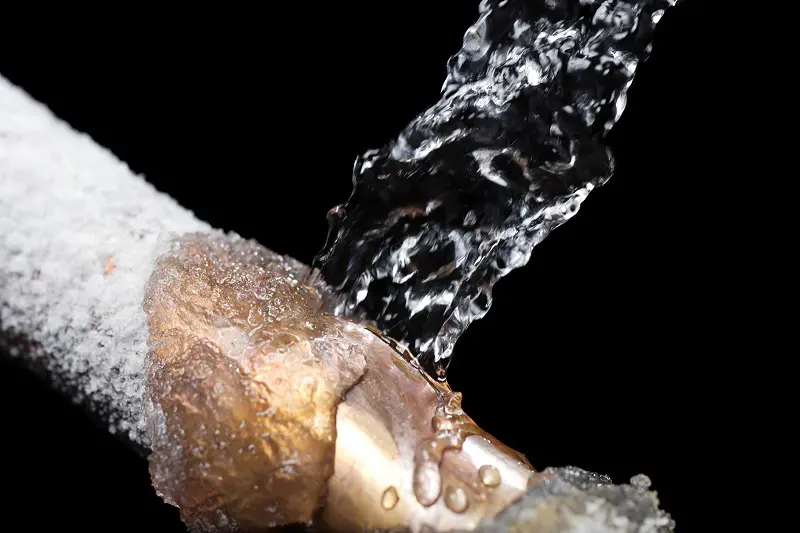
If pipes freeze it creates a major risk to pipes, not only because of potential water supply disruption but also because of the possibility of bursting of the pipes. The bursting of pipes can cause extensive water damage to a home.
Homeowners should insulate pipes, indoor temperatures should be above freezing, and let faucets drip during cold snaps to relieve pressure to prevent pipes from getting frozen in winter. Taking consideration of these precautions can help avoid the inconvenience and costly repairs associated with frozen pipes.
Signs of Frozen Pipes
Frozen pipes are a common problem during winter, especially in regions with severe cold. Recognizing the signs early can help prevent costly damage to your plumbing system and home. Here are key indicators to watch for:
Reduced or No Water Flow: A significant decrease in water pressure or a complete lack of water from faucets is often the first sign. This occurs because ice blocks the flow of water inside the pipe.
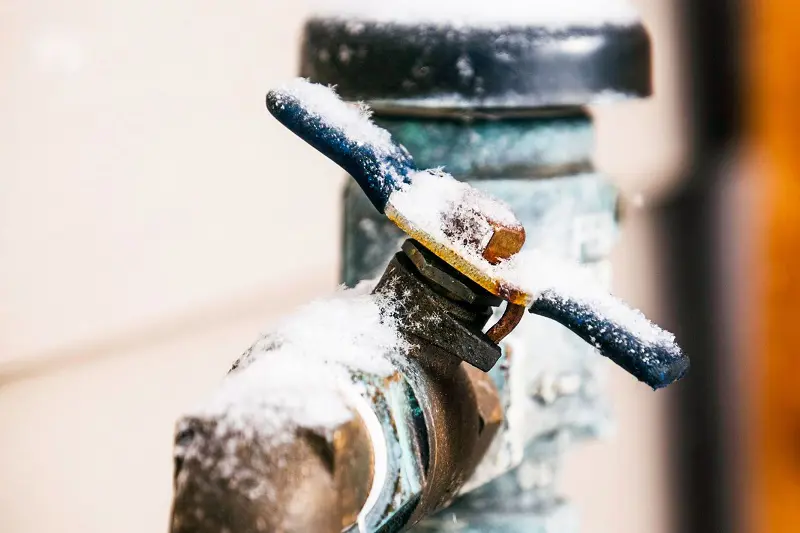
Frost on Pipes: If visible sections of your pipes, particularly those in unheated areas like basements or crawlspaces, have frost or ice on their exterior, they may be frozen inside.
Strange Sounds: When water tries to push past a partial ice blockage, you might hear gurgling, clanging, or banging noises.
Unusually Cold Pipe Surfaces: If a pipe feels abnormally cold to the touch, it could indicate freezing.
Bulging or Cracked Pipes: Water expands as it freezes, sometimes causing pipes to bulge outward or develop cracks. These are severe signs and suggest an imminent risk of bursting.
Unpleasant Odors: Ice blockages can trap sewage gases in your pipes, causing foul smells to back up into sinks, toilets, or drains.
Localized Dampness or Leaks: Even a small crack caused by freezing may lead to noticeable water pooling or dampness in the vicinity of the affected pipe.
What to Do if You Notice These Signs
If you suspect frozen pipes, act quickly. Shut off your water supply to prevent bursts, and use safe methods like a hairdryer or heating pad to thaw pipes gently. Avoid open flames. If the damage is severe, call a professional plumber to assess and repair the system. Early intervention can save you from significant water damage and repair costs.
Steps to Unfreeze Frozen Pipes
Unfreezing frozen pipes is a critical task to prevent pipe bursts and water damage. Here’s a step-by-step guide to safely and effectively thaw frozen pipes:
Step 1: Identify the Frozen Pipe
Turn on Faucets: Open the faucets connected to the suspected frozen pipe. If only a trickle of water or no water flows, the pipe is likely frozen.
Check both hot and cold taps to identify which line is affected.
Locate the Frozen Section: Look for visible frost, bulging areas, or feel for cold spots along exposed pipes (in basements, attics, crawl spaces, or along exterior walls).
Step 2: Turn Off the Water Supply
Shut Off the Main Water Valve: This prevents potential flooding if the pipe has burst or cracks while thawing.
If the pipe is intact after thawing, you can reopen the valve to restore water flow.
Step 3: Prepare for Thawing
Inspect for Cracks or Bursts: If the pipe is damaged, call a plumber immediately and avoid attempting to thaw it.
Open Nearby Faucets: Allow water to flow out when thawing begins; this helps relieve pressure and speeds up the thawing process.
Protect Surrounding Areas: Place towels, buckets, or plastic sheets under the pipe to catch dripping water.
Step 4: Thaw the Frozen Pipe
Use Safe Methods Based on Pipe Accessibility:
For Exposed Pipes:
Apply Heat Gradually:
Hairdryer: Move the dryer back and forth over the pipe (not in one spot).
Heating Pad: Wrap the pad around the pipe and set it to medium heat.
Portable Heater: Place a space heater in the area, ensuring it’s safe and clear of flammable materials.
Hot Towels: Drench towels in warm (not boiling) water and wrap them around the pipe.
Start Nearest the Faucet: Thaw the section closest to the faucet first to ensure melted ice flows out.
For Enclosed Pipes (Behind Walls or Ceilings):
Increase Room Temperature: Use a space heater or central heating to warm the area.
Infrared Heat Lamp: Focus the lamp on the wall or ceiling where the pipe is located.
Cut an Access Hole: If necessary, open the wall to expose the frozen pipe and use direct heating methods.
Never Use an Open Flame: Do not use a blowtorch, lighter, or any device with an open flame, as it can damage pipes or cause a fire.
Avoid Boiling Water: Pouring boiling water can shock the pipe material and lead to cracking.
Step 6: Check for Leaks
After successfully thawing the pipe:
Slowly turn the main water supply back on.
Inspect the entire pipe for leaks or damage.
If you find leaks, turn off the water and contact a plumber immediately.
Step 7: Prevent Future Freezing
Insulate Pipes: Wrap pipes with foam insulation sleeves or heat tape, especially in cold-prone areas.
Seal Drafts: Close gaps or cracks in walls, floors, and ceilings near pipes.
Keep Water Flowing: Let faucets drip slightly during extreme cold to keep water moving.
Maintain Heating: Ensure interior temperatures don’t drop below 55°F (12°C).
What to do if a pipe bursts ?
A burst pipe is a stressful situation that can cause significant water damage to your home if not addressed promptly. Knowing the right steps to take can minimize the damage and prevent further complications. Acting quickly and methodically when a pipe bursts can significantly reduce damage to your home.
While temporary fixes can provide short-term relief, professional repairs and preventive measures are essential for long-term peace of mind. Being prepared and knowing these steps ensures you’re ready to tackle this household emergency effectively.
Here’s a detailed guide on how to handle a burst pipe effectively.
1. Turn Off the Water Supply
The first and most critical step is to shut off the main water supply to your home. Locate the main water valve, usually found in the basement, crawl space, or near the water meter, and turn it off. This prevents more water from flowing through the damaged pipe and causing additional flooding.
2. Switch Off Electricity in the Affected Area
If water has come into contact with electrical outlets, appliances, or cords, turn off the electricity in that area to avoid electrical shocks or fires. Locate your circuit breaker and shut off power to the affected zones. Do not touch any electrical devices or outlets if they’re wet.
3. Drain the Pipes
Once the water supply is off, open all faucets and flush toilets to drain any remaining water from the system. This step reduces pressure in the pipes and prevents additional leaks or bursts elsewhere in your plumbing system.
4. Contain the Water
Use towels, mops, or buckets to contain and clean up standing water. For significant flooding, a wet/dry vacuum can be a valuable tool. Promptly drying the area helps prevent water damage and mold growth.
5. Locate the Burst Pipe
Identify the location of the burst pipe. Look for visible leaks, water stains, or damp areas on walls, ceilings, or floors. If the burst pipe is behind a wall or ceiling, you may need professional help to access and repair it.
6. Apply a Temporary Fix
While waiting for professional help, you can temporarily stop the leak using a pipe clamp, rubber patch, or epoxy putty. Wrap the damaged section with a rubber piece (such as a section of an old hose) and secure it with a clamp or heavy-duty tape. These fixes won’t hold forever but can mitigate water damage until a plumber arrives.
7. Call a Professional Plumber
Contact a licensed plumber to repair or replace the damaged pipe. Professional repairs ensure the issue is fixed correctly and prevent future problems. If the pipe burst is due to freezing, the plumber may also advise on how to protect your pipes from extreme temperatures.
8. Document the Damage
Take photos and videos of the damage for insurance purposes. Be thorough, documenting all affected areas, furniture, and belongings. Notify your insurance company and file a claim to cover repair costs and property damage.
9. Dry Out the Area Completely
After the pipe is repaired, focus on thoroughly drying the affected area to prevent mold growth. Use fans, dehumidifiers, and ventilation to remove moisture. Depending on the severity, you may need professional water damage restoration services.
10. Prevent Future Bursts
Take preventive measures to avoid future pipe bursts:
Insulate pipes in unheated areas.
Keep a steady flow of water during freezing temperatures.
The time it takes for frozen pipes to thaw depends on several factors, including the severity of the freeze, the ambient temperature, the type of pipe, and the method used to unfreeze them. In general, it can take anywhere from 30 minutes to several hours to unfreeze pipes.
Key Factors Influencing the Time to Unfreeze Pipes:
Severity of the Freeze
If the pipes are lightly frozen (just starting to ice over), they may thaw quickly, especially with gentle heat application.
Pipes that are completely frozen solid or frozen over a long section may take much longer to thaw.
Ambient Temperature
Warmer room temperatures accelerate the thawing process. If the surrounding temperature is below freezing, the pipes will take longer to unfreeze unless actively heated.
Type of Pipe
Metal pipes (such as copper) freeze and thaw faster due to their high thermal conductivity.
Plastic pipes may take longer but are less prone to cracking during freezing or thawing.
Thawing Method
Using targeted heat sources, such as a hairdryer or heat lamp, can thaw pipes in 30–60 minutes depending on the extent of freezing.
Applying indirect heat, such as increasing room temperature or opening cabinet doors, may take several hours.
Tips to Speed Up the Thawing Process:
Focus on the Frozen Section: Apply heat directly to the affected area.
Use Safe Heat Sources: Hairdryers, heating pads, or towels soaked in hot water are effective.
Avoid Open Flames: Never use torches or open flames to thaw pipes, as this can damage pipes or cause fires.