You just bought a new light fixture and finished assembling it using the instruction manual. Now, you have to install it. This is where this guide proves useful. If you wish to learn how to change a light fixture, let us reassure you that it is possible. With a few tools, one can master changing a ceiling light in under an hour.
We are not suggesting that changing a light fixture is easy. It would be prudent to service a qualified electrician to avoid any work-related accidents and costly damages, especially if you possess little or no experience with electrical installation. But if you have a rudimentary knowledge of electrical work, here are the steps to follow.
Step 1: Gather Tools and Supplies
You’ll need :
New light fixture
Wire stripper
Screwdriver
Wire nuts (possibly included with your fixture)
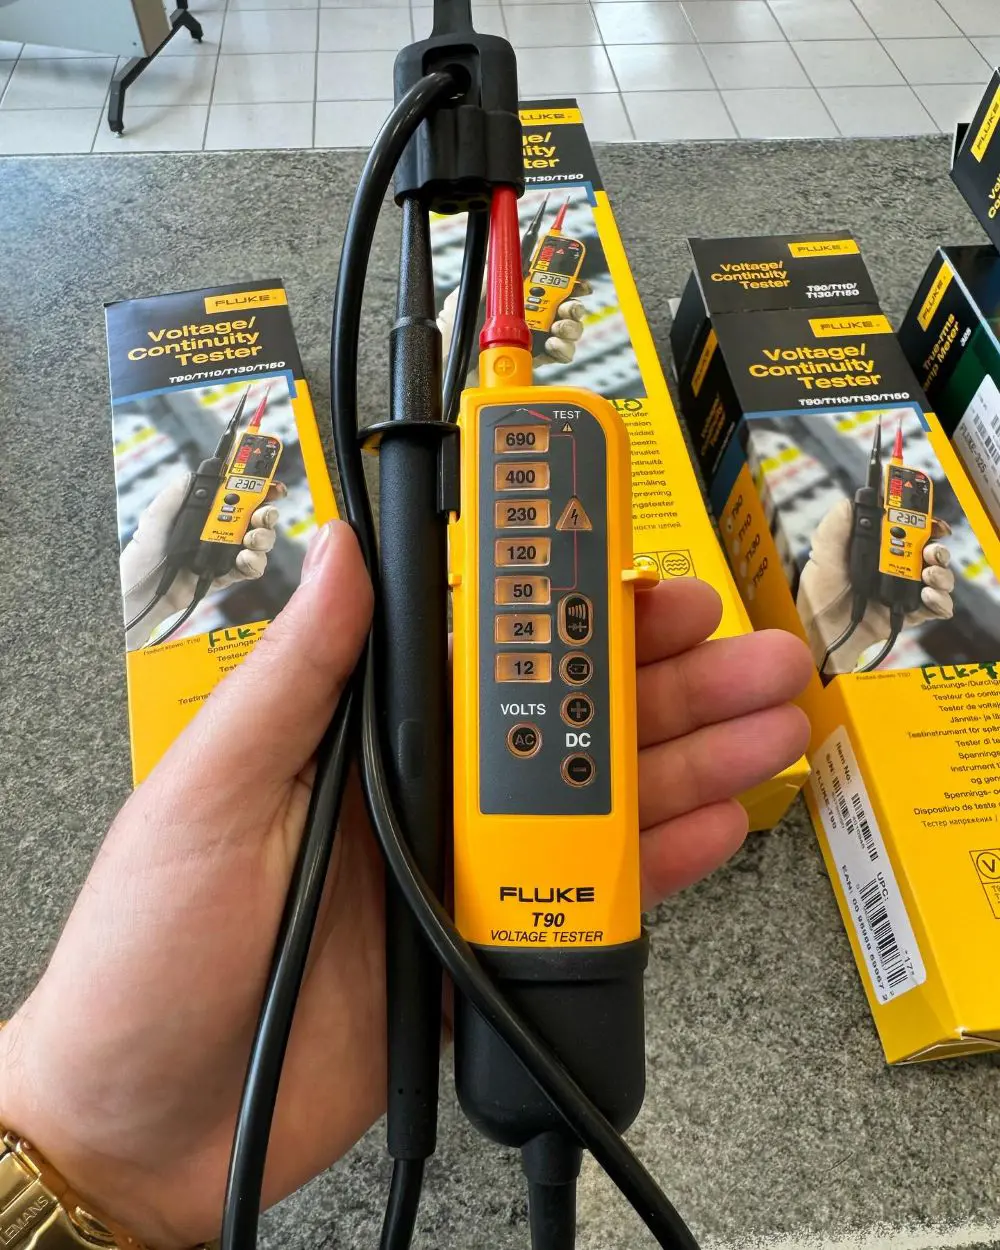
Current detector
Electrician’s pliers
Ladder
If your old/new fixtures are heavy, you might need a friend to help you.
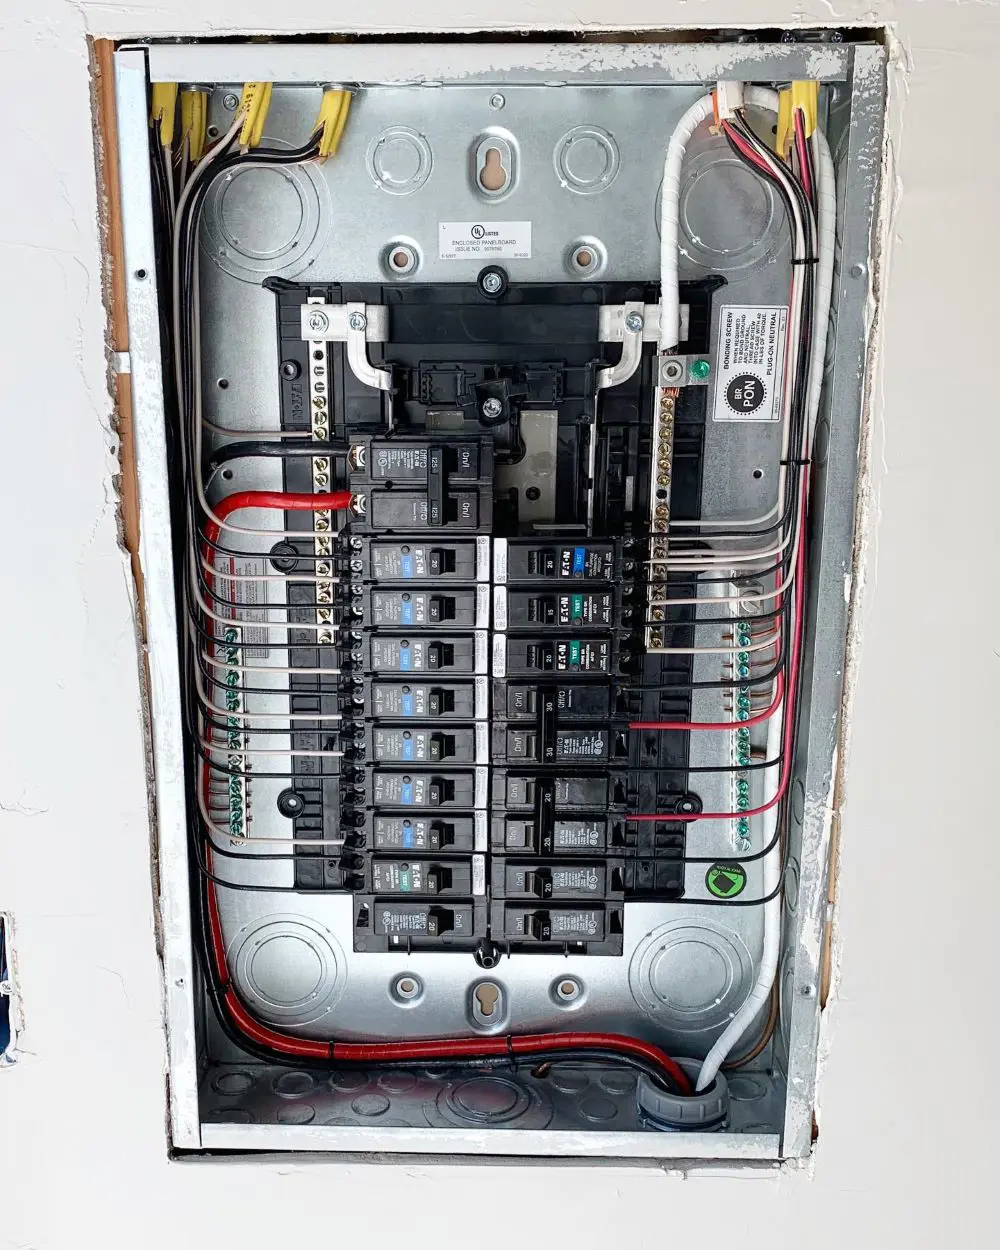
Your first task in any electrical project is to TURN OFF THE POWER! You don’t want to get electrocuted. So, locate your home’s central electrical circuit panel. Every house has one. It is usually in an inconspicuous place like a closet, basement, garage, or sometimes outside.
Switch off the power at the breaker where the fixture is located. This will be easy if the circuits are labeled. If not, you may need to try a few to determine the correct one. Label the breaker once you find it for future reference. You need to confirm that there is no power using a voltage tester, or you could flip the fixture light switch on and off.
One of the aspects of learning how to change a ceiling light fixture is knowing how to remove the existing one. If you look at your current fixture, there might be decorative elements, like glass pendants and shades. So, climb up a ladder and remove them carefully by unscrewing the nuts or bolts used to hold them. In case of heavy items, seek your friend for help.
You will notice that there is still a decorative plate attached to the ceiling. It’s called a canopy and covers the electrical hardware and wiring on the ceiling. You need to undo the screw to expose the wiring. Store all the screws and bolts in a container because you will need them later.
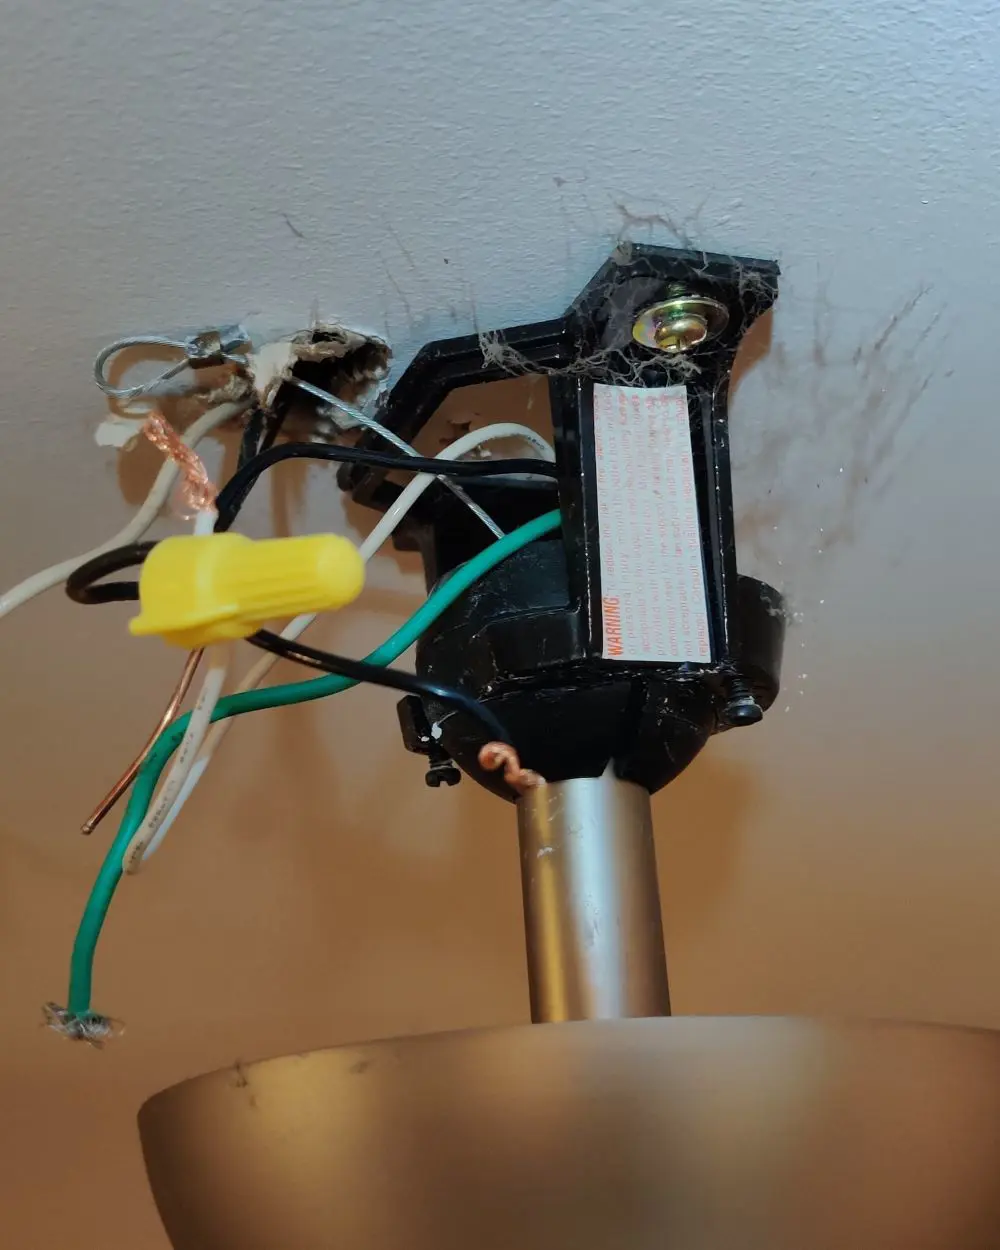
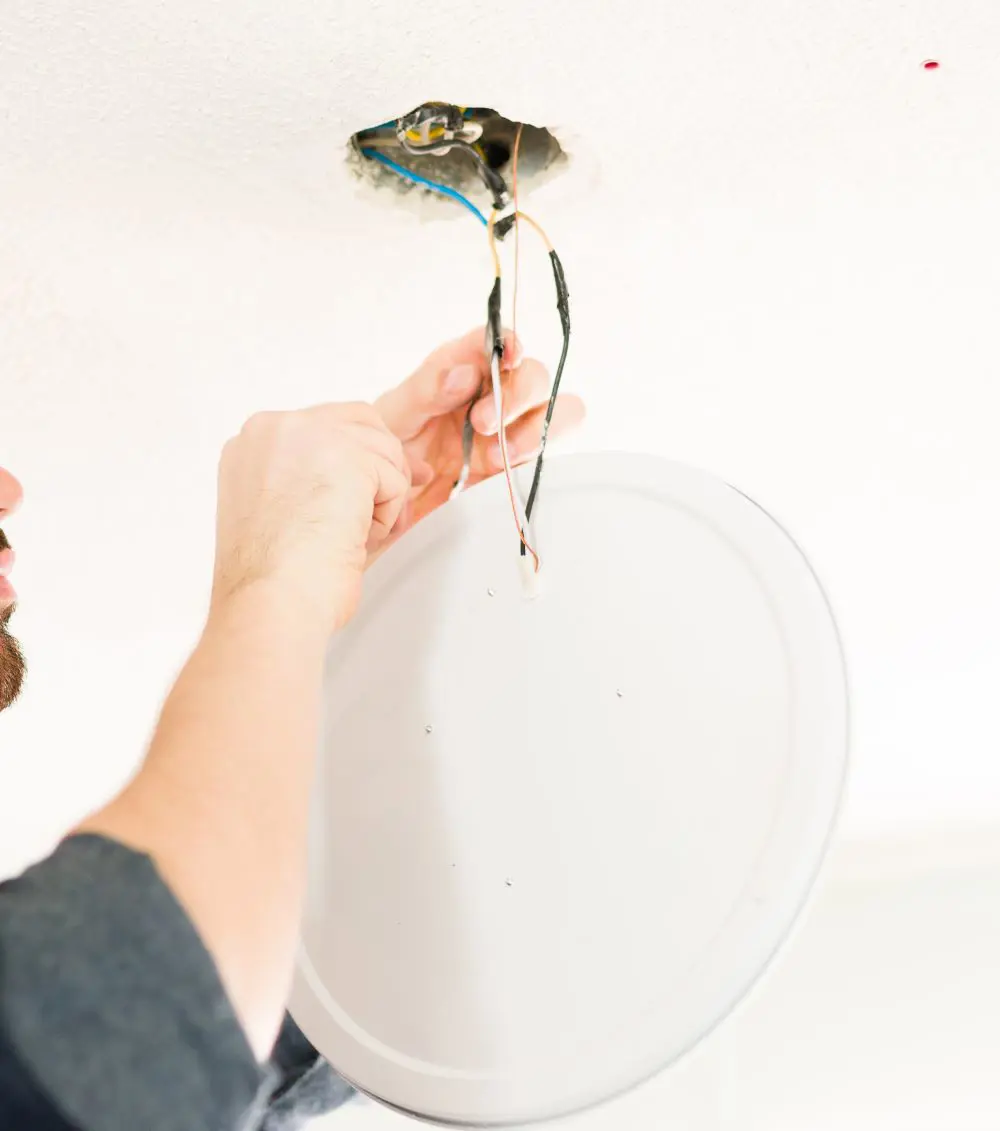
Once the old fixture and canopy are off, you should see three wires with caps: black, white, and green (or copper). If you cannot see these wires clearly because it’s like a rat’s nest, just call a pro.
In a nutshell, changing a light fixture is simply connecting these capped wires to three wires from the new fixture. Take a photo of this setup as a reference for later.
Now, unscrew the wire connectors/caps to release the old light fixture wiring from the ceiling wiring. If you are ever confused at any point, STOP and call in a professional electrician. With the wires disconnected, you can finally remove the remaining bits of the old fixture.
Unscrew the mounting bracket and carefully lower the fixture. Get your friend to help you if it’s heavy. Also, pat yourself on the back because you are halfway through your first attempt at changing your light fixture.
Before touching anything, take a voltage tester to ensure no current is flowing in the ceiling wires. For that, remove the wire coating with pliers and press the tester to the exposed copper wires. Yes, you have already turned off the fuse.
However, some electricians can be careless or make a mistake with the electrical panel wiring, so be cautious to prevent shocking yourself. Also, before you install your new fixture, ensure the ceiling box and wires can accommodate it.
Step 6: Measure and Cut Wires
When mounting a chandelier or pendant light, first determine how low from the ceiling you wish it to hang. Place it over a table. The base of the chandelier must be 30 to 34 inches from the table top.
After adjusting the length, you’ll need to cut and strip the wires. Leave an extra 8-10 inches of wire just in case you need room for adjustments. Cut the wires and remove an inch of coating from each wire using your wire stripper.
Step 7: Install the New Mounting Bracket
In step 5, you removed the mounting bracket of the old fixture. Now, you need to attach a new one that comes with your light fixture. You were probably reminded to keep it safe when you were assembling the light fixture.
You might find the instructions for mounting the bracket in the manual. If you cannot find it, follow these instructions:
The mounting bracket is attached to the ceiling wire box with screws, so there should be screw slots in the box.
Weave the ceiling box wires through the bracket and screw it tight and secure.
The wires in the ceiling box must be connected to the wire of the light fixture if it is too light up. If the wires of your fixture have half an inch of exposed copper wire ends, you can make the connection. If not, use your pliers and strip away about a half inch of the coating to expose the metal wire.
You don’t have to do this for the ceiling wires because it was done during the voltage testing in step 5. First, connect the two black wires by holding their copper ends together and twisting them with the wire connectors/caps. Do the same for the white wires. Refer to the photo you took in step 4 for a better idea.
Step 9: Attach Green/Ground Wires
Connecting the green or copper wire of your fixture is a little different. If your ceiling electrical box has the green wire, attach it as you did with the black and white wires.
If not, you need to wrap the green wire to the green screw on the mounting plate. With your pliers, make a U-shaped bend in the green wire so that it fits tightly around the screw. Tighten the screw to keep the wire in place.
Most light fixtures come with a bolt or decorative nut to secure the fixture in the mourning bracket. So, align the fixture over the bolt in the bracket and screw on the nut.
Use your hand for this, as a wrench could damage the nut. Finally, screw in the light bulbs and secure any remaining fixture pieces, e.g. a screen.
Step 11: Test out the New Fixture
Go back to your circuit panel and switch on the breaker. If the lights are on, Congratulations! You have now mastered the art of changing a light fixture.
If they aren't, check the light switch. Most of the time, people forget to turn it on. When that fails, turn the switch and circuit breaker off and return to steps 8 and 9. You should inspect the wire connections and do it right. Sometimes, it takes a few tries to get the light to glow.
How To Change Ceiling Light Bulb
As a first-timer, changing a light bulb on a ceiling, whether a screw-in bulb or a recessed LED light, can get tricky. However, we don’t mean you are incapable either. If you are focused, you can sort out a light bulb repair.
Always turn off the light and ensure that there is current flowing by double-checking with a voltage tester. Once you are done with that, wait for 20 minutes to allow the bulb to cool to room temperature.
The temperature of a hot bulb could be over 3,600º F. This heat will burn your finger. But if your bulbs are fluorescent, they don’t need time to cool as they are designed to produce light without giving off much heat.
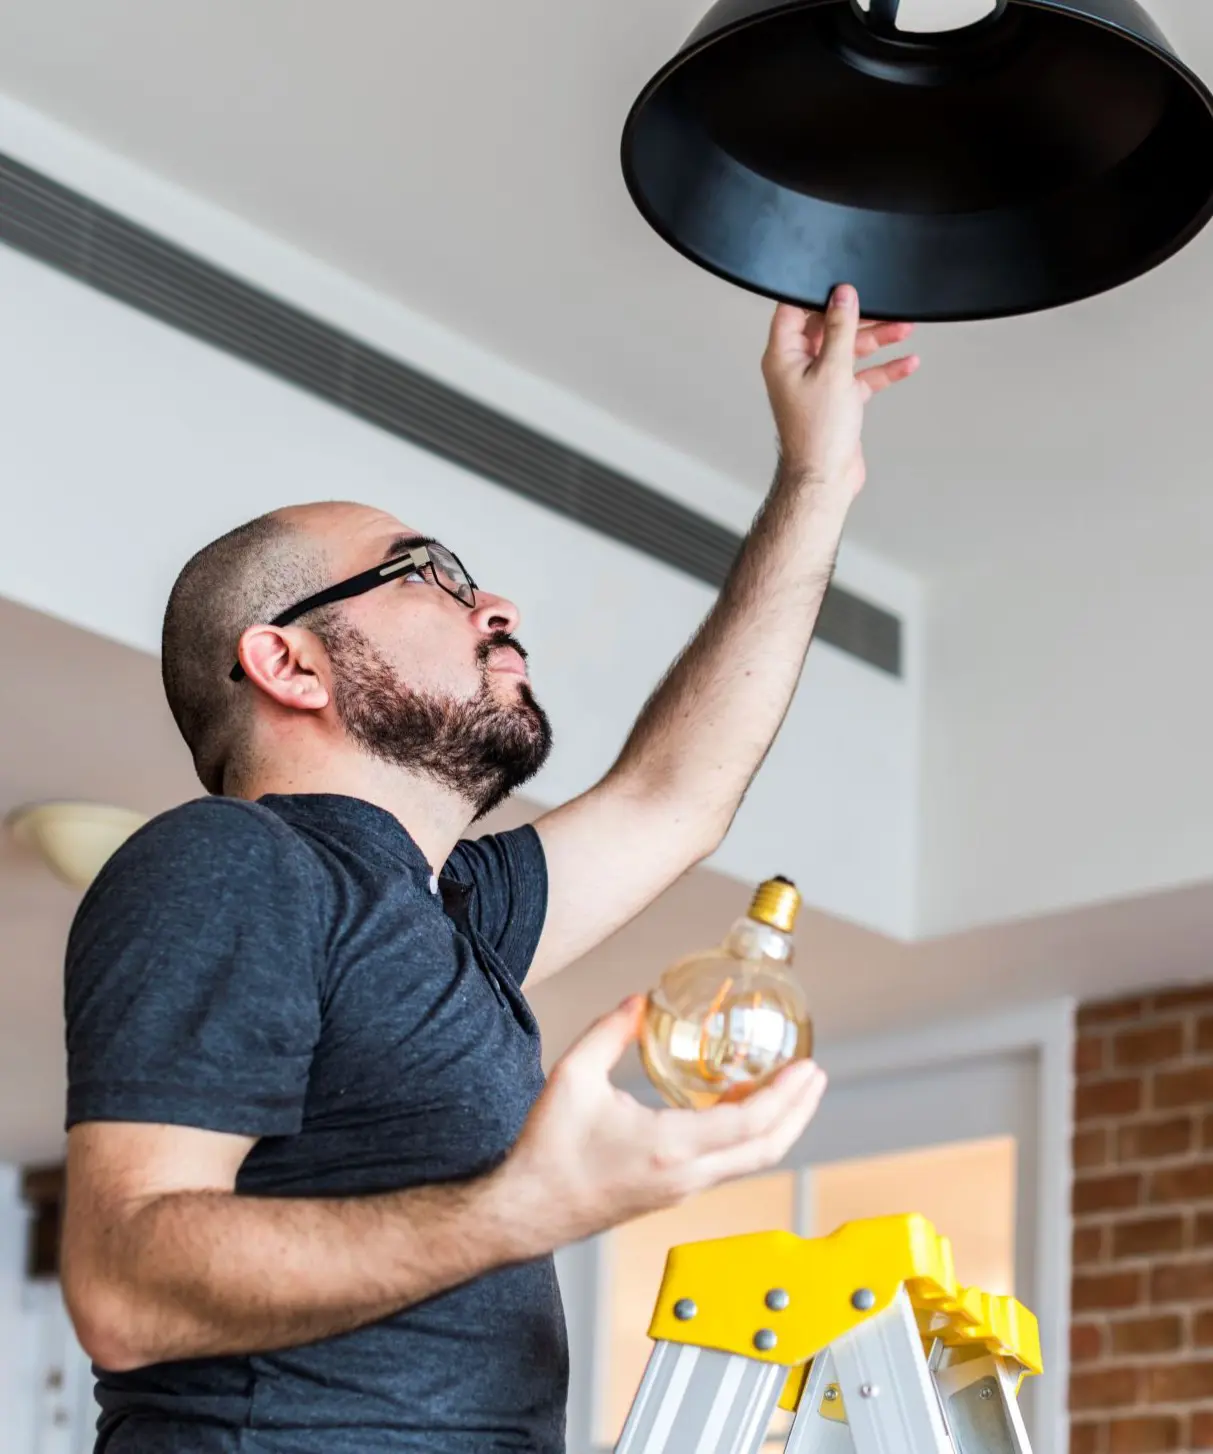
Use a ladder to remove the light fixture
You can use anything other than a ladder, like a chair or stool, as long as it is sturdy when you stand on it.
To replace the light bulb in a dome fixture or a cover, you need to loosen the screws on the side or the center of the fixture/cover to remove it. Remember to hold the cover with one hand to avoid letting it fall. Skip this step if the light bulb is exposed. Skip this step if the light bulb is exposed.
Opening a stubborn dome
If you have not changed the light bulb for a while, the dome/cover might get stuck on the ceiling. You can cut a 6-inch duct tape and stick one end in the middle. The double-sided tape will act as the handle. Repeat this to make another handle.
Take non-double-sided ends or non-handle sides and stick them on the light dome. Using the handles/double-sided ends, turn the cover anti-clockwise to loose the cover. You could slide the straw of a WD-40 lubricant spray from the edge of the cover and spray it around the edges to loosen the cover.
Take out the old bulb
Once the cover is off, confirm the light bulb is cool before proceeding. Loosen and remove the light bulb by turning it anti-clockwise and pulling it out of the socket.
Install the new bulb
Before you install the new bulb, check its watt. It should have the same wattage as the old bulb. High, unsuitable wattage increases the dangers of overheating and fire increases. The wattage is marked on the bulbs.
If your old bulb was incandescent, consider replacing it with fluorescent LED bulbs to save energy. Turn your new bulb clockwise to install it in the socket. Don’t use too much force, or the bulb might break. Now, you can finally say you have learned how to change a ceiling light bulb.
Check the new bulb and attach the dome/cover
You should check your bulb installation by switching on the lights. If they glow, you can move on. If not, you might need to re-install the light bulb or check the circuit breaker.
Before you attach the dome/cover, wipe away the dust and dirt with a glass cleaner. Let it dry, and attach it to the ceiling by reversing the steps you took to remove it. Secure the screws and bolts in place.
Most modern houses nowadays have recessed LED lights. If you need to change yours, here’s what to do.
Check for the retaining collar
Before you start, turn off the lights and let the bulbs cool. Then, climb a ladder and check if your LED lights have the retaining collar.
If your LED light fixture does not have a collar, you can skip this step and move straight to removing the light bulb.
If your recessed light bulb is secured by a collar, you need to remove it. A collared LED light has no space between the bulb and casing. Instead, a metal ring will overlap the edges of the bulb.
Remove the retaining collar
The retaining collar is removed by twisting it anti-clockwise, pressing a release button, or prying it open with a screwdriver. The method used boils down to the design of the fixture.
Looking at the light bulb will not help you determine which method to use. So, start by twisting the collar. Sometimes, you need to push the light fixture upward and turn the casing counterclockwise. The bulb and socket should fall out.
If twisting does not work, look for a release button. It is usually featured in newer designs.
For older designs, pry a spring-loaded metal ring with a flat-head screwdriver. Insert the screwdriver between the metal ring and the retaining collar and apply pressure gently to avoid breaking the bulb inside. Once the collar is released from the casing, you will see the bulb is still connected to the socket.
Remove the bulb by rotating it
To remove the bulb, turn it counterclockwise until it is out of the socket.
Replace with the right bulb
The best bulb replacement is one that has the same voltage as the old one. This means you should get the same model as the old one and if you don’t know the model, show your old bulb to a store assistant.
They will give you what you need. You could also refer to a light bulb buying guide if you want to learn more.
Install the new bulb
For pronged LED light bulbs, just line the new bulb prongs with the holes in the sockets and twist towards the right to secure them.
For light bulbs without prongs, insert the end into the socket and turn it to the right. After installing the bulb, flip the switch and check to ensure it works.
Attach the retaining collar
If your light has a collar, attach it by reversing the steps you took to remove it.