Squeaky floors can be a frustrating nuisance in any home, creating a peaceful environment filled with creaks and groans. Whether you are walking through the house late at night or simply trying to maintain a quiet space, those pesky noises can be a real bother.
If you are wondering how to fix squeaky floors, you are in the right place. In this article, we will explore 15 effective methods to silence those squeaks, providing practical solutions to restore peace to your living space.
1. Tighten Loose Screws or Nails
If you want to learn how to fix squeaky floorboards, the first thing you should do is tighten loose screws or nails. Squeaks occur when floorboards rub against the screws or nails that secure them to the subfloor or joists. Over time, these fasteners can loosen and cause the noise.
To address this, locate the loose screws or nails by walking over the floor and listening for squeaks. Once identified, use a screwdriver or drill to tighten any loose screws securely. If nails are loose, replace them with screws for better security.
2. Lubricate the Floorboards
Lubricating the floorboards can fix squeaky floors caused by friction between the boards. The squeak occurs when the wood rubs against itself or nails. To address this, sprinkle a dry lubricant, such as talcum powder or powdered soapstone, over the squeaky area.
These powders reduce friction by filling the gaps between the boards. Once you have done that, use a soft brush or cloth to work it into the cracks and joints where the noise is coming from. Then, walk over the area to allow the powder to settle in.
3. Shims
Over time, gaps can form between the subfloor and the joists due to settling or natural wear and tear. These gaps allow the floor to move slightly when walked on, causing the squeak.
To fix this, insert a shim into the gap between the subfloor and the joist. Start by applying a small amount of wood glue to the shim, then gently tap it into the gap until it is snug. The shim fills the space, stabilizing the floor and eliminating the movement that causes the squeak.
4. Screw Down from Above
Using special trim screws designed with a small, narrow head can fix squeaky floorboards without leaving noticeable damage. Start by locating the exact spot of the squeak. Once you have pinpointed the area, drill a small pilot hole to guide the screw.
Then, drive the trim screw into the floorboard, ensuring it pulls the board down tight against the subfloor. Be careful to countersink the screw head slightly below the wood surface. After securing the board, fill the tiny hole with wood putty and sand it smooth to blend with the floor.
If you have access to the space underneath the floor or want to avoid disturbing the finished floor above, you should fix squeaky floors by screwing down from below. Start by accessing the underside of the floor and find the squeak.
Once you have identified the noisy spot, use wood screws that penetrate the subfloor but do not break through the finished floor above. Position the screw near the joist and drive it upwards through the subfloor into the joist. This tightens the connection between the subfloor and the joist, stopping the squeak.
6. Glue the Subfloor
Applying construction adhesive to the joists reduces movement between the subfloor and the joists, which fixes squeaky floors. This adhesive creates a strong bond that helps to eliminate movement and vibrations, effectively reducing or eliminating squeaks.
To do this, locate the joists using a stud finder or tapping along the floor. Once identified, access the area and apply a generous bead of construction adhesive along the top of each joist where it contacts the subfloor. After that, press the subfloor firmly against the joists and let the adhesive cure before walking on the floor.
7. Nail Down Loose Boards
This method is appropriate when the squeak is caused by loose boards that are not severely damaged rather than a deeper structural issue. Start by locating the loose or squeaky boards.
Once identified, drive a finishing nail at a slight angle through the board and into the subfloor or joist to prevent it from sticking out. Then, fill the hole with wood putty or a matching filler to smooth the surface and make it less noticeable. Allow the putty to dry and sand it lightly to achieve a flush finish.
8. Squeak-Relief Kits
Squeak-relief kits are designed to address and eliminate floor squeaks with a targeted approach. These kits typically include special screws, a pilot hole drill bit, and a tool for driving the screws into the subfloor.
The screws are often designed to be concealed so that they blend with the existing flooring. The process usually involves only minimal damage to the surface. This method is particularly effective because it directly addresses the root cause of the squeak by securing the loose floorboard to its underlying structure.
9. Use Carpenter's Glue
To fix squeaky floors with carpenter's glue, first, find where the squeak is coming from. Lift the edges of the floorboards if you can. Use a syringe to put glue into the gaps between the boards and the subfloor underneath.
This glue helps stick the boards to the subfloor, which can stop the squeak. Press the boards down firmly and put something heavy on them to hold them in place while the glue dries. Let the glue dry completely before walking on the floor. This method secures the boards and reduces noise.
To replace a squeaky board, first, find the board that is causing the noise and take out any nails or screws holding it down. Carefully lift the board with a pry bar. Measure it to get the right size for the new board, then cut a new one to fit.
Put the new board in place, ensuring it fits well between the other boards. Secure it with nails or screws, sink them below the surface, and fill the holes with wood filler. Sand it down and finish with paint or stain if needed.
11. Screw Blocks to Joists
If you do not know how to stop creaking floors, follow these steps. Start by getting underneath the floor, like in a basement or crawl space. Find the wooden beams called joists that support the floor. Cut pieces of wood, like 2x4s, to fit snugly between the joists.
Place these wood blocks perpendicular to the joists under the squeaky spots. Screw the blocks to the joists. This will help spread the weight more evenly and stop the floor from moving, which should stop the squeak. Make sure there are no gaps.
12. Fix the Subfloor Gaps
If you have already tried other methods, like tightening screws or using shims, but it has not resolved the issue, consider fixing the subfloor gaps. Start by locating the gaps from underneath the floor. Then, remove debris from the area and use a wood filler or expanding foam to fill the gaps.
For wood filler, apply it directly into the gaps using a putty knife, smooth it out, and allow it to dry. If using expanding foam, insert it into the gaps and let it expand. Once the foam is dry, trim off the excess.
13. Install a Floating Floor
Installing a floating floor is an easy way to fix squeaky floors, especially if the noise is widespread. A floating floor does not need to be attached directly to the subfloor. Instead, it rests on a cushioning layer called underlayment that helps absorb noise.
To do this, first clean and level your existing floor. Roll out the underlayment and trim it to fit. Then, start laying down the floating floor panels, which snap together. Keep going until the whole area is covered. Finish by adding baseboards or trim to cover any gaps along the edges.
14. Reinforce the Joists
To reinforce joists, you need to add extra support to the structure underneath your floor. First, find where the joists are located using a stud finder or by measuring. Cut some 2x4 wooden planks to fit between the joists.
Place these planks across the joists and secure them with screws or nails. This extra support helps spread the weight more evenly and keeps the floor from moving, which can stop the squeaks. Ensure everything is tightly attached, and check if the squeak is gone.
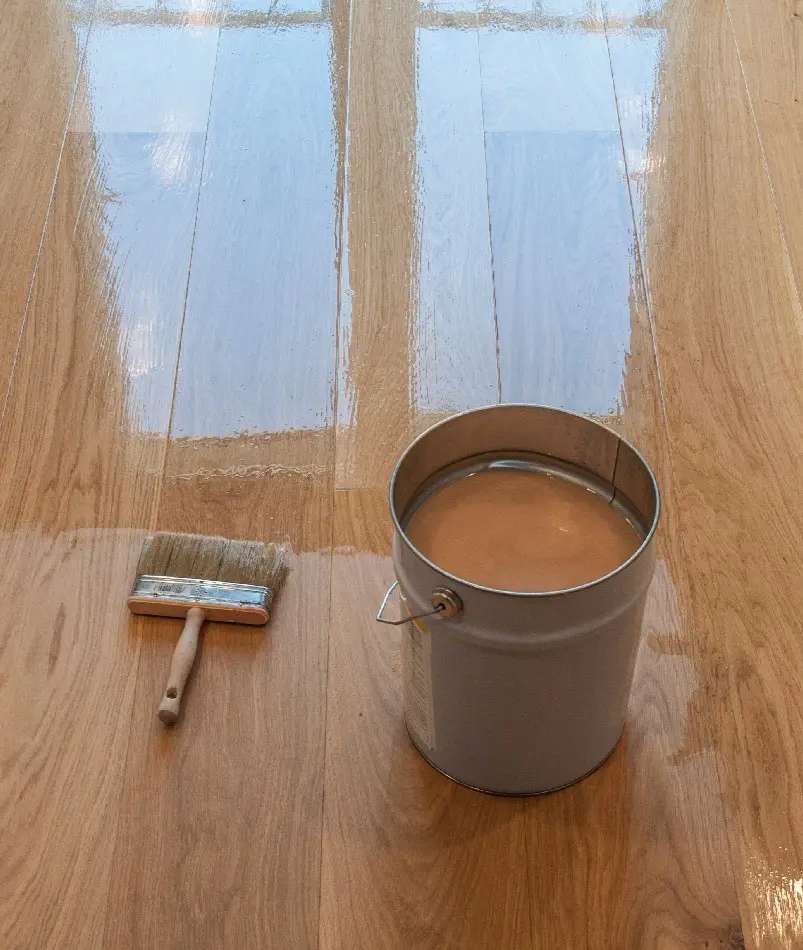
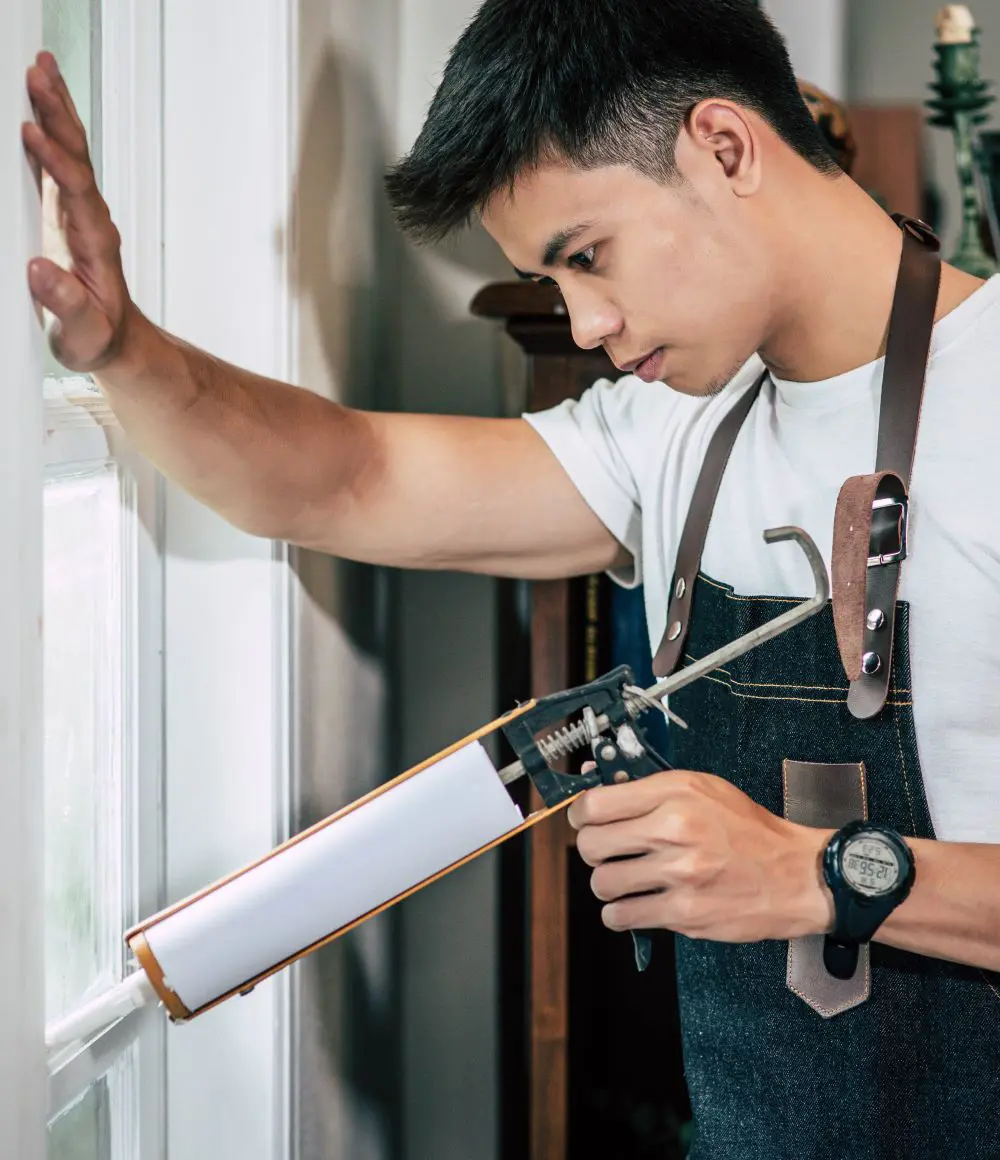
Resealing the floor means giving it a fresh coat to help stop squeaks caused by friction. Start by sanding the floor to smooth out any bumps and remove old finishes. Clean up the dust and debris afterward. Next, apply a good-quality sealant like polyurethane with a brush or roller.
The sealant creates a protective layer that reduces friction between the boards and helps stop the squeaking. Let the sealant dry before walking on the floor or putting your furniture back. This helps fill small gaps and keeps the boards from moving too much.
When to Call a Professional
Sometimes you might need to enlist the help of a professional. Below are situations when you should call a professional to fix squeaky floors:
Persistent Problems
If you have tried various DIY methods to fix squeaky floors, but the noise keeps coming back or even gets worse, it’s a sign that the issue might be more complex than initially thought. DIY solutions like tightening screws, applying lubricants, or using shims may work for minor squeaks.
However, persistent or worsening squeaks could indicate deeper problems, such as structural issues or extensive damage. In such cases, a professional can provide a thorough assessment to identify and address the root cause of the problem, ensuring a more effective and long-lasting repair.
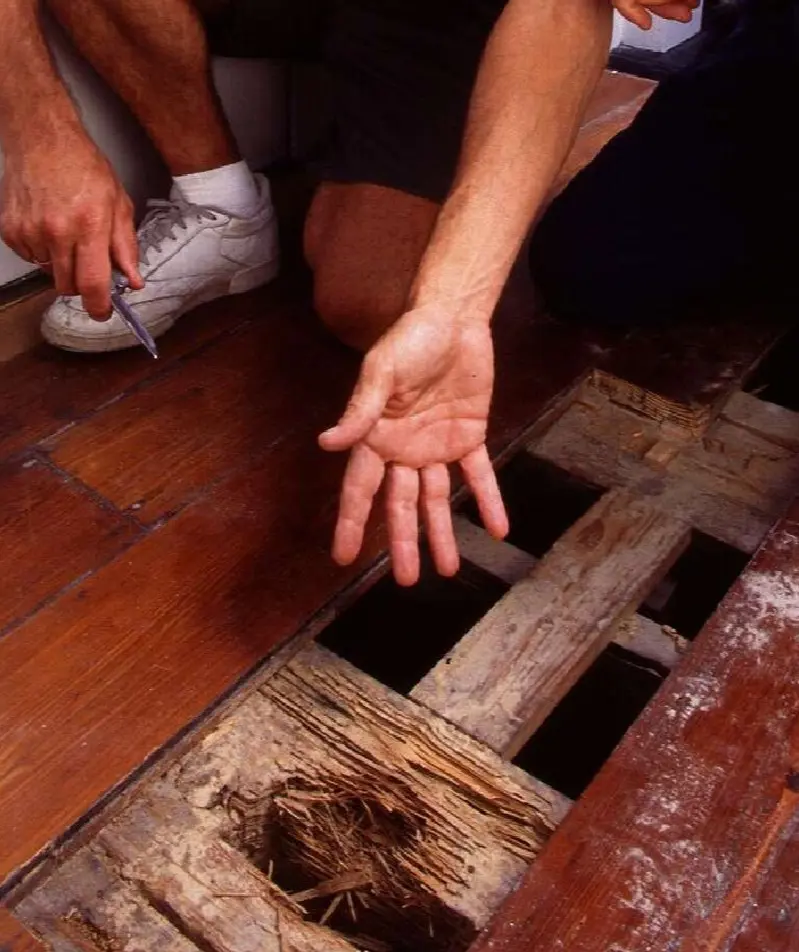
Structural Concerns
If you think there might be serious issues with the floor joists or subfloor, it is best to call a professional. Floor joists are the beams under your floor that help support it. If they are damaged or not spaced correctly, they can cause squeaks and other problems.
A professional can check if the joists or subfloor need fixing or replacing. They will also check for other potential issues like water damage or mold that could be affecting the structural integrity. This helps ensure that the repair is done correctly and safely.
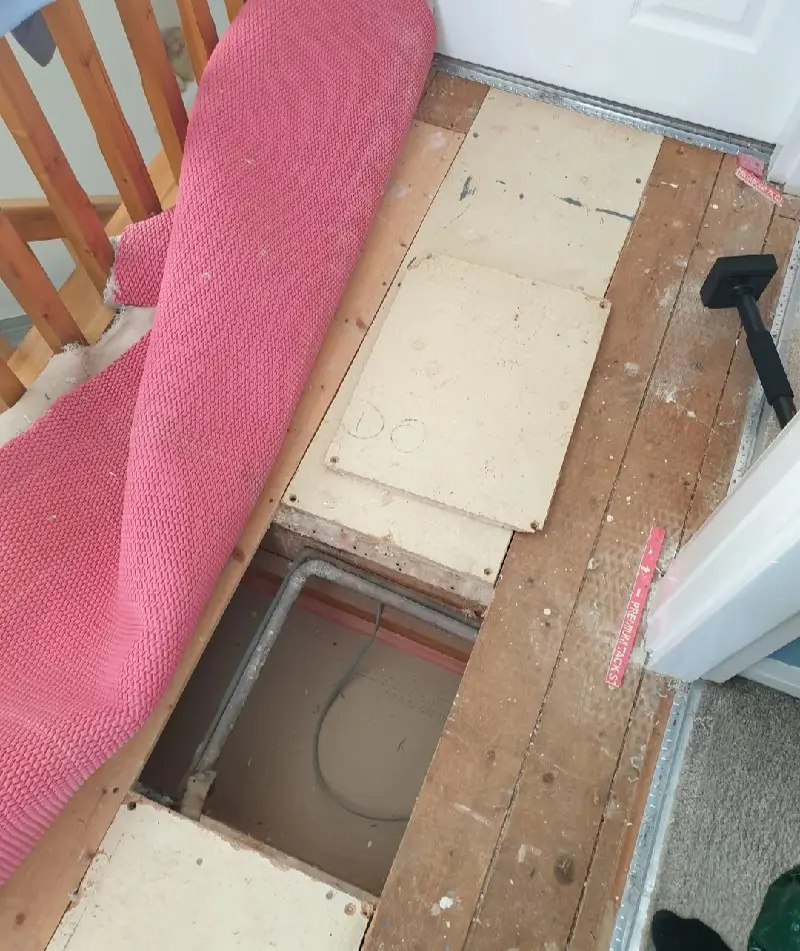
Complex Flooring
Fixing squeaks can be tricky if your floor is covered with carpet, tile, or another material. For example, with carpet, you would need to pull it back and remove the padding to reach the subfloor. For tile or other hard flooring, you have to carefully remove some of the tiles or sections to get underneath.
This can be difficult and requires special tools. In these cases, it is best to call a professional who knows how to handle different types of flooring and can fix the squeaks without causing extra damage.
Significant damage or noticeable warping in the floorboards may require professional attention. This type of damage can cause or worsen squeaks and might indicate underlying issues with the subfloor or joists. Significant damage could include deep cracks, large gaps, or boards that are visibly bent or uneven.
A professional can assess the extent of the damage, repair or replace damaged boards, and address any underlying problems with the subfloor or joists. They have the expertise and tools to handle complex repairs, ensuring the floor is stable and safe.
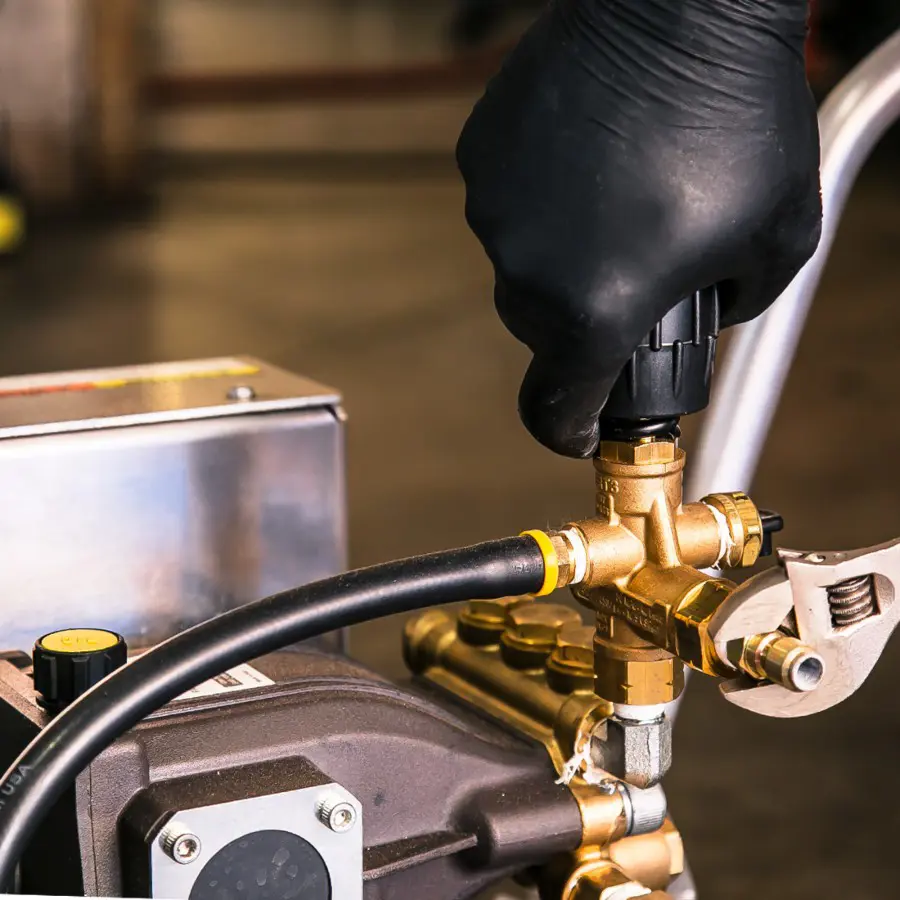
Inadequate Tools or Skill
It is a good idea to call a professional if you do not have the right tools or skills to fix squeaky floors. Proper tools might include a special drill, screws, or shims designed for floor repairs, and having the correct technique is crucial to fixing the squeak effectively.
Without these, you might end up causing more damage or not fully resolving the issue. Professionals have the experience and equipment to assess and repair the problem correctly, ensuring a more durable and reliable fix.
Safety Issues
Safety issues related to squeaky floors can include concerns about the floor’s stability and structural integrity. If a floor is squeaking, it might indicate underlying problems such as weakened joists, loose subflooring, or significant damage.
In severe cases, these issues could pose safety risks, such as the potential for the floor to collapse or cause accidents due to instability. If you notice any signs of major instability, like bouncing or sagging floors, or are worried about the potential danger, it is best to call a professional.
Common Causes of Squeaky Floors
Ideally, before you learn how to repair creaking floors, you should understand the types of floors most prone to squeaks.
Board-to-board
Squeaks—often known as deflection—occur when localized parts of the floorboards rub against each other. This rubbing is usually caused by gaps or movement at the ends or sides of the boards.
This type of squeak is typically localized and happens where the ends or sides of the boards meet. When pressure is applied—like when you walk across the floor—the boards shift slightly, creating friction between them. This friction produces a squeaky sound.
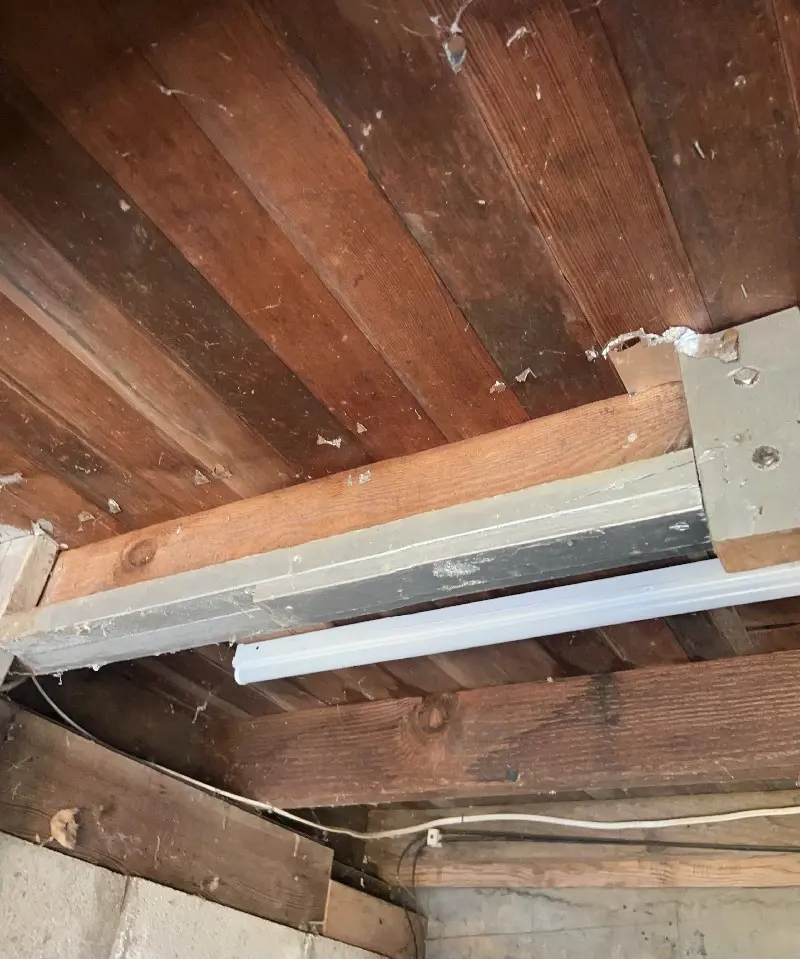
Subfloor
These squeaks happen between the wood and the subfloor beneath. You will know if you stand on a board and there is movement in an entire floor section. The subfloor is the layer directly beneath the floorboards, typically made of plywood or oriented strand board (OSB).
A weak or damaged subfloor can lead to flexing and movement. If the subfloor is not adequately supported or has been damaged by moisture or other factors, it can contribute to squeaking. Additionally, using materials unsuitable for the floor’s structural needs can also cause squeaks. For instance, a subfloor that is too thin or of lower quality might not provide the necessary support, leading to instability and noise.
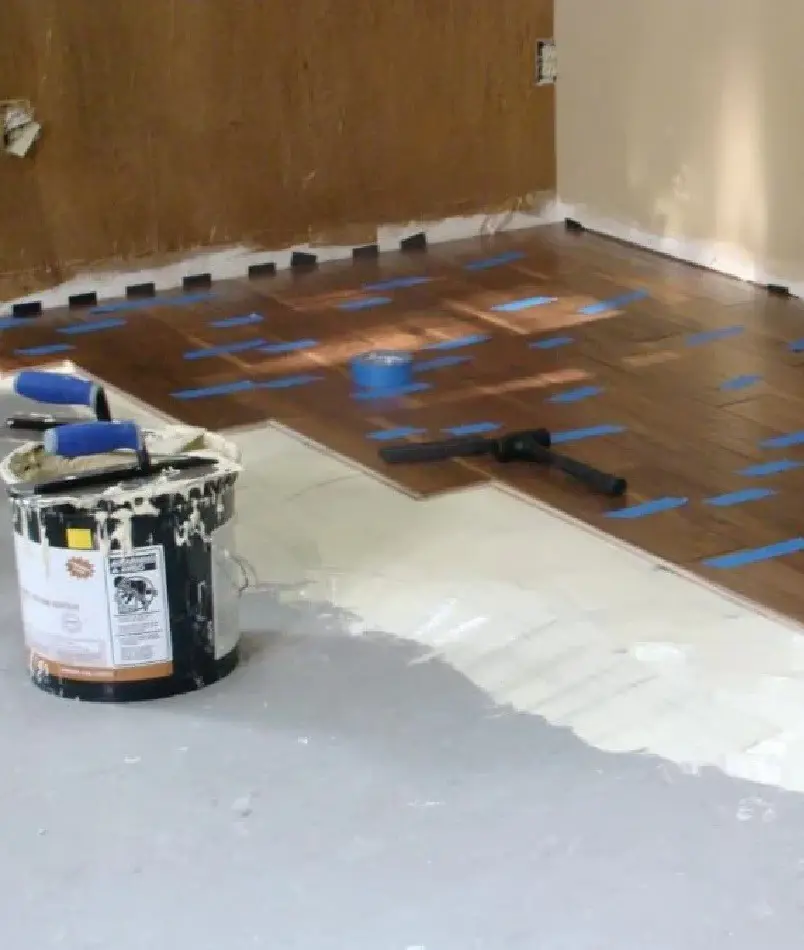
When floorboards are glued directly to concrete slabs, squeaks can occur due to issues related to the adhesive and the surface preparation of the concrete. If the concrete slab is not level, it can create high and low spots and lead to areas where the boards do not make contact with the concrete.
This unevenness causes the boards to shift slightly, leading to squeaks when weight is applied. Using little adhesive can also result in spaces where the boards can move or flex, causing squeaks.
Environmental Factors
Environmental factors can significantly influence the occurrence of squeaky floors. Here is how various environmental conditions contribute to squeaking:
Humidity and Moisture
Humidity plays a crucial role in the behavior of wooden floors. Wood is hygroscopic, meaning it absorbs and releases moisture depending on the surrounding humidity levels. In high humidity, wood absorbs moisture, causing it to expand.
This expansion can create gaps between floorboards or the boards and the subfloor, leading to movement and squeaking. Conversely, when humidity drops, wood loses moisture and contracts. This contraction can also result in gaps and create movement that leads to squeaking.
Temperature Fluctuations
Temperature changes can affect the wood and the materials used in flooring. For example, in colder weather, wood contracts and becomes more prone to gaps and movement, leading to squeaks.
Conversely, in warmer temperatures, wood expands, which can also result in squeaking if the boards are pushed against each other or the subfloor unevenly.
Seasonal Changes
Seasonal changes in temperature and humidity can cause significant fluctuations in wood flooring. As seasons change, the wood absorbs or loses moisture, leading to expansion and contraction. During the humid summer months, wood can absorb moisture from the air, causing it to swell and potentially create gaps between floorboards.
In the winter, when the air is drier, the wood may contract and shrink, further widening these gaps. This constant cycle of expansion and contraction can lead to movement between the boards and the subfloor, resulting in squeaks.
Water Leaks
Water leaks can significantly contribute to squeaky floors by introducing excess moisture to the wooden components of the flooring system. When leaks occur, whether from plumbing issues, roof leaks, or other sources, they can saturate the floorboards and subfloor, causing them to swell and become uneven.
This excess moisture disrupts the natural expansion and contraction of the wood cycle, leading to gaps and movement between the boards and the subfloor. As the wood absorbs moisture, it can weaken its structural integrity, further exacerbating the squeaks.