How to Remove Ceiling Fan? Step-by-step Guide
Preparation Beforehand
Required Tools
- Ladder
- Circuit tester/voltage detector
- Wire cutters/strippers
- Screwdrivers
- Eye protection
- Work gloves
Step 1: Turn the Power Off
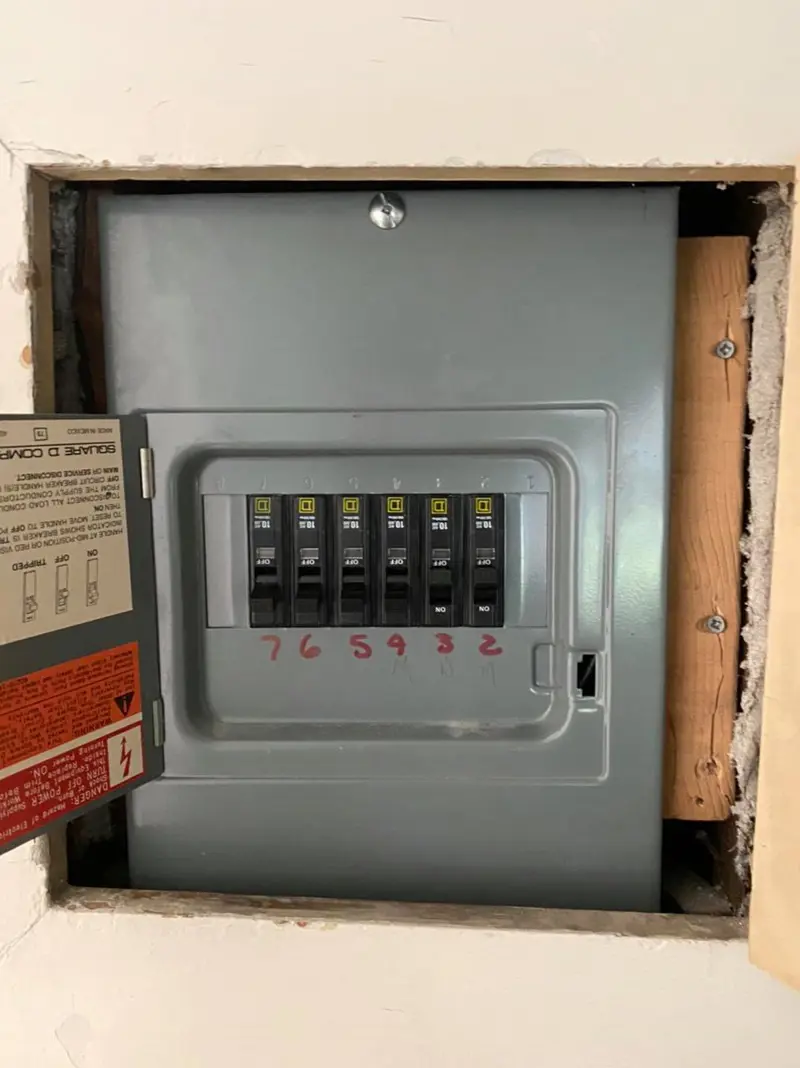
The first thing you need to consider while beginning to replace or install a new fan to the ceiling is to turn off the power to the existing fan circuit.
To remain safe, before jumping on to the replacement or installation, you need to use a circuit tester or voltage detector to check whether the power has been cut off.
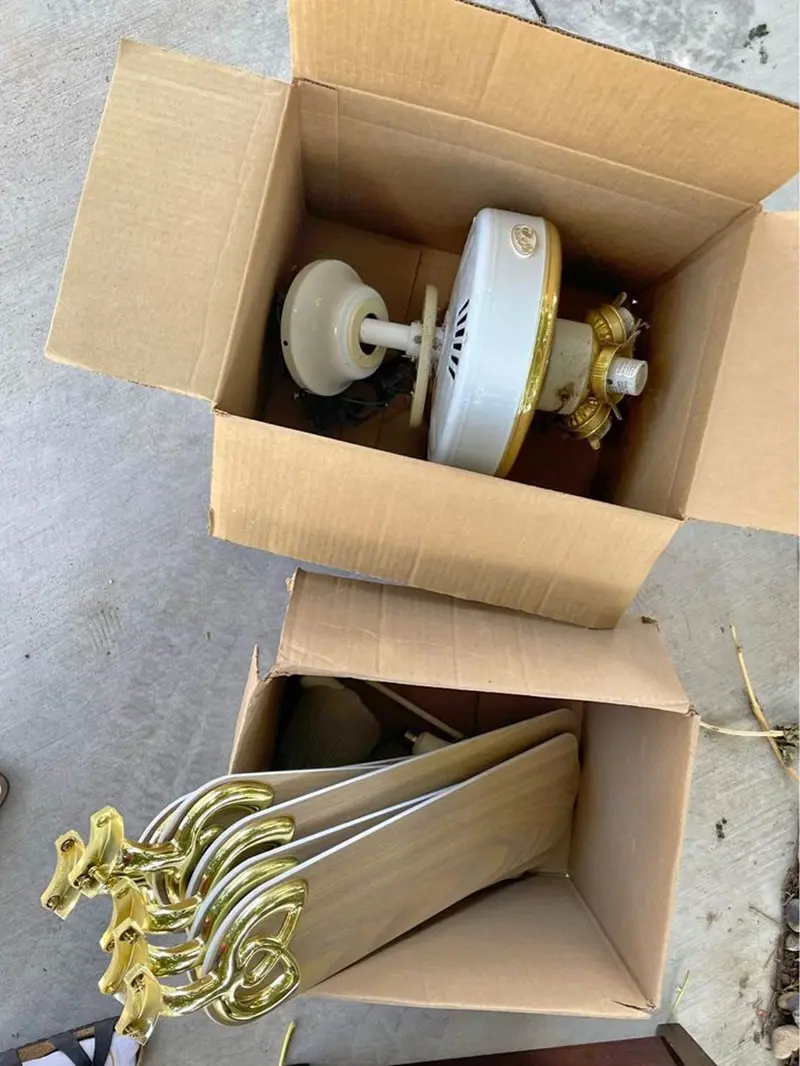
Step 2: Remove the Old Fixture
You can begin to remove the old fan from the ceiling. Start by removing the lights, and unscrewing the fan blades, followed by the canopy and mounting brackets. Here’s how you should do it:
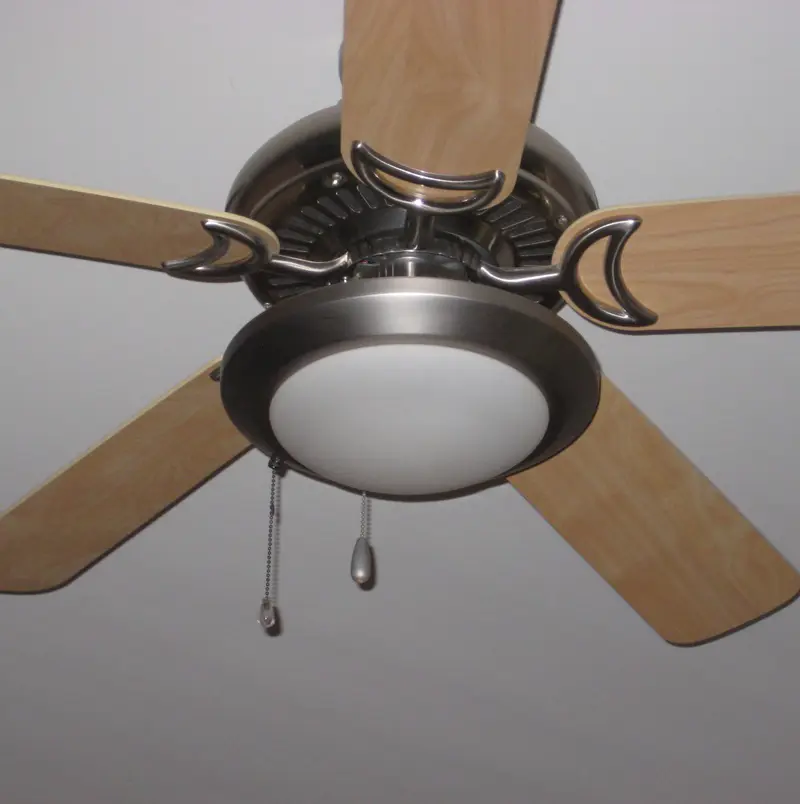
Remove the Lights and Blades

We are pretty sure, your old ceiling fan has space for lightning. There must be a separate housing for the light bulb to stay with the globes or coverings. Begin by removing the globes and removing the light bulbs as well.
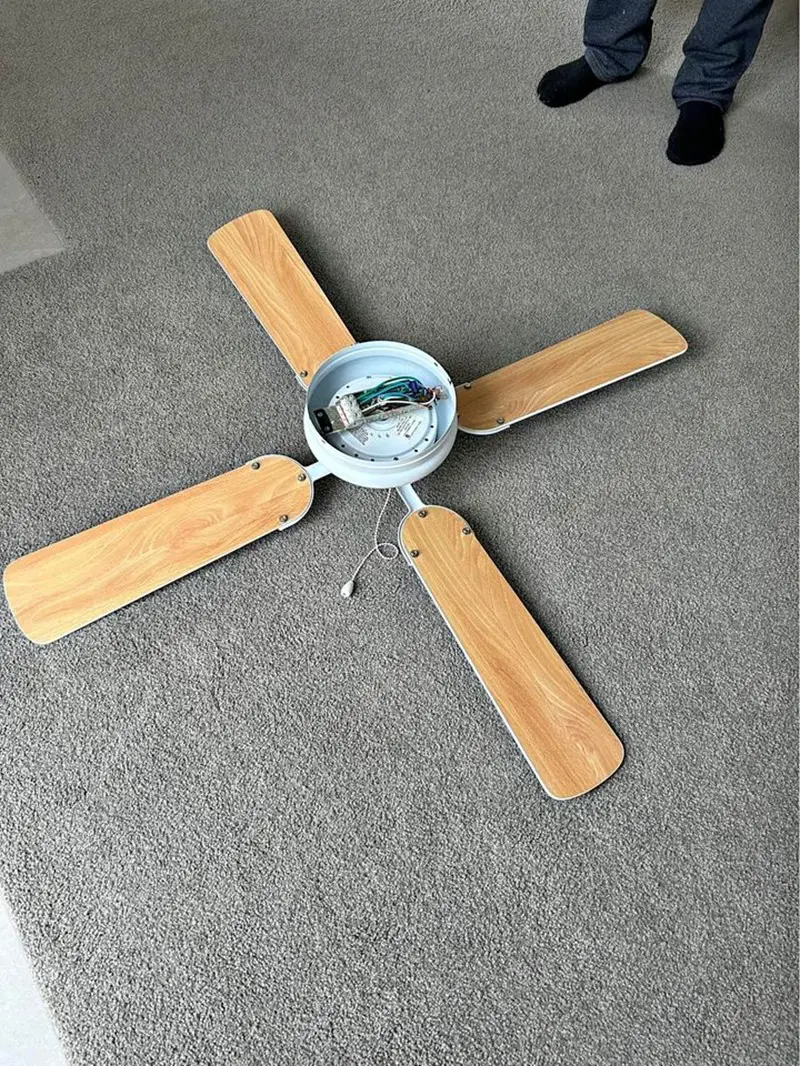
Pick your screwdrivers and unscrew each of the fan blades. This is an easy task, you just have to locate the position for screwing at the top end of the blade, around the circular main fan unit.
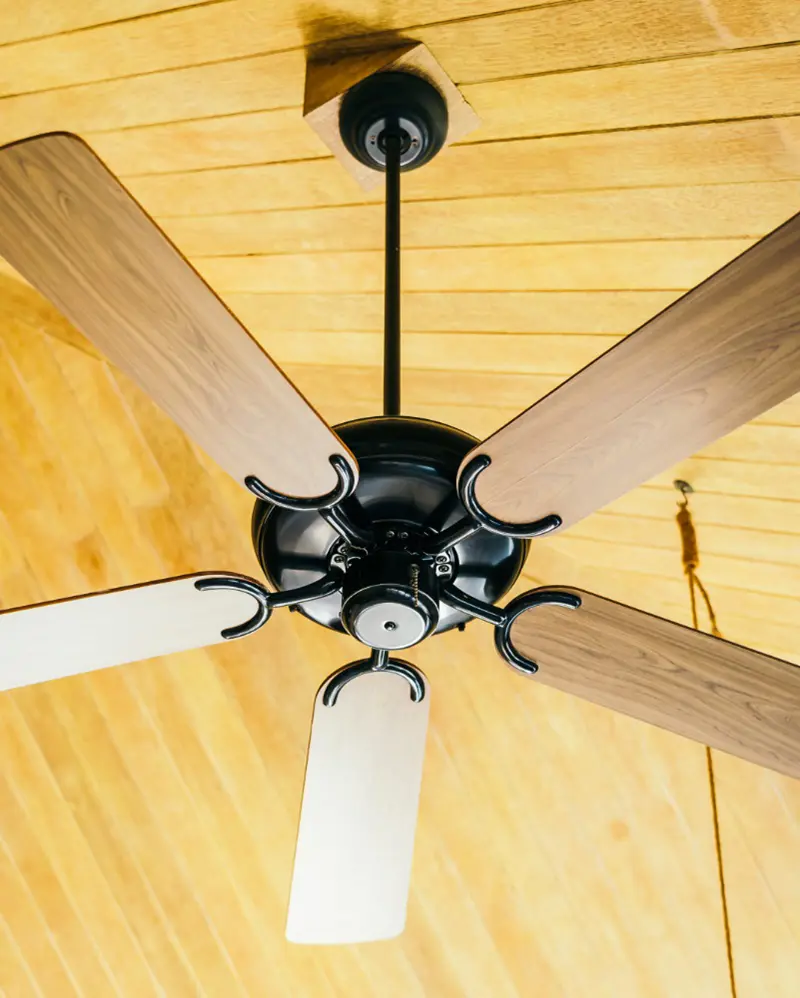
Remove the Canopy
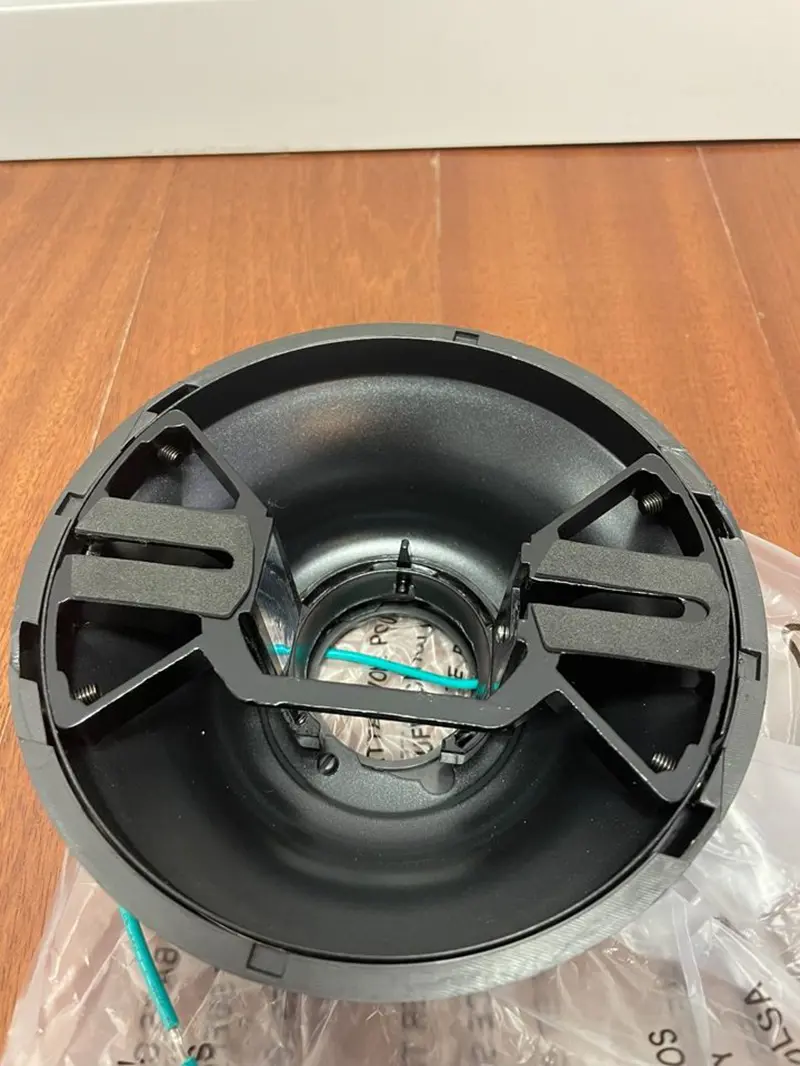
You will find a canopy, a cover attached to the ceiling bracket that is responsible for covering all the wiring and electrical components of the ceiling fan. You have to unscrew everything that has been holding the canopy to the mounting bracket so that you will be able to remove them.
If possible lower the canopy by detaching it completely, if not you may need support from your friend to hold the fan to continue the removal process. In the case of a downrod ceiling fan, you have to allow the canopy to rest on top of the main fan unit. You will know the difference between a flush mount and a downrod installation ceiling fan in detail later on.
Disconnect the Wires
Moving forward, you have to remove the wire connection between the ceiling and the fan. Make sure to separate every fan wire from the wires coming from the ceiling electrical box. It would be better if you bring new wire nuts to replace the old ones.
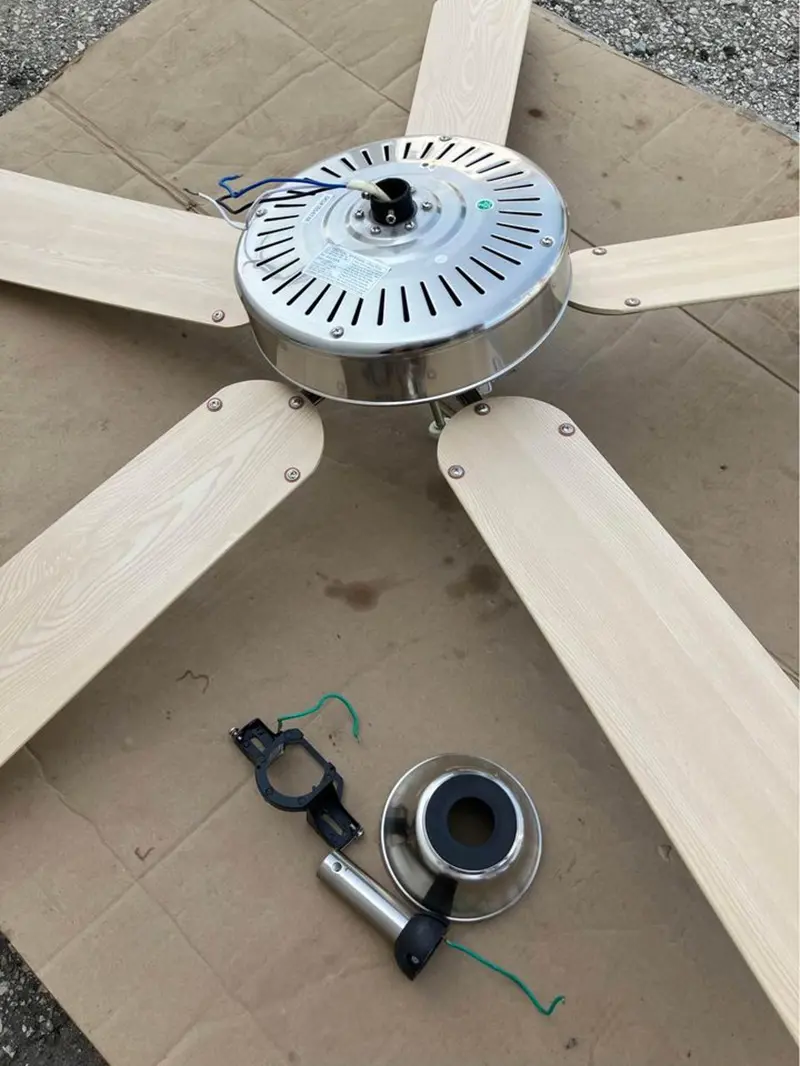
Step 3: Lower the Fan
Having done all the unscrewing and pulling the adjoined wires apart, you can easily lower the old fan. Make sure to be careful while lowering the fan, it would be good if you have someone supporting on the floor while you do the unscrewing.
Step 4: Remove the Mounting Bracket
You will find the mounting bracket on the ceiling, you have to carefully remove all the screws and remove the whole bracket. In many cases, you may not be able to remove the bracket because people often like to permanently secure it in the ceiling using nuts and bolts. In such a case, you have to jump this step.
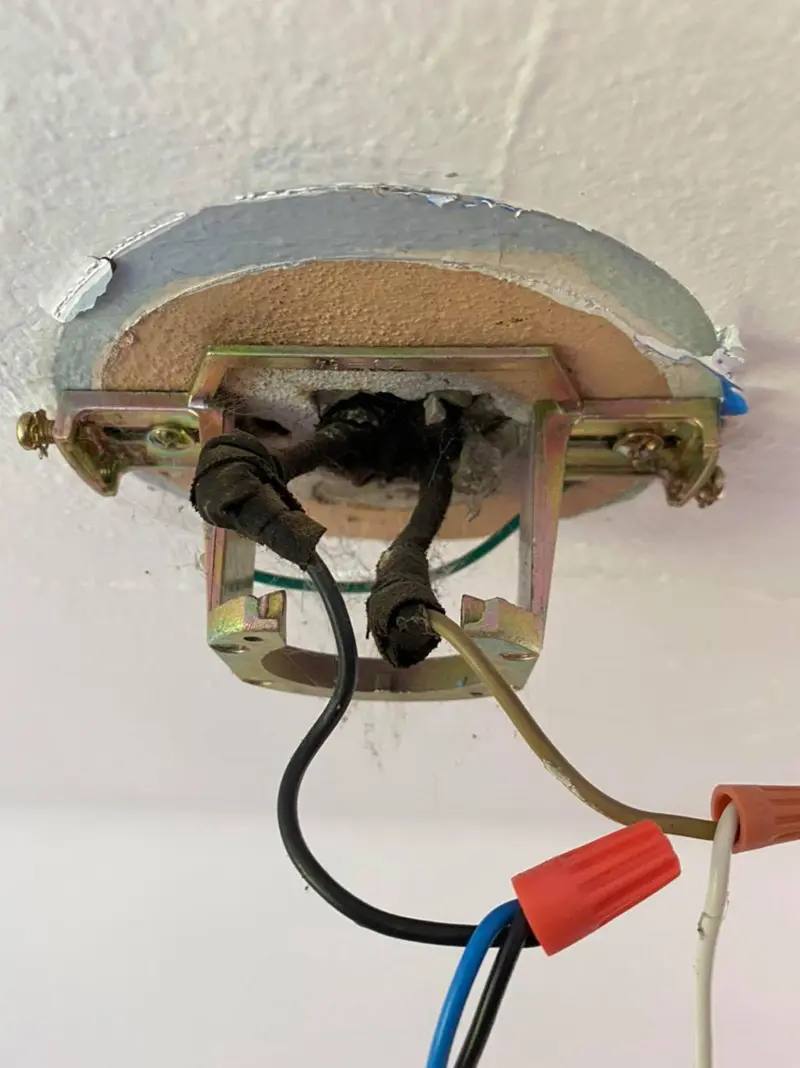
Step 5: Check the Wires and Box
Once the old fan is lowered, you need to check for the wiring of the electrical box at the ceiling. Check if the wiring has been done accurately and they are not damaged. Ensure the wiring is hanging from the ceiling with the dedicated metal mount.
Further, look for a label on the box that should suggest, it is acceptable to be used for the ceiling fans. Remember to check the weight rating, depending on which you should purchase a new ceiling fan.
Call a Professional Right Away: If you find faulty wiring or find it difficult to understand the parts and function of a ceiling fan, you may have to seek help from a professional. Faulty wiring requires a detailed inspection of your whole house wiring, and you may not be able to figure it out on your own.
Similarly, while handling electrical components, you must be very careful regarding safety, if you are unsure about the connection and power breaker, you must back up and allow the professional to handle the case.