Our homes often require quick DIY repairs, and a caulk gun is among the best tools for such situations. It fills cracks and gaps in various structures using sealants and adhesives.
In this article, we will show you how to use a caulk gun for a smooth finish that even the professionals will do a double take. This task only requires quality caulk, a caulk gun, and patience.
Choosing the Right Type of Caulk
One of the first things to consider in ensuring the seal serves its purpose is knowing the type of caulk to apply. Different types of caulks exist in the market, each with its characteristics and uses. Your choice will depend on what and where you need it for. Some common types include:
Silicone Caulk
Most home maintenance projects rely on silicone caulk. It is water resistant, has excellent adhesive ability, and prevents mold and mildew. We recommend you use them for areas constantly exposed to water, like the bathroom and kitchen.
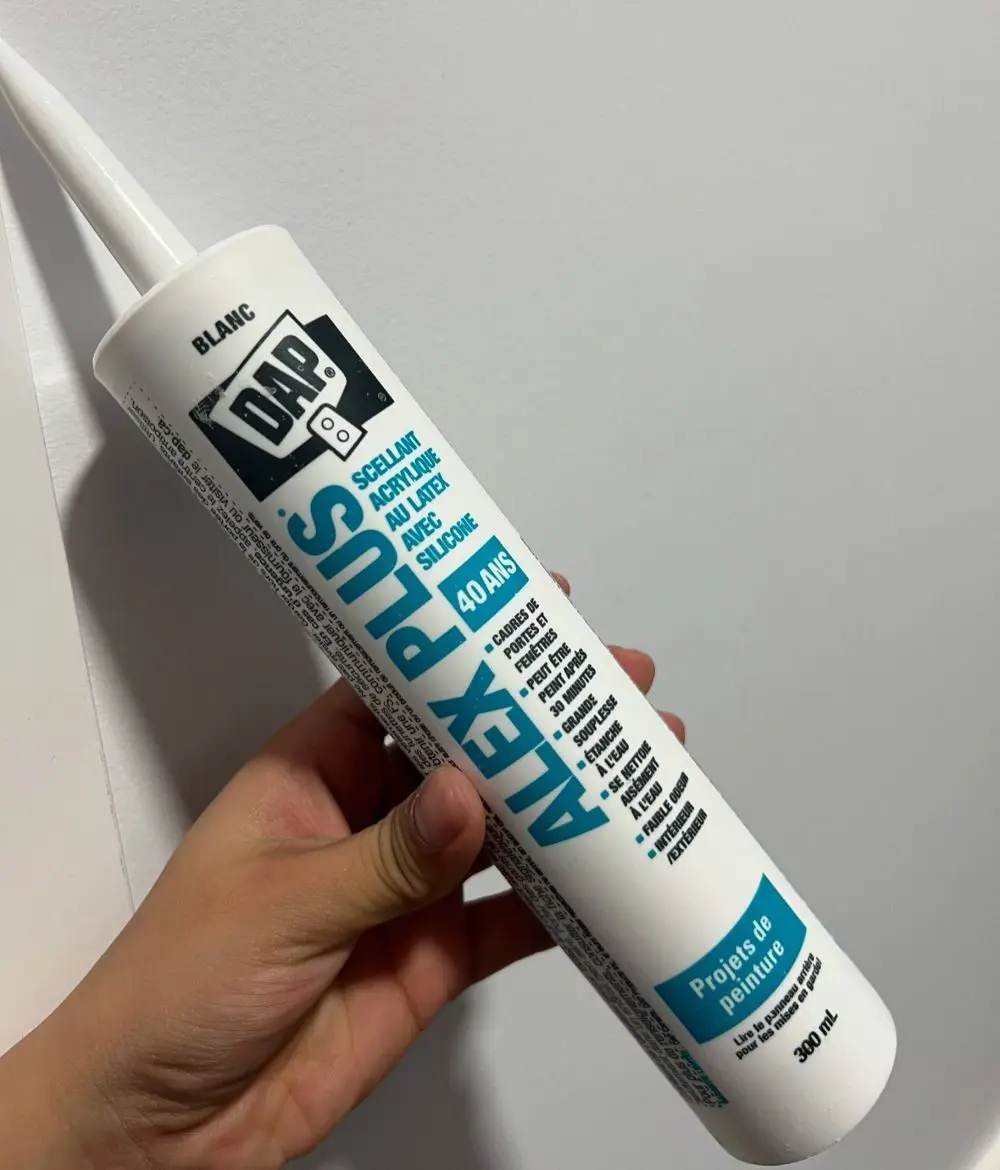
Unlike silicone, acrylic latex caulk does not resist water well, making it suitable for caulking dry areas that will not be exposed to water or sunlight. You can use it on baseboards around the basement floor, fix squeaky floors, drywalls, and trims. It is also paintable, which means you can paint the caulk to match your home decor.
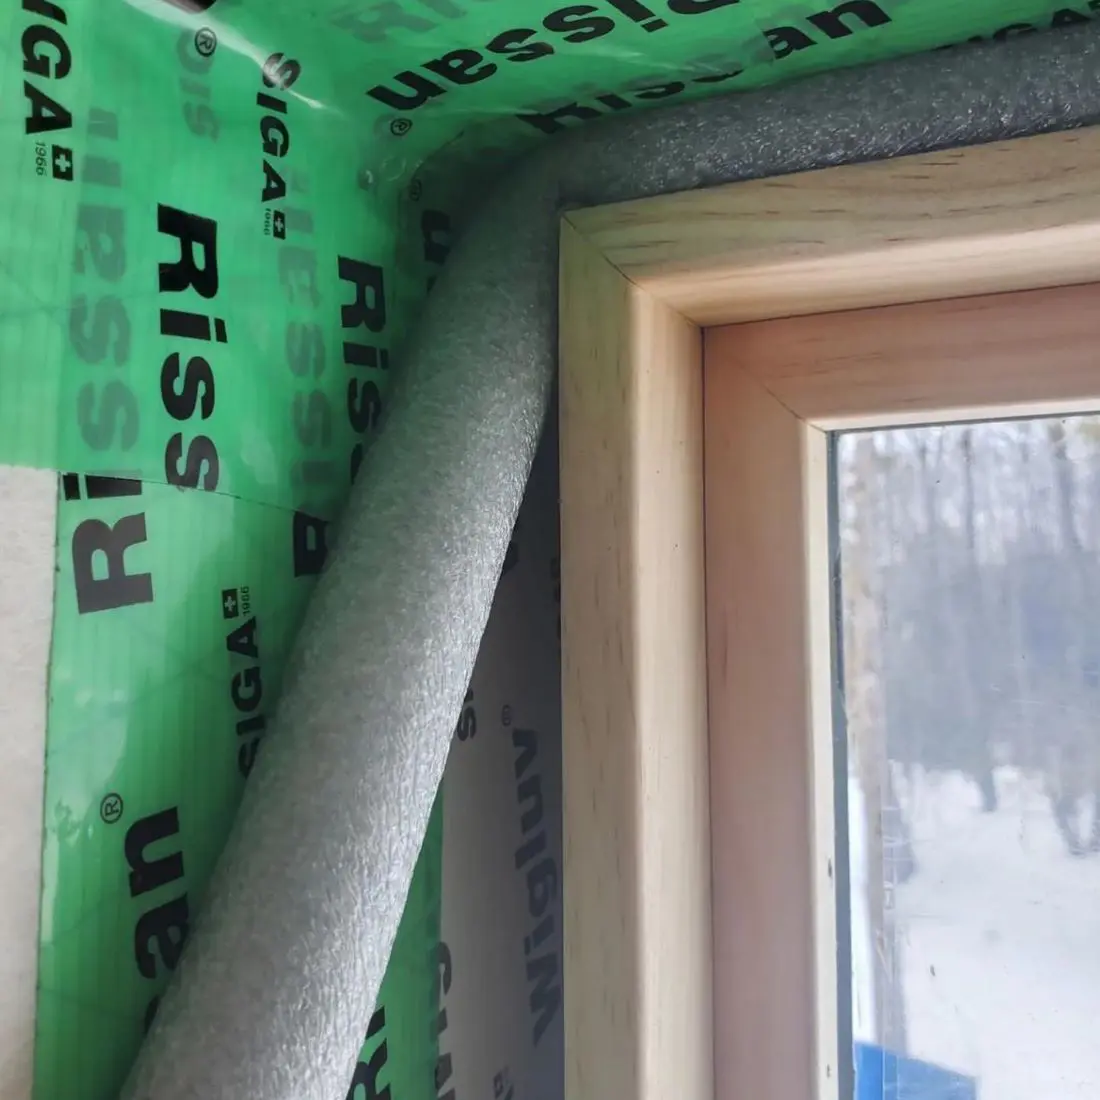
Exterior Grade Caulk
The first two caulks can only be used indoors. If you want to use caulk outdoors, opt for an exterior grade like polyurethane and butyl rubber. This caulk type can withstand extreme temperature conditions. They adhere to various materials, such as wood, metal, and masonry, making them imperative for outdoor use.
Preparing Work Area Before Using a Caulk Gun
After choosing the appropriate caulking filler, prepare your work surface for caulk. Cleaning and drying the work surface is crucial to ensure the caulk adheres steadfastly to form an impenetrable barrier against moisture.
It is also very important to remove old caulking and restore hidden damages because old caulk and damages can compromise the quality of the fresh sealing. To prepare the work area:
Remove dirt, dust, and debris: Clean the surface using a clean, dry cloth or a vacuum cleaner.
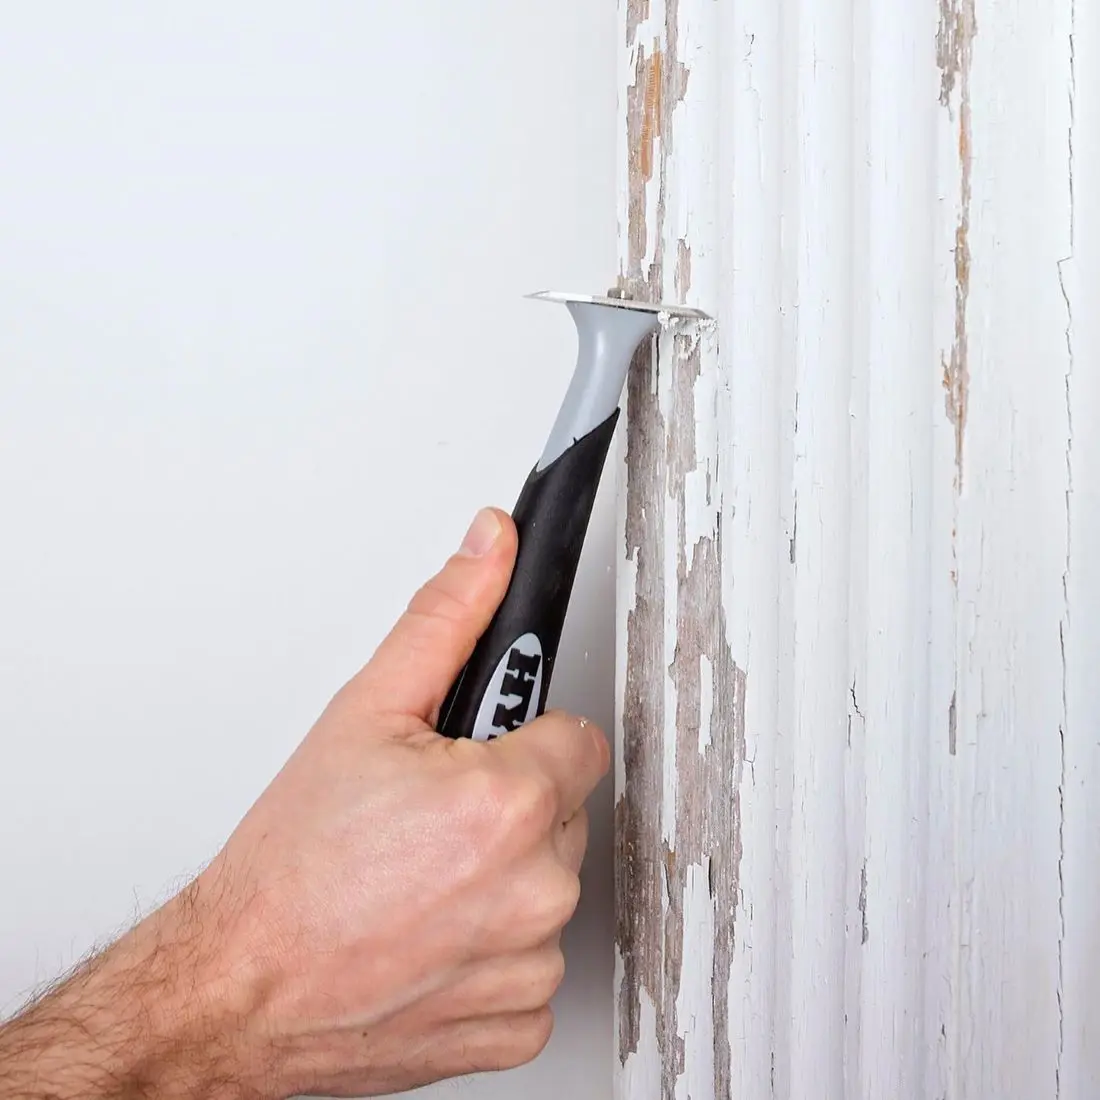
Remove old caulk: When removing old caulk, use caulk-removing instruments or sharp blades to scrape off the material. Remove the remaining old caulk using a clean putty scraper or plastic blade. You can also use commercial caulk removers that soften the caulk for easier peeling off.
Scrub it with water and soap (if need be): Surfaces with oils, grease, or any adhesive should be washed with a soapy solution, rinsed thoroughly, and left to dry.
Dry
Ensure the area is dry: Wet surfaces will not allow caulk adhesion, so it should only be applied when the surface is dry. You can use a cloth to wipe dry the surfaces or let it air dry.
Use a hairdryer or fan: Speed up drying in damp places like the bathroom using a low-setting hairdryer or a fan before caulking.
Protect the Surrounding Areas
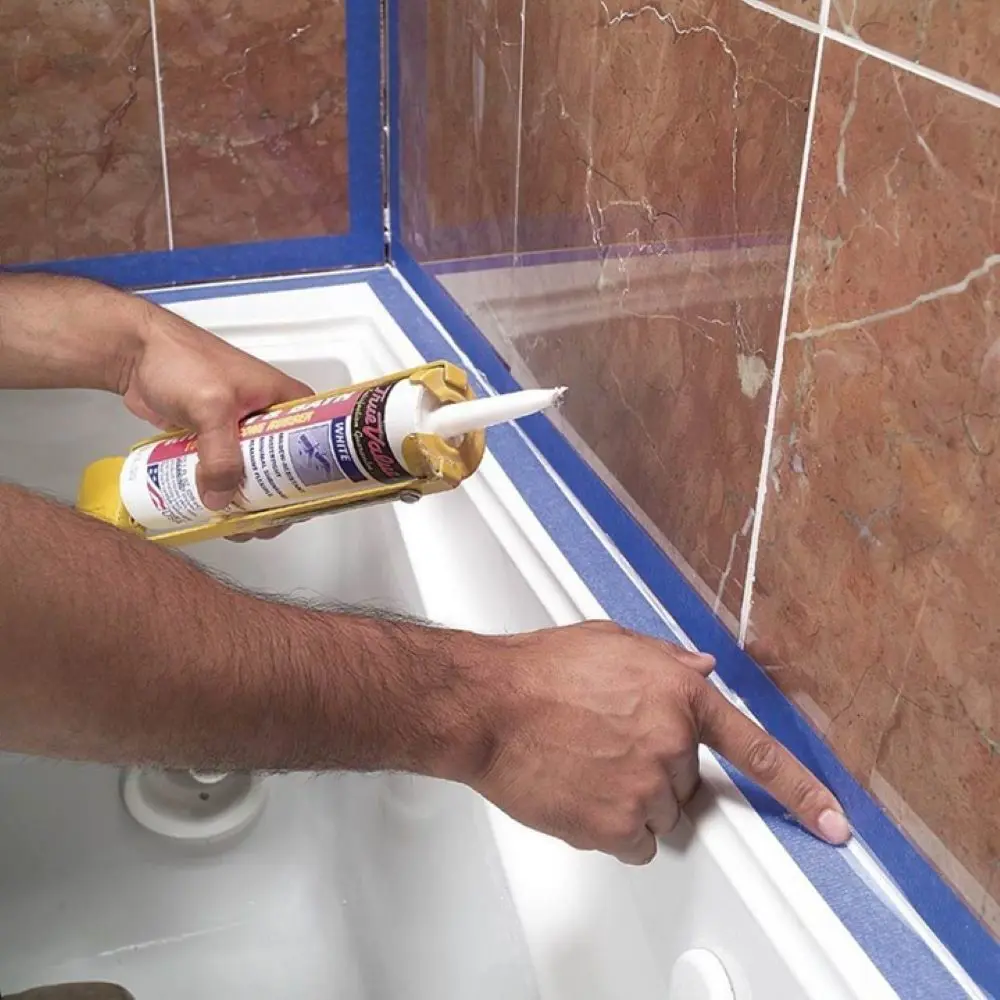
Painter’s masking tape: For a perfectly straight caulk line, painter’s tape helps protect edges that you don’t want to be covered in caulk. This makes the application smooth without accidental smearing of caulk in unwanted areas.
Press the tape down: Ensure that the tape sticks tightly against the edge so the caulk does not flow under the tape.
How Do You Use a Caulk Gun
Now that your work surface is clean, you are finally ready to learn how to work a caulk gun. Here is a step-by-step process using a caulk gun:
Step 1: Choose the Correct Caulk Gun Size
A caulking project is only successful if you choose the best caulking gun. Focus on the size first. There are two standard sizes for both caulk tubes and the guns: 10 and 29 ounces. The gun you use should fit the sealant tube.
Caulk guns also come at different price points. Electric ones are more expensive than manual ones. Homeowners can produce professional results with both, meaning the price will not affect your work quality.
However, avoid buying super inexpensive ones as they will break before you can complete the task. A little extra money could get you a good quality product.
Most caulk guns are integrated with a nozzle cutter and seal punch. The nozzle cutter is a small blade tucked into the handle. Position the caulk tube in the handle and cut the tip at a 45-degree angle.
The size of the tip opening will depend on the job. If you are filling a larger crack, you need to make a bigger opening, but for precision jobs, keep the opening smaller. You can use a utility knife to slice off the tip if your gun does not have a cutter.
Then, slide the seal punch through the tip opening to puncture the internal foil seal.
Step 3: Load the Caulk Gun
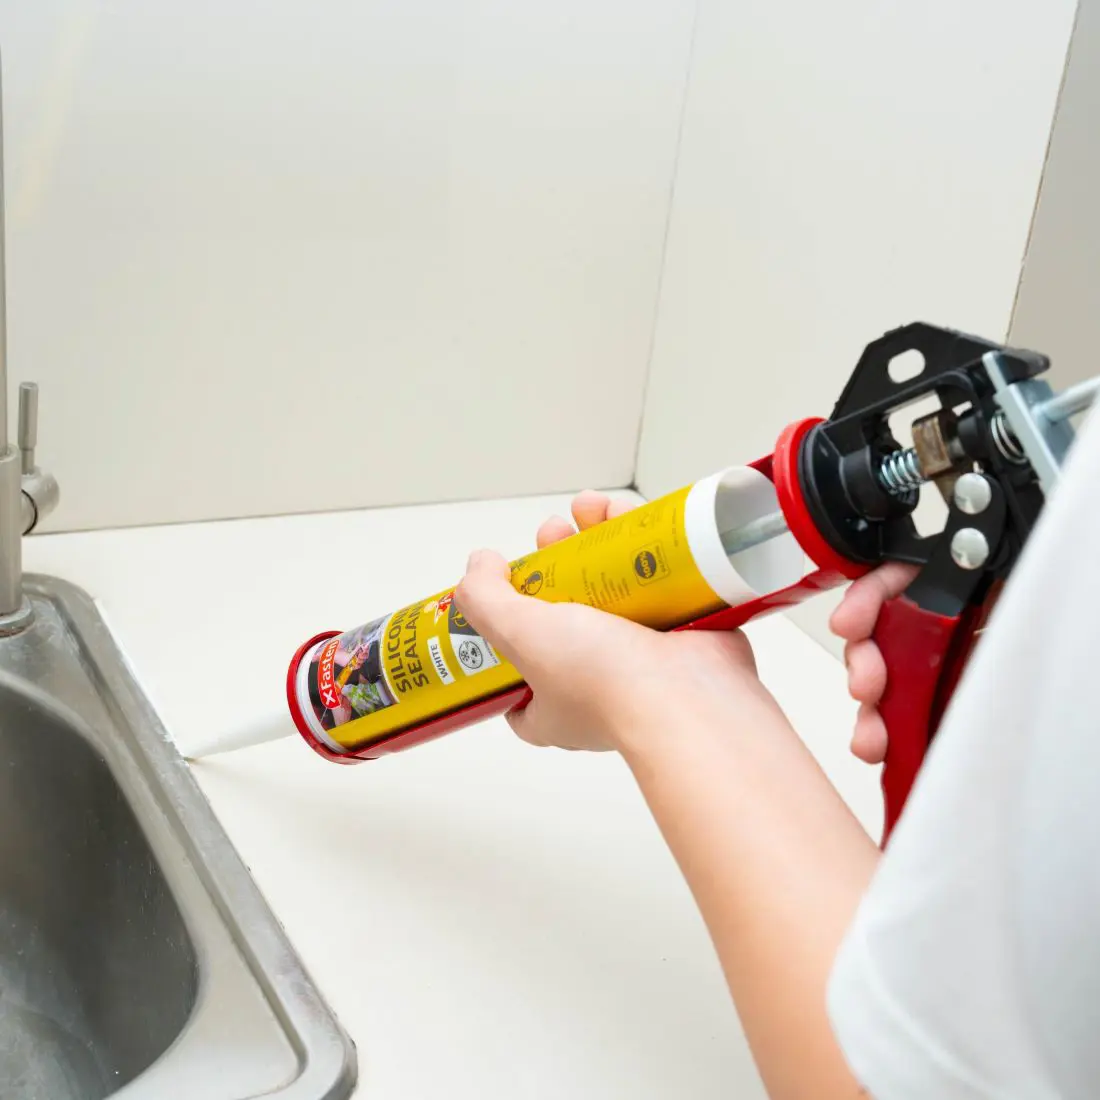
To insert the caulk tube in the gun, press the release trigger, a small metal at the back of the caulk gun. Note that all guns are designed differently. Some may not have the metal trigger release. In that case, you should pull the trigger.
While pressing the release trigger, extend the plunger to the back to create space for the caulk tube. Place the caulk tube in the space- the tube’s flat end should be placed at the back of the gun while its nozzle should be fitted at the front. Carefully push the plunger back into the caulking gun until it touches the caulk tube base. Ensure that the caulk is snug.
Step 4: Do a Test Run
To apply caulk, you need to learn how to release a caulk gun. It is better to do a test run before the actual application.
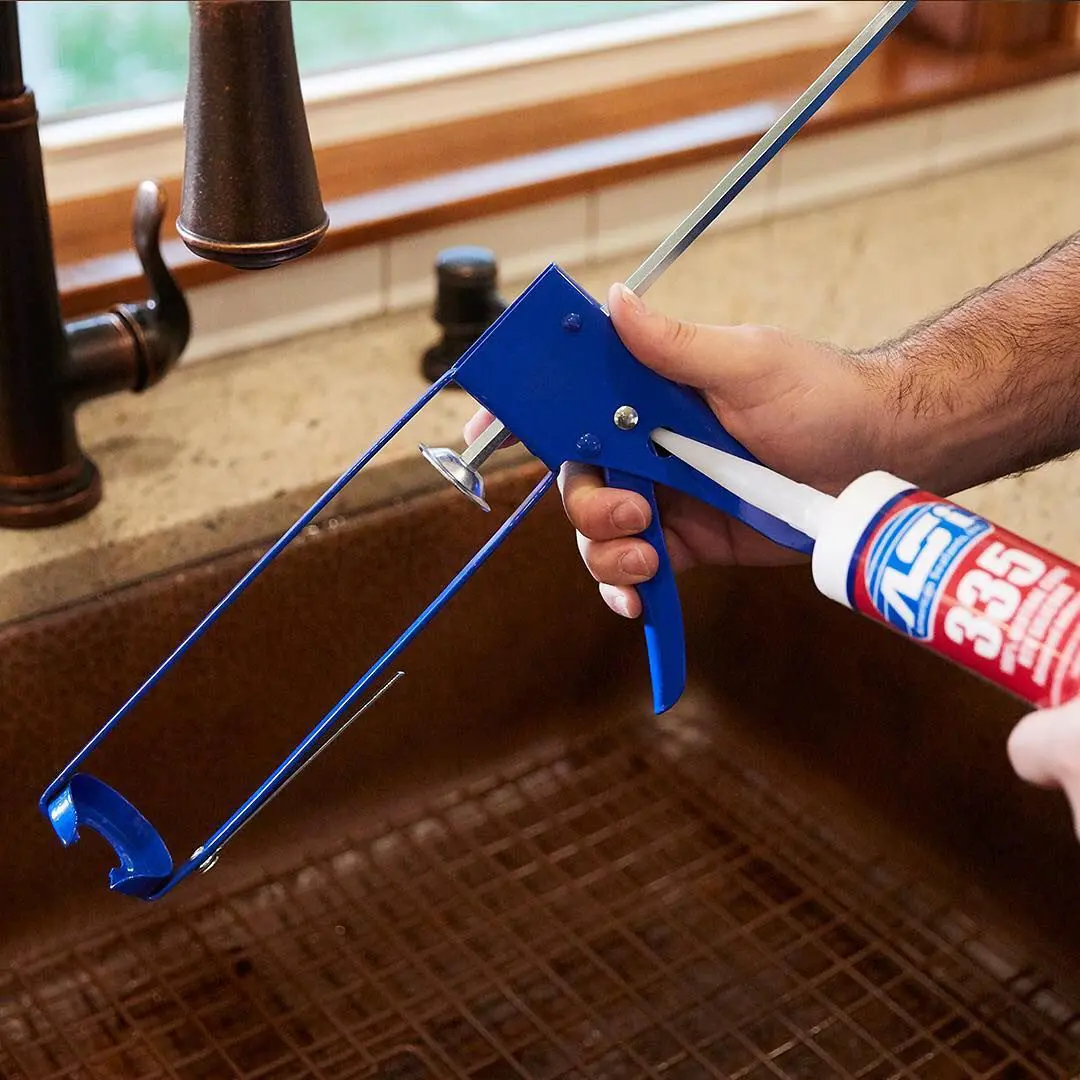
Hold the caulk gun at 45 Degrees: Before you start applying, hold the tool at 45 degrees and point it toward where you want to use it.
Apply the caulk: Press the trigger of the tool to dispense the sealant and drag the gun steadily towards you. As you squeeze the trigger, the tool dispenses the caulk from the nozzle.
Move steadily: The gun should move across your work surface at a controlled speed for even coverage. If you move the gun too fast, the caulk will be too thin to fill the gaps and cracks, resulting in an uneven application. If you move it slowly, the caulk becomes clumpy.
Once you are confident from the test run, with a careful hand, apply the caulk on your work surface. Remember, the gun should be at a 45-degree angle, and try to keep your movement along the line steady and even as much as possible.
Steady movement is crucial because the sealant cures or dries quickly. The moment you realize the gaps have not been filled properly, go over the gaps again with the gun quickly before it forms a skin. If the gun drips, press the stop button on the caulk gun to halt its flow.
Step 6: Smooth the Caulk
For a neat, professional-looking finish and proper adhesion, you need to smoothen the caulk, a process known as tooling. This can be done in a few ways:
Caulk Finishing Tool: There are tools made specifically to level out caulked areas. They often have a rounded or angular edge to help achieve a smooth, consistent finish.
Plastic Spoon or Other Object: Use smoothing tools only if you own them. Otherwise, caulking spoons of wood or plastic or a clean broad knife or spatula will suffice. Just ensure that whatever weapon you use has a round edge, not a sharp one that can slice through the caulks.
Damp Finger: Another method involves wetting your fingers and using it to smoothen the caulk along the edges. Please ensure that your fingers are slightly moist and not dripping wet to prevent ruining your hard work.
Wipe Away Excess: Excess caulk usually smudges nearby surfaces during smoothing. Before the caulk starts to dry, clean any excess with a cloth or paper towel. This eliminates the possibility of dried caulk in places you do not want and leaves a neat finish.
Step 7: Clean Up
When you finish smoothing the caulk and wiping away the excess, let the caulk dry and cure as per the manufacturer. It usually dries in a day or a few hours, depending on the surrounding environment and the type used.
If you used painter’s tape to protect the area, remember to remove it and clean everything with a dry cloth. It is worth keeping the leftover caulk for a few days for possible touch-up work.
Cheaper caulk tubes may not come with lids, but sticking a nail inside the opening, or a wire nut might work to save the unused product.
Even professionals make caulking mistakes that may compromise the work quality, caulk adhesion on surfaces, and aesthetic appeal. Below are some of the frequently occurring errors and suggestions on how to avoid them:
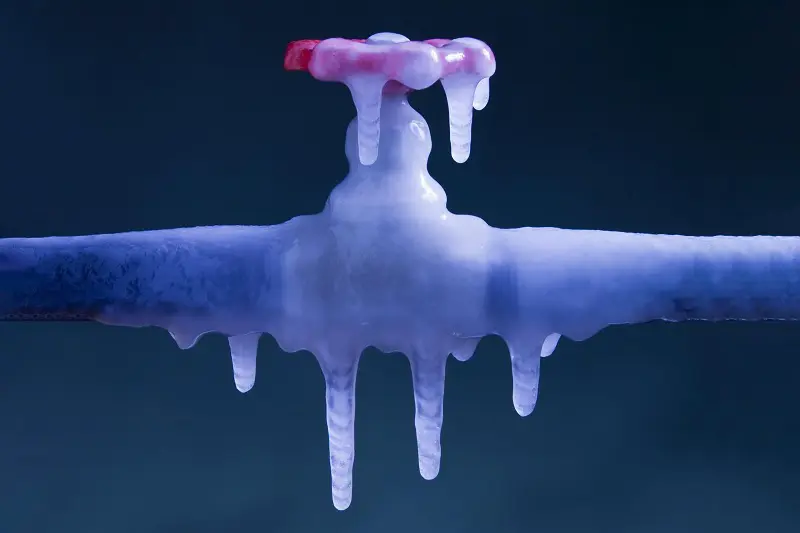
Caulking in Extreme Temperatures or Humidity
Environmental conditions, particularly temperature and humidity, affect caulk adhesion, curing, and durability during caulking. Caulking at very low or high temperatures or in very humid conditions can result in several issues, including poor bonding, ineffective curing, cracks, or premature bond failure.
So, before you apply the caulk, check the weather forecast.
Apply it when the weather seems favorable, and the temperature is within the recommended range. Do not apply it when the weather is extremely cold or hot. Caulking is best done when temperatures range between **40°F (4°C) and 80°F (27°C). This is the range where most caulk types cure most reliably.
Not Allowing the Caulk to Cure Properly
Caulk needs time to set on surfaces through a chemical curing process. It must dry, harden, and reach its full strength before being subjected to moisture, pressure, or use. Being impatient and not allowing the caulk to cure can lead to gaps, cracks, peeling, mold or mildew, and poor sealing effectiveness.
The time taken to cure depends on the caulk used. Most types of caulk should be allowed to cure for at least 24 hours or at least according to the time recommended by manufacturers.
However, this timing may vary with temperature and humidity, so it could take less or more than 24 hours. You should only wet the caulked section after it’s dry to help the seal remain safe and effective.
Many people perceive caulk as a universal seal for all cracks and gaps. However, caulk is a thin sealant, capable of only filling the joints and small cracks. It is not meant for filling large openings within the structure.
It is supposed to be used in thin layers, and when it is used to fill large gaps, it shrinks upon drying, creating gaps and a less effective seal over time.
Furthermore, caulk by itself does not possess the bulk or the strength to fill in large gaps. In the absence of a solid base, the caulk could sag, split apart, or dislodge when exposed to moisture or thermal changes. Gaps over one-fourth of an inch should be filled with a backer rod or foam before applying caulk.
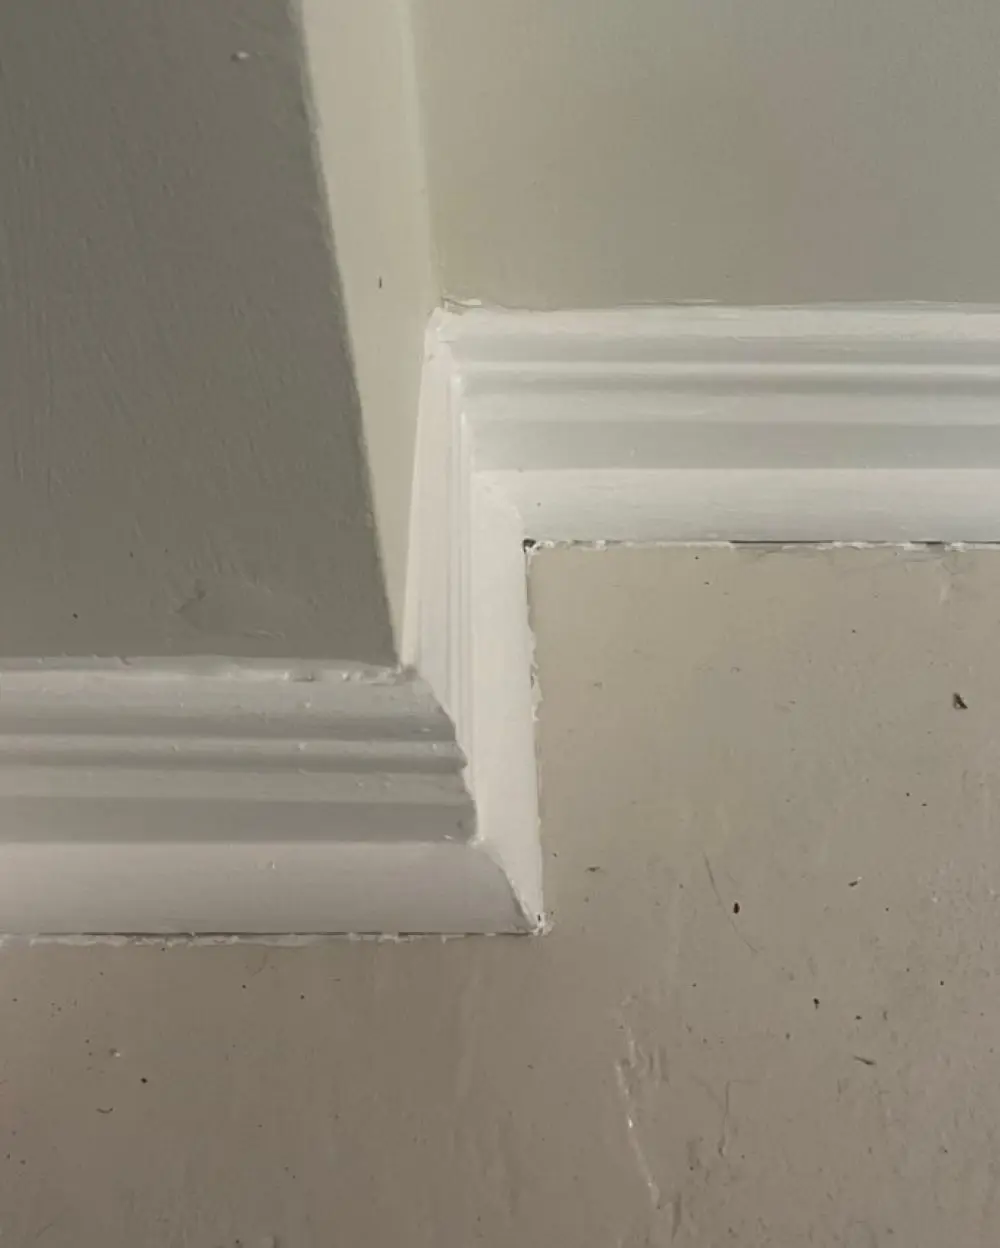
Choosing the Wrong Caulk Color
A common but easily avoidable error is picking the incorrect caulk color. A caulk color that stands out from the surrounding materials tends to take over that space and becomes overly visible.
For example, black caulk against a light-colored trim or white caulk against dark tiles feels distracting. It may look unappealing and unprofessional.
So, select a color that blends with surrounding elements, such as white for white trims, gray for granite countertops, and beige for wood. Use a clear caulk if you want it invisible and in glass areas. A neutral or beige color would be suitable whenever you want a subtle finish.
Selecting the right color results in a neat finish that blends seamlessly with the surrounding materials.
Uneven Lines
Crooked caulk lines are inevitable, and the finishing can be an eyesore if you want a professional look. A major cause of this is using too much force on the gun trigger when applying caulk.
Excessive force causes the caulk to come out in blobs and uneven beads, making it impossible to create a neat line. On the contrary, too little pressure causes smaller beads that do not fill the gap completely.
When using a caulking gun, apply only moderate pressure on the trigger to allow a controlled flow without dispensing the sealant too quickly. Aim to maintain a uniform pace for a steady flow without sudden bursts.
If the caulk is released from the gun rather quickly, loosen your hold on the trigger to relieve the pressure. If it is too fast, tighten your hold on the trigger to increase pressure. The nozzle should be close to the gap so that the caulk ends up precisely where it is needed to apply the caulk evenly.
Using Caulk and Sealant Interchangeably
Caulks and sealants are two homebuilding materials that can be found in similar-looking tubes that require caulk guns for application. They also perform the same function—create an airtight seal between two surfaces.
However, sealants have more elasticity and are employed in high-movement areas such as around pipes, between concrete slabs, and on expansion joints. Meanwhile, caulk is for filling gaps and cracks in places that don't experience much movement, like joints in stationary materials like wood or drywall).
The caulk to use for this case is the DAP acrylic latex caulk. Another thing worth mentioning is that caulk is usually paintable, but sealant is not.