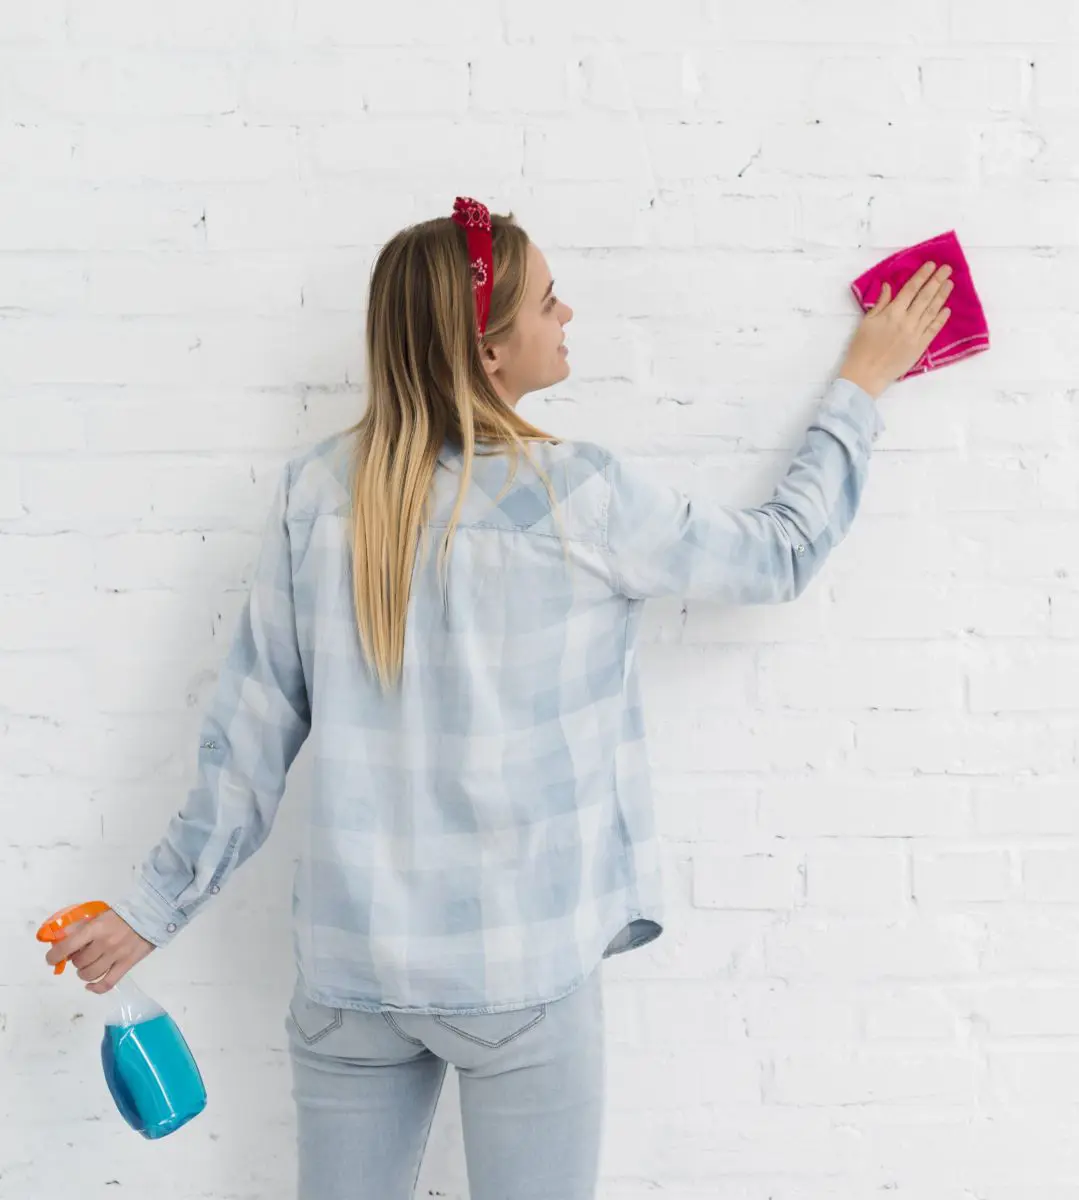
Walls are the largest hard surface area in all homes, yet probably the most neglected. Many people clean all surfaces, but walls are probably way down on everyone’s list. If you are one of them, know that they need attention.
They may collect scuff marks, grime, cobwebs, smoke, insect droppings, and smudges of everyday life.
Occasional cleaning of your walls can keep them in pristine condition and go a long way toward brightening your space. All walls can be dry dusted, but only some are safe for wet cleaning. Below, we’ve outlined a guide complete with all the answers to how to clean walls.
How to Clean the Wall Without Damaging Paint
Cleaning of walls does sound like a daunting task, but it’s surprisingly simple. Very little effort is required, and you don’t need any special skills or equipment.
The pointers we discuss apply to wall surfaces of every kind, wallpapered and painted. And that includes wall paints of any kind, like latex, oil-based, eggshell finish, semi-gloss, or even flat. The type of paint does not change the way you would clean it as long as you use mild products and avoid anything abrasive or ammonia-based.
Also, watch out for cleaners labeled “all-purpose” because this does not mean they are automatically safe to use on your walls. They could contain harsh chemicals that might damage your walls.
Everything You Need to Clean Walls
Cleaning walls can be one of the easiest DIY tasks. You do not need a specific wall cleaner and most probably have everything you need. What you need is to be careful because how you treat your walls will depend on what they can withstand and resist, not a special wall cleaner.
Some items listed below may not be necessary, and some may be replaced with other items. In many respects, how you do it is as important as what you use. You could use a little bit of dish soap with warm water and some white vinegar. Just be careful when cleaning your interior walls with that solution because it might damage the colors.
Baking soda (is effective but could harm the finish if you are not gentle)
Tools/Equipment
Foam craft brush
Two buckets
Vacuum with a dust brush attachment
Soft, clean sponge. (don’t use the one you wash your with)
Clean microfiber cloths (prevents scrubbing or scraping paint)
Tack cloth
Step Tool/Ladder
How to Clean Walls Inside House
Now that you know what to use, you must wonder, “How do you clean walls?”
Step 1: Get your wall area ready
Before you fill your bucket with suds, prep your wall area for cleaning. The intention is to clean your walls while keeping your floors clean, so place towels or drop cloths along the wall bases to catch drips. You’ll also want to take precautions if you’re cleaning near outlets. You should remove the plates, wash them away from the outlets, and put them back on once completely dry. Then, cover them with a splash box.
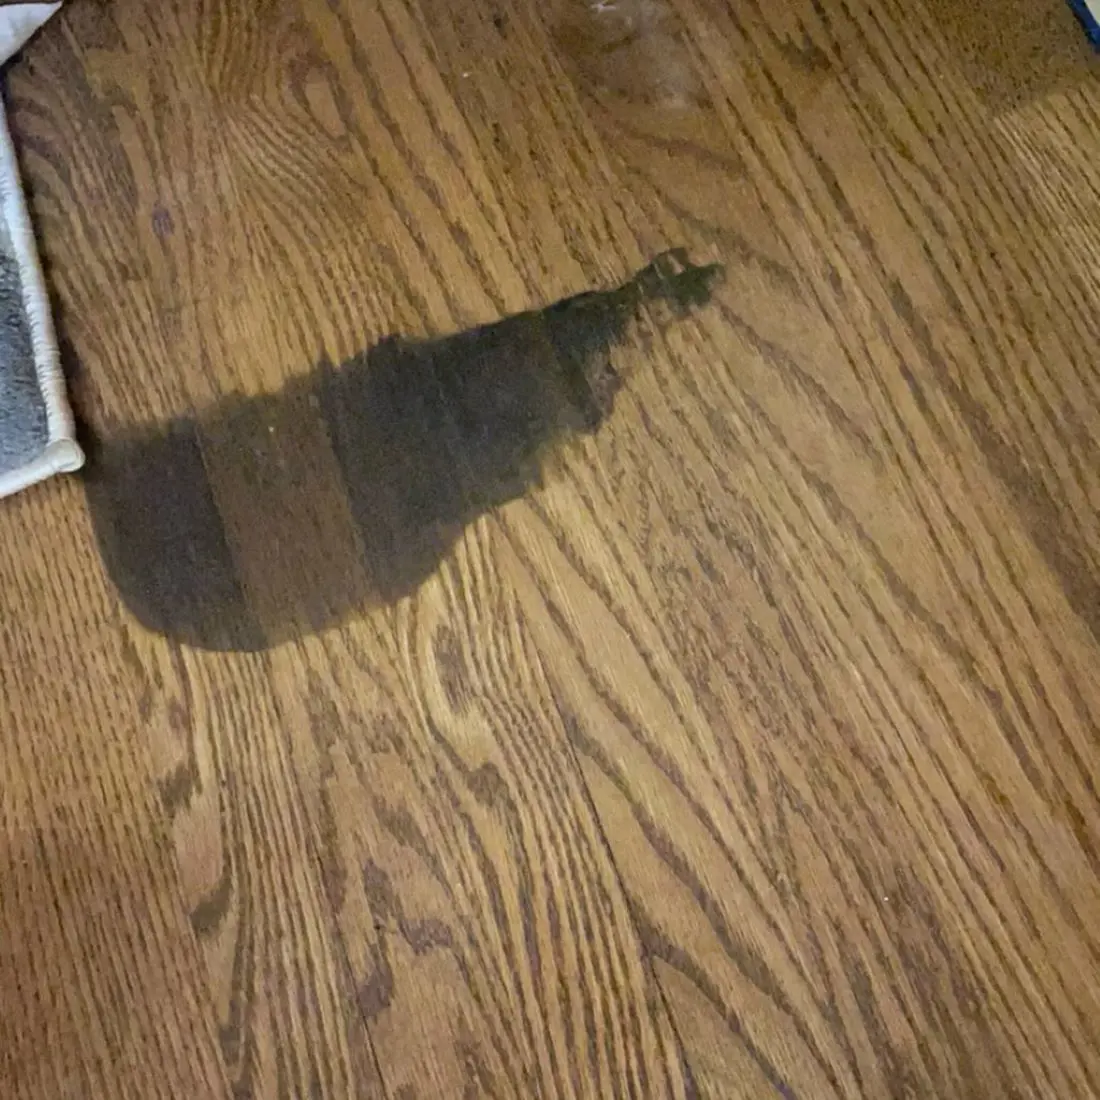
Lastly, depending on the size of your wall and how your furniture is laid out, you should move it away from the wall to prevent accidentally wetting it. Otherwise, you might spend extra time removing water stains from wood surfaces. Remove all artwork and wall displays, photos, and mirrors to prevent potential water damage.
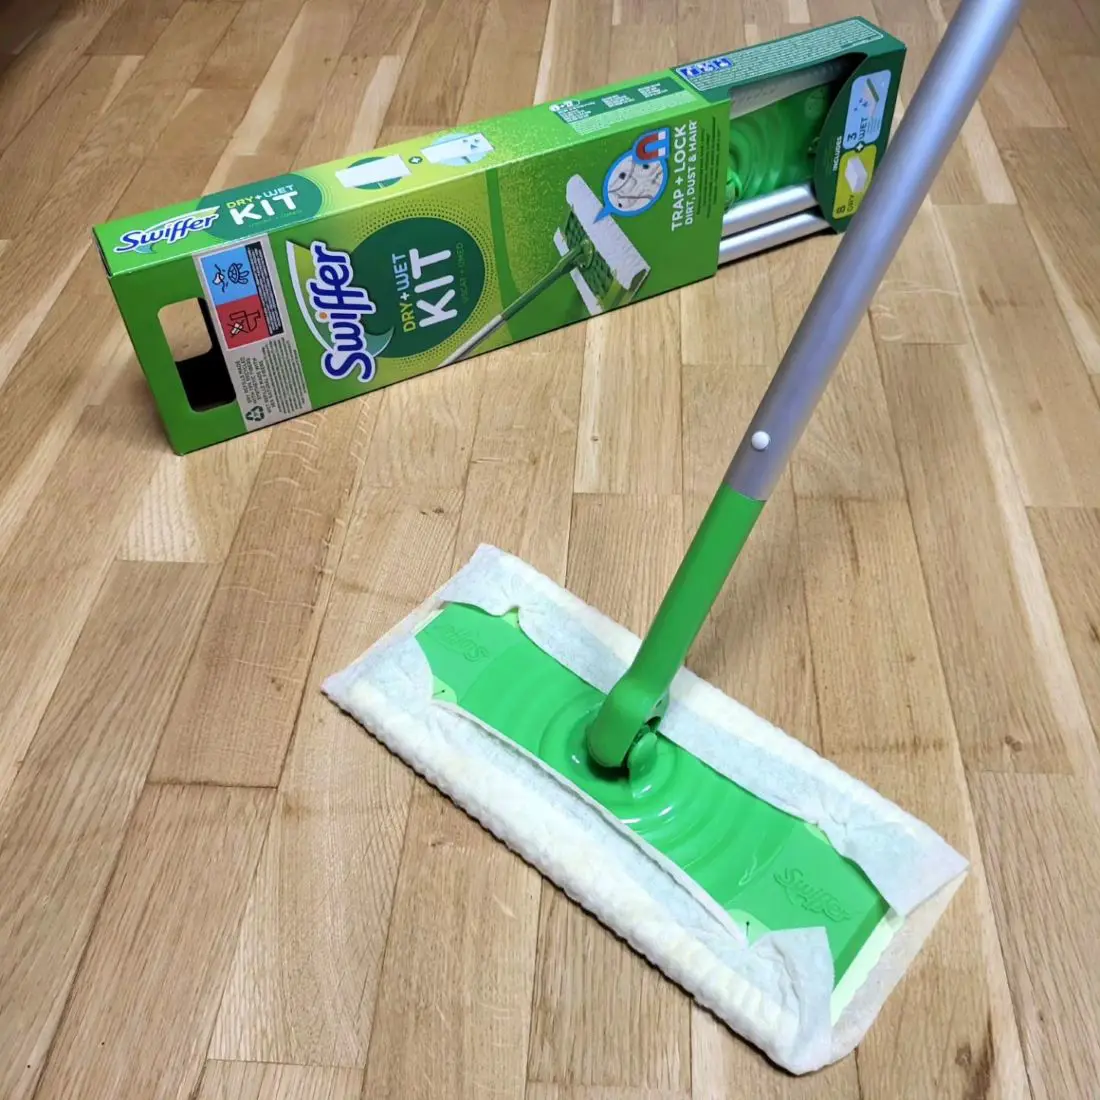
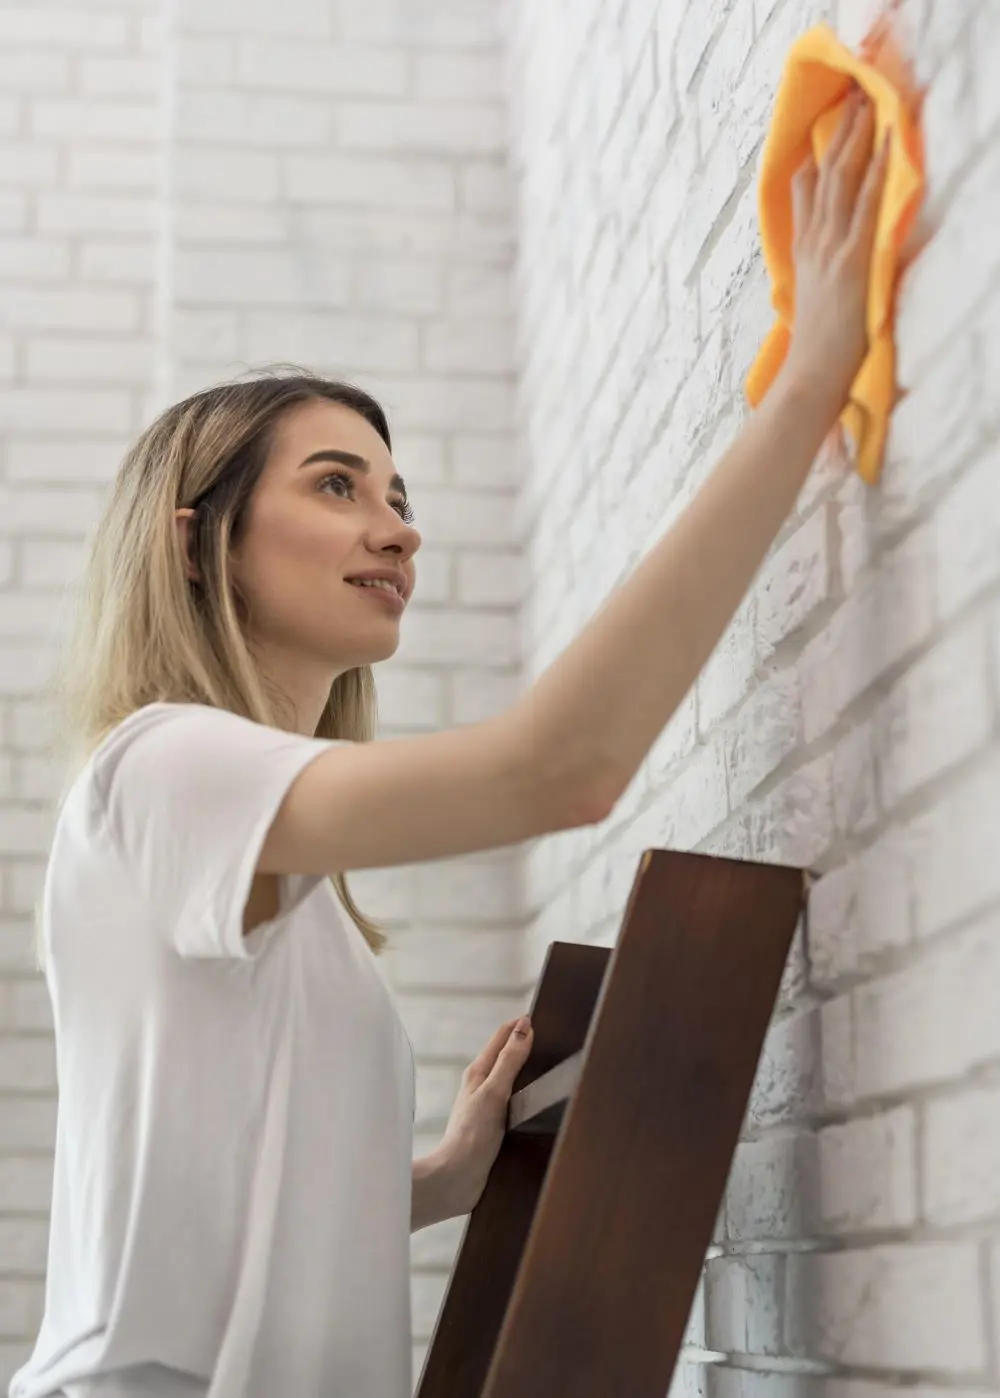
Step 2: Remove dust off the surfaces of your walls
You may not see it, but fine dust and pesky cobwebs could be all over your wall, making the brightest paint color dull. Dust from top to bottom with a duster or a Swiffer, and use the ladder/step tool to reach tall heights. Shake out the duster and replace the fabric on the Swiffer to prevent the dust from sticking back onto the wall.
For an intense clean, use a vacuum with an extendable wand and a dust brush attachment. Don’t neglect the moldings and baseboards. Wipe away the dust with a foam brush or a clean rag. Wipe everything once more with a tack cloth to achieve a flawless clean. You can use all these techniques except the tack cloth on wallpapered walls as well.
Step 3: Make your cleaning mixture
Now that your wall is dust-free, we can finally discuss how to wash walls. Grab your buckets, and in one, blend hand wash or dish soap with water for your cleaning solution. Don’t get carried away with the soap. A few drops of dish soap in a large, warm water bowl is ideal. The warm water loosens dirt and grime, making cleaning much faster and more efficient.
In the second bucket, pour a gallon of warm water. You will use this for rinsing. Dip your sponge or cloth into the sudsy mixture and squeeze out the excess moisture to avoid ruining your walls with excess dripping water.
Dish soap and water are gentle enough to clean most surfaces, but to be safe, you should test the cleaning solution on a dirty area hidden in the corner or behind your wall hangings or furniture.
Wallpapers and matte paints are more sensitive to water than high-gloss finish t, but it’s always better to be careful no matter the paint type finish.
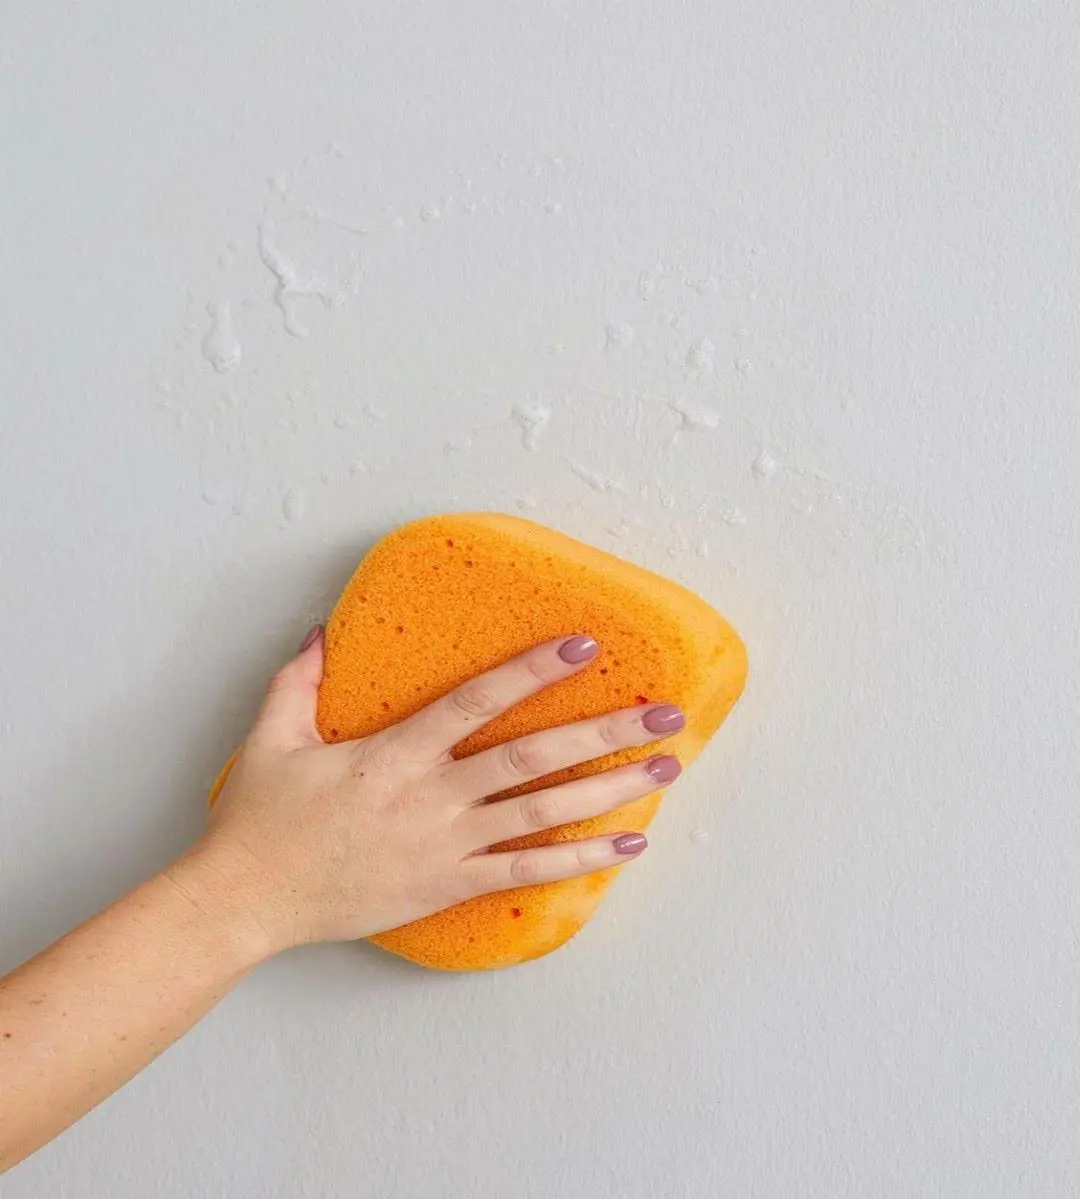
Step 5: Wipe off the dirt
After confirming that your wall can handle the soapy solution, start wiping down your walls with a damp sponge or cloth. You should work your way down to prevent a stray drip from falling onto already-cleaned areas.
Tackle small, manageable as you move across the wall, and use light, circular motions. Don’t apply too much pressure or over-wet the wall, as it could lead to bubbling and water stains. Rinse out the sponge regularly so you avoid spreading the grime onto other parts of the wall.
As you clean, you might encounter stains that will not budge with your cleaning solution. One of the best ways to clean walls with stains is to use baking soda. It is equipped to fight almost all kinds of stains on most surfaces.
Make a paste using half a cup of baking soda and a quarter cup of water. Gently work the paste into the stain using a sponge in a circular motion. The stain should lift.
If baking soda doesn’t do the trick, use hydrogen peroxide. It is an excellent solution for red wine stains. Dab a little of the stain remover on your soapy water-soaked cleaning cloth. Press it on the stain lightly until it is gone. For greasy marks on the kitchen walls, try this hack:
Cover the stain with a paper towel.
Press an iron on low heat over the paper towel for a minute.
The heat should loosen the stain, which the paper towel will absorb.
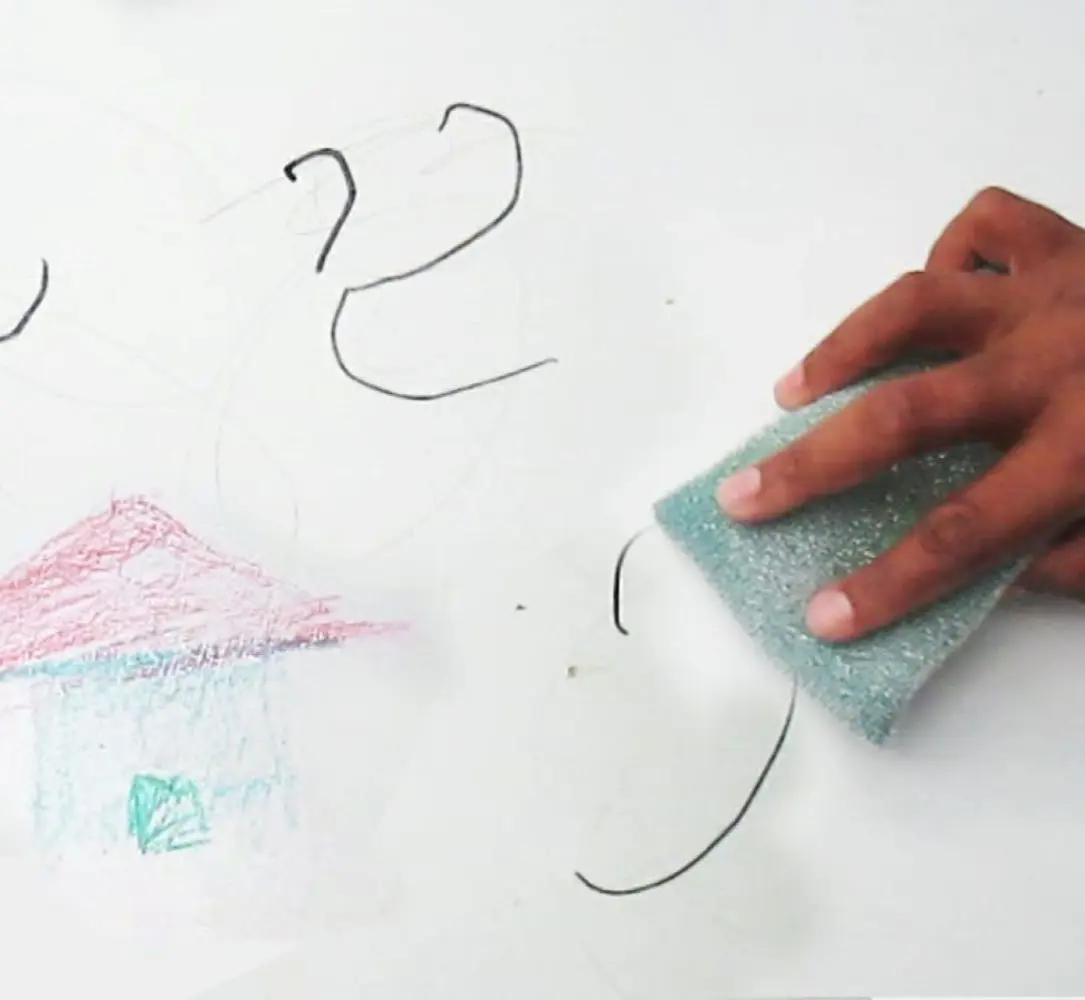
You might also have to deal with crayons and pen marks if you have kids. Tiny smudges can be erased with a magic eraser, but if your child went full Picasso on the wall, you could rub everything off with a non-gel, non-whitening toothpaste.
These cleaning techniques can be used safely on wallpapers as well, but if it needs an intense cleaning, it’s better to consult the manufacturer for cleaning tips.
Step 7: Rinse the solution off
Once every inch of the wall has been treated with the cleansing solution, you have to wash off the solution and the loosened dirt.
Soak a clean cloth in the clean water bucket, squeeze it dry, and wipe the wall. Don’t use too much water while wiping, or else it will leave unsightly watermarks.
Now, carefully wipe the wall with a clean and dry cloth. You may also leave your windows open so that your walls can air dry as you work.
Allow the walls time to dry out completely before putting your wall hangings and furniture back in their original place.
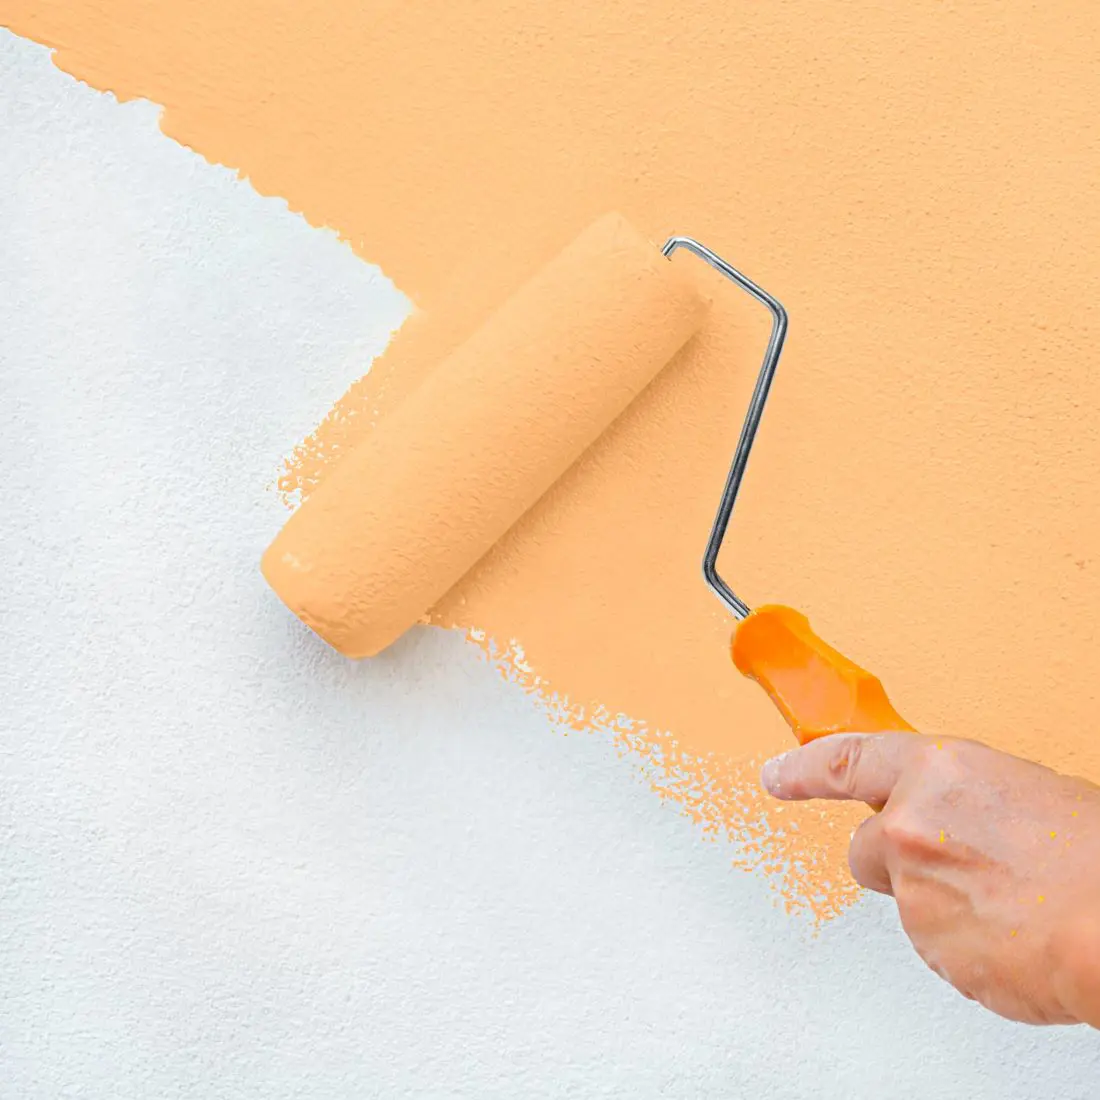
Step 9: Touch up the walls
Sometimes, no amount of cleaning can remove stubborn stains and even cause damage in the process. It is better to touch up the paint on these compromised areas. You should use the same—or very similar—paint and paint applicators (rollers and brushes) originally used to paint the wall for your touch-up paint to match the surrounding wall. Before you start, wear a mask and direct the paint fumes away from you with a fan.
Fill holes with spackle, sand the rough surfaces with 120-grit sandpaper, and wipe off residual drywall dust with a damp rag. With a small brush, prime the treated area and take care not to paint past that area.
Prepare your paint by thoroughly mixing it with a mixing stick or power drill mixer. You should thin the paint too if it is required. Thinning paint will lighten the paint color slightly—test a small area for color matching before proceeding.
Fill your brush or roller with paint just enough to cover the touch-up region. Apply paint in the center of the touch-up area first and work towards the outer edges. Using the same applicator, make light strokes to the edges that fade out a little over the edge. This technique will help mask the area of new paint more seamlessly into the surface so that there are no stark lines of demarcation. For spots less than an inch in size, dab the spot with paint using a small foam brush.
How Long Does it Take to Clean Wall
Cleaning the walls of a typical American home could take a day or an entire afternoon, but this is just a rough guess. It is difficult to determine the exact time one could take to clean their walls because it depends on:
their ability and degree of neatness
the involvement of other family members in the process
the number and size of the walls to be cleaned
how clean they need their walls to be
the quantity of furniture/wall decor that needs to be moved
unique characteristics or peculiarities of their house that may add to the complexity of the task
How Often to Clean Walls
You don’t need to clean your interior walls often, but to keep the paint looking as new as possible, do it at least once a year. However, only you would know how frequently your walls need cleaning. Factors like where you live, how often you open your windows, and whether your family members have allergies play a part. In other words, you should clean whenever they look dirty, or someone needs allergy relief.
Of course, this also depends on how frequently a particular wall experiences contact from people. Most likely, you will need to scrub playroom walls off of small handprints and kitchen walls for food splatters more often than walls of seldom-used areas, like a guest bedroom. That said, it would help if you deep clean annually.
Most of the time, occasional touch-ups instead of washing the entire wall suffice. Why move all the furniture away from the walls and make it a tedious task if a few damp cloth wipes can effortlessly wipe away a couple of fingerprints?
Cleaning your walls thoroughly is not complicated, but it takes time and can be exhausting. Naturally, the best way to reduce time and exhaustion when carrying out this task is to ensure they stay clean all year round by giving them some routine love.
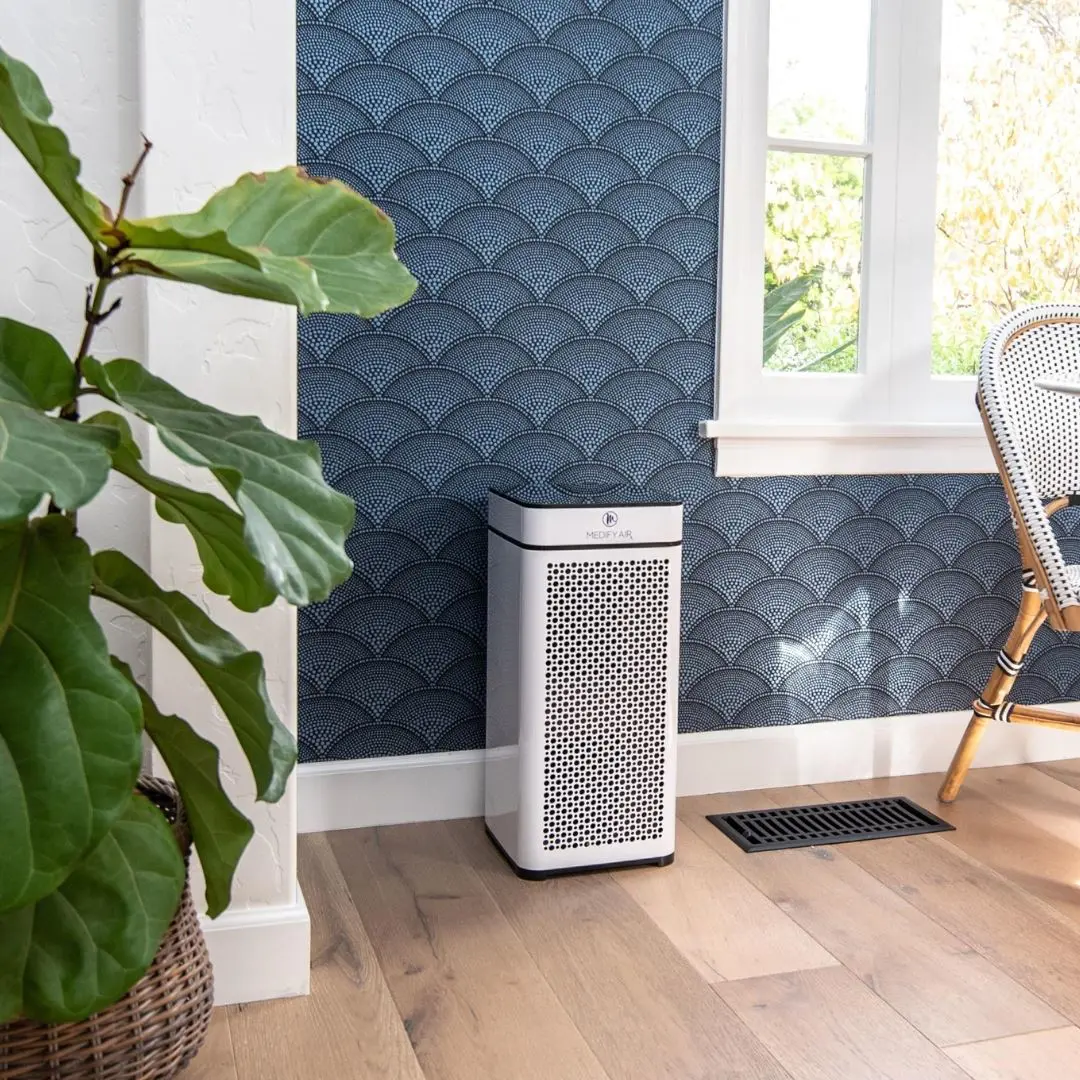
To stretch the time between wall cleanings:
Prevent airborne dust and grease on the wall by keeping them to a minimum with air purifiers and exhaust fans.
Over-the-door hooks or racks keep things organized and protect the wall from tossed backpacks and kicked-off footwear.
Don’t lean against the wall or bang the vacuum cleaner against the baseboards, as it can cause dents and scratches.
Smoke outside and light candles and incense only in selected rooms because the soot from combustion sticks to the walls and makes them dirty.
Clean the most frequently used areas and pay attention to problem spots like light switches and doorknobs.
Children and pets are the biggest culprits of dirty walls. So, stay vigilant and tackle fingerprints and light smudges as soon as you see them, and teach young children to keep their hands off the walls.
At times, cleaning painted walls might not help, and you might need to touch them up. If possible, keep small samples of the wall paint colors of your most used rooms, like the living room.
Don’t underestimate the long-term importance of these everyday cleaning and touch-ups that many people skip over. They could help keep your walls and home clean for as long as possible.
When to Call a Professional
If large areas of the walls in your home have turned dark because of mold, then it is a strong indicator that you need to call the experts for cleaning. They might remove the affected and administer treatments for the mold, after which they will reconstruct the wall panels.
The cost depends greatly on the magnitude of the job and the complexities involved in the molding issue. It can run from $15 to $30 for every square foot, exclusive of all the other costs for assessment, new materials, and others.
If you do not like cleaning walls every so often or have no intention of doing so, then you could call in the cleaning service occasionally. This will make a difference in the indoor air, which is an important factor in controlling allergies or respiratory conditions.
The minimum you should expect to pay towards such routine cleaning is $40 to $65 per person per hour. It should only take an hour, but this will also depend on the size of the house.