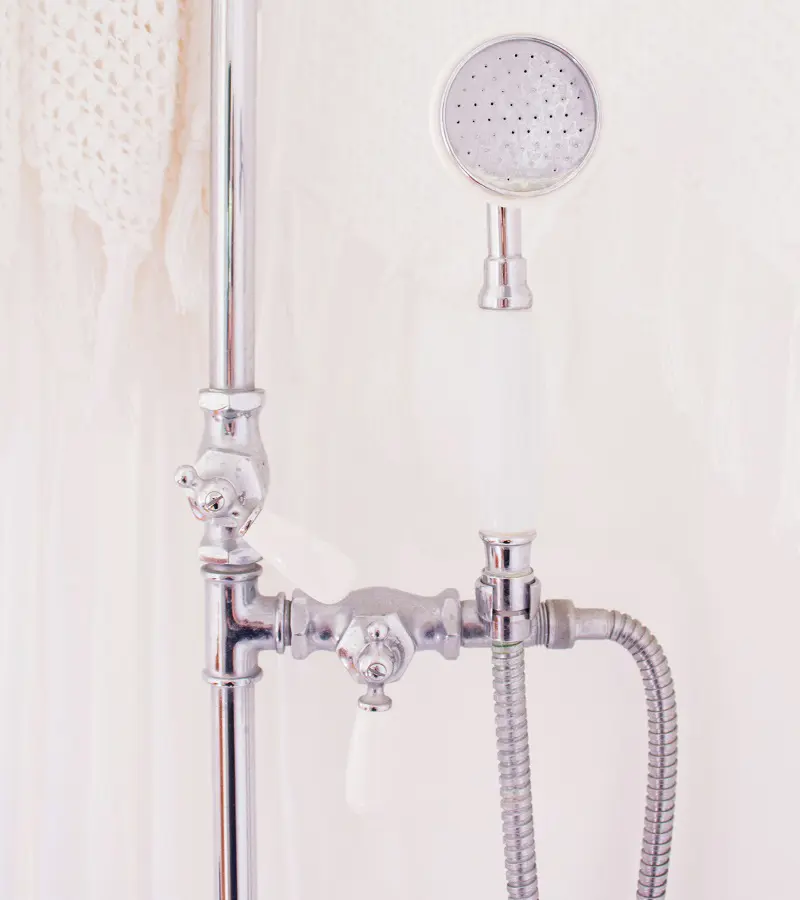
It's not unexpected for most people to think that your bathroom's showerhead is one of those areas that is meant to be self-cleaning because it's something you use to clean yourself. Well, that's not completely inaccurate however mineral deposits can build up in your shower heads over time which reduces its performance.
Depending on the hardness of your area's water, you might not even need to clean your shower for years but it does need some routine upkeep to look new while also working at full capacity without any pressure loss or clogging. Learn how to clean a shower head and bring it back to peak performance:
Cleaning Shower Head: Step-By-Step
Before you can dive deeper into how to clean shower heads, you must consider a few things, such as how bad your blockages are, whether they had been cleaned previously, and what technique was used.
It makes little sense to try and use a method that failed you previously yet again unless it was done improperly.
Once you've answered these questions you can look at the blockage and decide whether cleaning the shower head with a mere brush is sufficient or you need to resort to using vinegar and lemon juice. First, let's get you started with how to clean a shower nozzle without any chemicals and see if the problem is solved.
More likely than not, deep cleaning the shower head is rarely necessary as many modern models have scale-resistant silicone or polymer nozzles that are easily designed to dislodge hard water buildup.
If you believe that your showerhead is made of materials having these qualities then don't we try the least time-consuming, cheapest, and least invasive method?
Materials Required:
Old Toothbrush
Microfiber Cloth
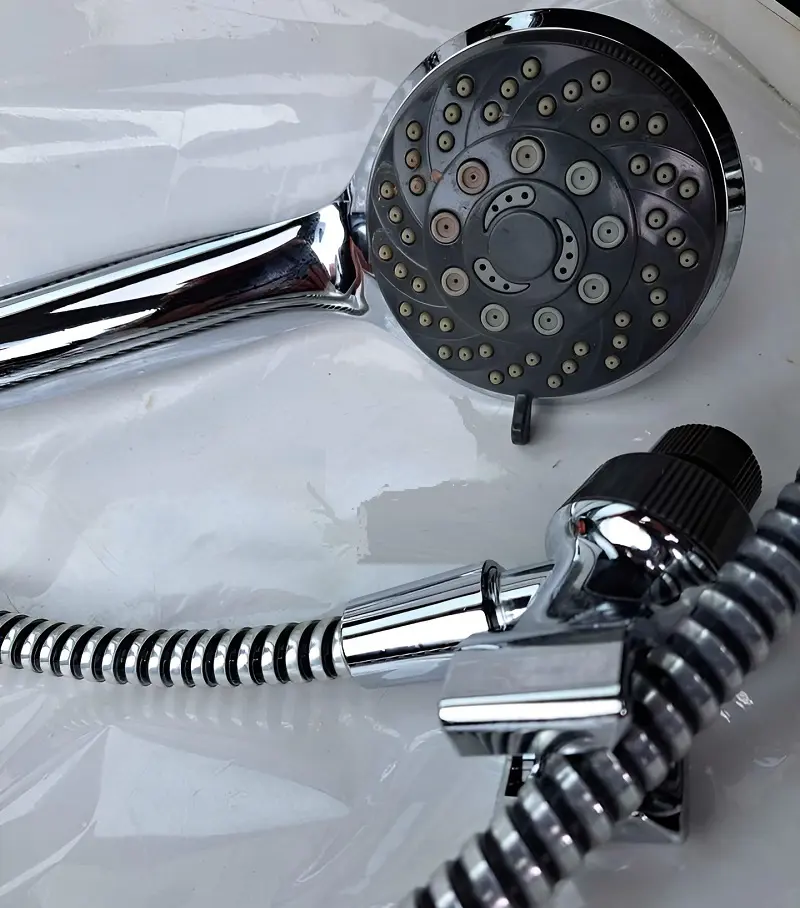
Step 1: Inspect Showerhead
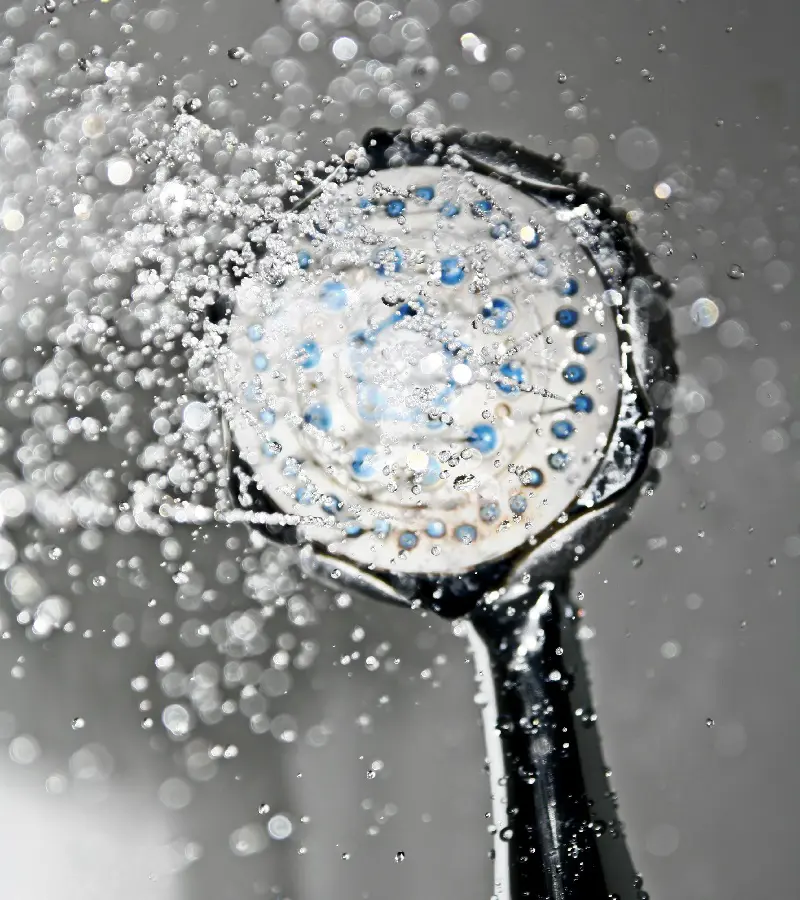
To clean a shower head with a brush, start by checking out your showerhead closely. If you can't see anything then it may help you to turn on the water and identify which holes seem clogged and have a low pressure.
Once you can visibly see the water flow, take a mental note of those holes or snap a quick picture. Then turn off the water supply so you can get started with cleaning the nozzles.
Since your showerhead can be made of scale-resistant materials, a simple wipe-down of your showerhead should make it look and work like new with minimal time spent. If you don't have a microfiber, we recommend you to use any soft cloth material.
What we don't recommend you to use however is an abrasive scrubbing sponge as it can easily leave scratches on your showerhead which will not only reduce its aesthetic value but also provide an easy spot for scale and mold to deposit and lodge themselves into.
Step 3: Clean With Brush
Normally for most new showerheads, people should stop having any problems with it by the competition of step 2. Following step 2 regularly on a monthly basis will also help you from having to do any deeper cleaning.
Unfortunately, if step 2 didn't solve it, your clogging may not be superficial but somewhere deeper inside, bring out your discontinued old toothbrush for some shower heads cleaning while making sure your bristles go into the nozzles. If you don't have a brush, some nozzles are polymer so you can try flicking or scraping with your fingernails.
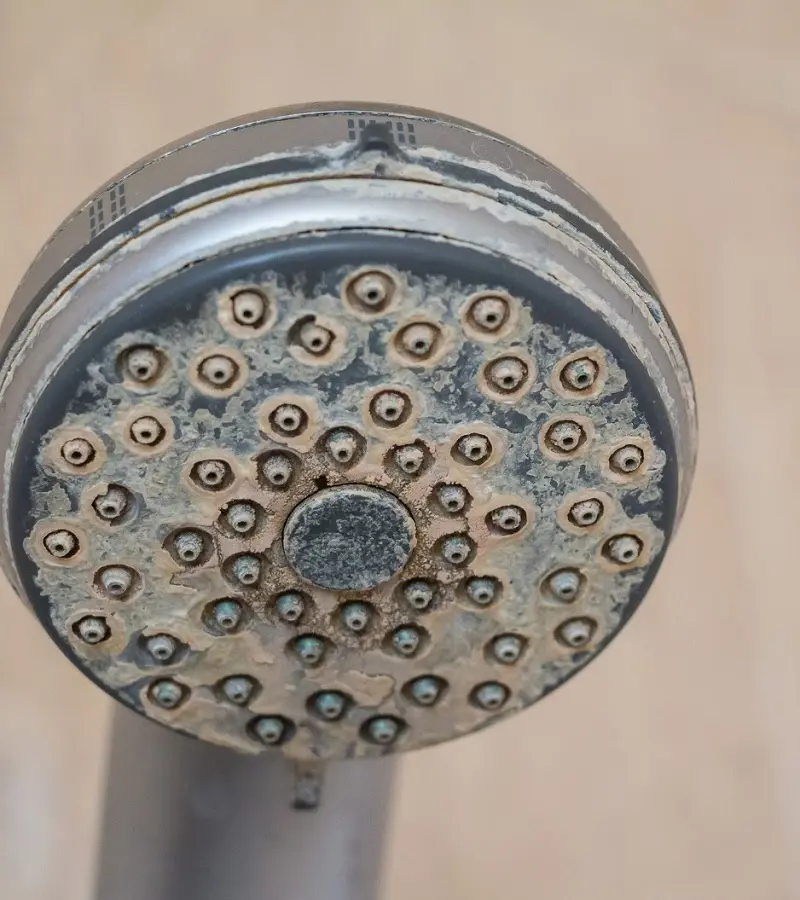
If wiping and cleaning your nozzles with a brush doesn't alleviate the problems then you will have to soak the showerhead in a solution of vinegar to help break down the mineral buildup inside and outside of your showerhead.
Besides, even if you don't have any scale build-up, it will also sterilize the head by helping dislodge any potential mold and bacterial growth often found in bathrooms and improve your overall hygiene health even further.
Materials Required:
Large Pitcher
Gallon-Size Plastic Bag
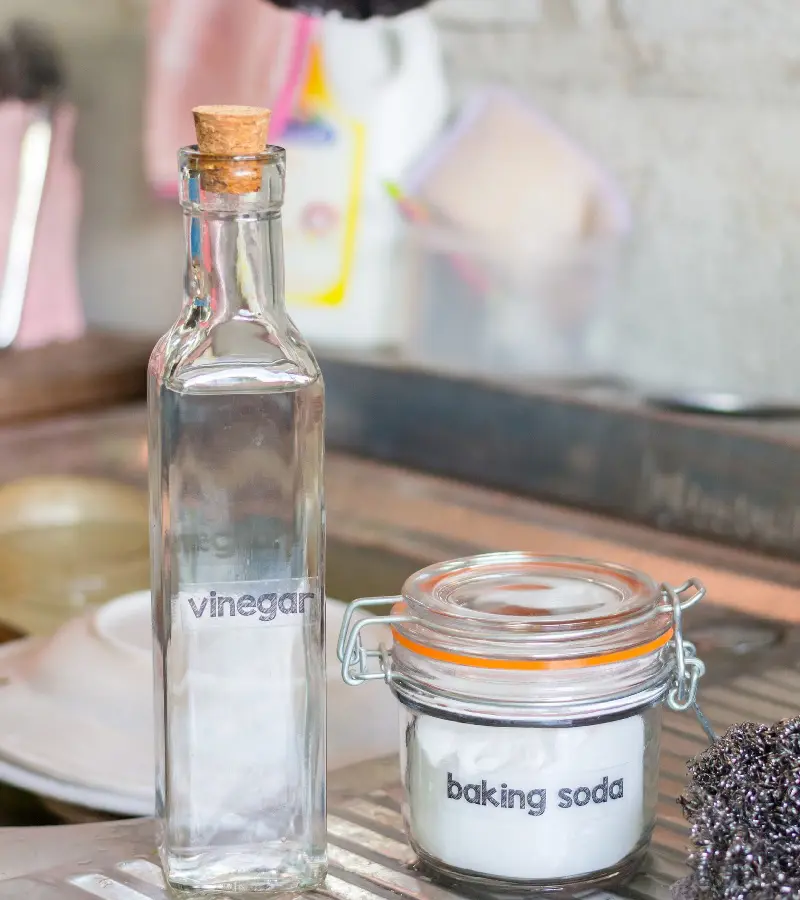
1/2 Cup of Baking Soda
4 Cups of White Vinegar
1 Cup of Water
Zip Ties / Rubber Bands
Adjustable Wrench
Needle-nose Pliers
Step 1: Inspect Showerhead
We start this method by inspecting the showerhead yet again, however this time instead of looking at the material of the showerhead or the clogging and water pressure, we are instead looking at whether your showerhead is removable or not.
Since handing a gallon-size plastic bag on the showerhead can be awkward if not outright concerning due to the extra stress on your showerhead's mounting, we recommend you to unmount your showerhead if it is possible as it is simpler, safer and allows you to do a more thorough cleaning.
Grab an adjustable wrench and place it on the base of your shower's arm, you may need the assistance of a ladder or a step stool if you find the head too high. Run the wrench's screws to tighten the mouth of the wrench then start unfastening your showerhead by rotating the wrench in the direction appropriate to your nut's threading.
Make sure to use your other hand to hold and catch the showerhead as it comes undone to avoid dropping it to the floor which can bend if not outright crack and shatter the showerhead. Once this is done, we can get into cleaning the showerhead.
Step 3: Remove Major Clogs With Pliers
Another reason why we highly recommend removing your heads is that you can take a look at the small screen or flow restrictor present near your showerhead's water entry point for any large pieces of clog-creating debris. Minor clogs might dissolve in vinegar but larger ones may be reduced in size but not completely neutralized.
Remember, soaking with vinegar for too long can damage your showerhead so having it soak for the least amount of time to remove clogs is ideal. Grab the needle-nose plier to remove the gasket and pick or poke any large-sized stubborn gunk out of the screen mess and place them back when you're done.
If your showerhead is made of chrome, gold, brass, or nickel coatings skip using a vinegar solution as vinegar can severely damage them. Place a gallon-size plastic bag inside a pitcher and fold its edges outside to keep it upright and for stability, then add 1/2 cup of baking soda to the bag after which you can slowly pour the vinegar into the bag.
You will start to see some bubbly reaction so don't be alarmed and wait for the reaction to settle down before pouring more vinegar again so it doesn't overflow. Once the vinegar mix is fully mixed and settled with no more reactions, add an additional cup of water to dilute the mixture and prevent any corrosive damage.
Step 5: Submerge Showerhead
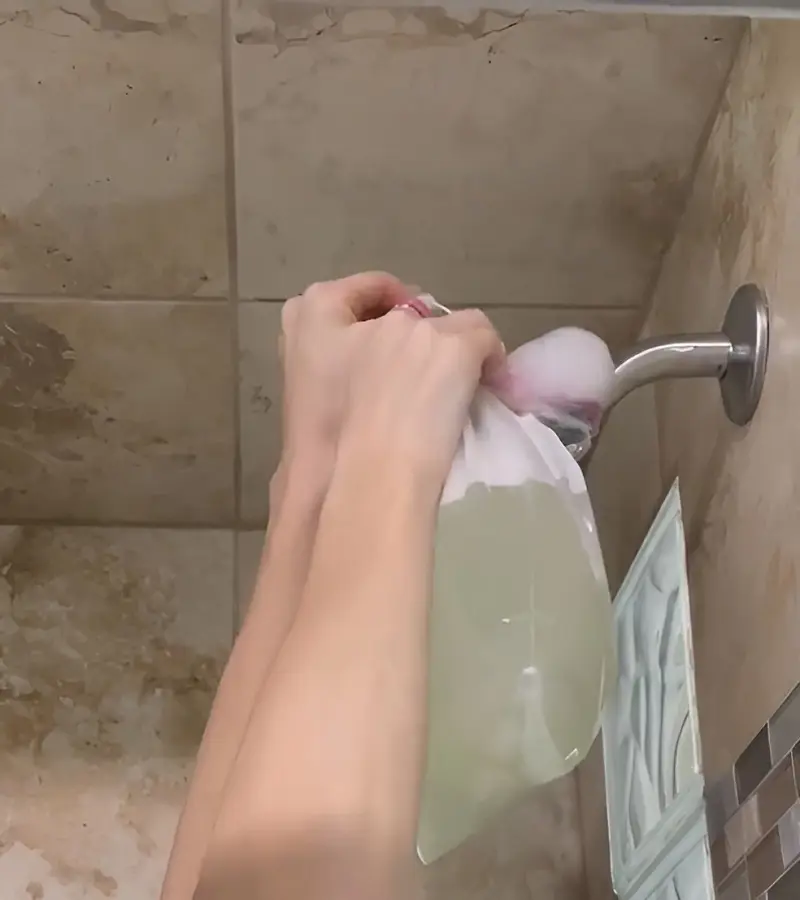
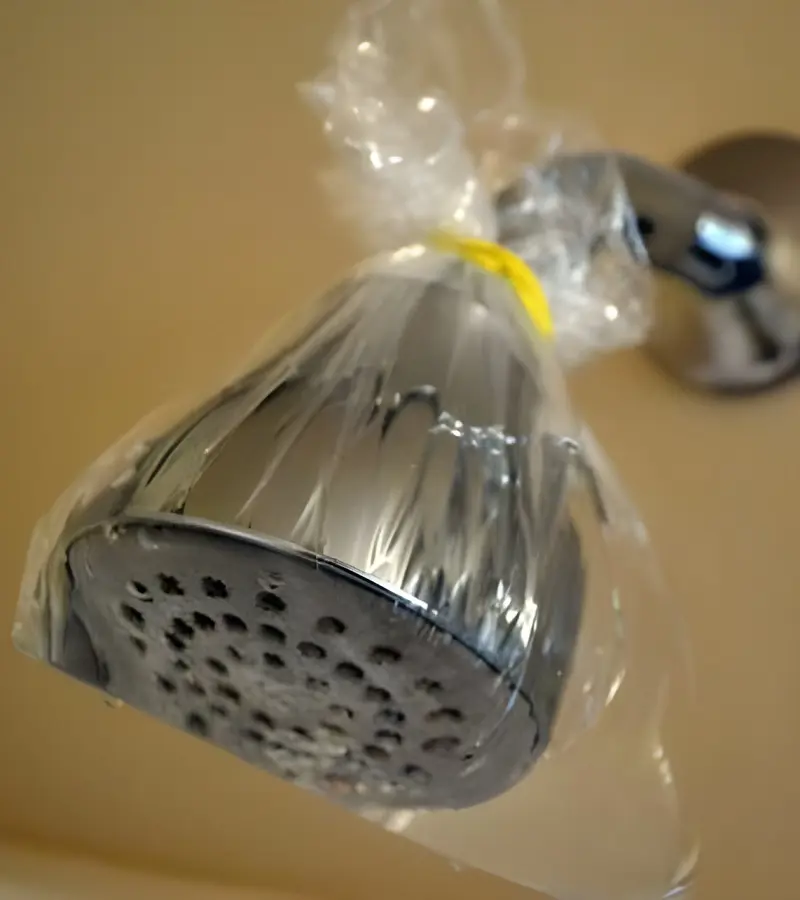
If you were able to remove your showerhead then you can easily submerge every single water-jet nozzle into the bubbly DIY cleaner solution, however, if your shower wasn't removable then you will have to attach the cleaning solution to the shower arm to ensure submersion.
To achieve this, a zip tie can be a very secure attachment to secure the bag around the neck of your showerhead, however, you can also substitute it for a rubber band if you can wrap the bag well as long as you are mindful of its weight. Allow your showerhead to soak for at least 4 hours to give the solution ample time to dissolve any clogs.
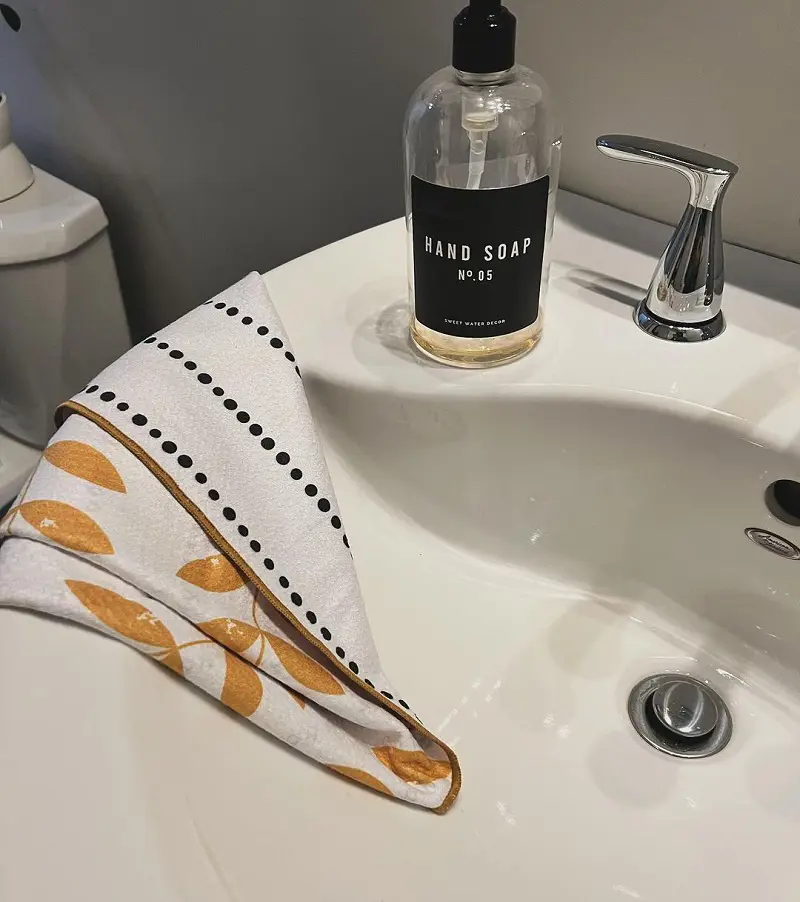
Once it has been 4 hours, remove it from the bag and give it a good rinse. Instead of throwing away the cleaner solution, you can also use it to clean your shower's walls, tiles, and drains to get rid of soap scum and leave your bathroom extra clean.
If you still see some faint mineral stains, the vinegar should have loosened them sufficiently that a simple wipe with a microfiber cloth or an old toothbrush is more than sufficient to leave your showerhead sparkling new.
Step 7: Run Hot Water
Run hot water through your still-attached showerhead to thoroughly flush the vinegar from its insides and to further dissolve and remove any remaining internal debris. If your shower isn't attached then you should flush it a bit with cool water.
After flushing it with cool water, you can follow step 2 in reverse to remount the showerhead before running a hot water cycle through your showerhead until you see no more mineral residues seep out through the nozzles.
Once the cleaning is done and all the clogs and residues are over, you should police the showerhead with a soft lint-free cloth such as a microfiber towel. Although this step is optional, by doing so you can buff the showerhead while drying and remove any potential water spots.
This will help you avoid leaving behind any potential vinegar residue while also making your shower head look as good as new regardless of how old it is.
If your showerhead is made of aforementioned materials such as chrome, gold, brass, or nickel then you should forego using vinegar in your cleaning solution entirely and instead use a lemon juice paste.
While this is less effective than vinegar, it is also safer and can make a good DIY cleaner alternative in a jiffy especially if you do not have any distilled white vinegar present in your home. First, follow all the steps from the previous method until step 4 before we can proceed any further.
Materials Required
Old Toothbrush
Baking Soda or Salt
Lemon Juice
Step 1: Make a Cleaning Solution
Lemon juice contains citric acid that is capable enough to help dissolve mineral deposits while also being weak enough that it won't damage and corrode your showerhead metals the same way vinegar will. You could either mix a cleaning solution utilizing lemon juice or you could make a lemon paste.
We will cover how to make a lemon paste in step 3 so skip there if you don't want to soak and submerge your showerhead. To make a lemon cleaning solution, simply dilute 1/4 cup of lemon juice with 3/4 cup of water.
Repeating the similar steps to submerging in vinegar solution, if your showerhead is detached then submerge the showerhead inside a plastic bag inside a pitcher for 5 hours or longer as lemon is weaker than vinegar.
If your showerhead isn't detachable, get on a ladder or a step stool to fasten the plastic bag around your showerhead with zip ties or rubber bands. This can be a fairly lengthy process so it's understandable if you want to use lemon paste that allows you to skip the submerging process.
Step 3: Making Lemon Paste
Regardless of whether you've skipped steps 1 and 2, you will still want to create a lemon paste to get rid of hard water stain buildup and clogs near the surfaces of your nozzle. To create a lemon paste, squirt lemon juice with a few tablespoons of baking soda or salt.
After squirting, mix the two until they thicken to form a consistent paste. Dip an old toothbrush into the lemon paste and clean your showerhead surface and nozzles by scouring with the toothbrush, do keep in mind that if you have any internal clogs then the superficial lemon paste over a thorough soaking won't help you unclog it.
Pour and run hot water through the showerhead to wash off any lemon paste from the surface of the showerhead without having to reassemble it. This saves you trouble from having to disassemble it after you discover that it hasn't been unclogged properly.
If there is still clogging and it is possible to take the showerhead further apart, you might still be able to avoid soaking as you can try scrubbing both the interior and exterior of the fixture with the toothbrush to unclog it.
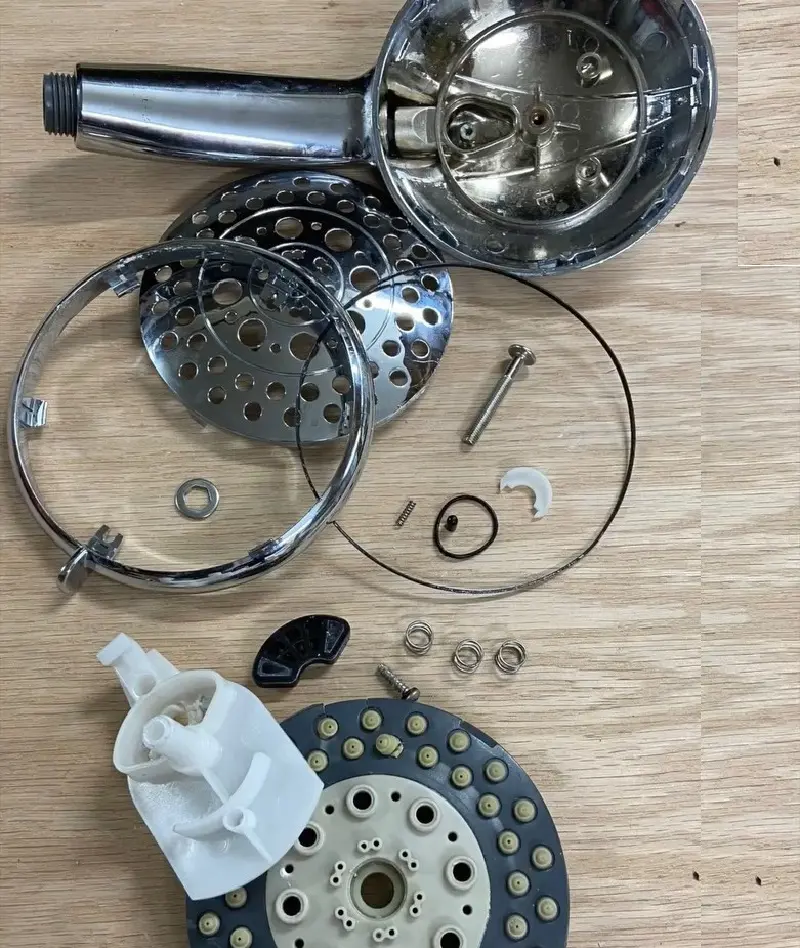
Step 5: Reassemble Showerhead
Once the shower is verified to be unclogged, reassemble and attach the showerhead back to the shower neck the same way you disassembled it. Otherwise, soak and clean it to remove any clogging debris before reassembling it, while assembling ensure that no loose fittings or leaks are occurring from the shower neck.
Take care not to slip or accidentally drop the showerhead while working on it. Once the showerhead is assembled, rinse the showerhead with hot water to ensure proper water pressure for the final time to wash away any mineral debris residue if any, remember to polish the showerhead as shown previously.
What To Do If Vinegar Or Lemon Juice Doesn't Work?
There are many reasons for vinegar or lemon juice solutions to not work such as the water hardness being caused by a different mineral which prevents vinegar from reacting with scale and clogging debris or the solutions not having the sufficient strength required to remove scales that are laying on a delicate surface.
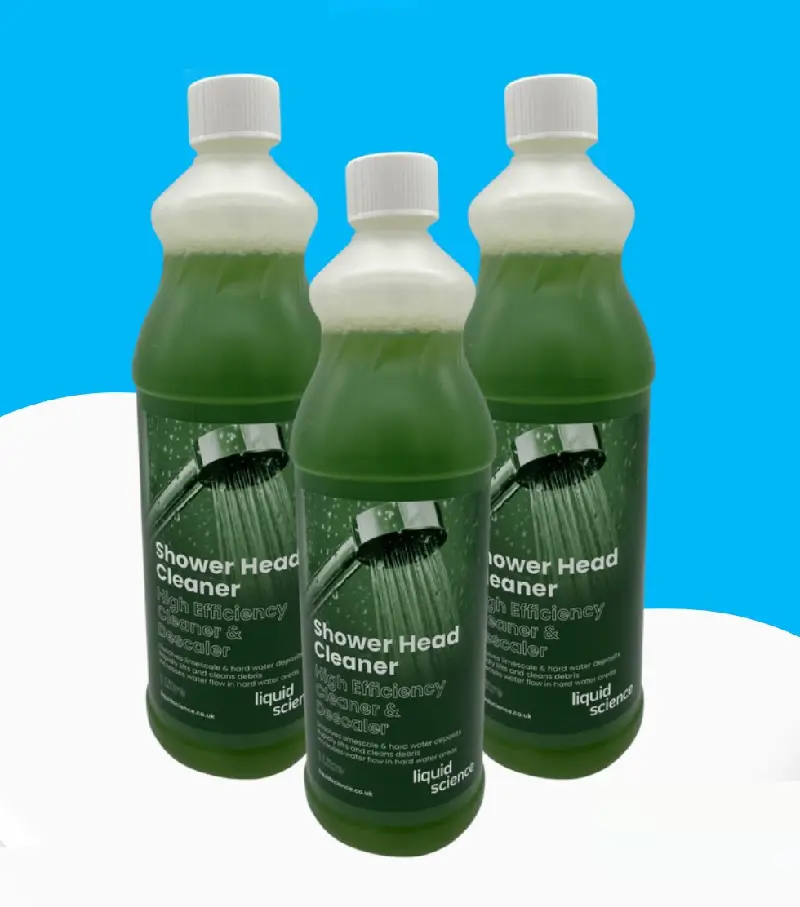
So, if a vinegar mix or a lemon juice solution doesn't work then you have no choice but to use a commercial over-the-counter shower head de-scaler. Just make sure to read the labels properly and ensure that it is safe to use for the material that your showerhead is built out of.
How Often To Clean The Showerhead?
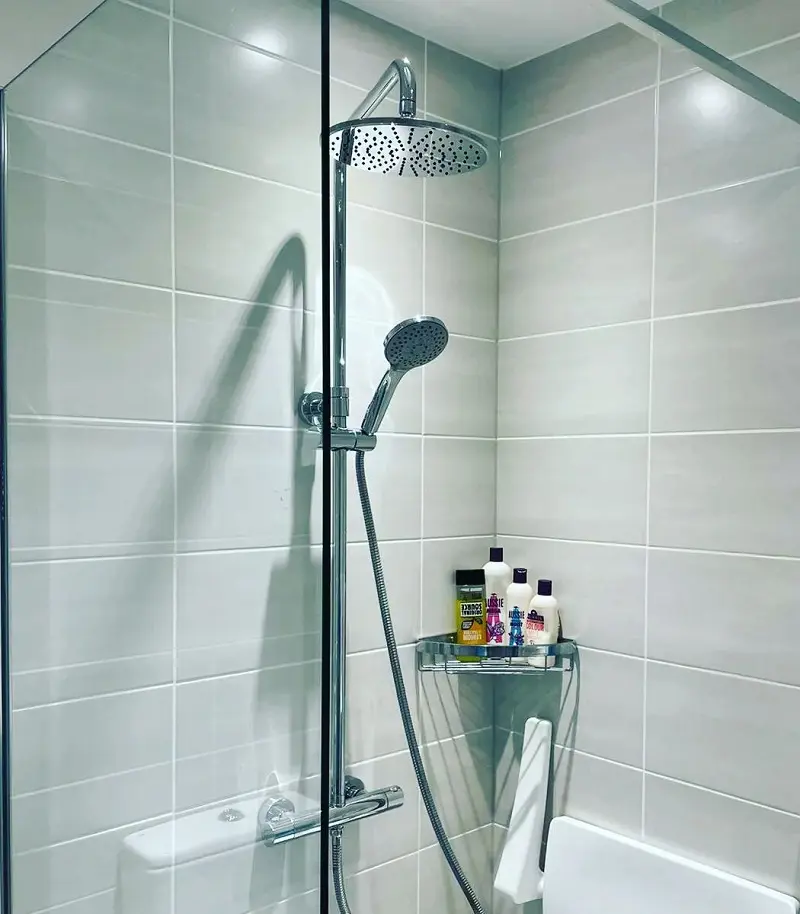
You should be aiming to deep clean your showerheads once around a month, however, this isn't always necessary as it often depends on a variety of factors such as how often you use the shower, the hardness of your municipal water's hardness level as well as how often do you wipe clean your showerhead.
Just be on the lookout for any clogged shower jets and tackle them immediately while they're still manageable as these routine cleanings will cut down on how often you will need to do any deep cleaning.
If you want to keep your showerheads cleaner for longer while doing a deep clean to prevent having to do deep cleaning more frequently, there are some things that you can do to make sure you won't have to do so for at least a few months.
Standard upkeep goes a long way to keep your showerhead clean and helps make sure cleaning them isn't very labor-intensive. Some of these tips are as follows:
Use the bathroom fan during and after a shower to reduce bathroom air humidity as soon as possible to reduce the chances of getting mold and mildew.
While doing your weekly shower cleaning, spray it with a solution of equal parts water and distilled vinegar or substitute it with a commercial cleaner before wiping it away with a microfiber cloth.
Scrub all the nozzle openings with an old toothbrush and run the shower for a few minutes to flush away any debris.
Install an external shower head filter between the shower head and the waterline to reduce any potential mineral deposits and bacterial growth.
Poor bathtub drainage could also be a reason for high humidity in the bathroom so remove bathtub drain to do a thorough cleaning and ensure good drainage.