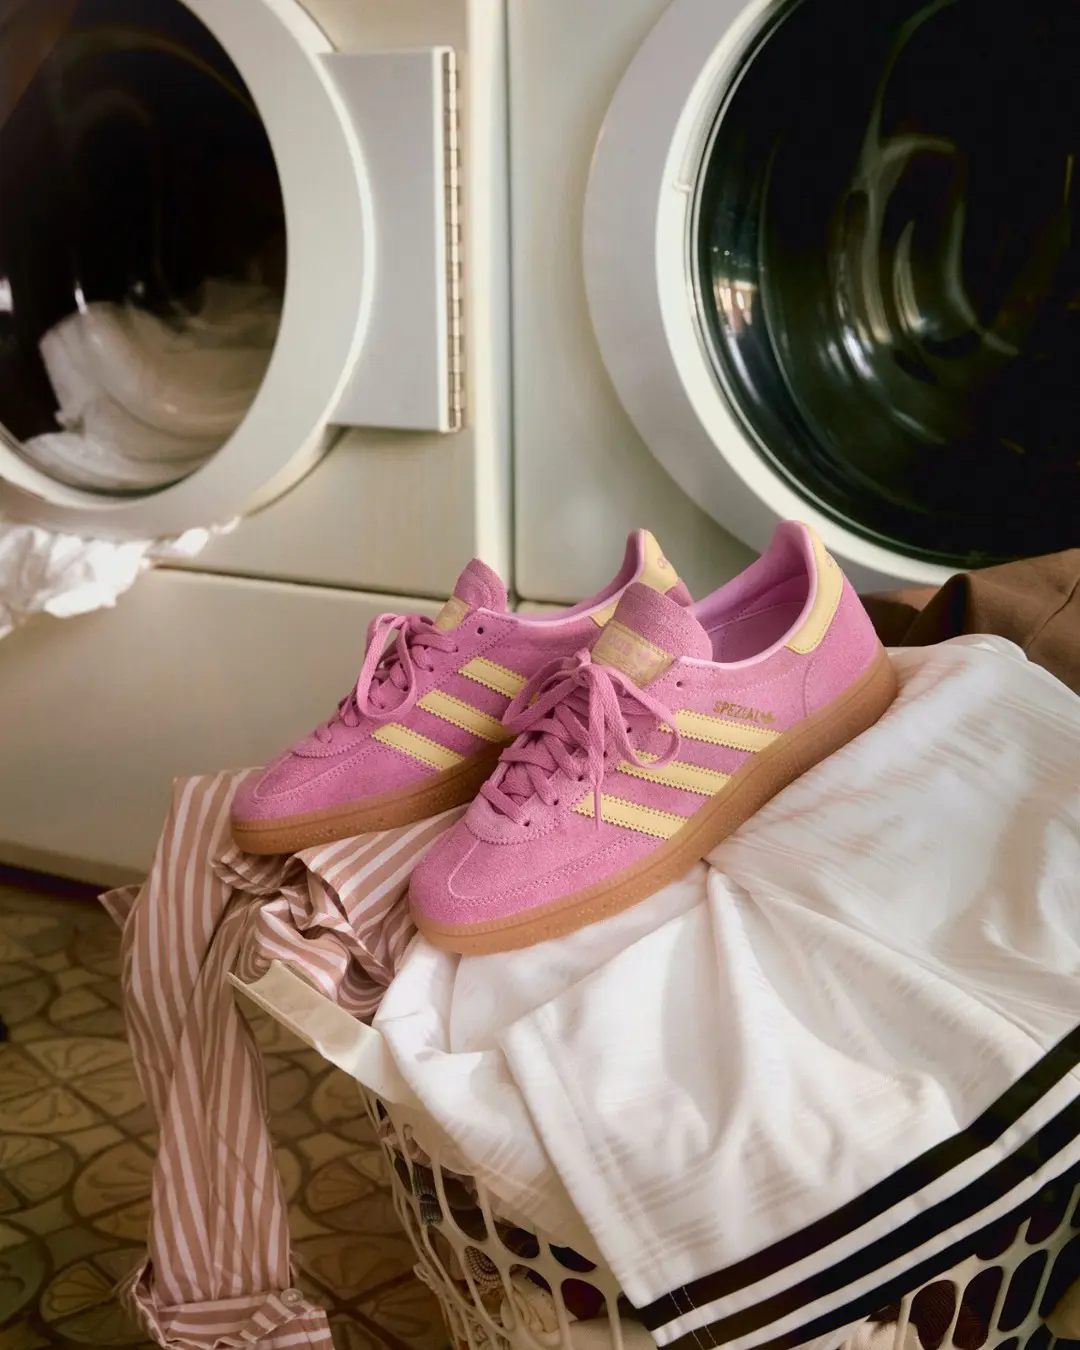
There’s no denying that we all adore our sneakers and wear a pair almost every day. As a consequence, they tend to get a bit worn out from frequent use. They might be in pristine condition, but very quickly, they are caked with mud, grime, grass stains, or plain dirt.
But don’t worry, as your worn-out pair of shoes can be restored with a thorough cleaning in the washing machine. In our detailed guide, we cover how to wash shoes in the washing machine.
Can You Wash Your Shoes in the Washing Machine
We answered that you could, but also added that there are exceptions because not all of them can be laundered. It depends on their material and fabric.
Shoes made from materials like canvas, polyester, or nylon can be safely thrown into the washer without too much worry of damage. Read the care label if you have doubts about what fabric they are made of and if they are machine-safe.
Leather, Suede, or Non-Washable Materials: They can lose their texture, color, or shape in the machine.
Waterproof or Tech Fabrics: Improper washing can make them less water resistant, so check the washing guidelines.
Runners with Gel/Air Cushions: The cushions might get damaged, and the air pockets may burst.
Foam flip-flops: They would float and are better hand-washed.
Pumps, Loafers, Strappy Sandals, or Dress Shoes: The machine will damage their shoe construction.
Hard-soled Shoes or Boots: They cannot withstand agitation because they are not flexible enough.
Shoes with embellishments (glitter or buckles): Soap might lead to rusting and break the metal components from all the spinning.
Considerations for Washing Shoes in the Washer
Check Manufacturer’s Cleaning Recommendations
One aspect that must be considered before washing shoes in the washer is the care instructions provided by the manufacturer. They are usually located on the shoe’s label or tongue or the manufacturer’s website. They are crucial as they are specific to the shoe material and design.
For instance, some footwear, such as sneakers, have glued seams or adhesives that hold them together. These will break down from the impact caused by the washer.
As a result, disregarding any recommendations given by the manufacturer could cause permanent damage and shorten your shoe's durability. Referring to the care instructions will help you determine whether it is safe to put the shoes in a washing machine and, if so, at which settings.
Drying Time
Your shoes cannot be put in the machine dryer and need to be air-dried, which can take a long time. A dryer can crush them or ruin the glue holding everything together. For this reason, they have to be dried naturally. This method takes quite long – as long as a full day. So, if you cannot spare that time, it’s best to clean your shoes another day.
During air-drying, avoid exposing them to direct sunlight or other heat sources, as the materials may degrade. An open, airy space is ideal to reduce drying time and musty smell, and if you wish to preserve your sneakers' form, dry them after inserting towels or newspapers.
How to Clean Shoes in the Washing Machine
So, how do you clean shoes in a washing machine? Check out our detailed guide and bring your shoes back to life without damage in no time.
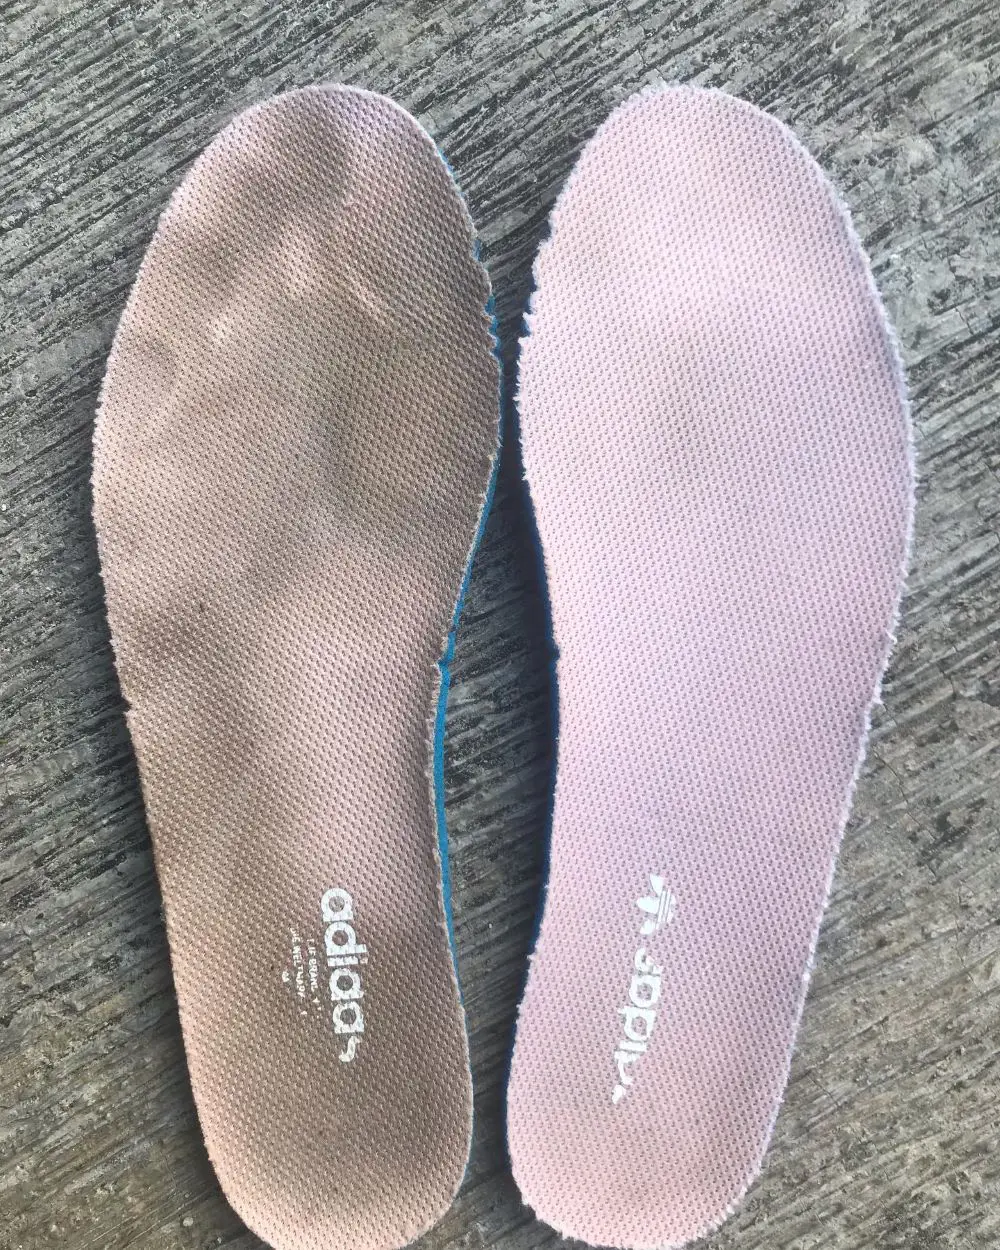
Your shoes should only be washed in the machine after the laces and insoles are removed, if possible. The laces could get tangled or caught in the machine. You could hand wash them with a toothbrush or place them in a mesh bag in the washer.
Insoles, particularly gel and foam-based, absorb excess water, which may affect their shape and cushioning. Hence, they are better washed by hand. To hand wash these insoles, scrub them with a slightly damp, not soaking-wet sponge. After scrubbing, lightly rinse off the soap and leave to air dry.
Step 2: Knock Off Excess Dirt
While the washing machine handles the bulk of the clean-up, some cleaning must be done before putting the shoes inside. This involves getting rid of mud, dirt, or tiny rocks. If not, your appliance may get clogged.
So, in case your footwear is muddy, you can wash them under a running tap or take a brush and scrub away the rocks in the tread. Alternatively, a toothpick can also be used to clean out the tiny particles hiding in the gaps of the soles. We understand this might be additional work, but it can protect your washing machine and enhance the cleaning.
If your footwear is filthy, particularly from food or tar stains, it is advisable to spot-treat them before machine washing. Get an old, soft-bristled toothbrush, squirt some heavy-duty laundry liquid and/or enzyme stain remover, and target the stained area.
Gently scrub your target area with the applied cleanser to lift out the stain. After scrubbing, allow the cleanser to rest for 15 minutes to break down the stains, which will disappear once you machine wash your shoes.
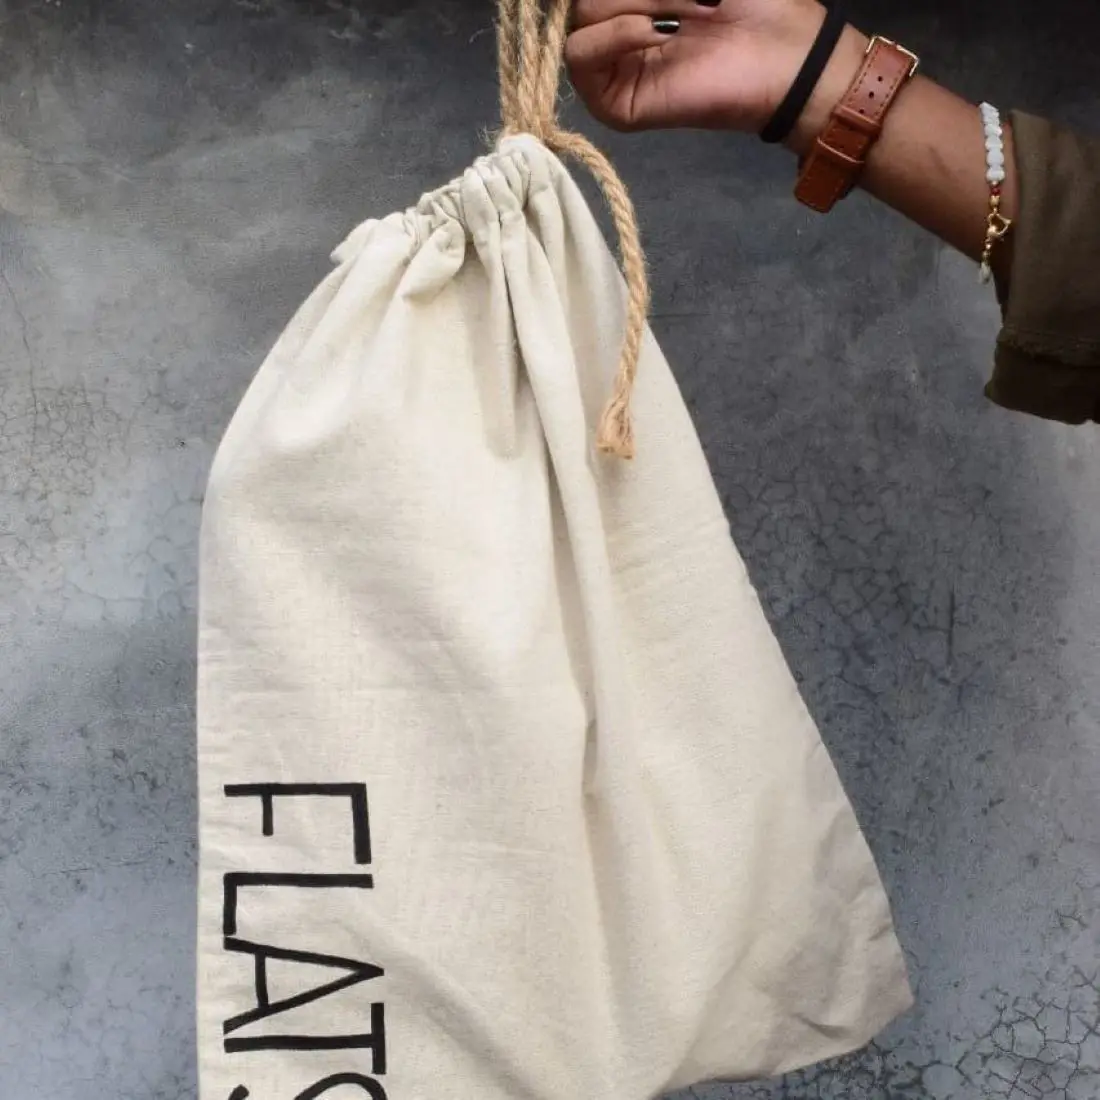
Step 4: Protect Your Shoes in a Laundry Bag or Pillowcase
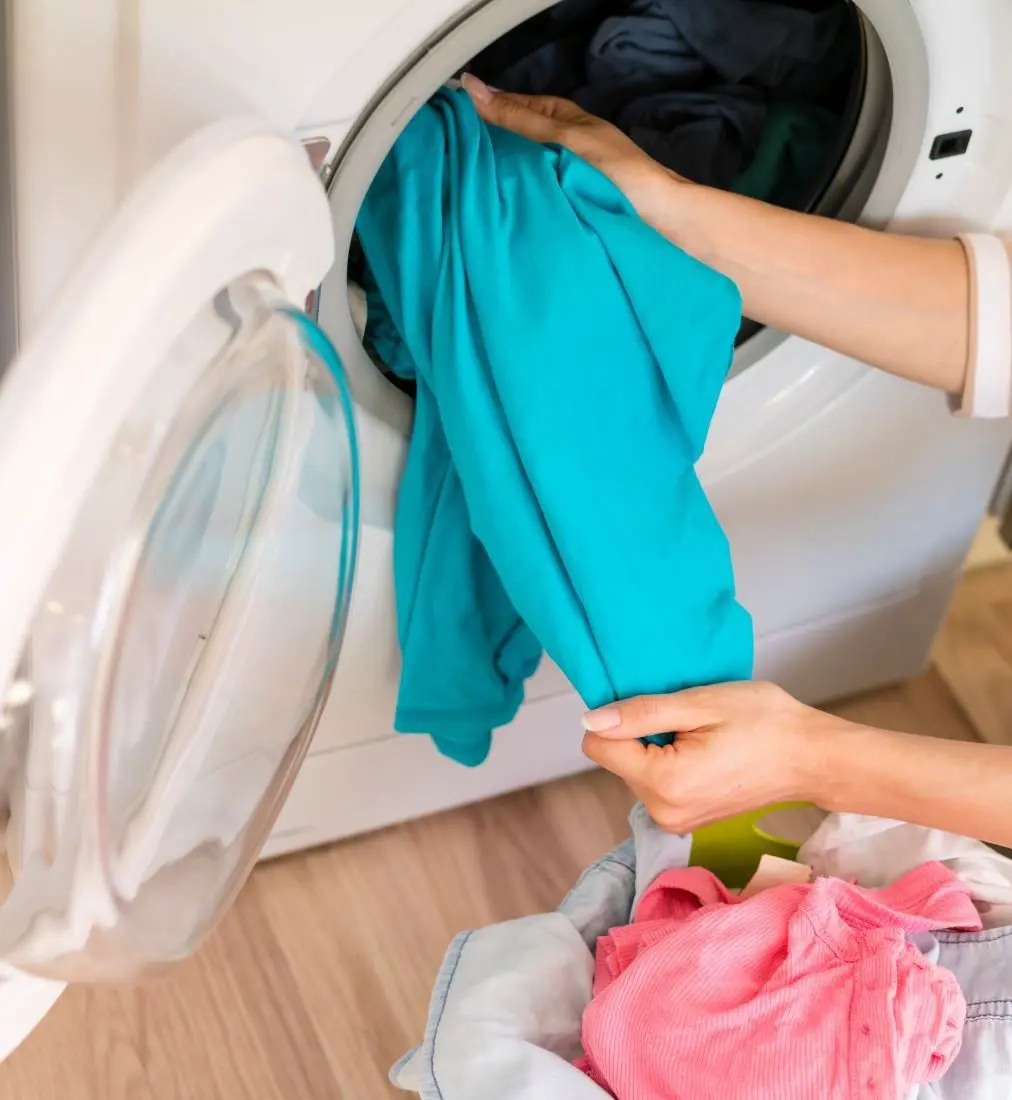
After thoroughly hand-cleaning your shoes, you can put them in the washer. Smooth and pull up the tongue of lace-up shoes so all surfaces get cleaned. Then, put them in a mesh laundry bag to prevent them from forcefully rattling around in the washer and getting scuffed. This will also reduce noise during the wash cycle.
You can use an old pillowcase if you don’t have a mesh bag. Add the shoes and tie the pillowcase with cotton twine or a shoelace.
Washing shoes in the machine can be noisy. All the banging and slamming could hurt your ears, not to mention it could damage your machine in the long run. One way to minimize the noise is to add towels.
The towels cushion and safeguard your footwear and balance the wash load, minimizing the possibility of your appliance becoming unstable during the washing cycle. You can add other similar-colored and similar-weight laundry if you don’t have towels. However, avoid adding new items or anything you don’t want to damage during the wash.
Step 6: Avoid Cramming the Machine
While other items cushion your shoe from the impact of your appliance, don’t overdo it. Extra items may stress your appliance. It cannot spin the water and detergent inside the shoes and the rest of the laundry.
This means your shoes will not be thoroughly cleaned because the machine needs enough space to move water and the laundry freely, which loosens dirt. Also, when too many items are crammed in the drum, the detergent will get stuck on your shoes from the lack of space to rinse it out properly.
Plus, the more items in the drum, the less space for your shoes. Your shoes might get entangled with other laundry, leading to scratches, scuff marks, or breakage. The excess force resulting from the crowding may also damage the structure of the shoes, such as the soles bending out of shape or cracking.
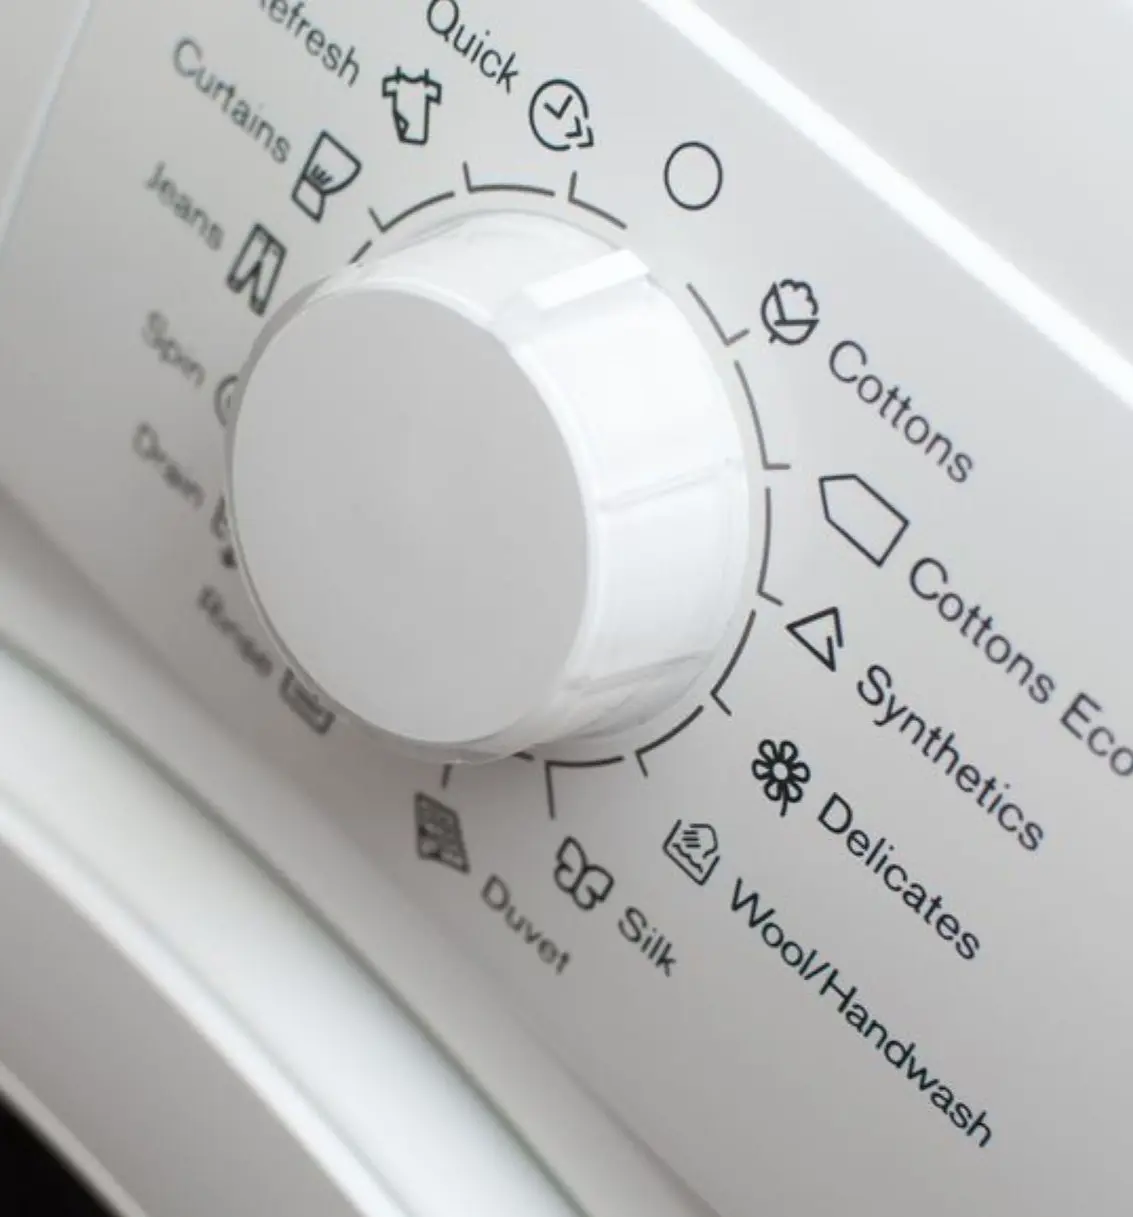
Once the machine is loaded, you need to decide on the cycle setting, water temperature, spin speed, and detergent to use.
Cycle: You want to set the cycle to gentle (delicate or hand-wash) to prevent your shoes from getting overly banged up or the color from fading.
Water Temperature: We mentioned before that heat can weaken the glued seams or adhesive, leading to parts detaching. Therefore, you should always use cold water.
Spin Speed: Opt for a slow or no-spin setting, as high-speed spins can squeeze, twist, or distort the shape of delicate shoes. The rubber soles might also crack or peel off.
Detergent: Use liquid detergent over powder because the latter can cake up and get stuck in the sole crevices and eyelet. They do not dissolve and might need to be rinsed under tap water. Also, avoid harsh ones like bleach, as it damages the shoe color and material.
Hit the start button to begin the wash cycle after you’ve set everything up.
Step 8: Air Dry
The final step is to air-dry your shoes. For proper drying, do not put on your shoes on hot surfaces such as radiators or in front of heat-emitting units, as this can lead to misshaping and material degradation.
Shoe drying should ideally be done in a dry, well-ventilated space with open windows. This enables natural drying without subjecting the shoes to extreme temperatures. You could place your shoes near a fan or an air vent when drying them indoors if you want to wear your shoes out faster. This is useful when you reside in a highly humid area.
Washing your white shoes in the washing machine is no different from your regular shoes. All the steps are the same from steps 1 to 8. However, there are slight changes to steps 3 and 5, which are explained below.
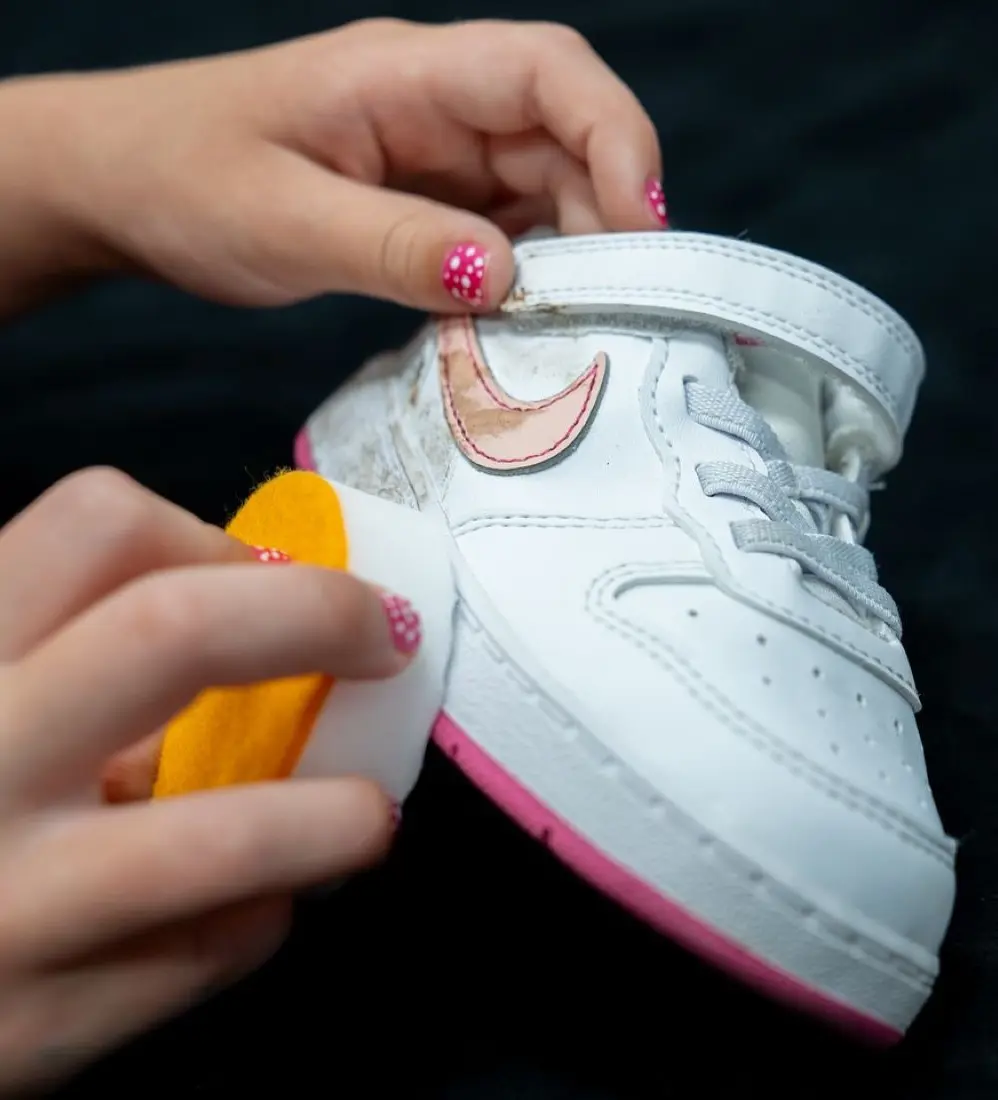
No one likes scuff marks on white shoes. They make your shoes look old and can be difficult to remove. We do not mean it is impossible, though.
Use a clean rubber eraser or magic eraser sponge to remove them. The latter can get rid of stubborn marks. Just wet the sponge eraser with water and scrub around the rubber sole.
Pre-treat the Stains and Yellowing
You should also pre-treat stains and yellowing because your appliance may not remove them completely.
Food/Drink Stains:
Pour baking soda into a mixing bowl and add white vinegar. Mix the two for a paste. Dip a toothbrush in it and scrub your shoes to remove the stains. Let the preparation dry for some time.
For stubborn blood or grass stains, spot-treat the area with a bleach pen. Let it sit for five minutes before tossing it in the washing machine.
Yellowing
Like most shoes, white shoes are prone to yellowing after sunlight exposure. This is even more so if they were just washed and there is leftover soap, detergent or cleaning agents on the shoe fabric.
Yellowing may also happen due to regular usage where dirt and perspiration are embedded into the fabric.
Prepare a whitening paste containing two times baking soda as compared to hydrogen peroxide and a little dishwash soap.
Apply the paste with an old toothbrush to the yellowed areas of the shoes, especially around the soles and the toe cap.
Allow the paste to sit for 30 minutes to an hour to break down the stains.
Avoid Washing with Fabrics that Bleed Color
Step 5 entails adding towels or other laundry in the washing machine with your shoes to balance the wash load and protect your shoes. You do the same for white shoes.
However, you need to pay extra attention because you don’t want the color of your other laundry to bleed onto your white shoes. Don’t add dark-colored fabrics like red or purple that could bleed. As a precaution, use your white or light-colored laundry.
Additional Tips
Add Baking Soda for Smelly Shoes
Adding baking soda to the washing machine with your smelly sneakers can eliminate the stink. The white powder acts as a natural deodorizer and a cleaning agent to neutralize odor caused by bacteria and sweat from everyday wear.
Sprinkle the soda in the drum and not the detergent compartment because it must be in direct contact with your shoes for it to work during the washing.
Using fabric shoe bags or an old pillowcase is an efficient way of protecting shoes from dust, dirt, moisture, and other harm while allowing airflow. This maintains their freshness, shape, and overall condition. Always clean your shoes before storing them to maintain their shape and keep them in a dry and cool place.
We recommend keeping every pair of shoes in a separate bag if possible. This prevents the shoes from scuffing against each other, which leads to scratches.
When you are out of spare shoe bags, old pillow covers come in handy. Once you pack your shoes in the pillowcase or bag, store them in places with too much heat or direct sunlight.
Spray Stain-Repellant
Nobody likes to walk in dirty shoes, and not every model can be washed. Of course, the desire of all people is to make their shoes or boots stay clean as long as possible. This becomes possible thanks to a spray that repels stains on fabrics.
The spray helps coat the fiber so that the liquid or oily substances do not get absorbed, thus not giving a stain. This adds to the protection since you wash your shoes less frequently because they get dirty less frequently.
Ensure the shoes are clean and completely dry before applying the spray. Do not bring the can or bottle of the spray closer than 15 cm to the shoes being sprayed. Lightly and evenly moisten them, but do not saturate. Put on your shoes only after they are dry and the protective layer sets.