It may seem like a strange concept to need to think about cleaning an appliance that you use to clean other items but think about it, a washing machine’s job is to clean your clothes, not itself. It is constantly bombarded with detergents, fabric softeners, and dirt while trapping some of them.
This results in your washer smelling bad if it's not cleaned periodically and that trapped build-up will redeposit onto your laundry and make it stink as well. So instead of risking getting foul clothes from the laundry, here's how to clean washing machines with vinegar:
Cleaning A Washing Machine With Vinegar
You can use vinegar to clean clothes washer and to remove contaminants that build up inside the washing machines, including residual detergent, dirt, remains of food, and hard tap water. Your top-loading or front-loading machines are equally vulnerable and tend to grow mold and mildew.
Luckily, both types of machines can easily be cleaned by rinsing washing machine with vinegar and by making use of baking soda and non-chlorinated bleach. If you want to know how to how to clean a clothes washer with vinegar continue reading below:
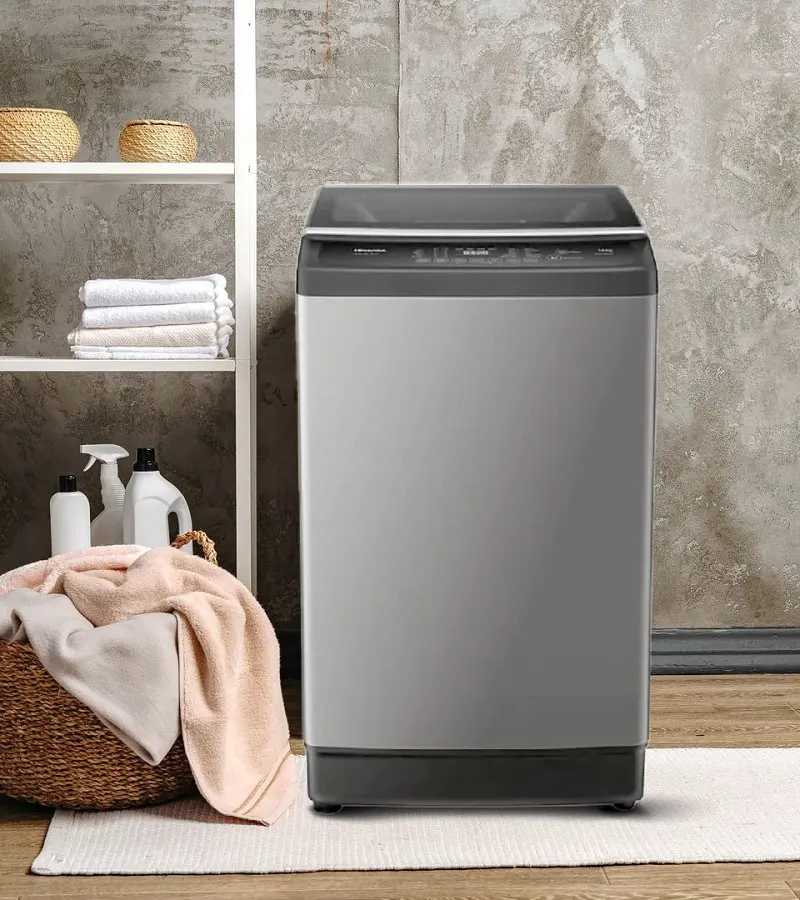
How to Clean a Top Loading Washer With Vinegar
If you are living in a house as a family unit then there's a high chance that you have a top-loading washing machine due to the greater amount of living space afforded to you as well as being able to wash a larger laundry load per cycle.
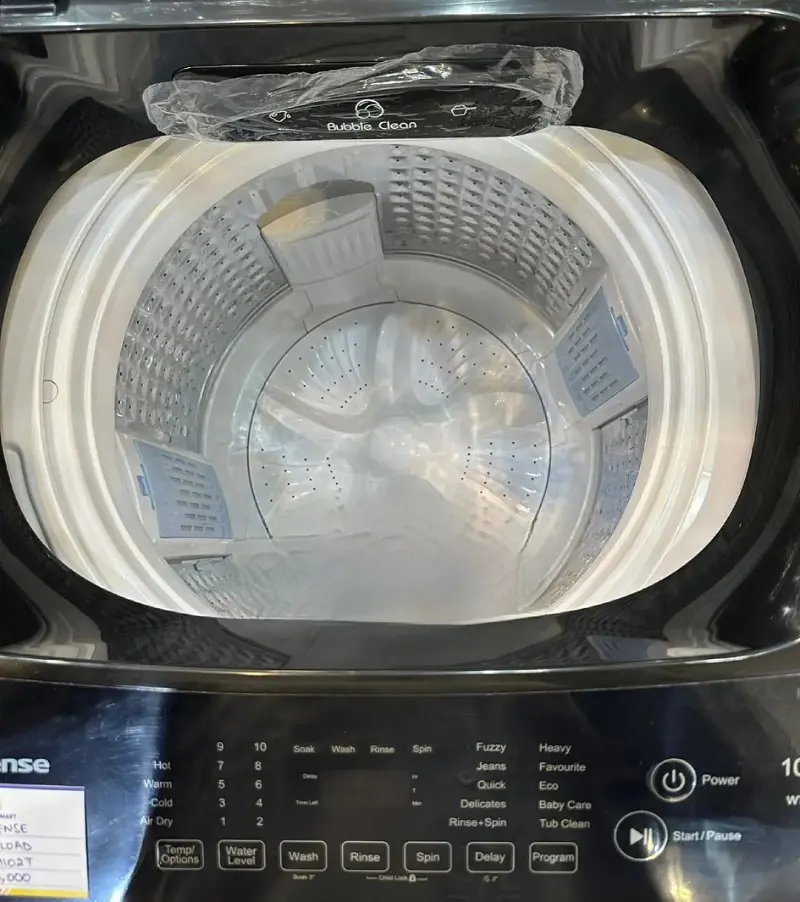
You may have noticed that there are two types of top-loading washing machines such as the traditional models with an agitator in the middle and newer high-efficiency models that come with an impeller disc. You don't need to worry about this difference as our instructions to vinegar rinse washing machine suit both machines.
Because you will need to wash more amount of clothes (for the entire family), it is especially important for you to know rather than wonder "how to clean my washing machine with vinegar" as your washing machine can get fouled quicker than others and increase the possibility of foul laundering.
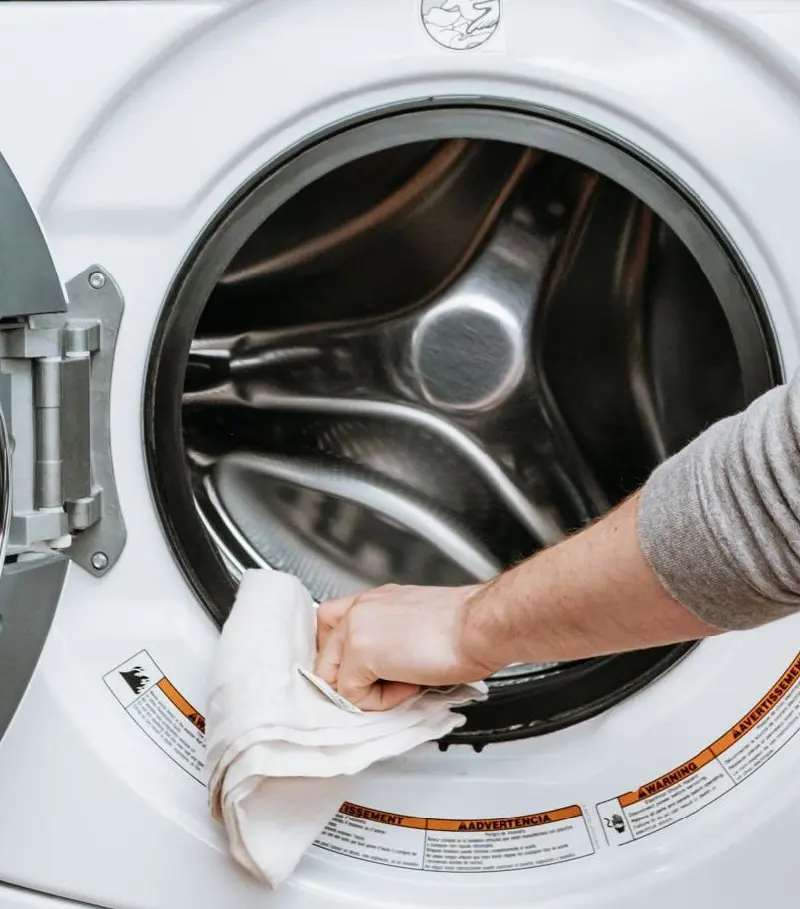
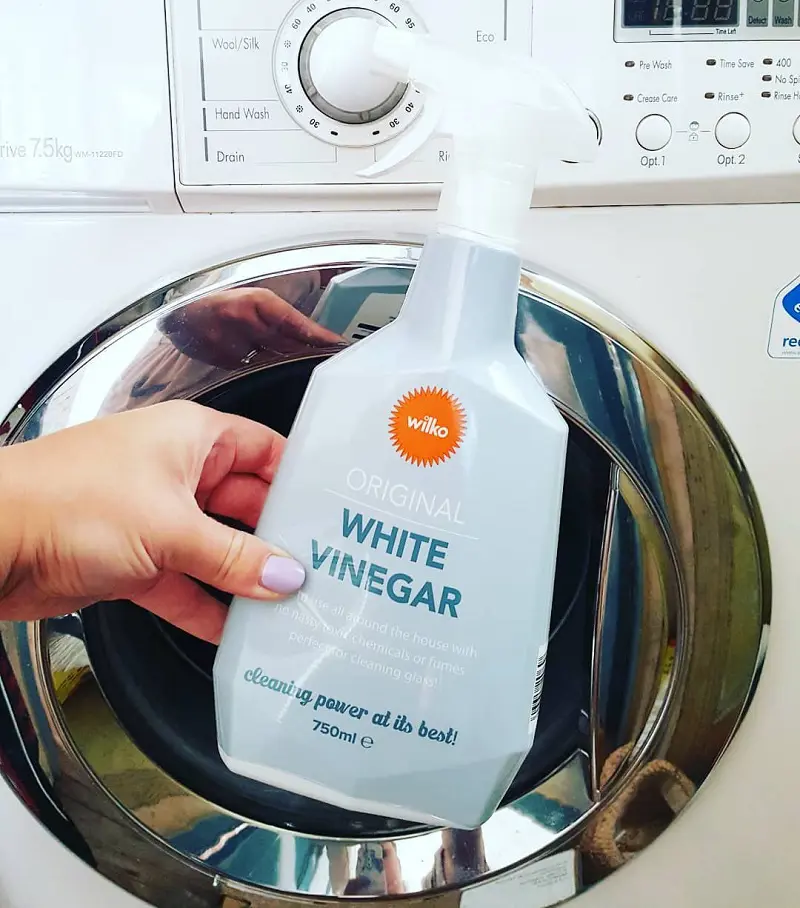
First, begin by wiping out the interior and the seals present around the door of your washing machine with vinegar spray or an all-purpose cleaner. Make sure you don't use concentrated vinegar as it can cause the rubber hose to crack and leak over time.
To make a diluted vinegar solution, make a 1:1 ratio of distilled white vinegar with water for your spray bottles. Make sure to thoroughly remove any debris from filters or drains around the seal of the machine.
2. Take Apart The Machine
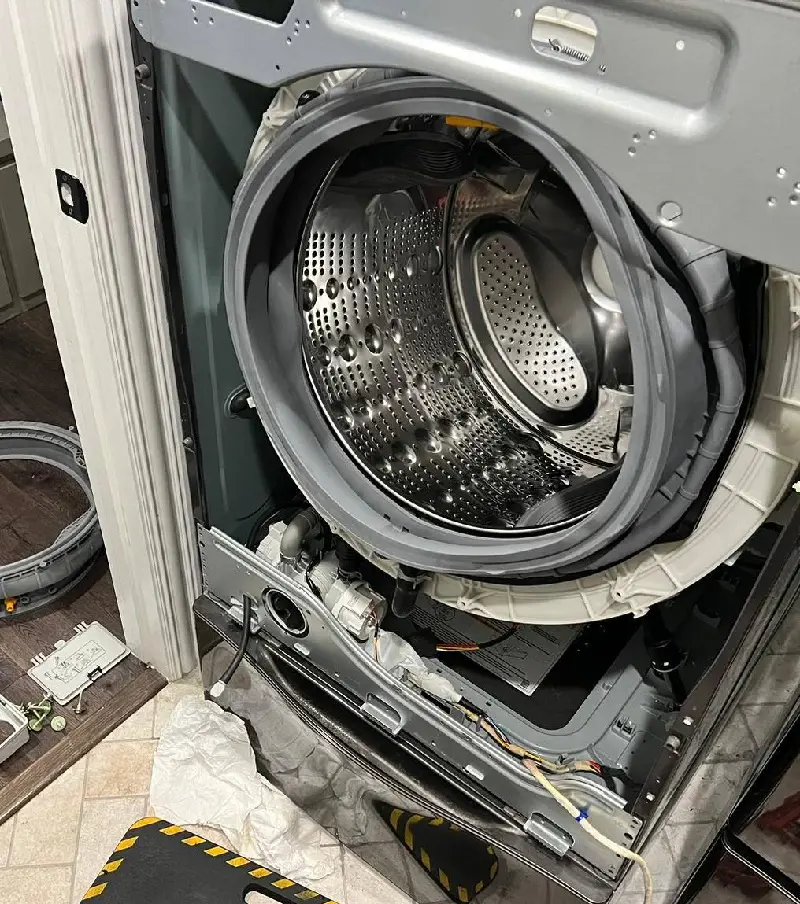
Once you have finished wiping it down, it's time to take the machine apart for a more thorough deeper clean. This step isn't always necessary and can be done only once in a while if your machine is new or doesn't have any foul smell.
Take the agitator apart for traditional models or the impellers in the case of a hybrid model by unscrewing and removing the bolt that keeps these parts in place and soaking them in the sink with hot water, vinegar, and baking soda for 10-20 minutes. Make sure to reassemble the machine once all the parts dry.
While waiting for the agitator or the impeller to soak and dry, if there is still some debris remaining in the corners of the washer or some tight places such as on the lid.
Dip an old toothbrush in soapy water and scour through every nook and cranny in the interior to make your machine clean once and for all.
4. Empty And Clean The Dispensers
While you're at it with the interior, clean and inspect the fabric dispensers for any unwanted gunk. This step is as simple as it sounds, also if your dispensers are in need of cleaning and are removable then wash them in hot soapy water and replace them after rinsing.
If those dispensers are not of the removable variety, fret not. Simply pour warm distilled vinegar into the dispensers and let it sit for a few minutes before flushing it away in the rinse cycle.
5. Begin The Rinse Cycle
After the interior is cleaned completely and the machine is reassembled, make sure that all automatic dispensers are empty of any detergent, bleach, and fabric softeners aside from the previously poured diluted vinegar before beginning the rinse cycle.
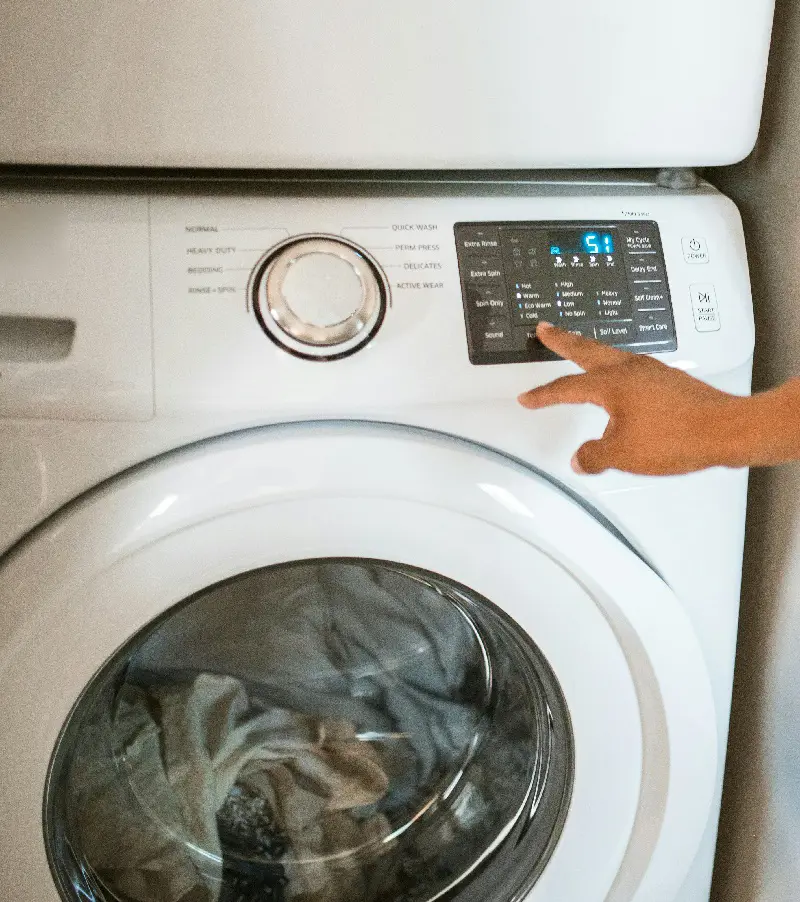
Make sure the washer drum is empty and then start the rinse cycle by selecting the largest load setting and the longest wash cycle available. Make sure that you set the water temperature to hot for a more thorough and deeper clean.
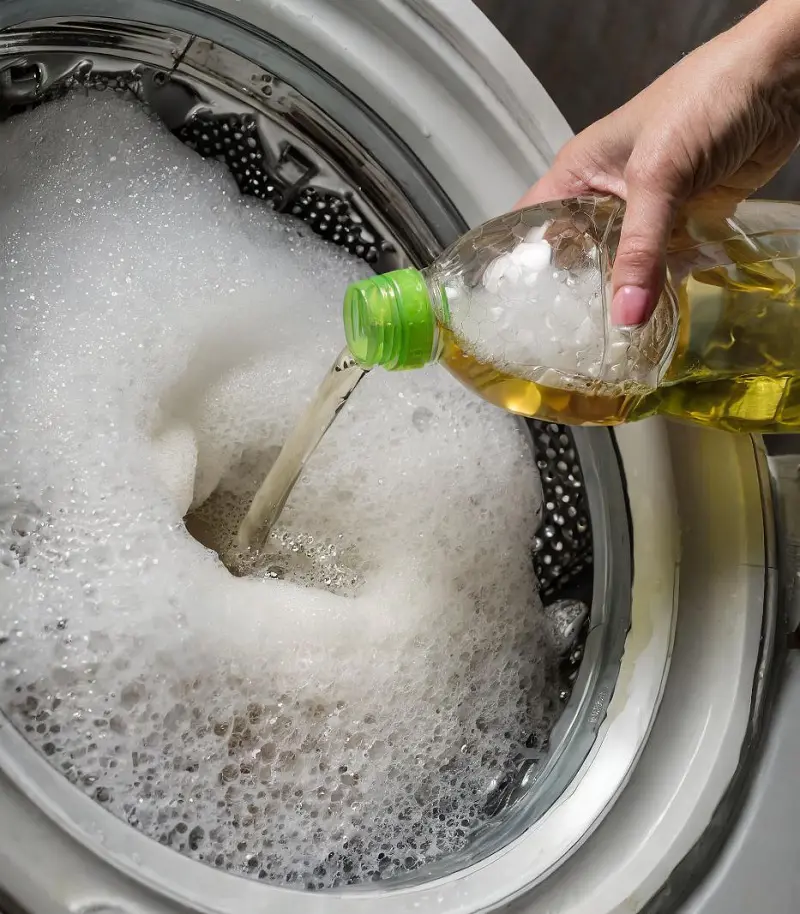
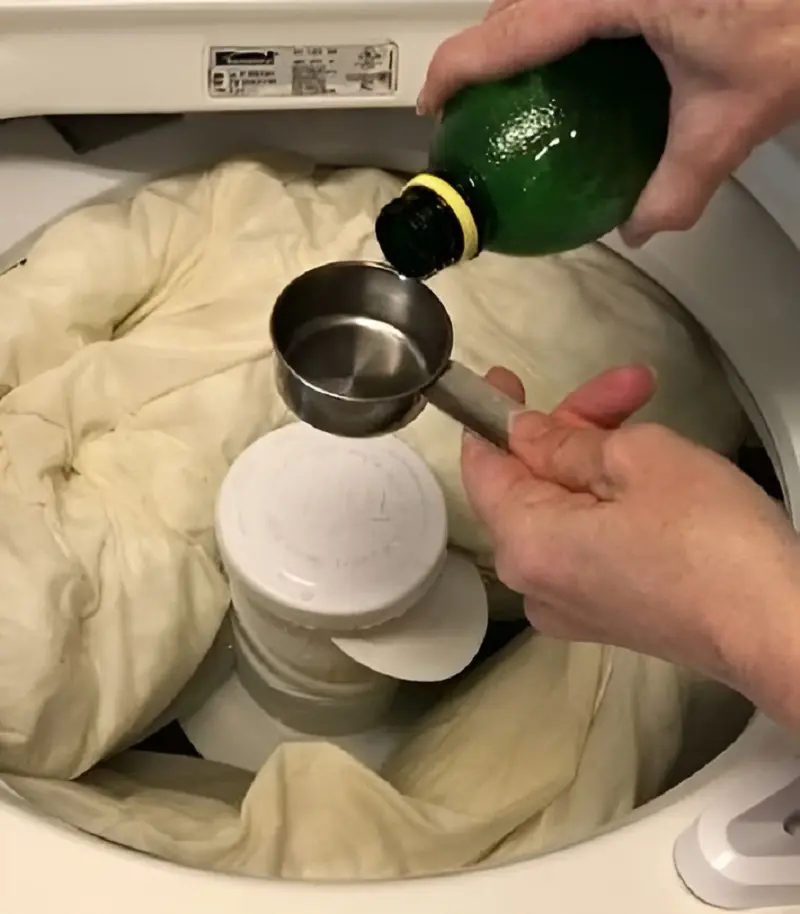
While the washer drum is spinning, open the lid to pour in two cups of distilled white vinegar from the top, and allow the machine to run through its entire hot water cleaning cycle.
Alternatively, you can also drop in a washing machine cleaning tablet like an Oxya Clean or Affresh instead of vinegar if you already have them in your home.
7. Clean The Outside Of The Washer
As the washer runs through its cleaning cycle, take this time to mix some warm water and a few drops of dishwashing liquid; dip a microfiber cloth into it and wipe down the machine's exterior.
This way, you will be able to achieve more within the same amount of time instead of waiting and then working on each little task separately.
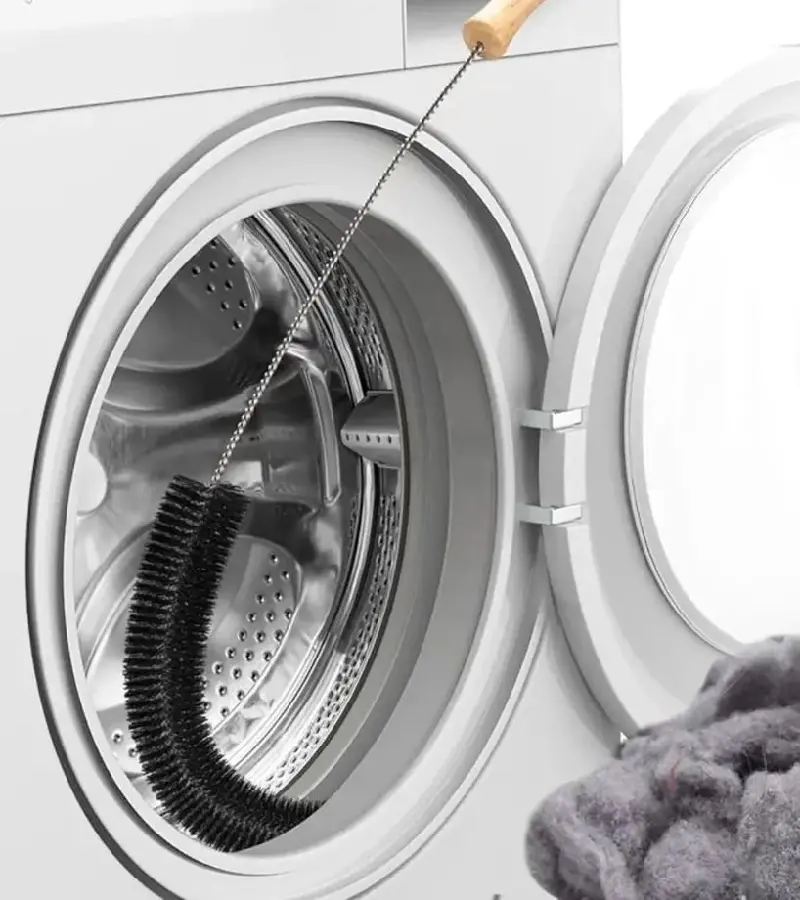
How to Clean a Front Loading Washer With Vinegar
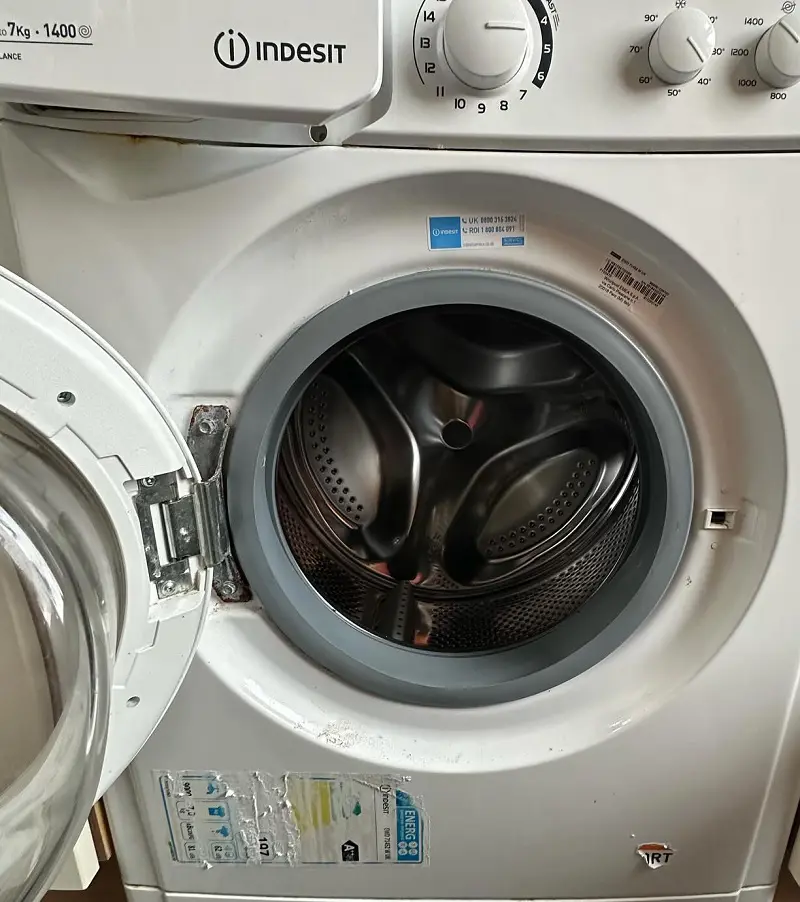
Now that you have understood how to clean the washer with vinegar, there are some subtle but significant dissimilarities between cleaning a top-loading and a front-loading machine. First, in that front-loading machine, the contaminants, detergents, dirt, etc., might easily fall and collect in the rubber seal around the door.
Therefore, it makes sense that the rubber seal can become a site of bacteria growth that causes mold and mildew which is rare for top-loading machines. This also means being aware of how to clean a washing machine with vinegar might not be enough since you also have to make use of non-chlorinated bleach to clean your front-loading washing machines.
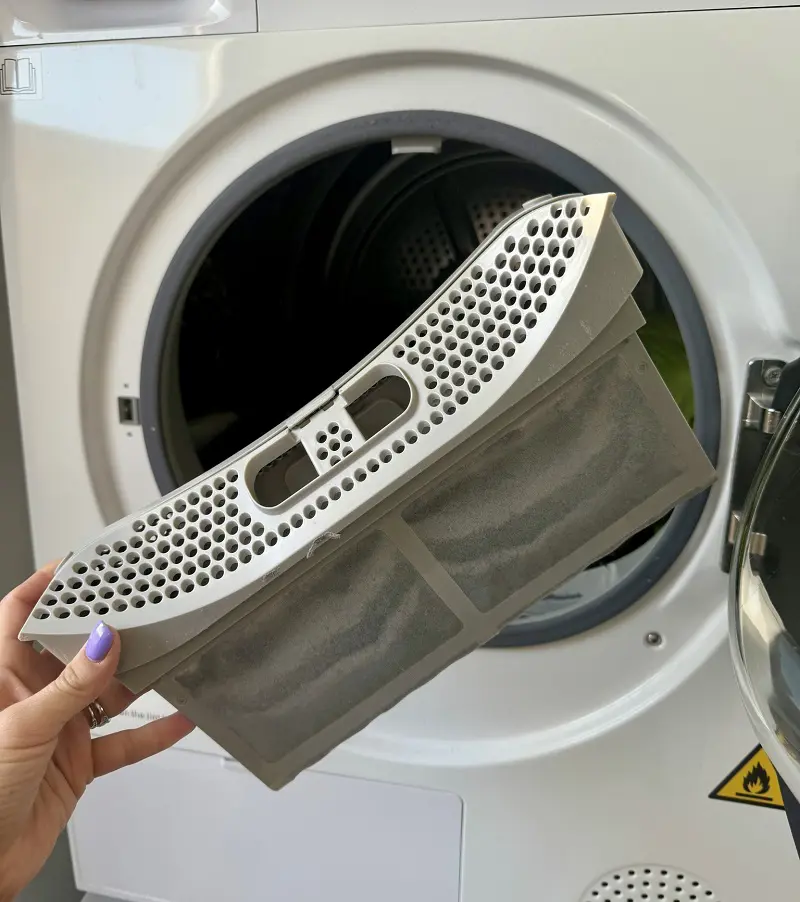
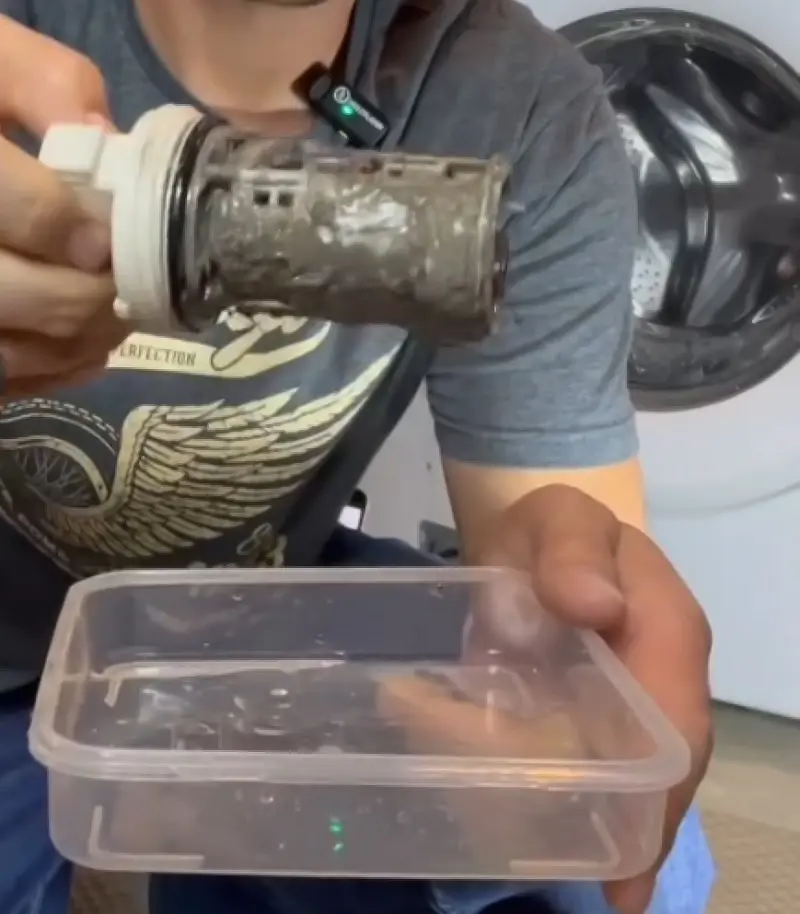
Unlike the top load washers that lacks drain filters post-2001, you need to identify and clean the drain filters in front load machines as they still have them. Your drain filter should be located behind either a small front-facing or rear-facing door near the bottom.
Before you remove the filter, have a big bowl handy to catch any excess water that may flow out when you detach the cap from the drain tube. Shake the filter over the trash, rinse it well, and wipe it down before reattaching it into the drainage system.
2. Empty And Clean The Dispenser
Once the drain filter is dealt with, pull out and rinse the dispenser drawer with hot water to remove any traces of accumulated powders and liquids. If the drawer is heavily coated with built-up residue, soak it for 10 minutes in hot water before rinsing.
Allow the dispenser drawers to air-dry and make sure that the drawer and the washer are empty. If the washer or the dispenser tub still contains some water, get rid of the remaining water by running a spin-only cycle so you can get on with the next step.
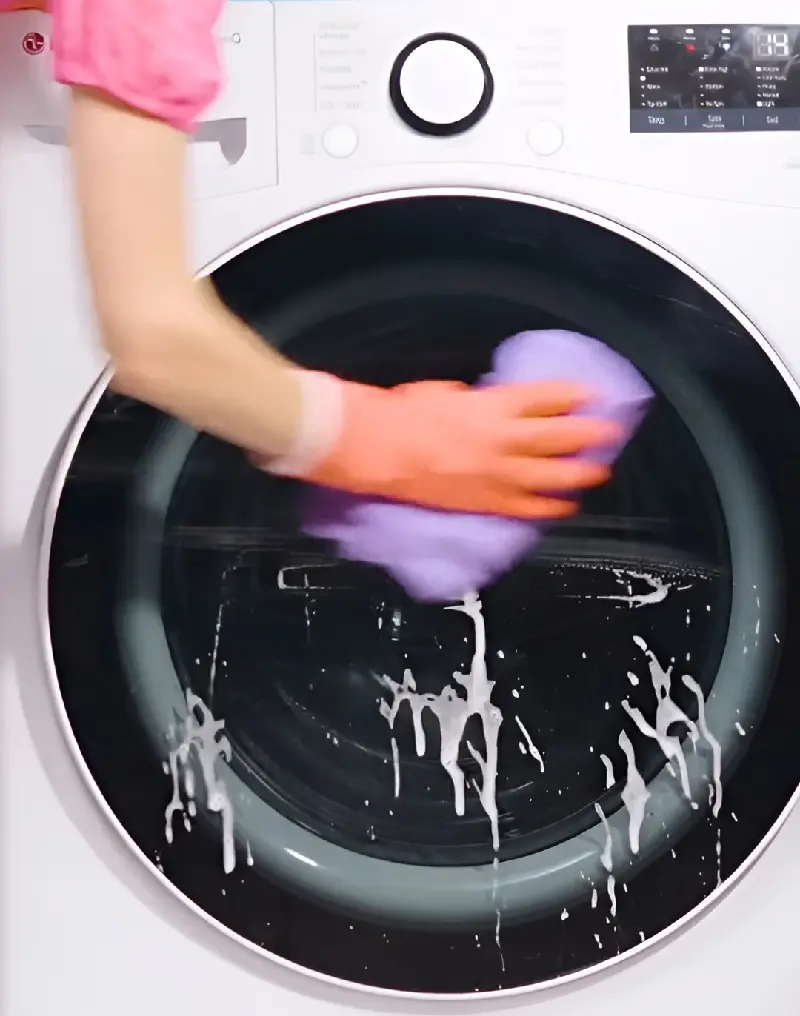
Once the washer is dry, take your water-distilled white vinegar mixture and spray it along the entire length of the washer gasket-or what some people more correctly call a rubber door seal. Let it sit for a minute or so; afterwards, just wipe it off with a microfiber cloth.
Diluted vinegar should be prepared for the cleaning spray by mixing a 1:1 ratio in the cleaning spray of distilled white vinegar and water. Once the vinegar has been wiped off, go ahead and clean that place very well so that there is absolutely no trace left behind.
4. Add Non-Chlorinated Bleach
Once the vinegar solution has been cleaned off thoroughly, ensure that the rubber seal is completely dried before we can move on to the next step. That next step being the pouring of non-chlorinated liquid bleach into the detergent compartment of the washer.
Also, make sure to fill the detergent compartment in the drawer rather than the dedicated bleach compartment and fill it up to the max line.
Many front-loading washers have designated self-cleaning cycles and you should select that if it is an option after pouring the bleach. Otherwise, Otherwise, choose the wash cycle with the longest time, largest load size, and the hottest water temperature on your machine.
Then close the lid of the front-loading washer for obvious reasons and press the power button to initiate the second last cleaning process.
6. Run A Final Rinse Cycle
When the previous wash cycle is completed there may still yet be more residue brought to the surface. Wipe any surfaced residue in the tub by using a microfiber towel and run a rinse and spin cycle to see if any more remaining residue will be exposed.
This will flush away any debris trapped in the washer. You can continue running additional cycles if your washer also has a smell problem however, this last step isn't necessary if your machine has no bad smell, visible mold, or mildew which can taint and foul your clothes.
Get more work done and save yourself some time by cleaning the outside of the machine while the rinse cycle is running. Get a microfiber cloth dipped in hot soapy water mixed with dishwashing liquid or an all-purpose cleaner and wipe away any dust, dirt, and product drip outside of the washer.
Once the rinse cycle is done, leave the detergent drawer and the door or lid open to let the washing machine air-dry thoroughly. This can help the machine prevent developing mold or bad odors.
Reasons Why Your Washing Machine May Be Smelly
If your washing machine is still smelly despite having cleaned them thoroughly then there may be some other reason of smelly washing machine. Some of the reasons for your washing machine to smell aside from regular laundry debris are as follows:
Aside from debris accumulating on your washer gasket, drum, and drain filter they can also accumulate and clog in your drain pipes or any other drainage system parts. This can cause a sewage-like stench due to a conglomeration of bacteria which will emit a stinking gas known as hydrogen sulfide.
Since the drainage is clogged, the gas will have no choice but to flow back into the washing machine's drum and interior and your laundry. A clogged drainage is easily noticeable if you notice that your machine has slower drainage or produces gurgling sounds while doing so.
2. Old Detergent
If you use too much detergent in your cleaning cycles or add them directly from the top, it will cause more lather which will be harder to rinse out. Thus, the leftover detergent soap can either settle in different parts of the washer or your clothes which could then foul weeks later as it detoriates.
Sometimes detergent residue can also build up in your drawer either due to poor dispersion action which caused it to not be completely used up in the last week's washing session or because you overfilled it.
This is especially common in front-loading machines as the gasket rubber ring can collect all sorts of small clothing accessories such as your socks as well as water in an attempt to prevent them from leaking out of the machine.
The mix of trapped fabric and water results in the soggy clothing becoming a bacterial breeding ground and causing the yucky smell that may be permeating your entire washing machine. Normally gaskets have drains of their own to prevent this issue but that may also have been clogged as well.
4. Trapped Water
Sometimes after every cleaning cycle, you might have some amount of water trapped inside the drum which fails to drain properly. If you haven't used your machine for a long time then the trapped drum water can turn stagnant by causing moisture levels to go up.
This encourages bacteria to breed and eventually, mold will also arrive to settle in your machine which will kick off a musty smell that will proceed to stink your machine and ruin all of your laundry.
Distilled white vinegar works well to clean and disinfect surfaces and stains as it contains acetic acid that can help dissolve hard minerals that build up in the washer drums and drain hoses. The acid can also help kill any odor-causing bacteria and fungi that may occur in your washing machine.
It is to be noted however to never use horticultural or cleaning vinegar as they are found in higher concentrations which can damage the washer even after being diluted. Use only distilled white vinegar after diluting and avoid food-based vinegars as they could attract insects.
Yes, there are several things that you can do to require less frequent cleaning or "deep cleaning" of your washing machines. Some of the things you can try are:
Keep the door open about an inch after laundry cycles to allow for more airflow which will let the machine air-dry out and reduce or slow the chances of bacterial growth.
You can also wipe your machine's drums and gasket seals after each use without washing the entire thing to prevent any debris build-up. Cleaning the gasket seals will also keep the drain filters clear as that debris won't get swept down to the main drain filter creating a clog.
Aside from cleaning the gasket seals, make sure to use an appropriate amount of detergent by measuring them properly as excessive detergent will do more harm than good for your clothes and machine.
Notably, if you use your machine very frequently it doesn't give the bacteria a chance to grow which will reduce the possibility of them creating an environment of unpleasant odors.
However, all this advice doesn't mean that you can ultimately ignore the deep cleaning of your machine as it is an essential preventive measure that is necessary to prevent debris, foul smell, or limescale deposits in your machine.
Going by the rule of thumb, if you have an HE (high-efficiency) washing machine that uses HE detergents then it's better to clean them once a month as they are energy efficient due to using less water but the lesser amount of water also means they tend to be prone to build-ups.
For your standard top-load machine, they can be washed four times a year or every 3 months while a standard non-HE front-load machine can be cleaned once every 2 months. There are many other factors such as water hardness level and frequency of washing so you should wash your machines earlier if your conditions are less than ideal.
What Is The Quickest Way To Clean A Washing Machine?
If you don't have the time to do a thorough deep clean right now or you are trying to make your washer last for a bit longer before requiring the next bit of deep cleaning then you can spray and wipe down the interior of your washer and drum with a 1:1 vinegar and water solution.
This method doesn't require any washing cycle to be run which ensures the entire process will be quick and easy. If possible make sure to get deep into the folds to remove any potential gunk and clean the dispenser drawer thoroughly.
Although yes, vinegar can harm the rubber parts and seals inside a washing machine due to its corrosive nature and cause leaks, it is far less harmful than bleach which is an even stronger corrosive cleaning agent.
Avoid stronger vinegar solutions such as herbicidal or cleaning vinegar and use 3-5% diluted white vinegar which should be diluted even further by mixing in water in a 1:1 parts ratio. Furthermore, always check your machine's manual to see whether cleaning agents such as bleach and vinegar are explicitly advised against.