If your toilet keeps running and there’s hardly anything you can think of doing except calling out for help to a professional, this article is put forward to help you.
Before adding to the increased utility bills, we strongly urge you to resolve the constantly running toilet problem independently. Here’s how you can troubleshoot the running toilet problem on your own.
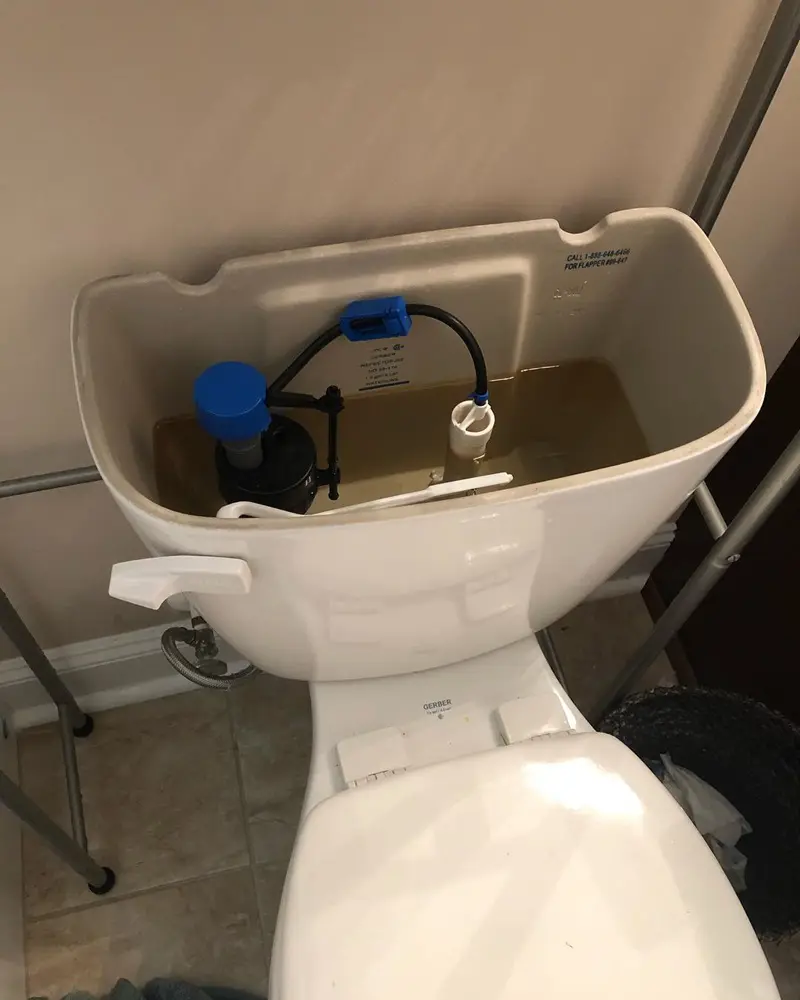
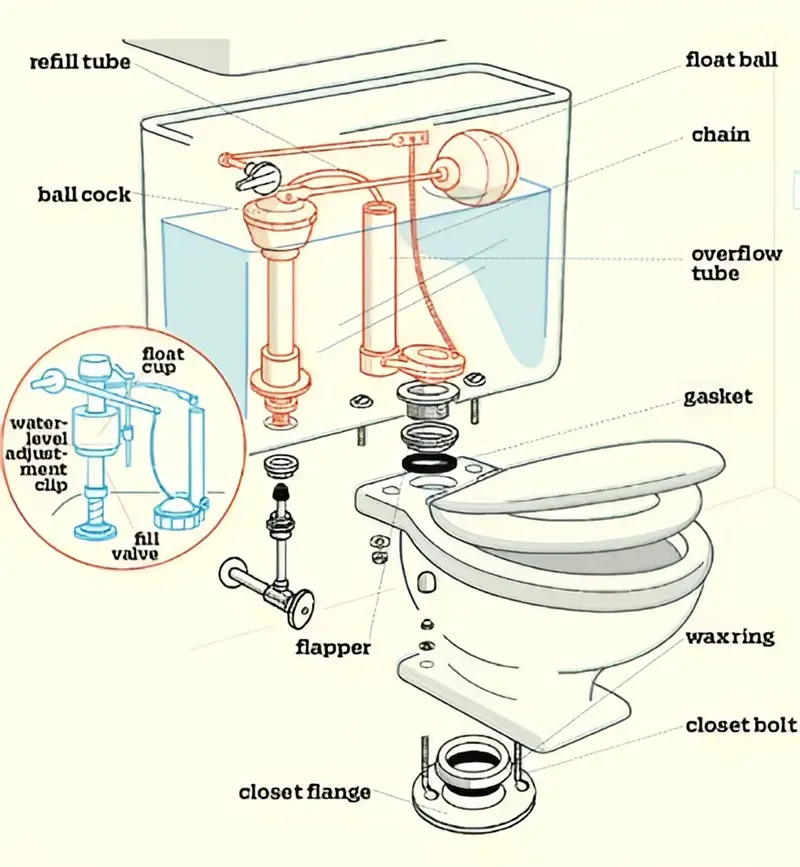
Your toilet consists of different components adjoined together to perform a simple mechanism. The toilet system is not that hard to understand.
If any of these parts fail to function properly, your toilet may keep running. Scroll down to learn about the potential causes and effective solutions to resolve running toilet problems.
How to Stop a Running Toilet?
Once you install a toilet in your home or any business setting, a day will come when your toilet starts to run regularly or periodically.
Spare some time and indulge in this informative guide to fixing this issue.
Materials Required
You need to gather the below-mentioned tools and equipment before jumping into the procedure to troubleshoot your running toilet issue.
If you glance at your toilet bowl, you can locate a small fill tube in between the fill valve and the overflow tube.
The fill tube is primarily responsible for refilling the toilet bowl, by drawing water from the overflow tube.
Fixing Fill Tube
You need to make sure the fill tube is firmly adjoined to the fill valve. Try to reattach the fill tube with the fill valve by pushing it firmly.
Ensure the fill tube is one inch above the rim of the overflow tube. Finally, flush the toilet and check whether the water stream goes down the toilet overflow tube.
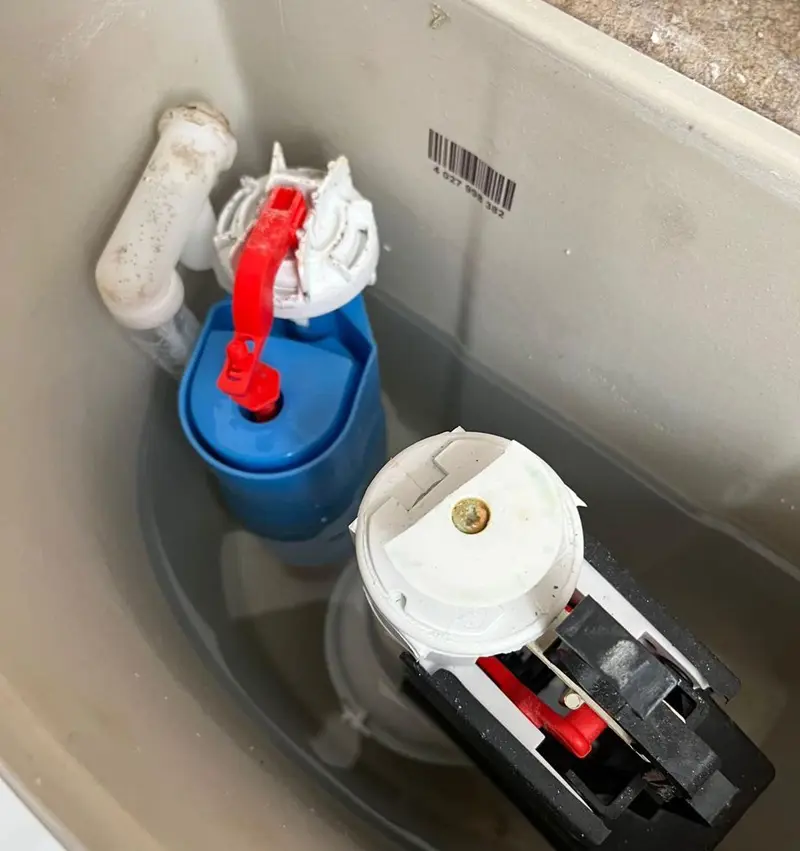
Your toilet consists of an adjustable float that controls the water level in the tank, it moves along with the water level.
If the float height is very low and too high, it can weaken the flush system, and water may go into the toilet overflow tube respectively.
Either way, this can cause your toilet to keep running.
Fixing the Float
Begin by marking the toilet overflow tube on the fill level, or you can simply measure down about one inch on the overflow tube.
When you flush the toilet, check whether the water stops at the marking point or not, if not you need to make adjustments to the float up or down until the water shuts off at the marking level.
Following the steps mentioned above, if the type of fill valve you've chosen doesn’t seem to shut off, you must replace it.
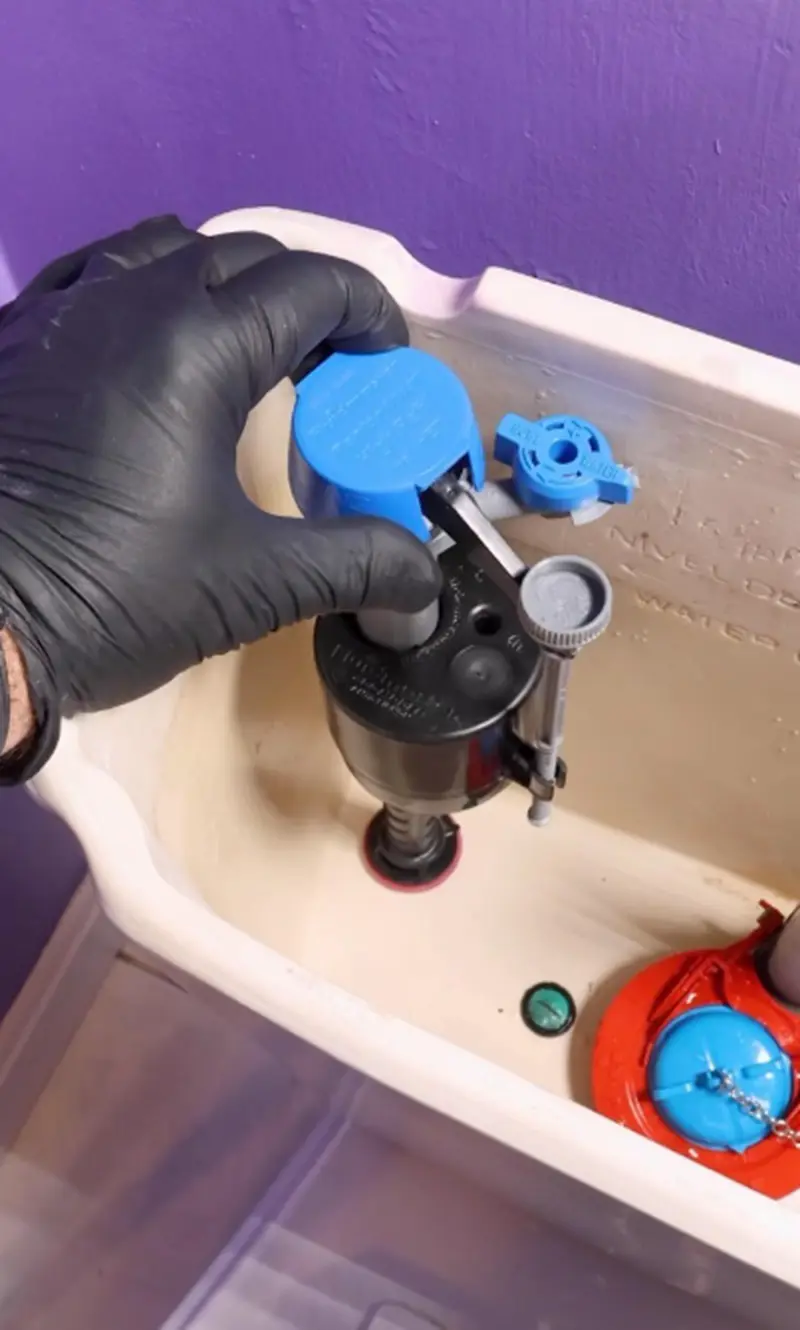
How to Replace Fill Valve?
Begin by turning off the water supply and unscrewing the fill valve lock to take out the old fill valve. After that, insert the new fill valve and tighten it into the tank.
Shortening the overflow pipe by one inch lower than the critical level mark on the fill valve, turn on the water, and test for the flush.
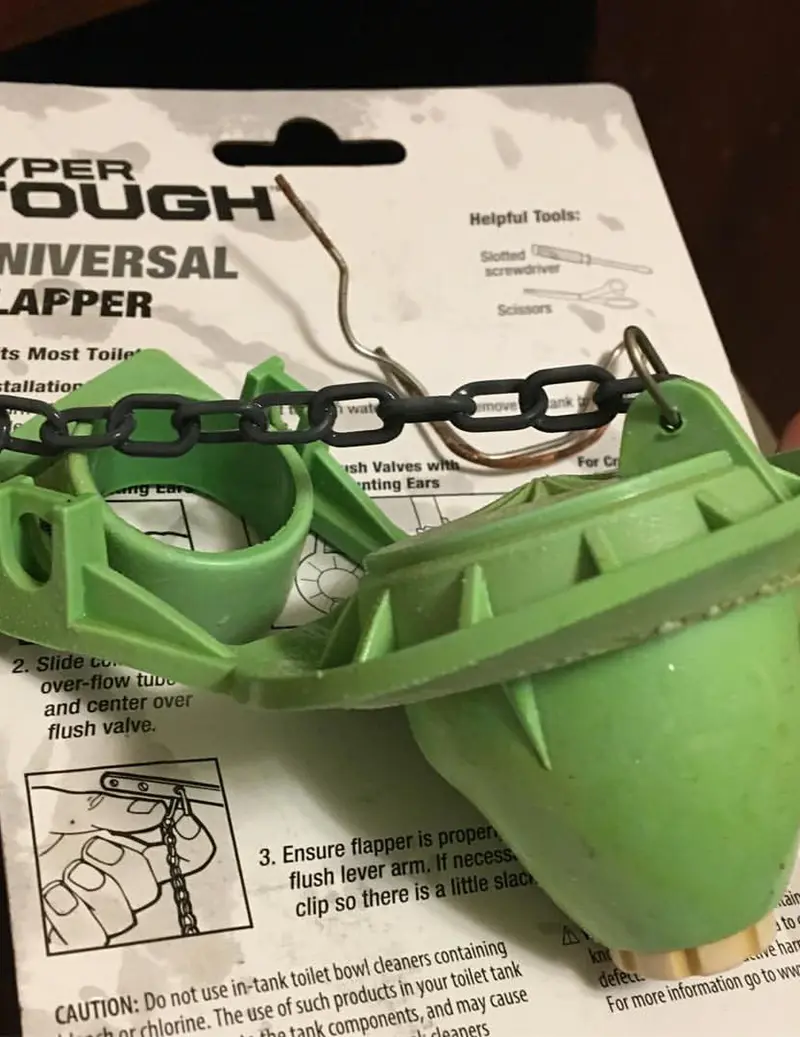
The flapper chain shouldn’t be too short or too long, or your toilet will end up leaking into the tank or a proper flush mechanism is hampered.
Fixing Flapper Chain
If the flapper chain is too long, you need to cut off the excess portion, allowing only about an inch to remain when the flapper is closed.
Having done that, you need to cover the tank and check whether the flush rod strikes the lid or not. Make the necessary arrangements if the issues are not resolved.
You need to clean all the parts of your toilet, ensuring smooth water flow and proper functioning of the components.
Here’s how to clean your toilet and its components:
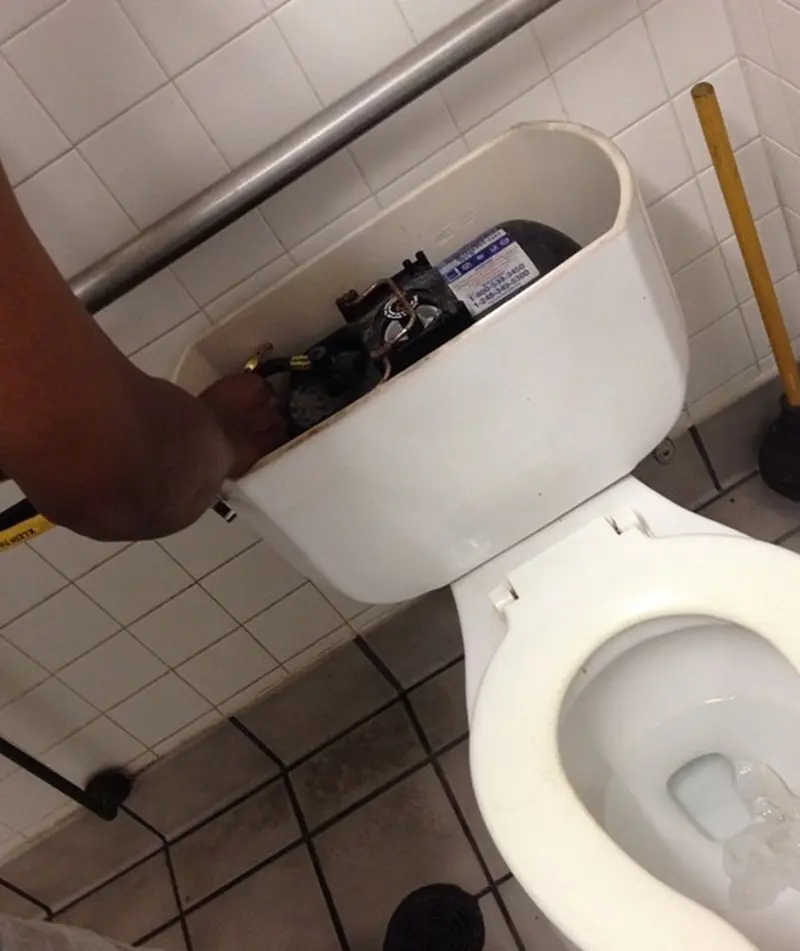
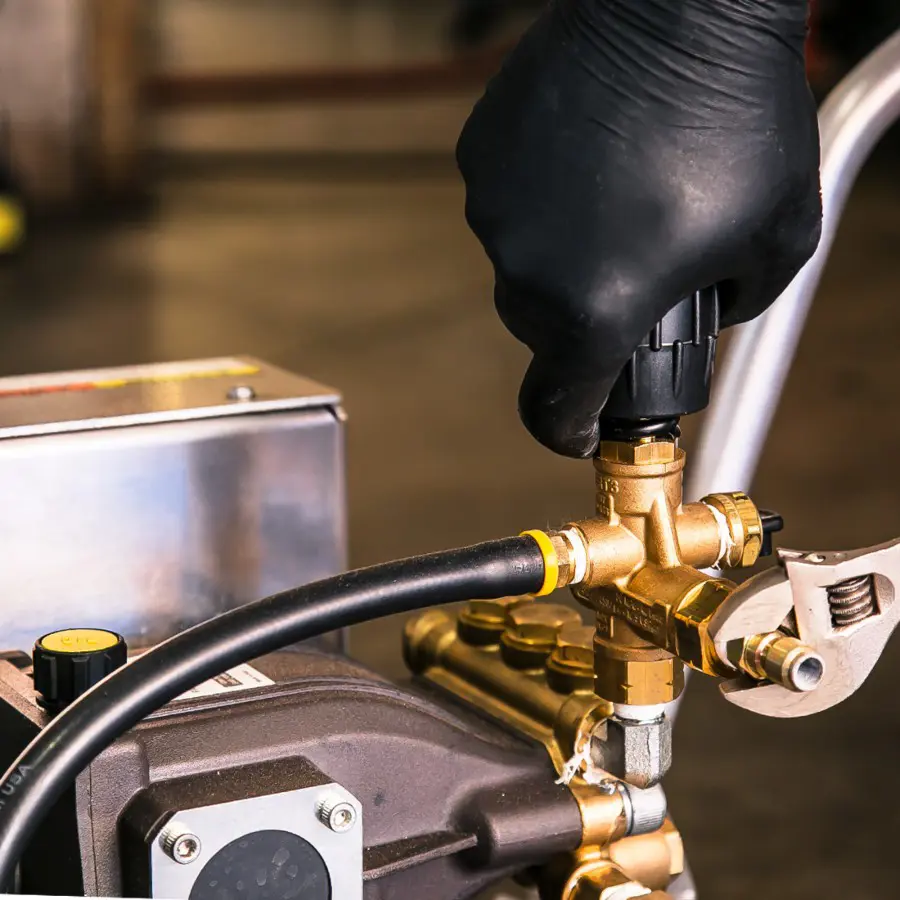
Turn Off the Water Supply
Begin by seeking the water supply valve behind the toilet and make sure to turn it off. Empty the tank by flushing the toilet.
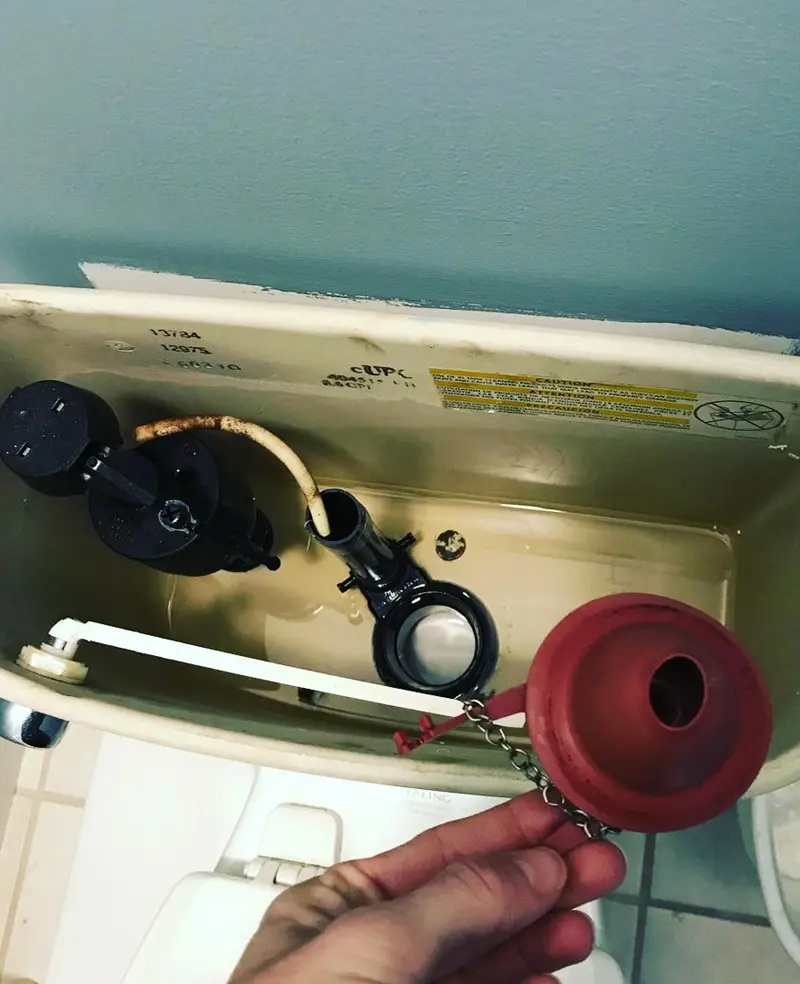
Clean the Flapper
Remove the flapper from the tank and carefully brush off the residues and deposited debris.
If the stains are hard to brush off, you need to immerse them in the solution of vinegar and water for about half an hour and again try scrubbing.
Clean the Overflow Tube
You can apply a similar method to wash away any deposition or debris from the overflow tube by scrubbing and soaking in the vinegar solution.
Make sure to wipe out every possible debris.
Reassemble and Test
After cleaning every component of the toilet, you can now reassemble and place them in their original spot. Before testing, you need to double-check if everything has been placed accurately.
Your issue mightn’t get resolved on the first try, you may have to reconsider doing everything again until the actual problem gets fixed.
You have to have a good understanding of how a toilet operates to solve every minor or major issue with it. Below is a detailed informative guide on this matter:
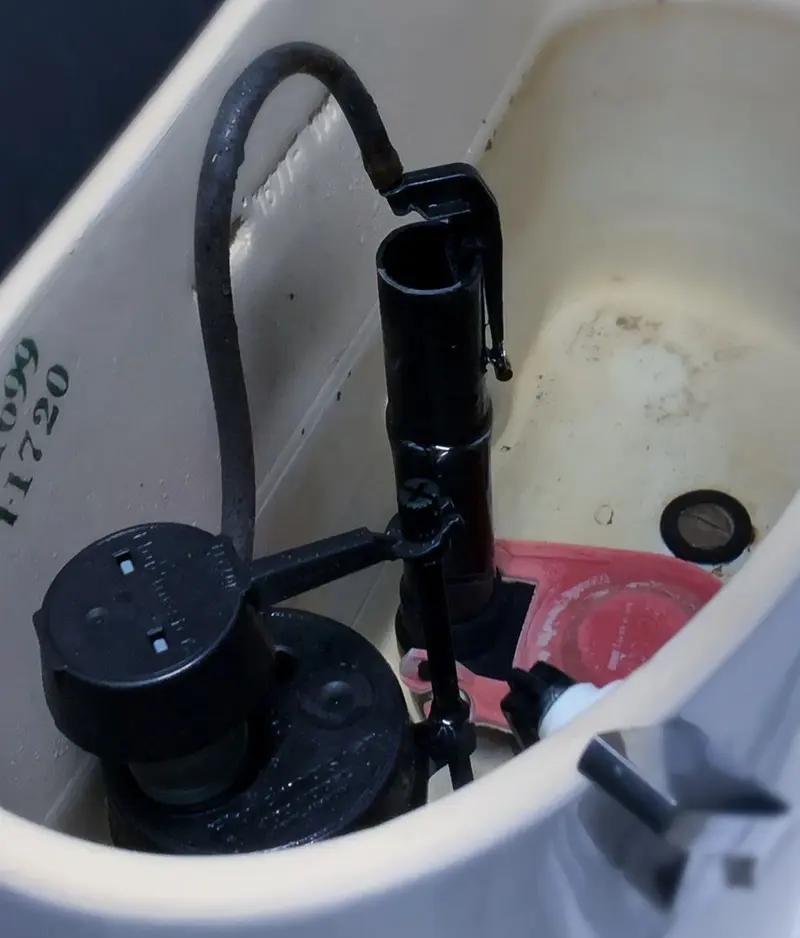
The toilet tank which you are aware of is filled with water coming through the fill valve tube.
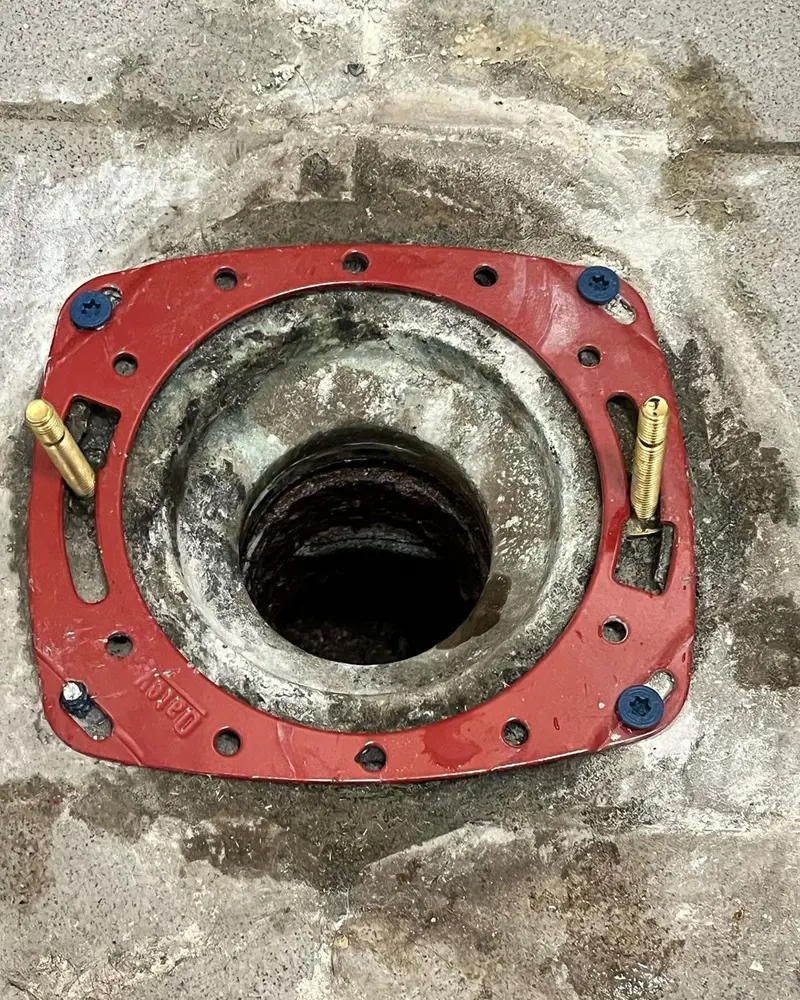
Once the water gets filled, the flapper helps to trap it in the tank, which is assisted by the gasket and flush valve.
When the water starts to fill the tank, you will notice a risen float rod in the tank. The float when reaches the marked level, fill valve ceases the flow of water in the tank.
During the flush mechanism, the toilet gets flushed into the toilet bowl through the holes once you press the flush button which lifts the flapper with the help of a chain.
Although fixing the running toilet problem is easy to understand and get started, inexperienced people may find it hard to control things by themselves.
If the problem doesn’t seem to be fixed by taking things into your own hands, you might want to consider calling a professional.