Growing a peach tree from seed can be rewarding but tricky. It is possible to produce a fruit-bearing tree from a peach pit, but it takes time and special care. Unlike trees grown from grafts, seeds might take several years to bear fruit, and the fruit you get can differ a lot from the original peach.
Still, for those who are patient and dedicated, watching a tree grow from the very beginning can be a deeply satisfying experience. Here is everything you need to know on how to grow peach tree from seed.
When and Where to Plant Peach Trees
Before you learn how to grow a peach tree from seed, you need to decide when and where you plant it.
Soil
Peach trees thrive in well-draining, fertile soil. The soil should be rich in organic matter, which you can achieve by mixing in compost or aged manure. Aim for a soil pH between 6.0 and 7.0, which is slightly acidic to neutral.
Good soil drainage is crucial because it helps prevent root rot and ensures the tree's roots get enough oxygen. Before planting, prepare the soil by tilling it to a depth of about 12 inches to ensure it is loose and well-aerated.
Location and Light
Peach trees thrive in full sun, meaning they need at least 6 to 8 hours of sunlight daily, so choose a planting location where the tree will get consistent, unobstructed sunlight throughout the day. Unlike some shade-tolerant varieties, peach trees cannot tolerate partial shade.
Lack of sunlight leads to weaker growth and an increased risk of diseases and pests. If you live in areas with shorter daylight hours or more shade, the tree may not grow vigorously or produce as much fruit.
Spacing
Planting peach seeds has spacing requirements. If you are starting seeds in pots or trays, allow about 2-4 inches of space between each seed to give them room to grow. Once the seedlings are ready to be transplanted into the ground, they should be spaced at least 15-20 feet apart.
This spacing allows for proper air circulation, sunlight exposure, and room for the mature trees to spread. If planting multiple trees, ensure each has enough space to grow without overcrowding.
Before planting, you should prepare your site. Remove any weeds, grass, or debris from the planting area. This helps reduce competition for nutrients and water and minimizes the risk of pests and disease.
You should also consider the size of the site. Ensure ample space around the planting site for the tree to grow because peach trees need enough room for their canopy to spread out.
Planting Time
Peach seeds should be planted in late winter to early spring, typically around February to March, depending on your location.
This timing allows the seeds to go through a cold stratification period to break dormancy and encourage germination. If planting directly in the ground, opt for November or December. Plant the seeds in a prepared bed or container, and they will naturally undergo the cold treatment over winter.
How to Grow a Peach Tree from the Pit
Step 1: Collect the Pit
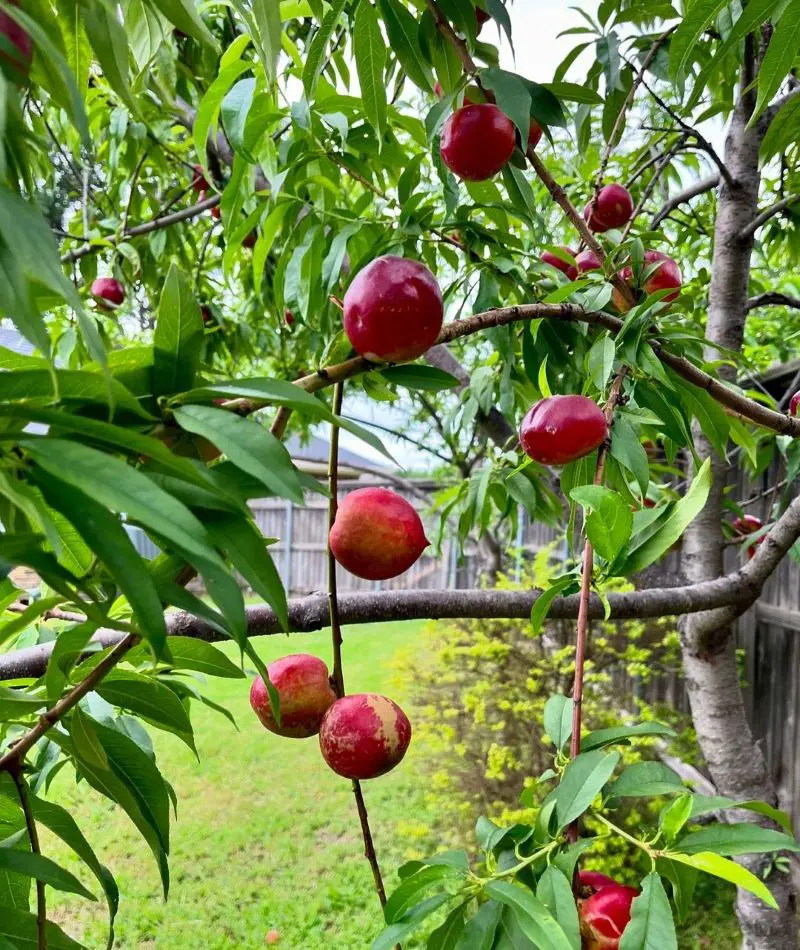
You need peach seeds to plant a peach tree. So gather your seeds by collecting pits from harvested peaches. To harvest, choose a ripe peach, preferably organic, to ensure the seeds are healthy and viable.
Remove the pit (or stone) from the peach and clean off any remaining fruit flesh from the pit. To prevent mold, dip the pit into a solution of one part bleach to 10 parts water. Allow the pit to dry for a few days in a cool, dry place.
Step 2: Cold Stratification
Once the pits are dry, they need to be cold-stratified. Cold stratification simulates winter conditions to help peach seeds break dormancy and encourage faster germination. Place the seeds in a plastic bag with a small amount of moist peat moss or sand.
This mixture should be damp but not wet. Then, store the bag in a refrigerator at around 34-41°F (1-5°C) for 6-8 weeks. This period of cold helps to soften the seed coat. Once the stratification period is complete, remove the pits and allow them to warm up to room temperature before planting.
Step 3: Remove Seeds from the Pit
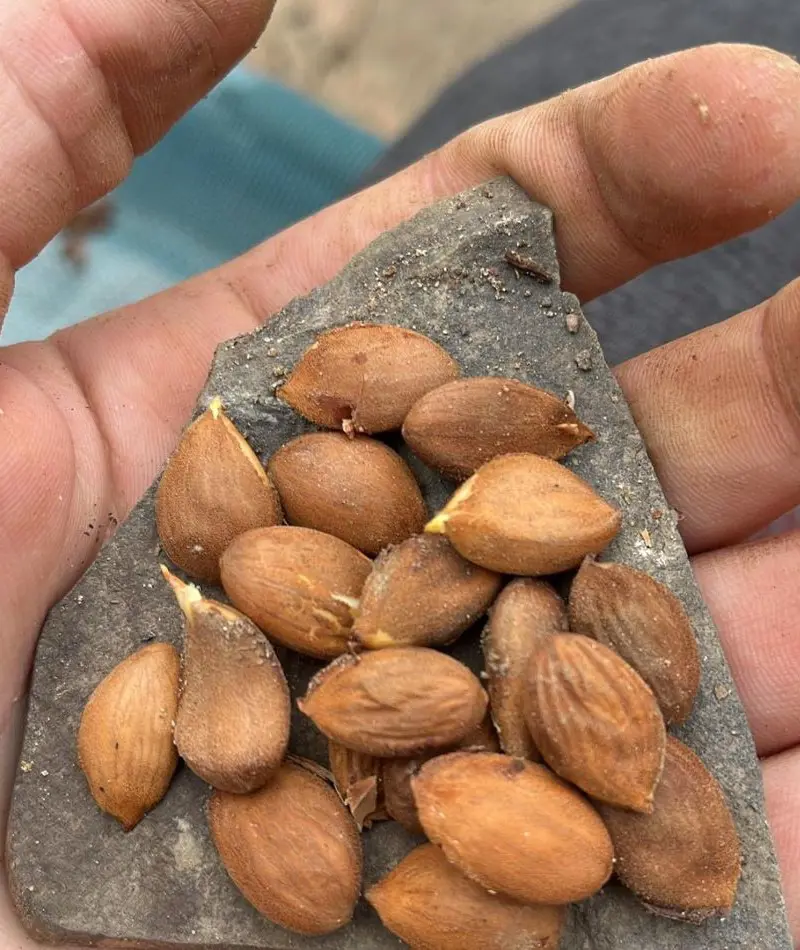
The actual seed is inside the wrinkled covering of the pit. After the pit has warmed to room temperature, crack the covering or the endocarp with pliers or a nutcracker, and then remove the small, smooth seed inside.
This step is optional, however. You can grow a peach tree from a pit that still has the endocarp, but germination might be slower compared to seeds that do not have an endocarp.
Once you have your seeds, prepare for planting by digging holes about 1 inch deep and 2-3 inches apart. Place each seed in a hole, positioning it with the pointed end facing down. Gently cover the seeds with soil, firming it lightly to ensure good seed-to-soil contact.
Water the area lightly to settle the soil around the seeds, being careful not to overwater. Maintain consistent moisture in the soil to support germination, which may take several weeks to a couple of months.
Step 5: Water the Seeds
Watering peach seeds involves providing consistent moisture without over-saturating the soil. After planting, gently water the seeds to settle the soil around them. Keep the soil consistently moist throughout the germination period, but avoid waterlogging, which can cause root rot.
To achieve this, water the soil when it begins to feel dry to the touch, usually every few days, but adjust based on weather conditions and soil moisture. Using a gentle watering can or a fine spray nozzle helps prevent disturbing the seeds or seedlings.
Step 6: Fertilizing
Fertilizing the peach seeds can provide the young seedlings with balanced nutrients to support their growth. Incorporate a balanced, slow-release fertilizer into the soil before planting, using a product with equal proportions of nitrogen, phosphorus, and potassium (such as a 10-10-10 formula).
Once the seeds have germinated and seedlings are a few inches tall, you can apply a diluted, liquid fertilizer every 4-6 weeks during the growing season. Avoid over-fertilizing, as this can lead to excessive leaf growth at the expense of root development.
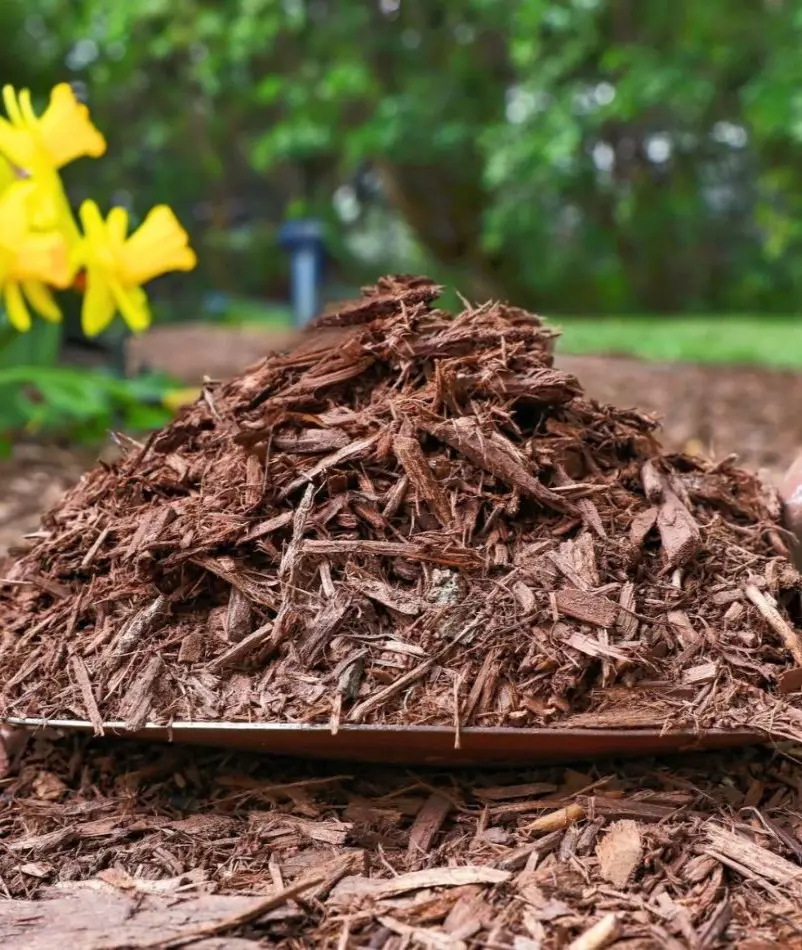
Mulching is an important step because it retains soil moisture by reducing evaporation, regulates soil temperature, supports healthy root development, and suppresses weed growth. Furthermore, it adds organic matter to the soil, improving its structure and fertility.
To mulch peach seeds effectively, apply a 2-3 inch layer of organic mulch, such as straw, shredded leaves, or wood chips, around the planting area. Spread the mulch evenly over the soil, ensuring it covers the soil surface around the seeds but stays a few inches away from the seed stems to avoid dampness that could lead to rot.
How to Start a Peach Tree from Seed in a Container
To learn how to grow a peach tree from the seed in a container, you need to know how to pot and repot. Potting and repotting peach seeds involves several steps to ensure seedlings develop strong roots and healthy growth. Here is a guide to help you through the process:
Potting Peach Seeds
Choose Containers
Choosing the right pot for peach seeds is crucial for their healthy growth. Opt for containers with drainage holes to prevent excess water from accumulating at the bottom, which can lead to root rot. Select pots at least 3-4 inches deep to accommodate the developing root system.
The material of the pot, such as plastic, clay, or peat, should be durable and able to retain moisture while allowing for proper aeration. Using appropriate pots will help provide a stable environment for the seeds to germinate and grow into strong plants.
Prepare the Soil
The soil for potting peach seeds should be well-draining and nutrient-rich to support healthy root growth. Select a high-quality seed-starting mix with perlite or coarse sand to enhance drainage. The soil should be light and airy to prevent waterlogging, which can lead to root rot.
Thoroughly mix the components and moisten the soil slightly before use, ensuring it is damp but not soggy. This preparation provides a stable foundation for seed germination and promotes vigorous seedling development by maintaining consistent moisture and aeration.
After cold stratification, plant them about 1 inch deep into the soil. This provides enough coverage for germination while keeping the seeds close to the surface where they can access light and warmth. If using seed trays, space the seeds 2-3 inches apart to give each one adequate room to develop without overcrowding.
For individual pots, place one seed per container to ensure each seedling has enough space as it grows. Gently cover the seeds with soil, firming it lightly to ensure good seed-to-soil contact.
Water Lightly
After planting the seeds, gently water the soil until it is uniformly moist but not saturated. The goal is to moisten the soil just enough to support seed germination without creating excess water that could lead to root rot or mold.
A fine mist or a gentle pour is often best for this purpose. Ensure that any excess water can drain freely from the pot to maintain an ideal growing environment for the seeds.
Provide Light
Adequate light for peach seedlings is crucial for their healthy growth. If natural sunlight is insufficient, especially during the winter or in less sunny locations, use grow lights to supplement their light needs.
Position the lights about 6-12 inches above the seedlings to mimic sunlight and encourage even growth. Ensure that the lights are on for 14-16 hours a day to simulate the length of daylight they would receive in their natural environment. Proper lighting helps prevent leggy growth and supports vigorous, healthy seedlings.
Repotting
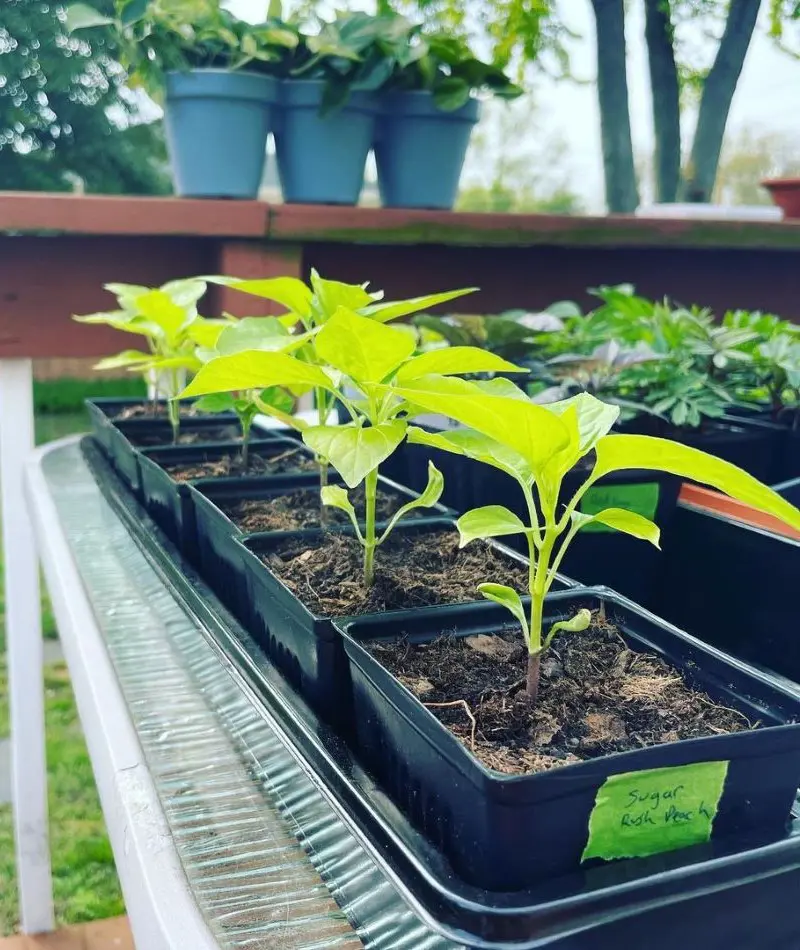
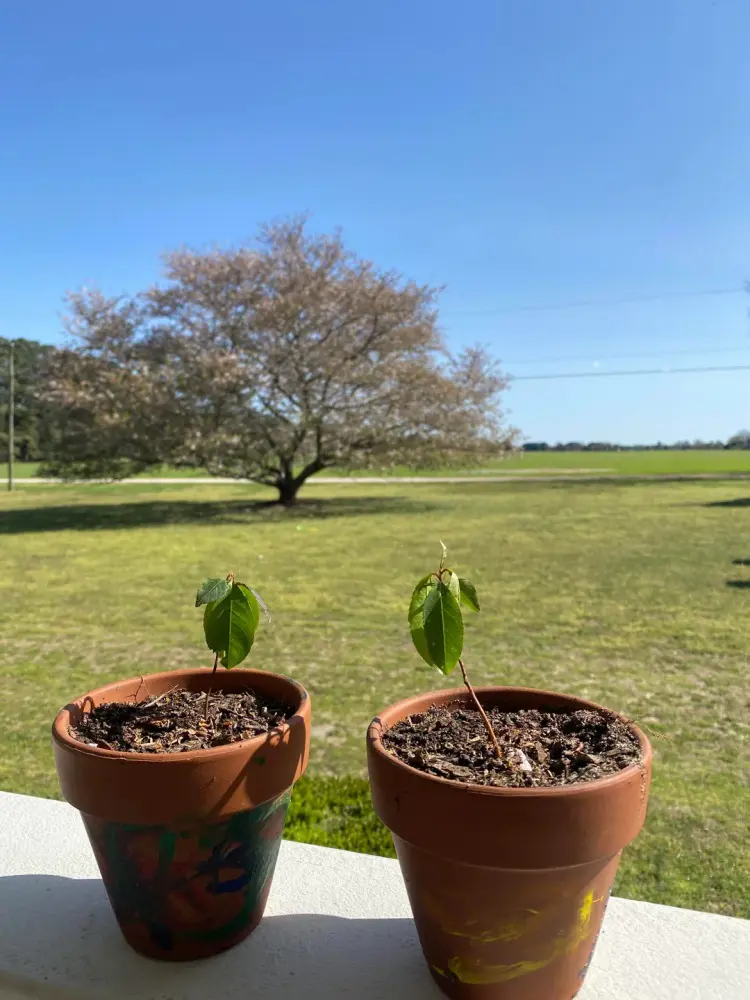
Monitor Growth
Monitoring growth means checking the development of peach seedlings regularly to determine when they need to be repotted. Observe the seedlings for signs of overcrowding, such as roots emerging from the drainage holes.
If the seedlings grow 2-3 inches tall and develop several sets of true leaves, they have outgrown their current pots. Additionally, check if the seedlings seem to be struggling, which could be a sign of limited root space. Regularly assessing these factors helps ensure that seedlings are moved to larger pots before they become root-bound.
Prepare New Pots
When preparing a new pot for repotting peach seedlings, select a pot that is 1-2 sizes larger than the current one, ensuring it has drainage holes to prevent water from accumulating at the bottom, which can cause root rot.
The larger size provides extra space for root growth, giving the seedling more room to develop. Fill the pot halfway with fresh potting mix. This fresh soil not only gives the plant room to grow but also supplies vital nutrients that support the seedling’s continued development.
When it is time to remove peach seedlings for repotting, handle them with care to avoid damaging their delicate roots. Start by gently loosening the soil around each seedling using a small tool like a spoon or your fingers. Work carefully to avoid tearing the roots, which are crucial for the plant’s survival.
Once the soil is loosened, grasp the seedling by its base, close to the soil line, rather than the stem, to minimize stress and potential damage. Slowly lift the seedling out of the pot, keeping as much of the root system intact as possible. If roots are tangled with neighboring seedlings, gently tease them apart.
Plant in New Pot
Place the seedling in the center of the new pot, ensuring the root ball sits at the same depth it was previously growing. Fill around the roots with fresh potting mix, gently pressing the soil to remove any air pockets.
This firming up of the soil helps the seedling establish itself in its new environment. Finally, water the seedling thoroughly to help the roots settle and provide the necessary moisture for its continued growth.
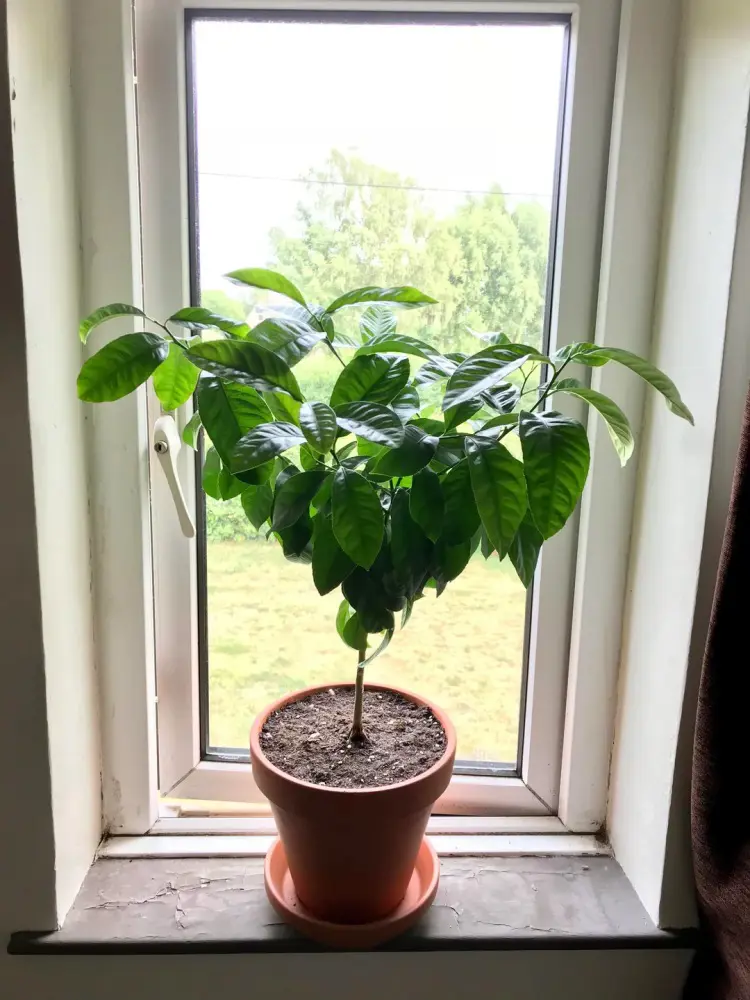
Water and Care
After watering the newly potted seedlings, you need to care for it. Ensure that the pots have good drainage to prevent water from accumulating at the bottom, which can lead to root rot. Place the seedlings in a location where they receive plenty of bright, indirect sunlight or under grow lights if necessary.
Keep the soil consistently moist but not soggy; the top inch of soil should be allowed to dry slightly between waterings. Regularly check the seedlings for signs of stress, such as yellowing leaves or wilting, and adjust watering or light conditions as needed.
How to Prune Peach Tree
Pruning a peach tree is essential for its health, productivity, and shape. Here is how to do it:
Choose the Right Time
The ideal time to prune is in late winter or early spring, just before the buds swell. This timing is important because the tree is still dormant, which reduces the risk of shock and allows it to focus its energy on new growth when the growing season begins.
Pruning at this time also helps to minimize the risk of diseases that can enter through fresh cuts, as the cooler weather limits the spread of pathogens. Additionally, you can better assess the tree's structure and make more precise cuts.
Gather Tools
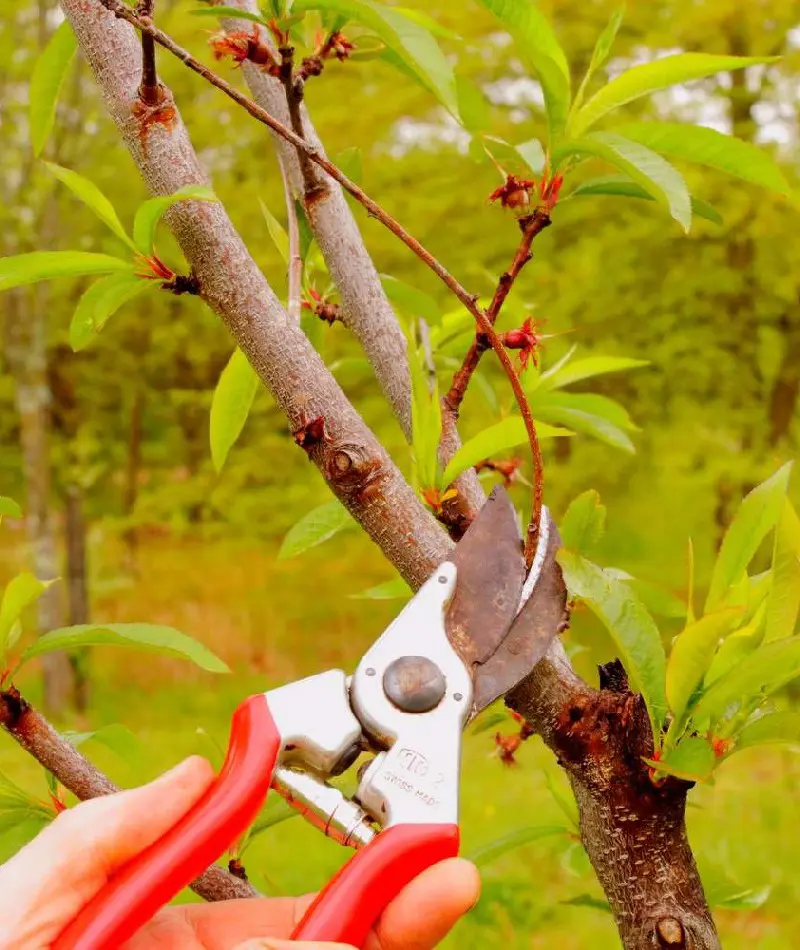
You need the right tool for pruning. Start with sharp, clean pruning shears for cutting smaller branches and twigs. For thicker branches, use loppers or a pruning saw, which provide the leverage needed to make clean cuts without damaging the tree.
Ensure your tools are sharp to make precise and clean cuts, reducing the risk of tearing the bark, which can lead to disease. Disinfect your tools before and after pruning to prevent the spread of any diseases or pests between cuts.
Remove Dead or Diseased Wood
Dead or damaged branches not only detract from the tree’s appearance but can also harbor pests and diseases that might spread to healthy parts of the tree. Carefully inspect the tree for branches that have discolored or peeling bark, lack buds, or show signs of fungus.
Using sharp, clean pruning shears, cut these branches back to healthy wood, making the cuts just above a branch junction or bud. Eliminating these problem areas helps the tree focus its energy on producing new, healthy growth and reduces the chances of disease.
To thin out the canopy of a peach tree, focus on creating an open, vase-like shape that allows light and air to penetrate the interior. Start by removing branches that grow inward toward the tree center, as these can create overcrowding and reduce air circulation.
Thin the branches to prevent them from crossing or rubbing against each other, which can cause wounds and increase disease risk. By selectively pruning to open the canopy, you enhance sunlight exposure and reduce humidity within the tree.
Cut Back Long, Unproductive Growth
Cutting back long, unproductive growth helps maintain a peach tree's health and productivity. Focus on branches that have grown excessively long without producing fruit, as these can sap the tree's energy and lead to a less productive canopy. Prune these branches back to a healthy, outward-facing bud.
This encourages new growth that is more likely to bear fruit and helps improve the overall shape and balance of the tree. Removing these long, unproductive branches promotes better air circulation and light penetration, which enhances fruit development and tree vigor.
Shape the Tree
Shaping the peach tree involves maintaining its structure to ensure optimal fruit production and tree health. Prune overly vigorous or unruly branches and aim to create a balanced, open canopy that allows sunlight to reach all parts of the tree. Focus on cutting till healthy, outward-facing buds.
This helps control the tree’s size and encourages new growth to develop fruiting branches. Regular shaping helps prevent overcrowding and ensures the tree remains manageable, promoting better fruit quality and easier harvesting.
Remove Suckers and Water Sprouts
Removing suckers and water sprouts helps maintain the health and productivity of a peach tree. Suckers are vigorous shoots that grow from the base of the tree or roots, often draining energy from the main tree and producing no fruit. Water sprouts are fast-growing, vertical shoots that emerge from older branches and also tend to produce little to no fruit.
Regularly removing these unwanted growths helps redirect the tree’s energy into fruit-bearing branches and improves overall airflow and light penetration within the canopy.
Clean Up
After pruning, thoroughly clean up the area to maintain tree health and prevent potential pest and disease issues. Gather and remove all the cut branches, leaves, and debris around the tree.
Discard these materials properly, preferably by composting or placing them in a green waste bin, to prevent lingering pests or pathogens from affecting the tree or nearby plants. Avoid leaving pruned material on the ground, as it can harbor diseases and pests that might spread to the tree or other plants.