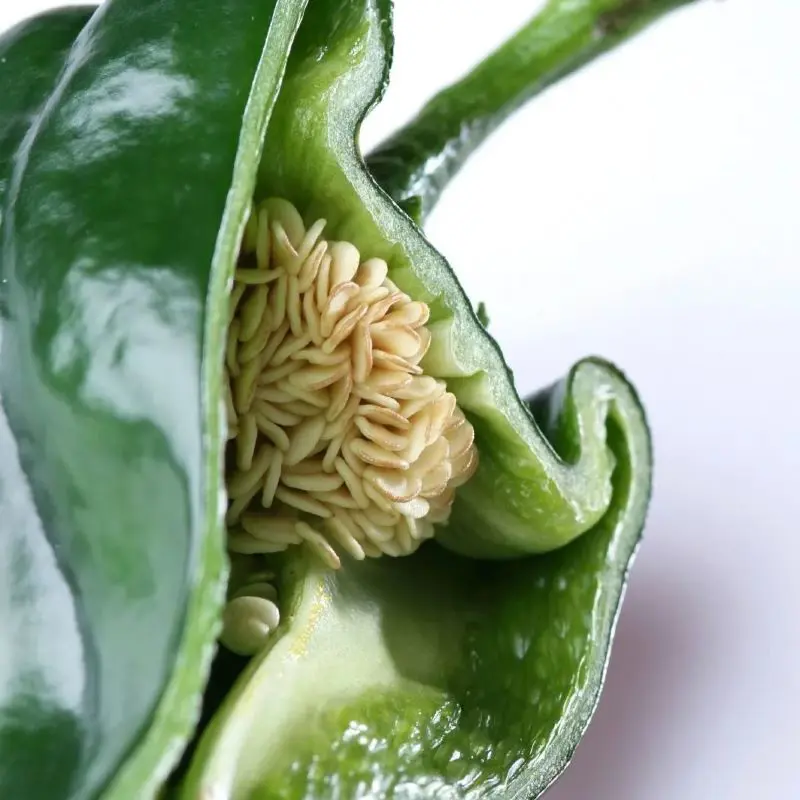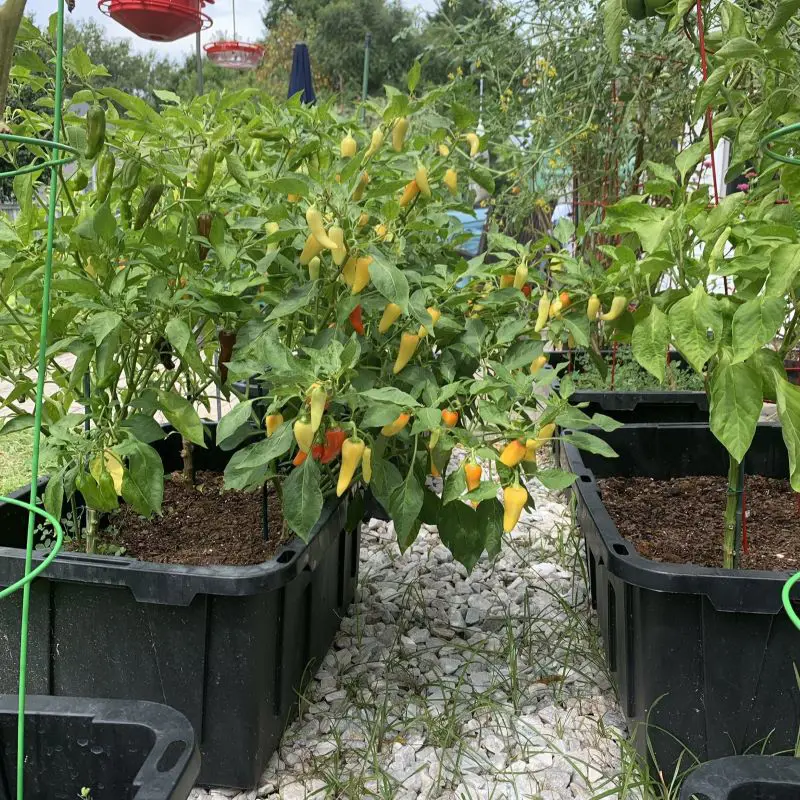
How To Grow Peppers From Seeds
Here we have discussed detailed information regarding the requirements for the planting of peppers:
Soil
Peppers need well-drained soil and can perform poorly in heavy, wet soils. If planting in such kind of area does not drain well, it is suggested to plant in a raised bed.
They are a warm-season crop producing the best within the range of 20 to 27 degrees Celsius. Also, they are very sensitive towards frosts and freezing temperatures.
Site Preparation
Before planting, determine fertilizer needs with a soil test and then follow the recommendations given with the test report. If the fertilizer is well according to the requirements, apply the fertilizer up to 6 inches of soil.
If you are fertilizing with compost, apply less than 1 inch of well-composted organic matter per 100 square feet of garden area.
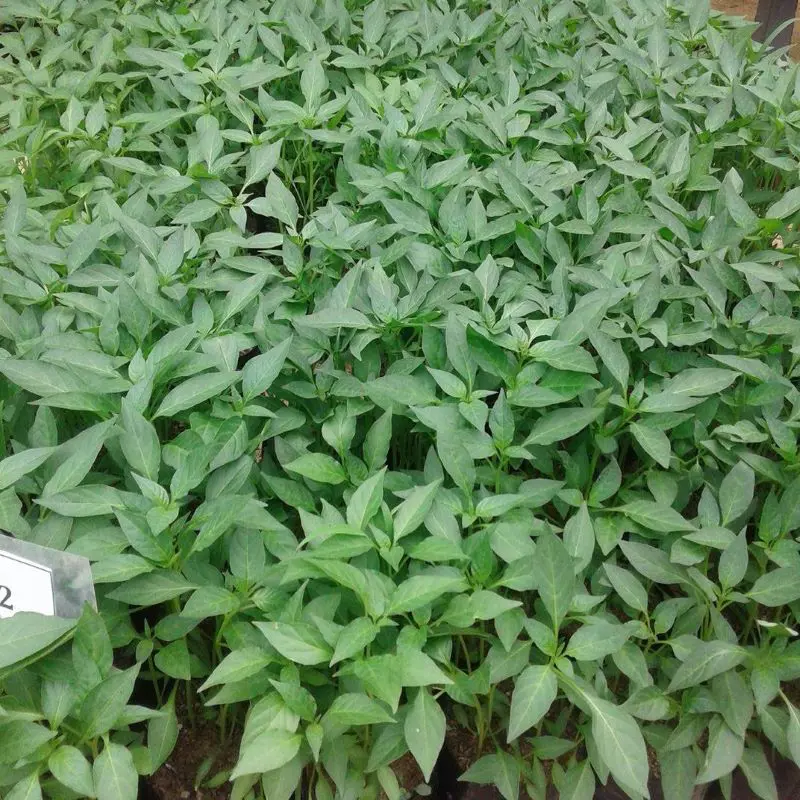
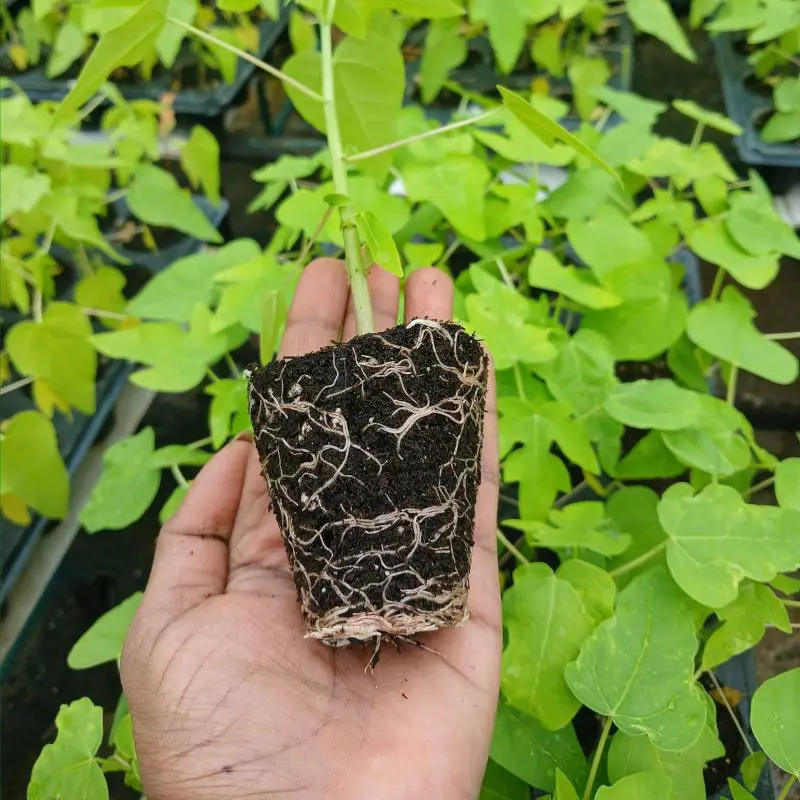
Plants
Allow 8-10 weeks to grow transplants. Transplants should have 6-9 mature leaves and a well-developed root system before planting. Germinate seeds at 80ºF until the seed root emerges, then transfer seeds to the sterile seeding mix and grow out at 65-75ºF. Adequate light is essential to produce quality transplants.
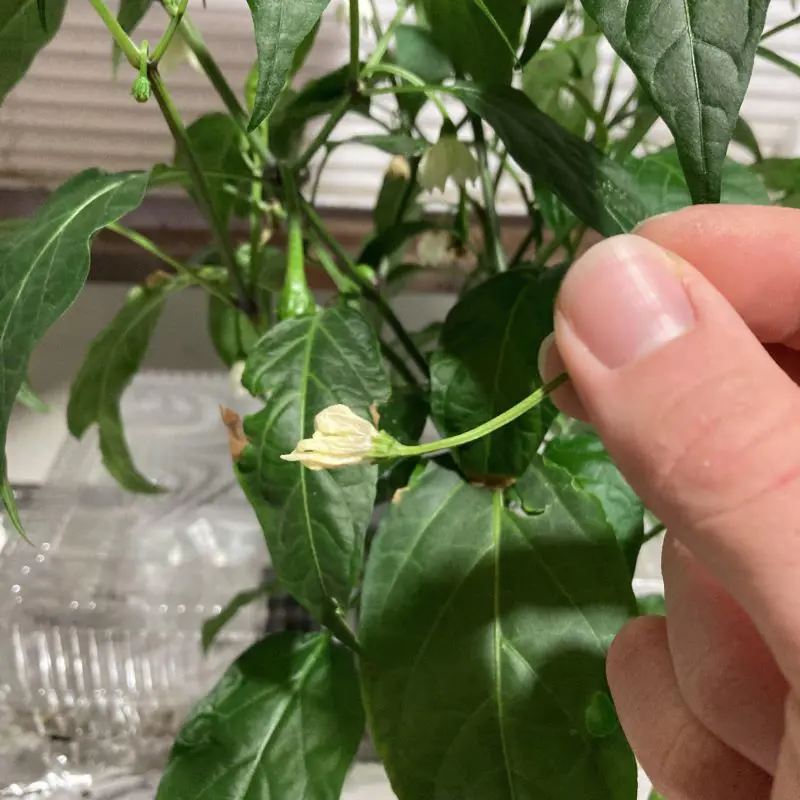
Planting and Spacing
Peppers should be transplanted when soils are 60ºF or after all frost danger has passed. Seeds can be planted in the garden 2 weeks before the last frost. Plant up to 4 to 6 pepper seeds at 1 to 2 inches deep and 18 inches apart.
Mulch
Black plastic mulch helps to keep soil warm, protects water, and helps control weeds. Plastic mulches allow earlier planting and maturity, especially with transplants. After amending the soil with compost or fertilizer, lay the plastic, secure the edges with soil, and cut holes for the seeds or transplants.