How To Grow

How To Plant And Grow Potatoes From Potatoes

Source : instagram

Having a plant of potatoes in your garden is quite fun. Moreover, there are different ways to grow potatoes. One such fun way is to grow potatoes from potatoes.

It might sound confusing, but the potato is a viable seed itself. How about we make everything clear by understanding how to grow potatoes from potatoes? Let's take a quick sneak and peek. 

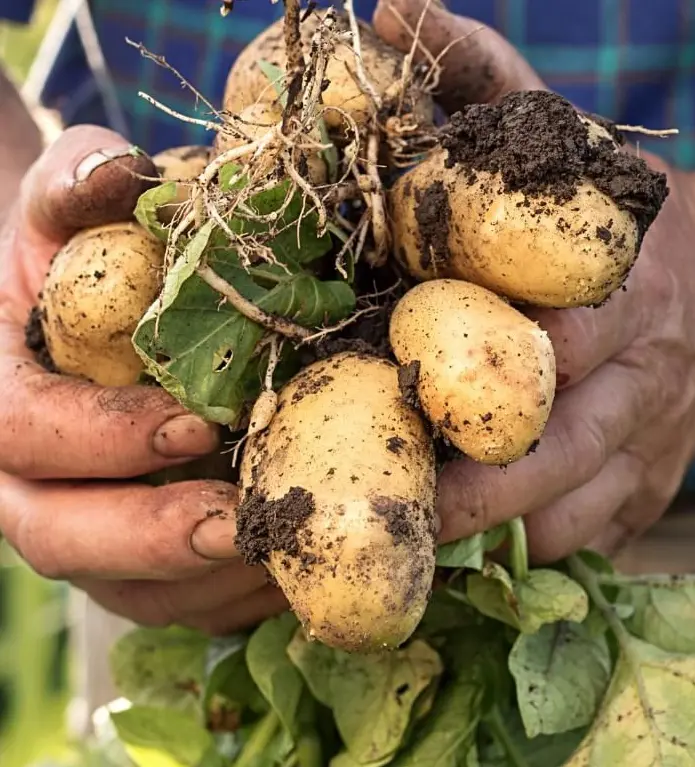
How to Grow Potatoes from Potatoes

Source : instagram

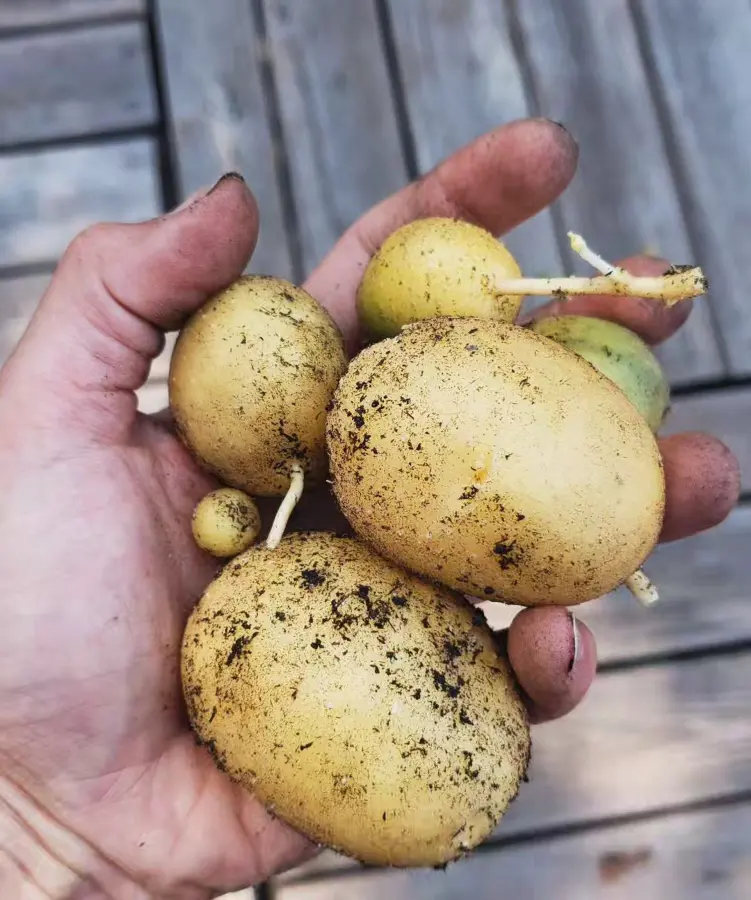
Well, the first thing we should understand is that a single piece of potato is itself a viable seed. With the proper following of the given process, growing potatoes from potatoes can be easily achievable.

Soil Requirement 

When it comes to soil for potatoes, they love to grow in well-draining and loose soil. The deep loam soil type is ideal for absorbing moisture and providing good drainage.

Moreover, the soil pH should be between 5.8 and 6.5, with an acidic value. It should also include compost matter. For fertility, try to feed them at least a month before planting.

Site Preparation

Now that you have prepared the soil, you have to prepare the location where you are planning to plant the potatoes. As you have determined the soil pH, you should determine the fertilizer requirement. You should apply the fertilizer up to 6 inches into the soil.

On the other hand, if you are fertilizing, blend it with the compost to increase the strength of the fertilizer. Deep cultivation of 8-12 inches is recommended to loosen the soil. It is better to plunge to a depth of 8-12 inches.

Plant 

When you transplant the potato tubers into the ground, do so once the soil temperature is around 50°F. The perfect conditions for your potatoes to grow are direct sun, loose and fertile soil, and consistent moisture.

The most important thing to remember when growing potatoes is the chilling process. This process involves mounding the soil around the base of the plant. It helps protect developing tubers from sunlight, as it causes them to turn green.
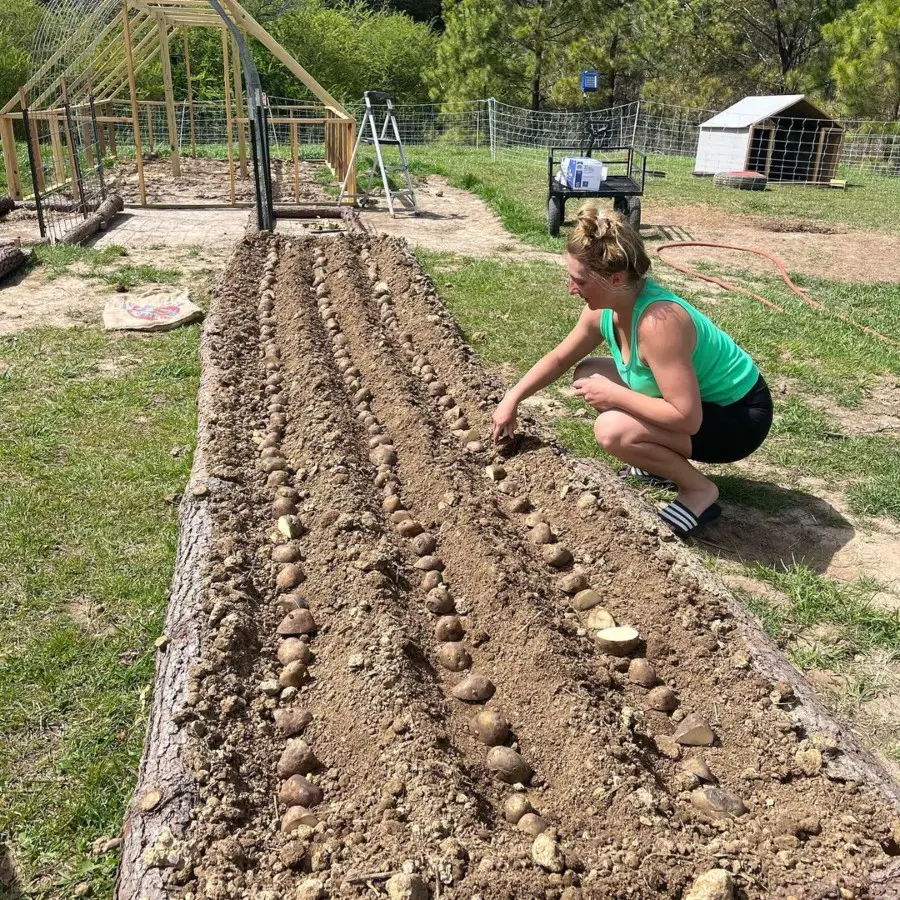
Spacing 

Spacing is another important factor in preventing the growing potatoes from overcompeting for nutrients. You should dig around 6-8 inches and keep the seed potatoes 10 inches apart, and for the larger ones, you might want to keep them 12-16 inches apart.

At the same time, you should space the rows 30 inches apart for the hilling process. As you complete the process, cover them with 3-4 inches of soil and leave the drain a bit filled to allow for drainage.

Mulch 

After planting, you need to provide extra support to maintain soil moisture and regulate temperature. This can be done with the help of mulch. Organic mulch like straw, grass, or shredded leaves are ideal as they break down eventually.

You should apply the mulch when the plants are about 6 inches tall. Remember that young plants might get smothered due to too much mulch. Spread a layer of mulch around 4 inches thick around the base of the plants and do not pile it directly around the stem to prevent rot.

Step-1: Select Seed Potatoes

Source : instagram

The first step starts with selecting seed potatoes from a reputable source like a garden center or nursery. The best part about certified seed potatoes is that they are disease-free and are sure to give your potato plants a healthy start.

Choose those that are firm and have at least one bud. Why bud? These are the places where sprouts will emerge, increasing the chances of successful growth.

Try to avoid potatoes from grocery stores. They might have been treated with inhibitors or carry diseases that can hamper the quality of your crop.

Step-2: Prepare Seed Potatoes

After you have selected the seed potatoes, you can start preparing them for planting. If you are using larger potatoes, cut them into smaller pieces with at least one bud each. This practical method allows you to grow many plants from a single batch of seed potatoes.

Ensure to use a sharp, clean knife for a clean cut and minimal damage to the tuber. After cutting, allow the pieces to dry for 1-2 days before planting. This time allows the potatoes to heal and develop a protective layer to reduce rot. Avoid stacking the pieces on top of each other, as it can cause uneven drying.

Step-3: Choose the Location

The time has come to choose the location for successful potato growing. An ideal location is a place that gets 6-8 hours of sunlight in your garden. Since potatoes love to grow in full sun, this will produce healthy foliage and tubers.

The soil in that location should be well-draining because potatoes are highly sensitive to rot in soggy conditions. To improve the situation, you can include organic matter such as compost or manure. This enhances drainage and benefits your potato plants.

Step-4: Plant the Seed Potatoes

As the conditions are ideal, it is time to start planting. Proper digging and spacing should be done for adequate air circulation and room for the plants to grow without overcrowding. Besides, if your soil is clay-like, it is better to dig a bit deeper for better drainage.

Place the seed potato pieces cut side down to ensure the buds are facing up. This helps them grow upward toward the surface. After placing the seed potatoes, cover them with a layer of soil. The layer of soil helps protect the seed potatoes from pests and provides the necessary insulation for them to sprout.

Step-5: Water Proper Amount

In their initial stage, water is crucial for them to grow properly. You need to thoroughly water to make the soil moist and help settle the soil around the seed pieces. Besides, the ideal amount of watering activates the growth process and encourages the seed potatoes to establish their roots.

Now that the roots are established, it is required to have consistent moisture during the growing season. Try to provide about 1-2 inches, depending on the weather conditions and soil type.

Step-6: Hill the Potatoes

Source : instagram

Hilling is one of the important factors in the process of growing potatoes from potatoes. As your potato plants reach about 6 inches tall, you can start the hilling process by mounding around the base and leaving the leaves exposed. 

As the plants grow, you need to repeat the hilling process every few weeks. Use a shovel to gently push soil from between the rows up around the plants' stems. Try to make the mound about 4-6 inches high, and be gentle with the plants and their roots during this process.

Step-7: Fertilize

Regardless of fulfilling all the ideal conditions, you should provide fertilization to meet their nutrient requirements. Apply a balanced fertilizer containing nitrogen, phosphorus, and potassium in a 10-10-10 ratio. This helps support plant health and promotes strong root systems.

Apply the fertilizer by mixing it into the soil during planting. When the plants grow and reach a certain height, additional feeding helps sustain them during their critical growth phase.

To avoid over-fertilization, it is better to follow the manufacturer’s instructions for application rates. Excessive foliage growth can damage the plants.

Step-8: Have Patience

When it comes to planting, you must have patience as the process takes time. It takes several weeks for the seed potatoes to establish roots and begin to produce shoots. During this period, the plants start developing, and visible growth above the soil may be slow to appear.

Besides this, time is required for you to provide consistent care, including proper watering, fertilization, and pest management. Remember, potatoes are generally ready to harvest 70 to 100 days after planting, depending on the variety and growing conditions.

Step-9: Prune and Maintenance

As the plants grow, it is necessary to prune them. This falls under the minimal requirements for crops to enhance growth and yield. Fortunately, potatoes do not require extensive pruning. They are more of a "set and forget" kind of crop.

Consider trimming excessive foliage that may be shading the developing tubers. At the same time, pinching off flowers can encourage the plant to focus its resources on producing larger tubers instead of flowering.

Step-10: Look for Drainage

Apart from observing the watering requirements, it is essential to maintain drainage during the growing of potatoes from seed potatoes. Proper drainage helps prevent waterlogging and root rot.

Before planting, check the drainage capacity of the soil with a simple test. Dig a hole about 12 inches deep and fill it with water. Observe how fast the water drains; it should take 1-2 hours for the water to disappear.

If the water remains stagnant for an extended period, this indicates poor drainage. To improve the drainage system, amend the soil with mulch or plant in raised beds.

Harvesting and Storing

Source : instagram

Now, you have completed the process to grow potatoes from seed potatoes. Get ready to enjoy the reward of a bountiful harvest of potatoes. The process of harvesting and storing potatoes is simple.

Harvesting

When it comes to harvesting the potatoes, it depends on the species and the plan you use to harvest them. For new potatoes, harvest them 2-3 weeks after they start to bloom their flowers.

On the other hand, mature potatoes are harvested 3 weeks after their foliage has died.

Desiccation

Apply a desiccant chemical to kill the potato foliage just 2-3 weeks before harvest. Allows tuber skins to mature and thicken as it reduces damage and disease in storage.
Also, remove the weeds as they can interfere with the harvester.

Lifting and Harvesting

In the garden, use a spade to lift the soil and see the tubers. Be careful not to damage the tubers, as this can cause rot. But if you grow in containers, simply put the contents in and try to harvest before a winter frost hits.

Curing

Curing is one of the post-harvest processes for potatoes. It involves allowing the harvested tubers to heal and develop a protective skin before storage. The process must take place in a controlled environment.

It means temperatures between 45-60°F (7-15°C) along with humidity levels. During curing, the potatoes are kept in a dark, well-ventilated area for about two weeks. If there are damaged tubers, it is better to discard them.

Storing

You have a handful of potatoes, and it is a lot. So storing them ideally can give you access to them for a longer time. Brush off the dust but do not wash them until they are grown. This is because moisture can promote mold growth and reduce storage life.

Give them time to cure by placing them in a cool, dark, and well-ventilated area for about 2 weeks. This hardens the outer skin and seals minor cuts. Store them in a dark place without exposure to bright light, as this can make the potatoes inedible.

  • Ventilation: Also, make the storage area well-ventilated. Use breathable containers for air circulation. Avoid airtight containers, as they trap moisture and can lead to spoilage.
  • Regular Checks: Eventually check the stored potatoes for signs of spoilage, such as softness, sprouting, or greening. Get rid of any affected potatoes immediately to prevent the spread of rot to healthy ones.
  • Avoid Refrigeration: Do not store potatoes in the refrigerator. The cold can convert the starches to sugar and affect the flavor of the potatoes.

Pest And Management

Despite ideal care, sometimes potatoes are susceptible to different pests. These pests can cause various diseases in plants and lead to stunted growth and ultimately death.

Colorado Potato Beetle

These are one of the most devastating pests of potatoes. They are known to be affecting both the adult beetles and their larvae. Moreover, these feed on the leaves of the potatoes and cause defoliation.

The early infestations are quite destructive and can reduce the harvest by 70%.

Spider Mites

Tiny spider mites love to eat leaves and stems. It suck the plant juices and causes yellowing of leaves. They thrive in hot, dry conditions and can quickly lead to significant damage.

Flea Beetles

Just like the spider mite, the tiny bottle chews the small home in the leaves. These are prominent to affect the young plants. Besides, these can cause substantial damage early in the growing season.

Wireworms

The larvae of click beetles feed on tubers. These are the reasons that cause holes and decay. They are particularly problematic in fields previously planted with grass.

Cutworms

The caterpillar of the cutworm cut the young plant in the soil lie. It can cause the death of the plant. They are more common in newly planted fields.

Aphids

Source : dammannsgardenco

One of the common pests in every plant are the aphids. These are small, sap-sucking insects that extract plant juices, which causes significant wilting.

Their large aphid populations cause leaf curling, light green spots, and can decrease yields by up to 64%. At the same time, they leave a sticky substance that can cause sooty mold.

Potato Leafhopper

The potato leafhopper feeds, as its name feeds, on its leaves and causes a condition called  "hopperburn." Their symptoms are yellowing and curling of the leaf margins. When you see these symptoms become visible the production rate decreases 

Potato Tuber Moth

The larvae of the potato tuber moth tunnel into the tubers. It causes damage in both the field and storage potatoes. Infestations can cause the drastic loss of the potatoes in both field and storage conditions.

Pests Management

To prevent the condition of the pests, you should have controlled ways of pest management that combine cultural, mechanical, biological, and chemical controls.

  • You should start by rotating the potato crop with non-host crops like grains or brassicas. It helps to break pest and disease cycles.
  • The planting of different species of potatoes with different genetic resistance to common pests and diseases like Colorado potato beetle and late blight.
  • Hilling and mounding soil around the base of potato plants helps bury and kill pests and also gives them adequate space to grow underground.
  • Give them an adequate but not excessive nitrogen supply to grow healthy, pest-resistant plants.
  • Checking them on a regular basis for pests and diseases. In case of early detection and intervention before populations explode.
  • In the case of small infestations, manually remove and destroy egg masses, larvae, and adults of pests.
  • Plant highly attractive plants like eggplants around field borders to attract the pests for targeted control.
  • Try to attract the natural predators like ladybugs, lacewings, or parasitic wasps to prey on or parasitize pests.
  • At the same time, use pheromone lures in traps to monitor and control pest populations by disrupting mating.
  • The last way you can do is to apply insecticides that target specific pests while reducing harm to beneficial insects.

Do Potatoes Regrow?

Source : instagram

A hundred percent yes. These plants can grow under certain conditions, although they are treated as annual crops in different gardening practices.

Growing From Scraps

You can propagate the batch of old potatoes by cutting them into pieces. Remember to ensure each piece has a bud. As these are planted in soil, they will grow into new ones. This is one of the traditional ways to grow multiple new plants.

Perennial Nature

Some plants are annual due to their perennial characteristics. If grown in the ground and not harvested, they can grow the next year during the growing period.

But this is not recommended for the tuber can become crowded that causes smaller yields and lower-quality potatoes. 

Impact of Freezing

In places with cold, freezing conditions, the temperature of the soil becomes cold, and potatoes without any additional mulch can easily rot. It is crucial to harvest all potatoes before the ground freezes for a good yield for the next planting season.

Volunteer Plants

Sometimes, these plants are considered volunteer potato plants sprouting in the spring from tubers that were missed during harvest. While it can produce new plants, it is not as productive as those grown from seed potatoes specifically planted for the season.