How To Grow

How To Plant And Grow A Cherry Tree From Seed

Source : reddit

Growing a cherry tree from seed is a rewarding journey, from a simple pit to a blossoming tree full of juicy, sweet cherries. However, the advantages of growing one over purchasing a young tree from the nursery might be superseded by its timing.

But imagine the pride right before your eyes of a cherry tree coming from one seed because of your efforts. Be it an experienced grower or just a beginner with curiosity, this guide will help you with all the steps so that from seed to harvest, your cherry tree will be on its way to success. 

How To Grow Cherry From Seeds

Before getting onto the steps let's look at the prerequisites;
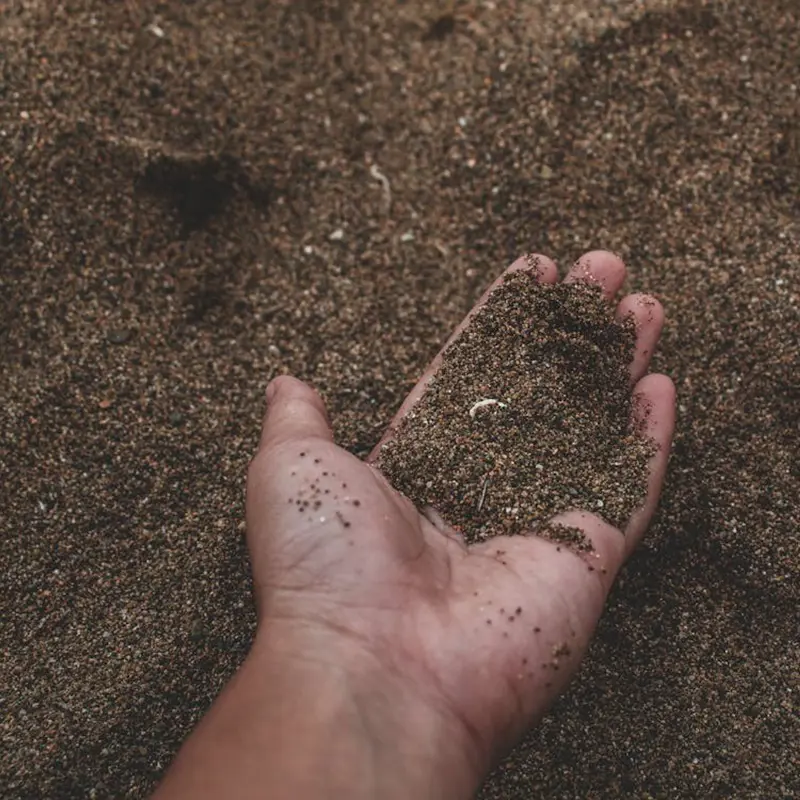
Soil

The best soil for any cherry tree should be considered first to ensure good growth of them. Members of the cherry family prefer well-draining, loamy soil that's slightly acidic to neutral, falling between 6.0 and 7.0. Heavy clay or sandy soils are quite difficult to make the roots establish as they either hold too much moisture or drain too fast. 

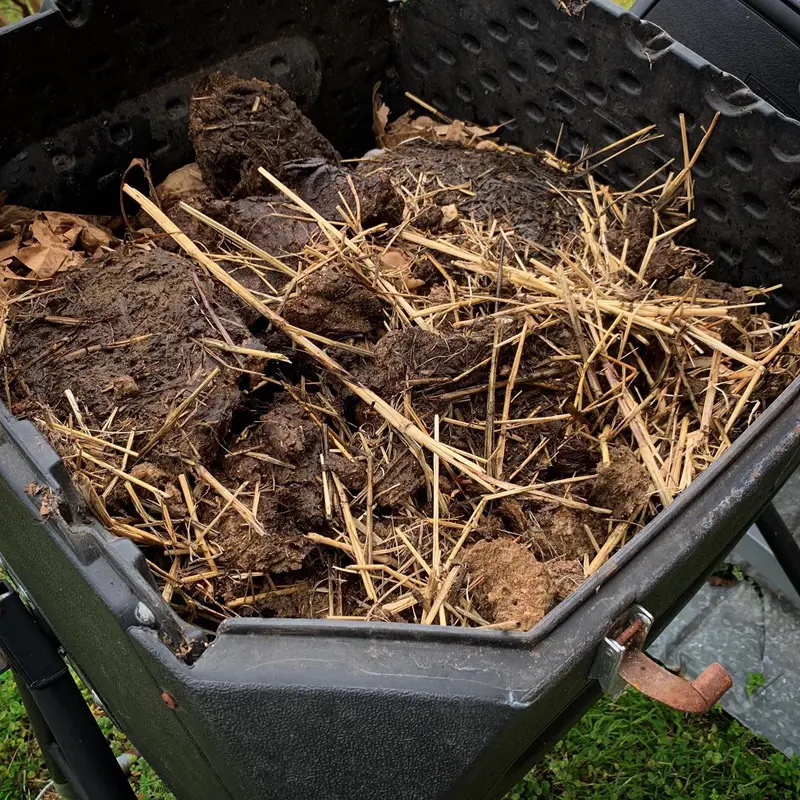
Consider the addition of organic matter like compost or peat moss to your soil to ameliorate the texture and drainage if your soil is on the clay side. Very sandy soils should have the benefit of compost to aid the soil in at least maintaining a little moisture along with some food. 
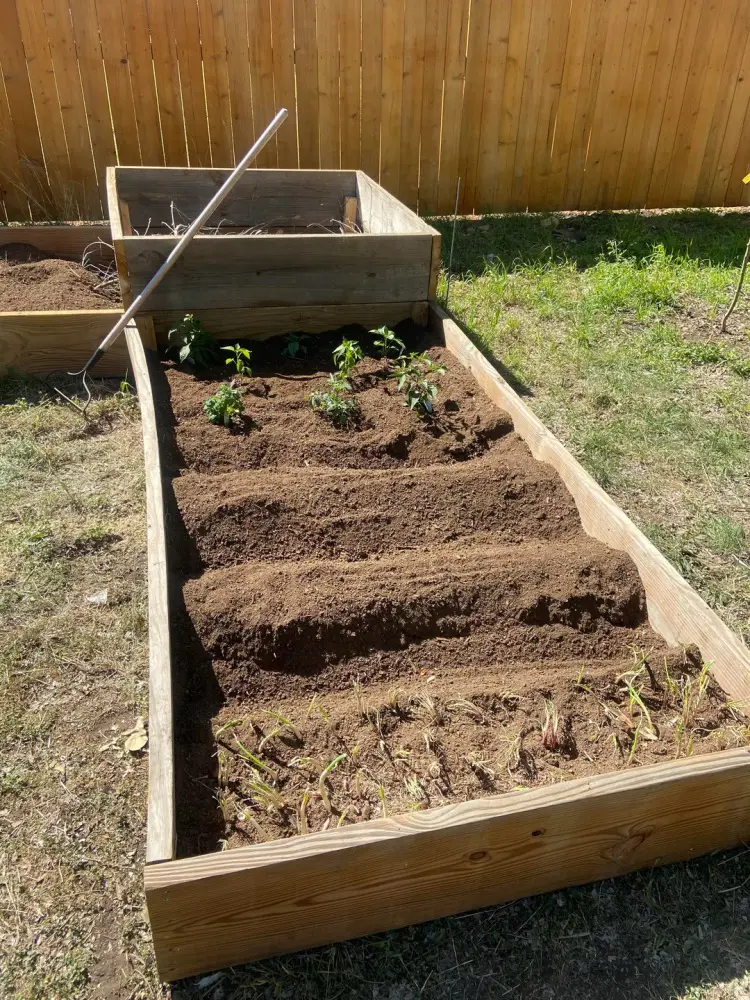
Site Preparation

Selecting the proper site would be as important as its soil. Cherry trees need a full sun location,6-8 hours of direct sun a minimum daily. Air circulation is key to keeping your tree healthy.

Do not plant in low spots where cold air and moist air may become trapped. Prepare the planting area by removing weeds, rocks, and other debris. For instance, you can prepare your garden bed by tilling the soil to 12-15 inches deep to loosen it and make it penetrable for the roots. 

Transplant

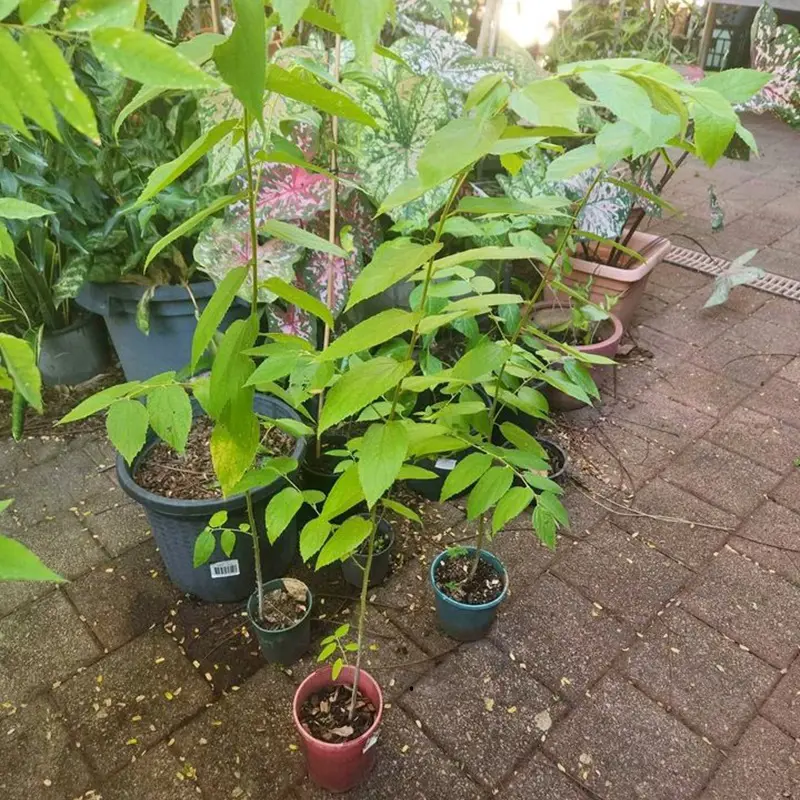
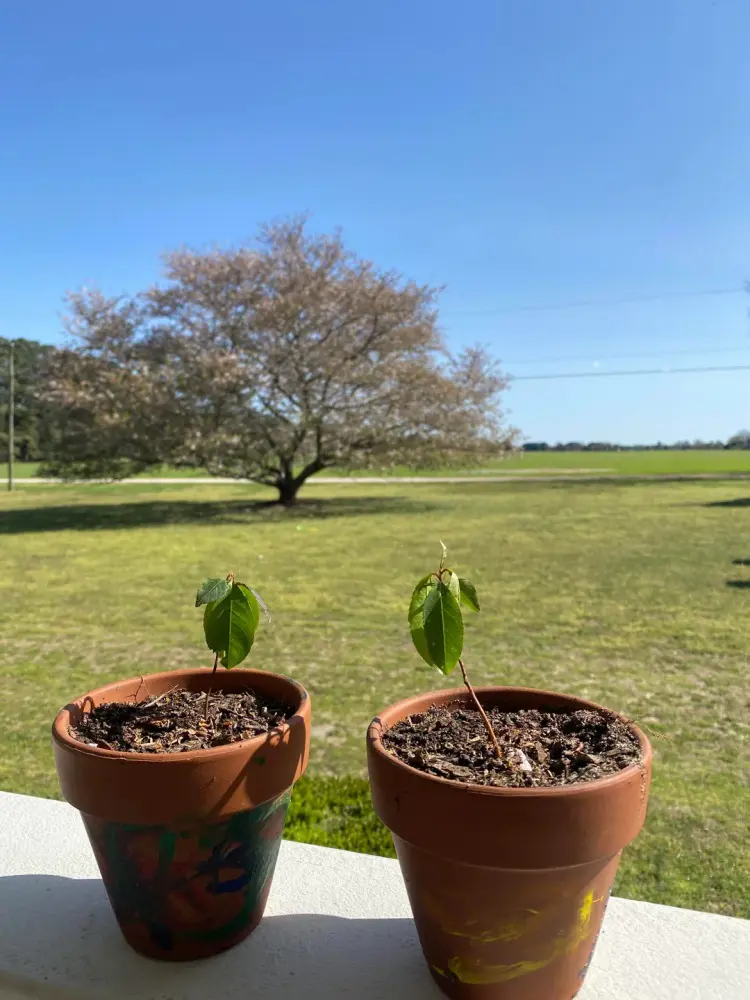
Once your cherry seeds have germinated and are young seedlings, they could be transplanted into permanent positions. Before you do the transplanting, the seedlings should have grown strong with at least 6-8 true leaves. To start, dig a hole about twice as wide and the same depth as the root ball of the seedling.

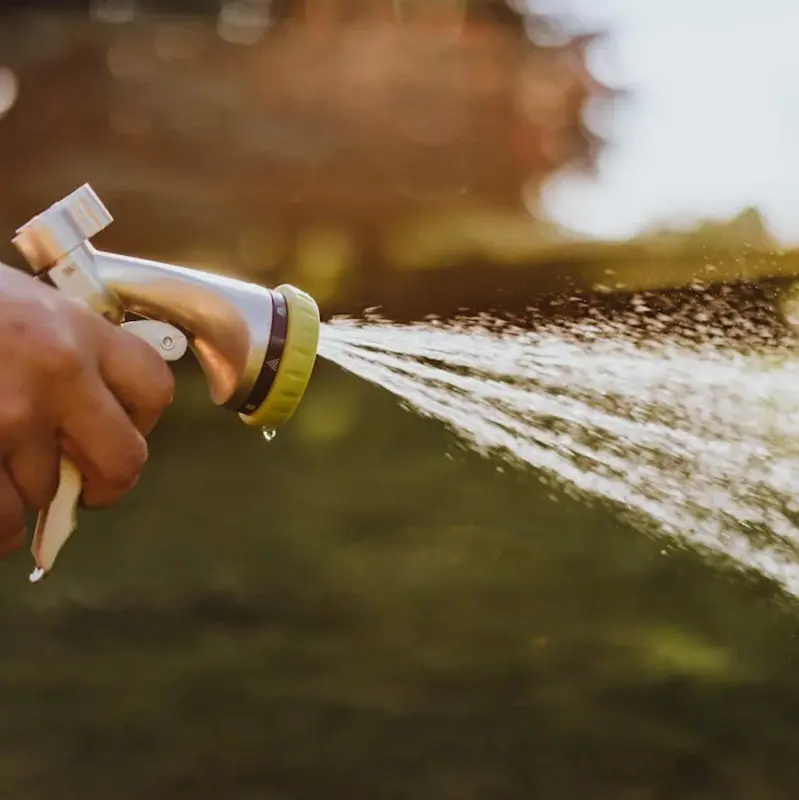
Take out the seedling from its container so as not to cause any damage to the roots. Center the seedling in the hole so that the top of the root ball is level with the soil surface. Fill in the hole with the removed soil, tamping it gently to avoid air pockets. Water well to settle the newly transplanted seedling.

Transplanting and Spacing

Source : reddit

Giving cherry trees proper spacing is essential to allow them to grow properly. Put 15-20 feet between sweet cherries and 20-25 feet between sour cherries if more than one tree is to be planted.

This will keep the density of the canopy not too close, allowing proper air circulation around the trees and hence reducing the incidence of disease. When planting one tree, make sure there is a 10-15-foot space between buildings or large structures.

Step 1: Choose the Right Seed

The first and foremost step of planting is selecting the right cherry seeds. You have two options: buying seeds from a reputable nursery or using seeds from fresh cherries. 

For instance, sour cherry varieties grow much better in cool climates, and sweet cherries do best in warm places. Once you have chosen your cherries, gently extract the seeds from your fruits. Be very careful to clean the seeds well so no pulp is attached. 

Step 2: Stratify the Seeds

Cherry seeds need to be cold stratified; this is a process that provides them with the winter period of dormancy through which they go naturally to help germinate. To stratify the cleaned seeds, lay them in a moist growing medium like a dampened paper towel, sand, or vermiculite and seal them in a plastic bag.

Finally, place the bag in the refrigerator where the seeds should be kept for 8 to 12 weeks. Over this period, periodically check the seeds for moisture and growth of mold. 

Step 3: Prepare the Soil

Source : pexels

The preparation of soil forms the basis for growing cherry trees. Cherry trees prefer deep, well-drained soil with a good share of sand, silt, and clay. It should be rich in organic matter that provides the necessary food elements and soil structure.

The tests for soil pH are crucial because the cherry tree requires fairly acidic to neutral soils with a pH range of 6.0 to 7.0. If your soil has a rather low pH, it can be increased with the help of lime; otherwise, sulfur can help bring down the pH level.

Step 4: Choose a Planting Location

The right location to plant a cherry tree is the most important decision a person will make about the long-term health and productivity of the tree. Cherry trees full sun, needing at least 6-8 hours of sunlight per day. This will ensure that the sunniest location yields enough light for a healthy crop of fruit to come from the tree.

Additionally, good circulation reduces the chance of fungal diseases. Cherry trees are very susceptible to those. Do not plant in depressions where water may collect; a cherry tree will not stand in soggy soil. 

Step 5: Plant the Seeds Indoors

After stratification is done, the seeds are ready to be planted indoors. By planting the seeds indoors, one can have control over the environment and help the seeds germinate before facing the outside conditions. Use small pots and light, well-drained potting mix, and embed each seed in the soil about one inch deep.

Lastly, light covering of a little soil. Water the soil by gently using the nozzle of water so that the seeds are set well in the soil. These pots are to be kept in a warm, sunny place, close to a south-facing window, where they receive ample light. 

Step 6: Maintain Moisture

Source : pexels

A constant moisture level in the soil is quite important for seed germination. The cherry seeds need moisture to soften the outer shell and invite growth for the embryonic root. You don't want it too wet, because sensibly, that could mean the seeds will then start rotting.

A spray bottle is handy for misting the soil in a manner that keeps the proper moisture, without locking the seeds with too much water. Check the soil regularly to make sure it stays moist, but not soggy. As seedlings, continue to water carefully as roots are developing.

Step 7: Provide Adequate Light

An adequate amount of light is the single most important factor in growing cherry seedlings successfully. Seedlings not receiving adequate light will be 'leggy and weak and will be difficult to grow into vigorous little trees. Ideally, pots should be placed where there is a minimum of 12 to 16 hours of light exposure each day.

If the natural light is not adequate, use a grow light to supplement the seedlings' light requirements. Grow lights offer the flexibility to be adjusted to the appropriate intensity and spectrum of light for young plants to grow. 

Step 8: Monitor Seed Germination

Germination times may vary according both to the variety of cherry and the conditions that it experiences. That may mean that some seeds will germinate within a few weeks, and some within just a few months.

Here again, this requires patience. From time to time, just keep an eye on the pots because germination success is based on conditional things like temperature, moisture, and light. Not all the seeds grow, but the ones that do will start to develop into young seedlings. 

Step 9: Thin the Seedlings

Source : facebook

When your cherry seeds start germinating and growing up as seedlings in a pot, you will sometimes notice too many seedlings germinating in a single pot. If you want to give each a good start, it's important to thin the seedlings.

Allow only the healthiest and best seedling to remain in each pot, and pull or clip out weaker ones away. Reduction of competition between plants for light, water, and nutrients; reduced competition makes the remaining seedling stronger. 

Step 10: Harden Off the Seedlings

Harden the seedlings off relative to the hardening-off process. Hardening-off is the process by which seedlings are gradually introduced to outdoor conditions, such as wind, sun, and changes in temperature.

Place seedlings outside in sheltered conditions for a couple of hours a day, for 1- to 2-week durations, so they have more time with exposure. This gradual transition helps reduce transplant shock, making the seedlings more resilient when they are finally planted outdoors. 

Step 11: Prepare the Planting Hole

When the cherry seedlings attain their age, the next step would be transplanting, to help in the preparation of the planting hole. From the top of the hole, it should be around double the width and depth of the hole of the seedling's root ball.

This will allow the roots more than enough room to spread and become established in the new site. Loosen the soil that is found on the base and walls of the hole to reduce compaction and enhance root penetration. 

Step 12: Transplant the Seedlings

Source : instagram

Now that the planting hole is prepared, remove the seedlings from their pots carefully. Do it softly to avoid damaging the roots and stem of the seedlings. Place the seedlings in the hole so that the top of the root ball will line up with the soil around the hole.

Backfill the remaining portion of the hole with soil and firm by tamping softly. Be careful not to plant the seedling too deep because such causes a certain degree of stress and delays growth. 

Step 13: Water the Newly Planted Seedlings

Water in seedlings well after transplanting to firm the soil around the roots. Deep watering stimulates root growth downwards to form an ample anchorage of the tree. The watering done right after transplanting will also ensure that the seedlings have enough moisture to facilitate restoration without transplant shock.

Water seedlings regularly through the driest months, but be careful not to oversaturate the soil. Maintaining just the right amount of moisture is key to ensuring that your young cherry tree stays alive and will continue to grow.

Step 14: Mulch Around the Base

Source : facebook

Mulching around the base of your cherry tree will help retain water and reduce weeds while also modifying the temperature. Apply organic mulch, for example, wood chips, straw, or shredded leaves. Mulch should be spread in about a 2- to 3-inch layer around the tree.

Make sure that the trunk is spaced a few inches from the mulch to prevent any likely rot and diseases. Mulching will help keep the soil moist as well as add organic matter to the soil as the material decomposes enriching the soil with greater fertility. 

Step 15: Protect and Maintain the Seedlings

Overview Ongoing care is also necessary after planting to ensure the cherry thrives. For the first few years of their life, you must provide the young tree with protection from potential threats such as pests, animals, and harsh weather conditions.

Provide physical barriers, like fencing or netting, to keep animals from nibbling on tender seedlings. Regular checks in the moisture of the soil and water as necessary, making special efforts to ensure the tree gets enough water during dry periods. 

Harvesting and Storing Cherry Trees

Harvesting

Of course, for your cherry tree to be able to please you with the most delicious fruits, it will need some time to grow up and start fruiting. After that, you must know when the picking time is for the most flavor. The harvest time usually happens from late spring to early summer.

The fruit should be firm, fully colored, and glossy. Sweet cherries are much darker, typically red, and sour cherries are bright red. Pick the cherries by grasping the fruit between the thumb and index finger, giving a slight twist, and then removing it from the tree. 

Source : freepik

Storage

Since the life cycle of fresh cherries is relatively short, proper storage is the key to their quality. If you consume them within a few days, store the cherries in a refrigerator in a breathing container a paper bag, or even a perforated plastic bag.

The cherries could also be frozen for longer storage. To freeze, wash and dry the cherries well, then pit them and spread them in a single layer on a baking sheet. Once frozen, they can be transferred into an airtight container. Frozen cherries will generally keep for up to one year and work great in smoothies, for baking, or as simply a snack.

Pests and Diseases

Cherry Fruit Fly

These minute flies lay eggs in the developing cherry fruit, and the larvae feed inside which makes it quite inedible. Control: Sticky traps catch adult flies, and if need be, apply insecticides during the fly's active period.

Aphids

These small insects suck the plant's young leaves and shoots, which in turn curl and stunt growth. Aphids may also secrete a sticky substance called honeydew that may result in sooty mold. Control can be done by introducing beneficial insects like lady beetles, insecticidal soaps, or neem oil application.

Spider Mites

These minute insects turn the leaves speckled and discolored. Defoliation is caused during a very severe infestation. Keep the tree well-watered to mitigate spider mite damage, and spray miticides if necessary.

Source : pexels

Powdery Mildew

This fungal disease appears as a white, powdery coating on leaves, stems, and fruit, curling leaves, and vigor reduction of the tree. Control powdery mildew by pruning off infected areas and applying fungicides as required. Place the tree in full sun in an area with good air circulation—reduced humidity.

Bacterial Canker

This is a serious disease that causes the formation of sunken, dark lesions on the branches, leading to dieback; in severe cases, it might lead to tree death. Most of the time, bacterial canker is let into a tree through pruning wounds or other kinds of injury.

Hence, to prevent this, prune only in dry weather and protectively use copper-based fungicides.

Cherry Leaf Spot

This fungal disease forms small, purple, circular, or oval spots on leaves; they subsequently turn yellow and fall prematurely. In severe cases, it can completely defoliate the tree, resulting in reduced fruit production and a general weakening of the tree.

The ground should be kept clear of fallen leaves regularly, and fungicides in wet weather to help control disease spread.

Types of Cherry Trees

The cherry tree has two main classifications: sweet cherry trees and sour cherry trees. Each classification has its unique characteristics, growing patterns, and uses. Here are some of the most popular cultivars in both classifications:

1. Sweet Cherry Trees (Prunus avium)

Sweet cherry trees bear large, plump, juicy cherries usually eaten fresh. They tend to be best suited to a warmer climate generally and are usually grown in USDA zones 5 to 9.

Bing Cherry

Among the all-time favorites with a large, heart-shaped, and purple-red fruit, it is known to have a rich, sweet taste. This one does remarkably well in full sun and is generally harvested from early to mid-summer.

Rainier Cherry

These are widely believed to have yellow skin with a red blush. More than just their kind, tourists prefer Rainier cherries since they have an extremely sweet and mild taste. Large and thick, this type is ideal for farm-packed fresh eating. They also need a lot of sun and only ripen in mid-to-late summer.

Lapins Cherry

The color is dark red, large, and firm, with high juiciness. Sweet and tasty in flavor, great for fresh use and preservation. Shows increased resistance to splitting.

Stella Cherry

The other type of self-pollinating, Stella, fits easily into your smaller garden environment. This is because you don't necessarily have to have many of the trees around. They bear breasts of sweet-flavored, large, and dark-colored red cherries up for harvesting in the late months of summer.

Source : facebook

2. Sour Cherry Trees (Prunus cerasus)

Sour cherry trees are thus extensively used in cooking and baking, as their tart flavor lends itself to pies, jams, and preserves. They are more cold-hardy than sweet cherries and can be grown in USDA zones 4-8.

Montmorency Cherry

This is the most popular sour cherry in America. The cherries are bright red and tart, considered the very best for cherry pies – but also do very well with juicing and preserving. The variety is self-pollinating and ready for harvest in early summer.

Morello Cherry

This cultivar has dark red cherries, almost black. It is very acidic. This cultivar is also self-fertile and generally much later in ripening than Montmorency. They are often used for baking purposes and in making liqueurs.

Balaton Cherry

Hailing from Hungary, Balaton cherries are dark red, very slightly sweeter compared to other sour cherries, with a full, robust flavor. They are excellent for use fresh and culinarily. This variety is self-pollinating and ripens during summer.

North Star Cherry

The North Star cherries are of a dwarf variety, so it is quite fair to grow them in small areas or even containers; they yield bright red, tart cherries, which are very good for pies and preserves. This is a very hardy, self-pollinating, heavy-bearing tree that is also cold and disease-resistant; the fruit ripens in mid-summer.

3. Ornamental Cherry Trees

Source : facebook

Apart from cherries that produce fruits or simply fruit-bearing cherries, ornamental cherry trees, on the other hand, are admired for their blossoms rather than their fruits. These cherries are more often grown in gardens and parks due to their aesthetic value.

Yoshino Cherry (Prunus x yedoensis)

Usually decorated with a white or light pink flower display—an ornamental tree—is among the most common. This is why it is also usually associated with cherry blossom festivals and therefore widely planted in Japan and the United States.

Kwanzan Cherry (Prunus serrulata 'Kwanzan')

This is the double-pink fitness cut of the cherry flower and shows high ornamental value. Although rather subject to diseases and tolerant to soil variants, planting of the Kwanzan cherry tree is still done on a wide scale in landscaping.

Weeping Cherry (Prunus subhirtella 'Pendula')

This is an elegant ornamental tree with cascading branches covered in dainty pink or white flowers. This tree is mostly the cynosure in gardens because of its very graceful look.