Gardening in a pot is one of the most fulfilling ways of cultivating different kinds of plants for home or for the outdoors. Good potting helps in the growth of plants and makes them look glowing.
Starting from the proper choice of the pot to the proper soil preparation and watering guidelines are all included here. The following is a simple, yet concise guide on how to plant in a pot which will help you properly prepare your plant for optimal growth and health in your home or garden.
Step 1: Choose the Right Pot
Choosing a pot which has drainage holes at the bottom is important to avoid root rot as well as for enhanced plant growth. Pot size should correspond to the size of the plant; it should be larger than the nursery pot but not too large.
It is recommended to use clay, ceramic, or plastic but the pot must have a good drainage system. Some examples of pots to be kept off are pots without drainage holes or pots that offer limited space for the plant to grow. The pot size is appropriate for root development and general plant health.
Step 2: Prepare the Pot
To avoid transferring any pests or diseases that may be present on it, wash the pot and ensure it is clean. However, If the pot is newly bought, it should be washed with water to remove any chemical residues from the manufacturing process.
In case of used pots, wash them with mild detergents and then rinse the vessels thoroughly. This preparation step is essential to achieve a clean environment for your plant and would eliminate contamination possibilities. A clean pot also helps the plant to grow because they are clean and provide the best environment for the plant.
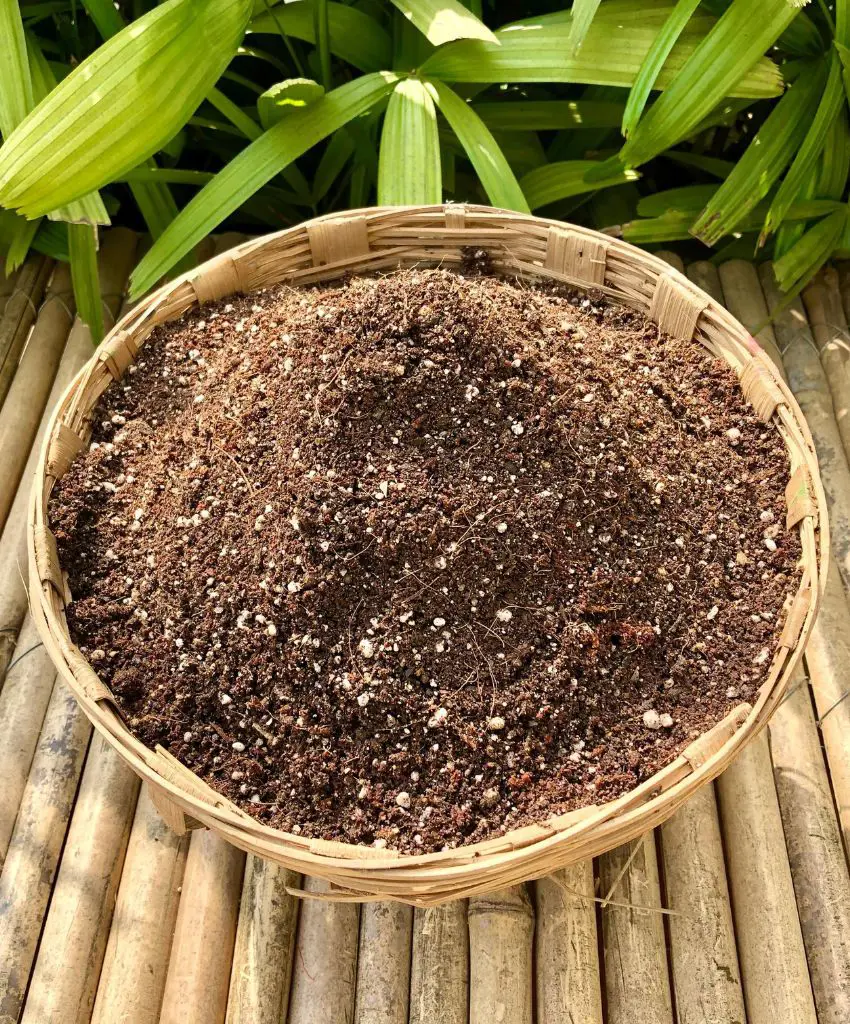
Select a high-quality commercial planting mix to use for your particular type of plant. Pour the mix into the pot to about 2-3 inches from the rim of the pot. From this gap, it is possible to water the plant and also avoid spillage of soil over the edges of the pot.
Also, do not use garden soil as a growing medium as it may have poor drainage capacity and can harm roots. The potting mix should be friable, or the air content should be high to enhance root intake of both oxygen and nutrients for proper growth.
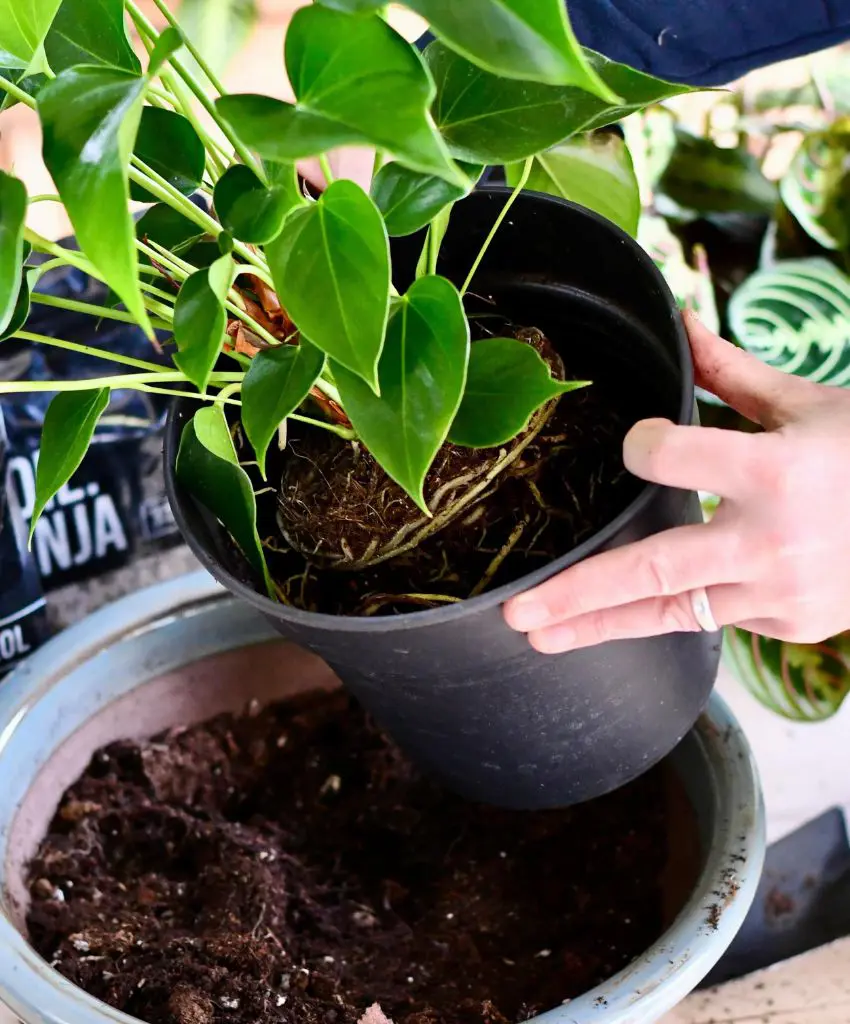
Step 4: Prepare the Plant
Transplant the plant by first, delicately taking out the plant from its original container and freeing it from compact soils that may have surrounded it. This avoids the phenomenon known as root circling which is detrimental to the development of the plant.
If the plant is root-bound, one should use clean scissors to cut off any roots that are coiled around it to enhance the growth conditions. This way of carrying the plant protects it from being easily uprooted or damaged by pulling on the roots. Preparation is crucial to enable the plant to thrive in its new environment and grow robustly.
Step 5: Check Root Health
Check on the health status of the plant by examining the roots for physical injuries or disease. Prune off any old, soggy, or very entwined roots using a sharp, sterile pair of scissors. A healthy root system is always required for the uptake of water and nutrients from the soil.
Cutting off unhealthy roots reduces the likelihood of such issues as root rot or fungal diseases on plants. Now you leave only healthy roots behind, which in turn will lead to better plant development within its new pot.
In the middle of the pot, Place the plant and make sure that the top part of the root ball is even with the top part of the soil. These avoid situations where the plant is too deeply covered or placed in a high position, factors that affect the rate of growth.
Trim or prune the plant if necessary, and maintain the recommended soil height to support its stability. Right positioning guarantees that the root of the plant has enough space for growth and absorption of nutrients. This is an important step in the pot planting process.
Step 7: Fill with Soil
Pour more potting mix around the plant, patting the soil lightly to ensure that it does not have large air pockets without over compressing it. This is very important as it aids in fixing the plant firmly into the soil and also enhances the contact between the roots and the soil.
Allow approximately 1 inch of headspace in the pot to accommodate for water being added periodically. Correct filling of soil enables stable anchorage of plants besides promoting root growth and at the same time providing sufficient room for water and air interchange.
Step 8: Water Thoroughly
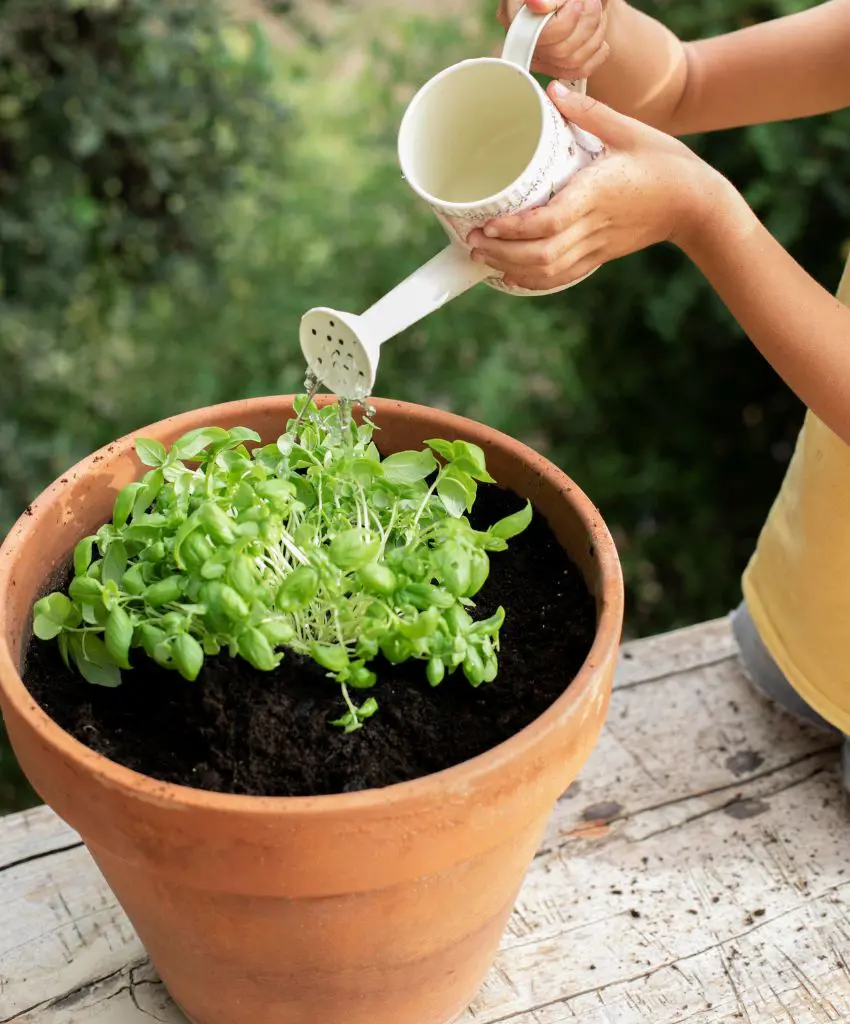
Check the soil and water the plant until you notice the water is coming out of the bottom of the pot. This thorough watering aids in the compaction of the soil, gets rid of air spaces, and ensures that roots are well supplied with water.
Do not water frequently, which will make the soil boggy and may cause root rot. Watering ensures that the plant takes root well in the new pot and mainly in the first growth stage which usually takes some time for the plant to stabilize.
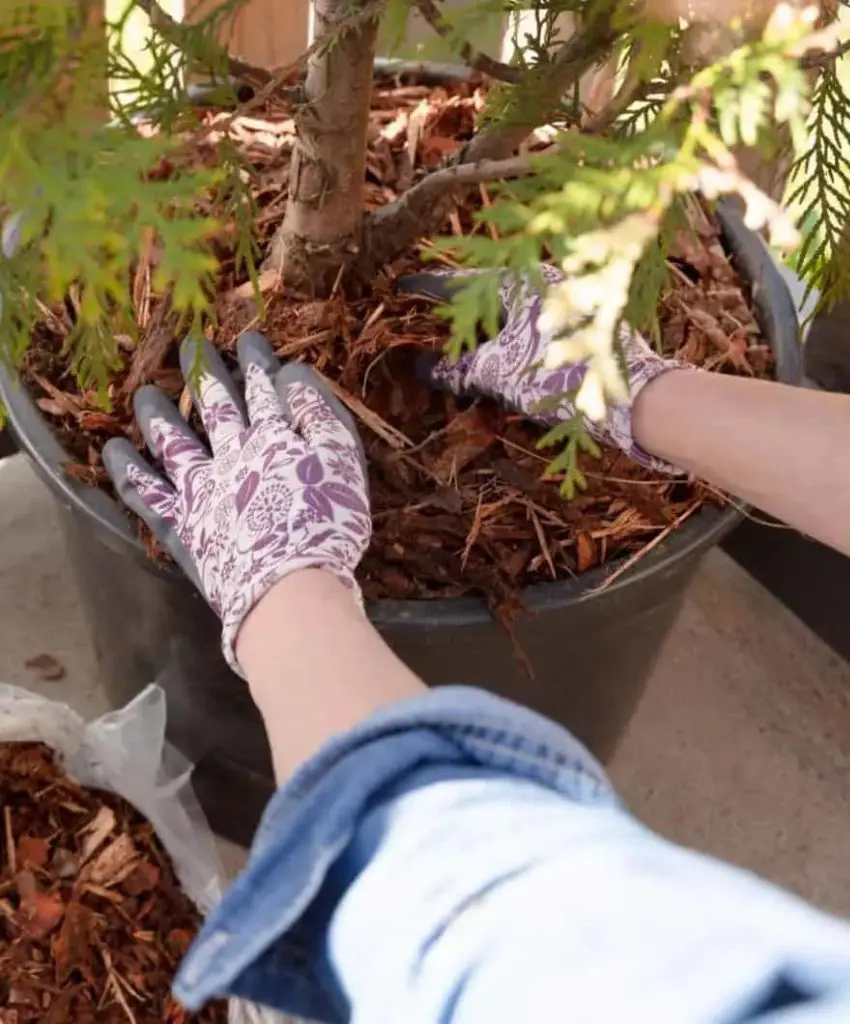
In maintaining moisture, temperature control and weed suppression, A layer of mulch placed on top of the soil assists the best. Organic mulches may include shredded bark, wood chips or cocoa hulls depending on the plant's requirement.
The use of mulch also has an element of beauty and it minimizes cases of soil erosion. Do not make the mulch layer too thick because this will only suppress the water and air needed to penetrate the soil.
Step 10: Place in Suitable Light
Place the pot in a place with the right lighting as per the plant type that is being grown in the pot. Many plants grow well in bright, indirect light while others need full sunlight or very little sunlight.
Learn the specific light intensity that your plant needs so that proper growth is achieved. Lighting assists with photosynthesis and enhances the health of the plants; thus, increasing the plants’ strength and the color of their leaves.
Step 11: Fertilize
Incorporate an appropriate slow-release balanced fertilizer depending on the plant type and the manufacturer’s recommendation. Fertilizing involves the addition of nutrients that help plants to grow, bloom, or produce fruits where necessary.
It is advisable to adhere to the right portions and intervals when fertilizing since over doing it is dangerous for the plant. It involves feeding to ensure the replenishment of soil nutrients as well as promoting the healthy growth of plants in the course of their growing period.
Set a schedule for the watering of the salad plant depending on its water needs. It should be noted that the moisture level of the soil should not be too dry or saturated with water. Monitoring watering is one of the most important steps in the entire process.
Water frequently when the plants are in small pots or when environmental conditions favor evaporation. Appropriate water management practices reduce the chances of root issues and promote plant health.
Step 13: Check Drainage
Most importantly, you must check that the holes intended for the drainage of water are clear and that the water can easily drain out of the pot. Draining is important to ensure that water does not stand at the base of the pot which is one common cause of root rot.
If drainage problems are present, you may change to a pot with better drainage or modify watering to have a suitable soil condition. So, if you are wondering how to pot plants in pots, and make them thrive, ensure good drainage.
Step 14: Prune as Needed
Look for dead, yellowing, or damaged leaves with regularity and prune these off as necessary. Trimming also plays a role in beautifying the plant as it redirects energy towards the growth of healthy new shoots.
Trim using sharp and non-susceptible pruning shears to minimize disease transfer and create a clean cut. It also promotes the good health of the plant and increases its vigor and production.
If the plant grows big enough, it can get outgrown in a pot and needs to be transfer to a bigger pot. Some indications that it is time to re-pot include roots trailing from the pot's base, the plant growing slower than usual or the root system looking congested.
Transplant the plant gently into fresh potting mix and a larger pot which would accommodate the roots as the plant grows. Repotting is very essential as it facilitates healthy growth and helps to avoid root-bound situations.
Some of the major benefits of planting in a pot, apart from aesthetic appeal and extended growing season are:
Flexibility
Containers allow for moving plants around at a whim for purposes of light or shelter from inclement weather. This is especially beneficial for indoor horticulture where the exponential intensity of light varies from one time of the day to the other.
It means that plants can be relocated according to exposure to sunlight or protection from winds and rain, so they would be well-cared for irrespective of the weather.
Space Efficiency
Pot gardening is suitable for any environment where it is almost impossible to cultivate plants through conventional methods of planting on the soil. With the help of potting, you can get an idea of a garden on balconies, patios, or even on the window ledges.
It enables you to cultivate herbs, vegetables, or ornamental plants in small areas and regions hence maximizing space and bringing in aspects of greenery to areas of intensive human activity.
Control
Containers provide you with a level of control over conditions that surround the plant. You can opt for the right soil mixture that will allow good drainage and availability of nutrients for your plant.
The specific component that can be controlled better is the technique of watering and fertilizing to avoid overwatering and achieving nutrient toxicity. Regulated control of this sort assists in maintaining sound plant health thus giving room for improved growth and production.
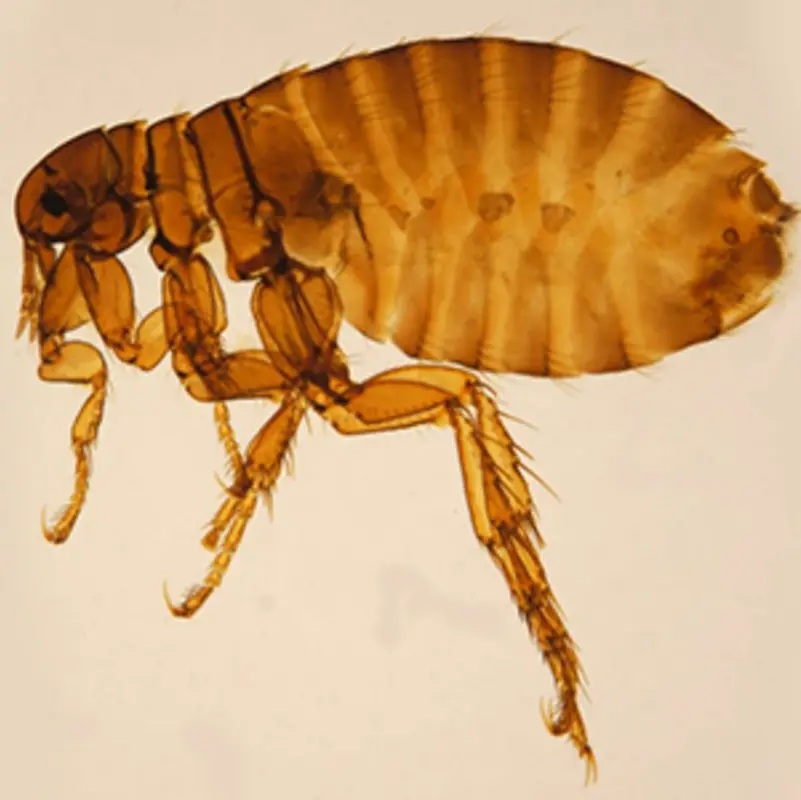
Pest Management:
Since plants are contained in the soil by the pots, pests, and diseases transmitted through the soil can be minimized. It is easy to avoid pests such as root maggots or fungal infections because the plants are not in physical contact with any garden soil. This containment can simplify pest management and lead to healthier plants.
Accessibility
Pots or containers that are positioned on stands are easier to cultivate than those on the ground; this makes gardening easier for the elderly or those facing back problems.
This helps in preventing bending or kneeling to some extent which is advantageous when tending to the plants, watering the plants as well, and performing other maintenance works on plants. This convenience is helpful in adding to the beauty of the gardening experience and may even make it more fun.
Aesthetic Appeal
Pots come in various materials, colors, and designs to suit your needs, therefore making it easy for you to match the rest of your interior décor.
Independent of whether someone is living in a contemporary home with clean lines a country house with wooden accents, or a home adorned with more decorative accents, there are pots available to suit. It helps you achieve aesthetic appearances that will improve the personality of the outdoor or indoor setting.
Extended Growing Season
The use of containers has the added benefit of portability, which can help to lengthen the growing season for plants that are affected by temperature changes.
Transferring the pots indoors or to a well-sheltered area when cold weather is expected will help prevent frost on the tender plants and extend growth all year round. The added flexibility enhances the benefits and the pleasure that you derive from your garden.
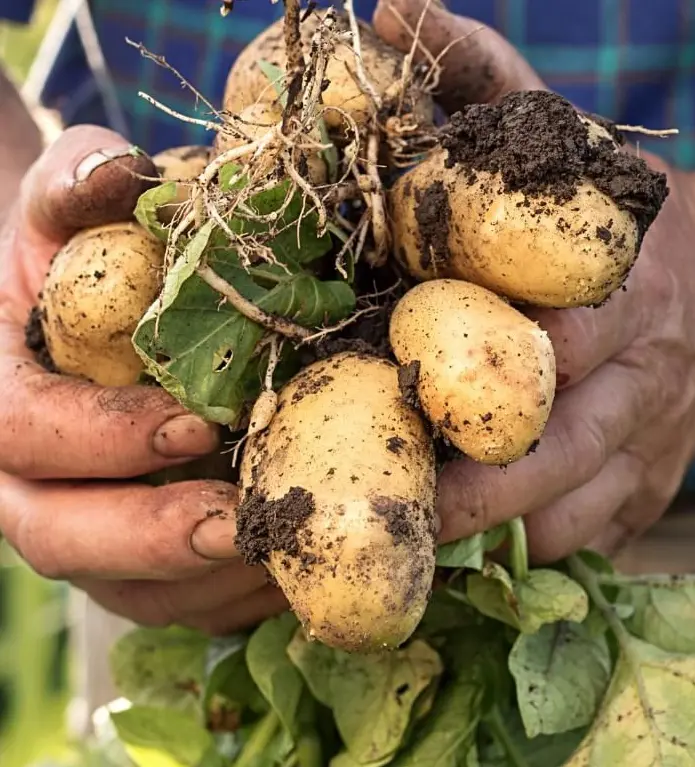
Easy Harvesting
In the case of herbs, vegetables, and fruits that are to be consumed, pots enable easier harvesting in comparison to when the plants are placed directly on the soil. Fruits in containers or cases are generally easy to pick in a standing or sitting position since they are often at waist level.
This means that it becomes easy to get fresh produce and makes it less boring. Furthermore, the pots themselves are not very large and give you more control over the time of harvest and quality of the plant because each plant can be looked after independently.
Most plants can be grown in containers, making them ideal for different areas and environments. Here are some categories and examples:
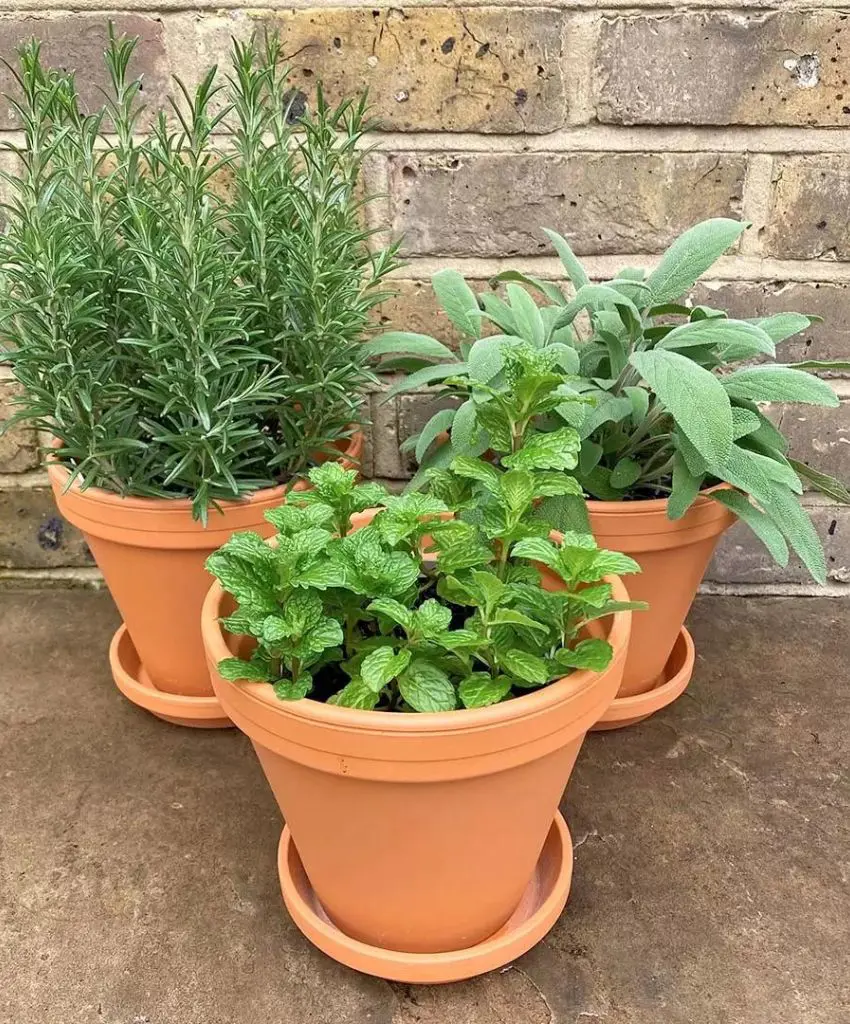
Herbs
Some of the easiest plants to cultivate are basil, thyme, rosemary, and mint which are ideal for planting in pots. They typically grow well in good drainage and bright conditions, so they are perfect for filling spaces in the kitchen garden or on a balcony.
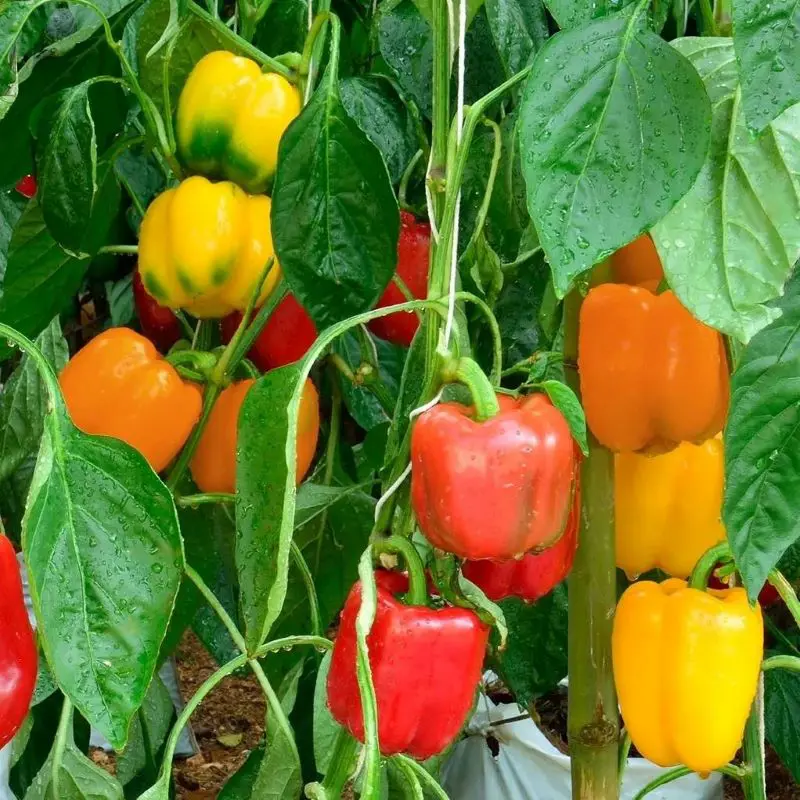
Vegetables
Let us evaluate our options and decide which plants can be grown in containers; tomatoes, peppers, lettuce, and radishes are plants that can be grown in containers.
Select miniature plants or those referred to as compact, and opt for large containers to provide the plant with adequate area for root growth and the necessary nutrients.
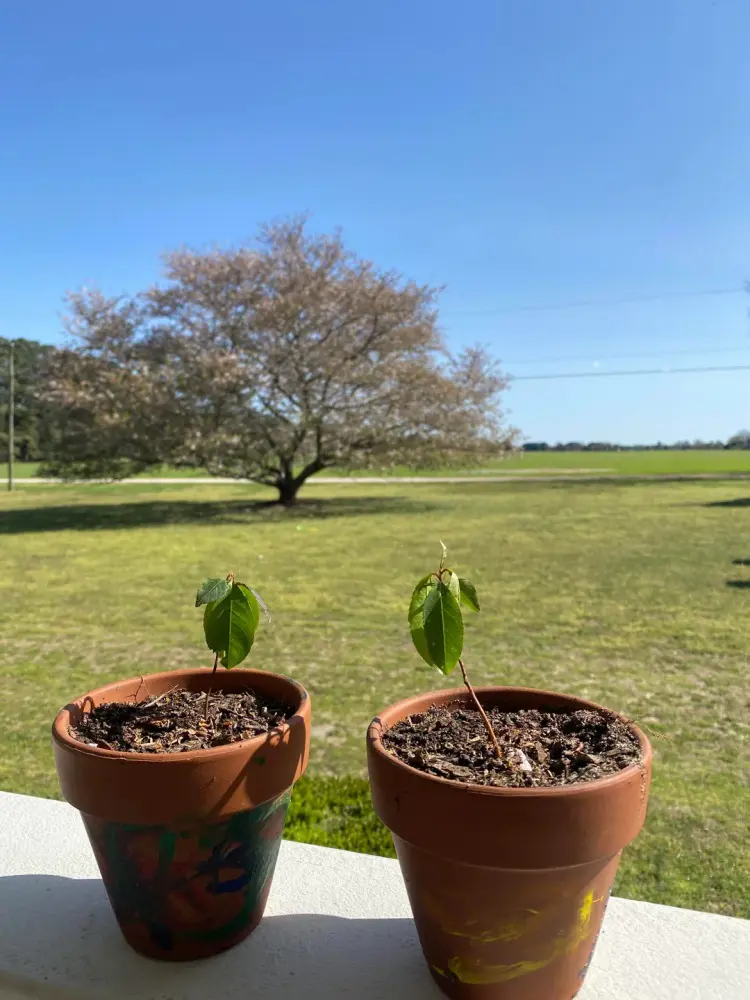
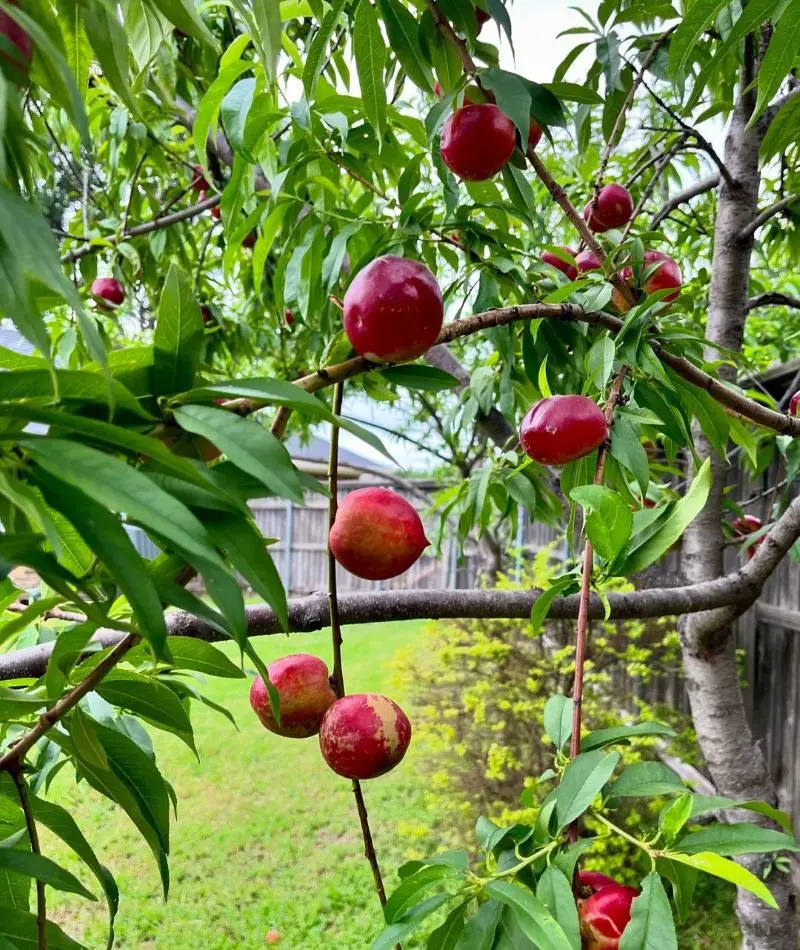
Fruits and Trees
Pot plants include strawberries, blueberries, and dwarf citrus trees. Make sure that the pot chosen is appropriate for the size of the plant and its root development and for fruiting body formation as well.
Small trees and shrubs, for example, Japanese maples or boxwoods, can be grown in larger containers. They offer the essential framework and foliage to the patios and small gardens.
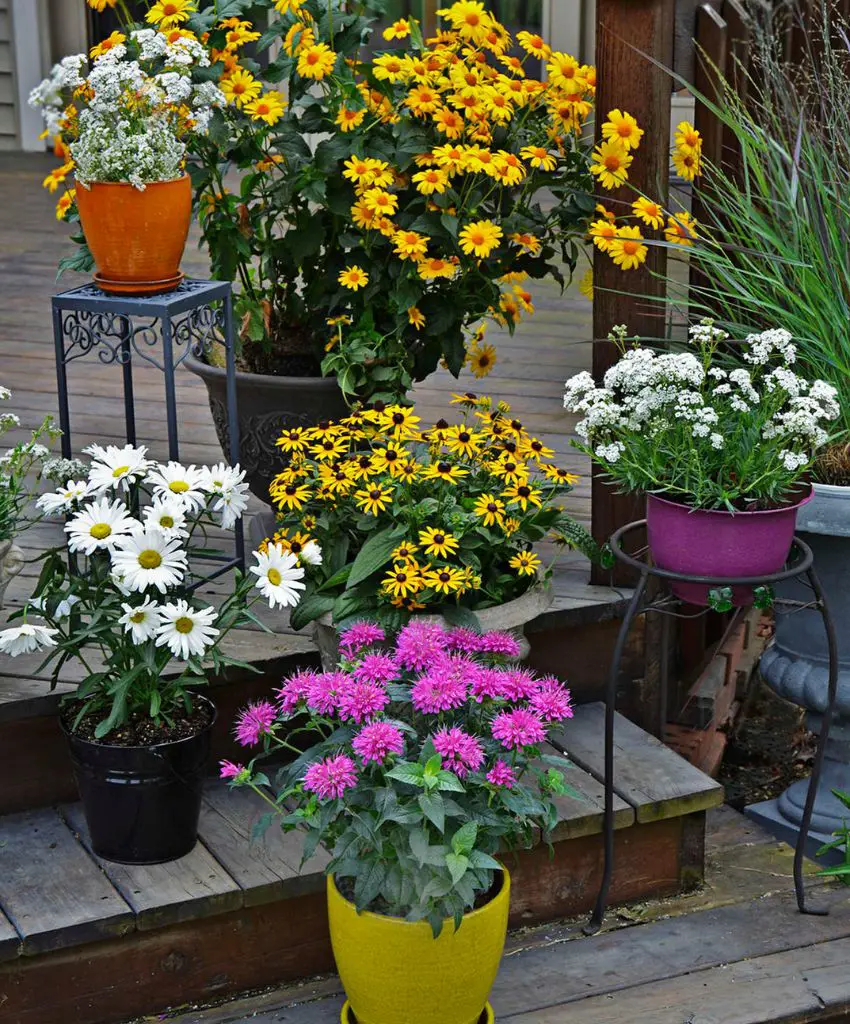
Flowers and Bulbs
Some of the favorable plants for container growing include tagetes, petunia, and geranium. They complement the room and can be used for adorning patios, balconies, and entryways.
Tulips, daffodils, and hyacinths do well in pots and are good for planting during spring. It makes them ornamental and can easily be placed in pots during a particular season.
Succulents and Cacti
Low-growing plants that require little attention are perfect in plant pots and these include aloe vera, Jade plants, and different cacti among others. They can be grown indoors and do not need a lot of water; they also need a good drainage system.
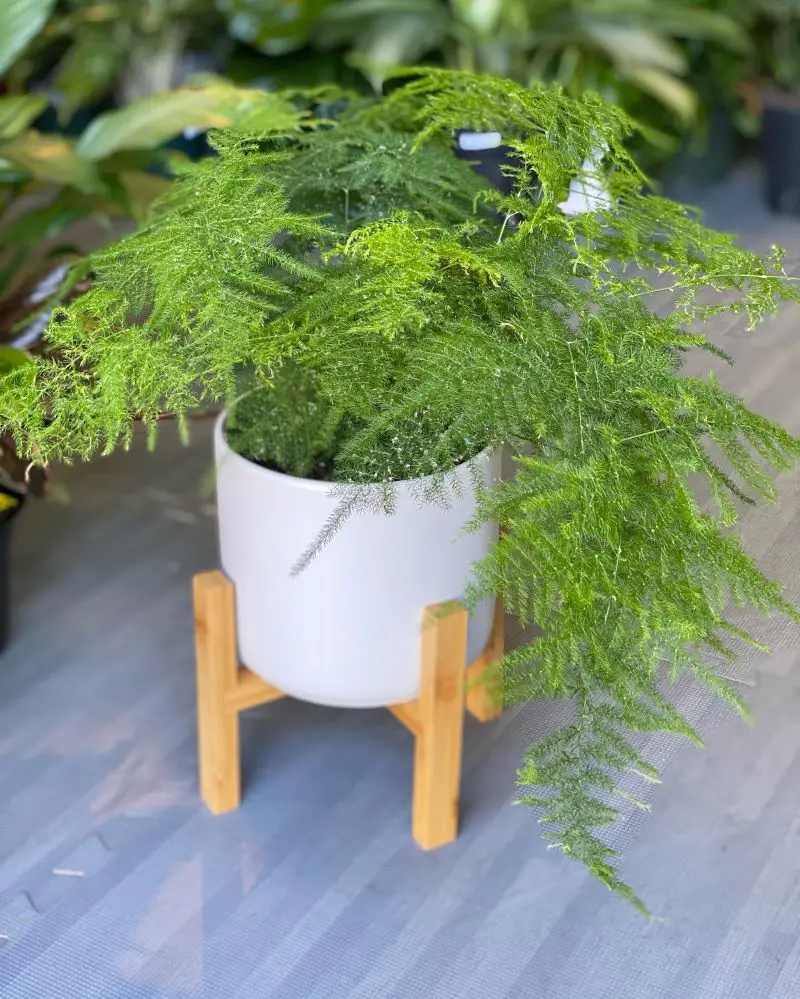
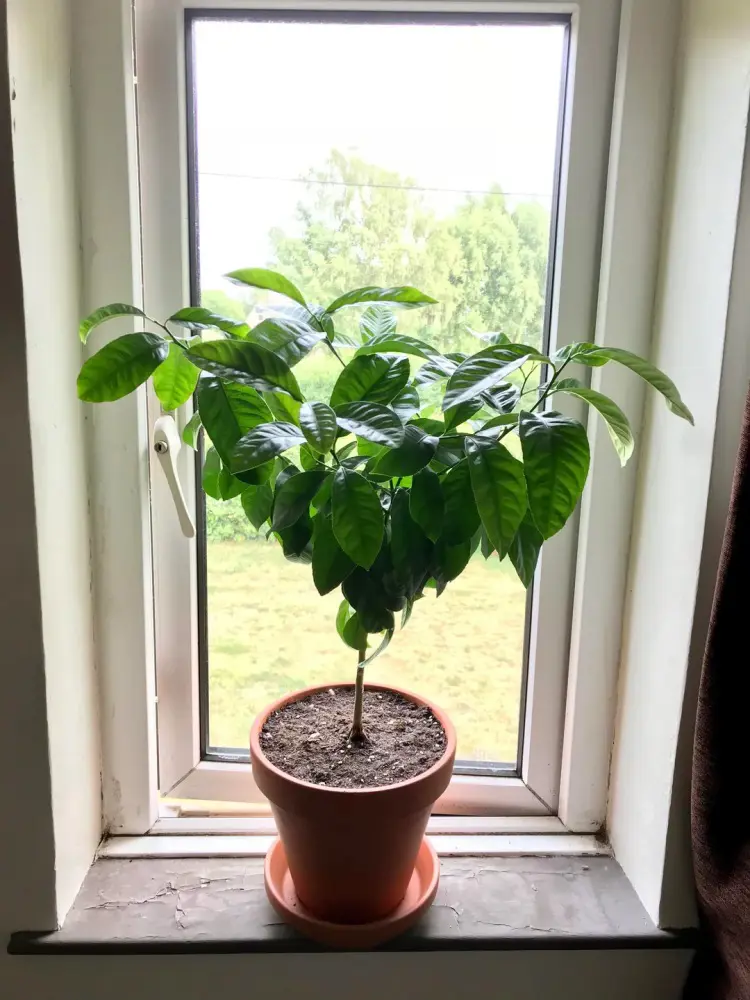
Indoor Plants and Vines
It is important to select plants that are comfortable in indoor conditions such as peace lilies, snake plants, and pothos. They are well adaptable to low-light environments and aid in enhancing the quality of air indoors.
Indoor plants such as ivy, morning glory, and passionflower can be grown in pots with some support. They incorporate the vertical interest and may extend over trellises or frames.