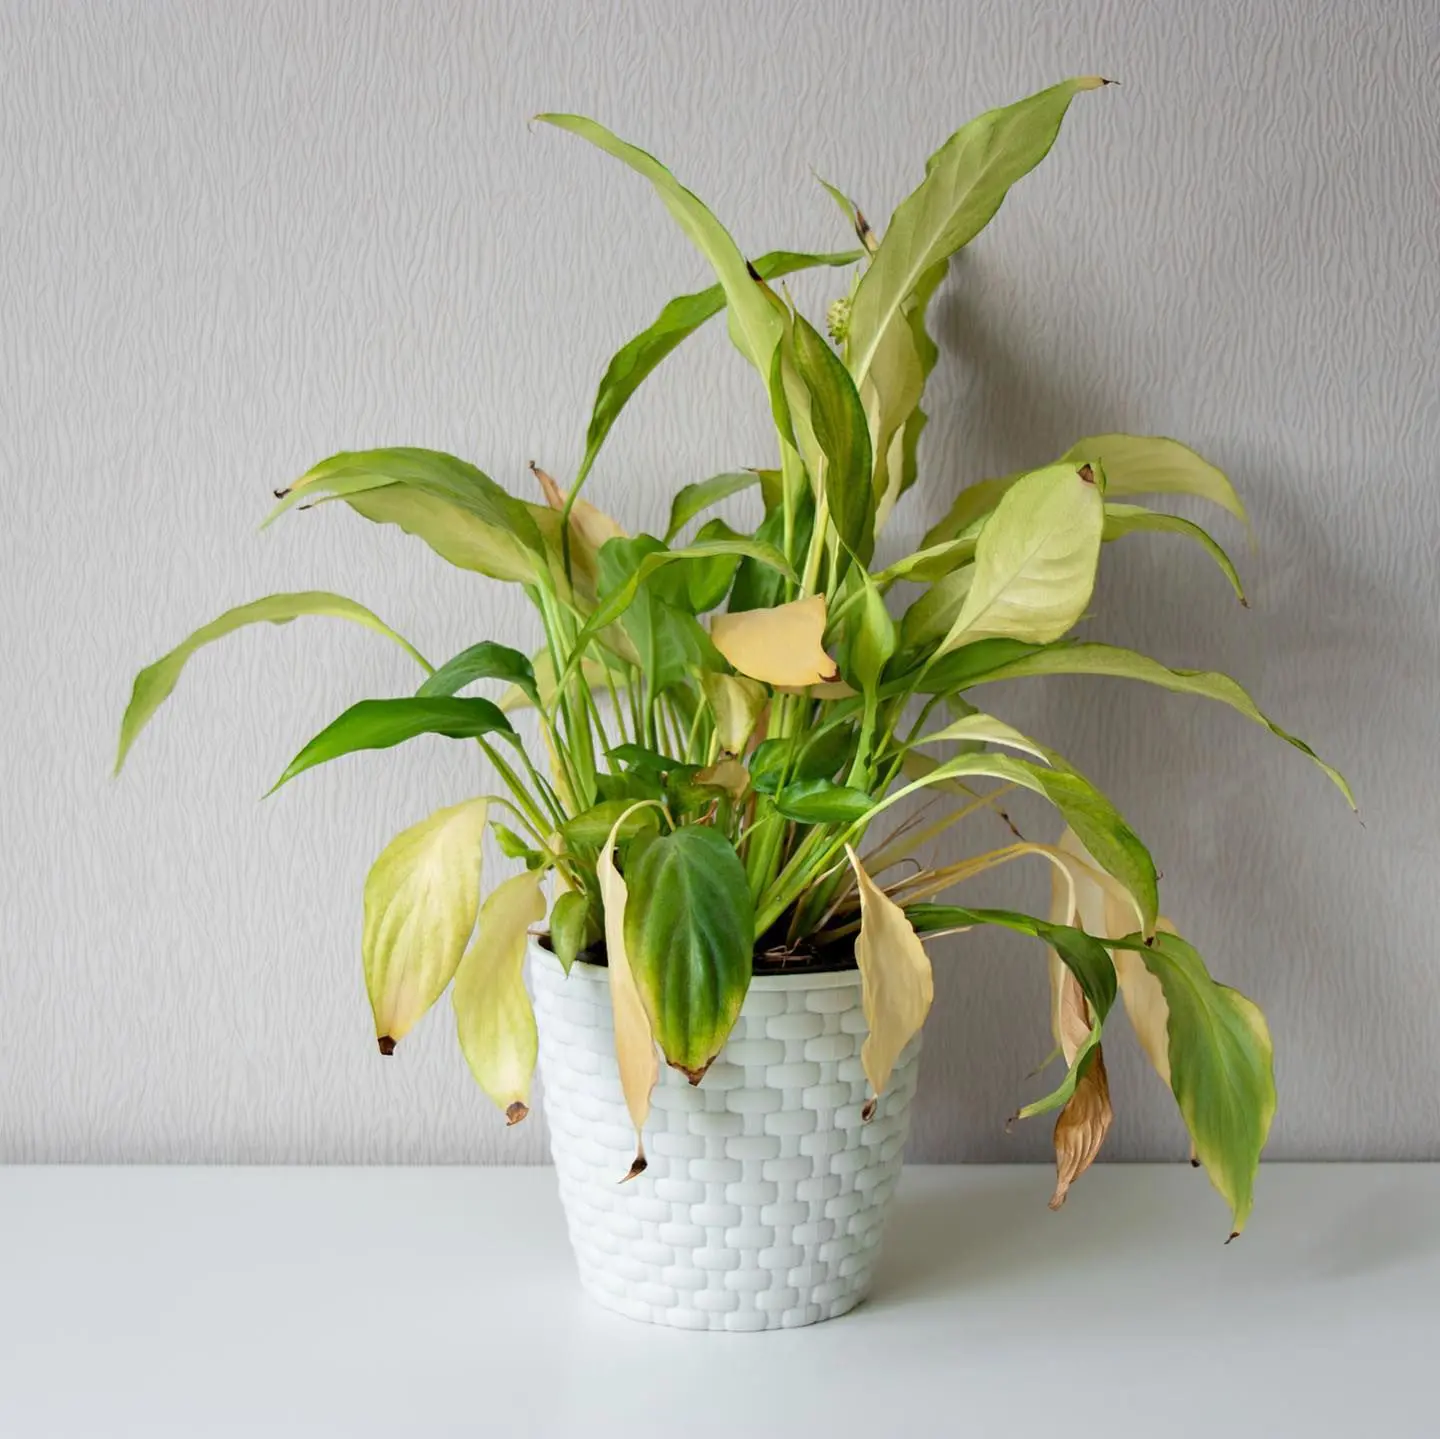
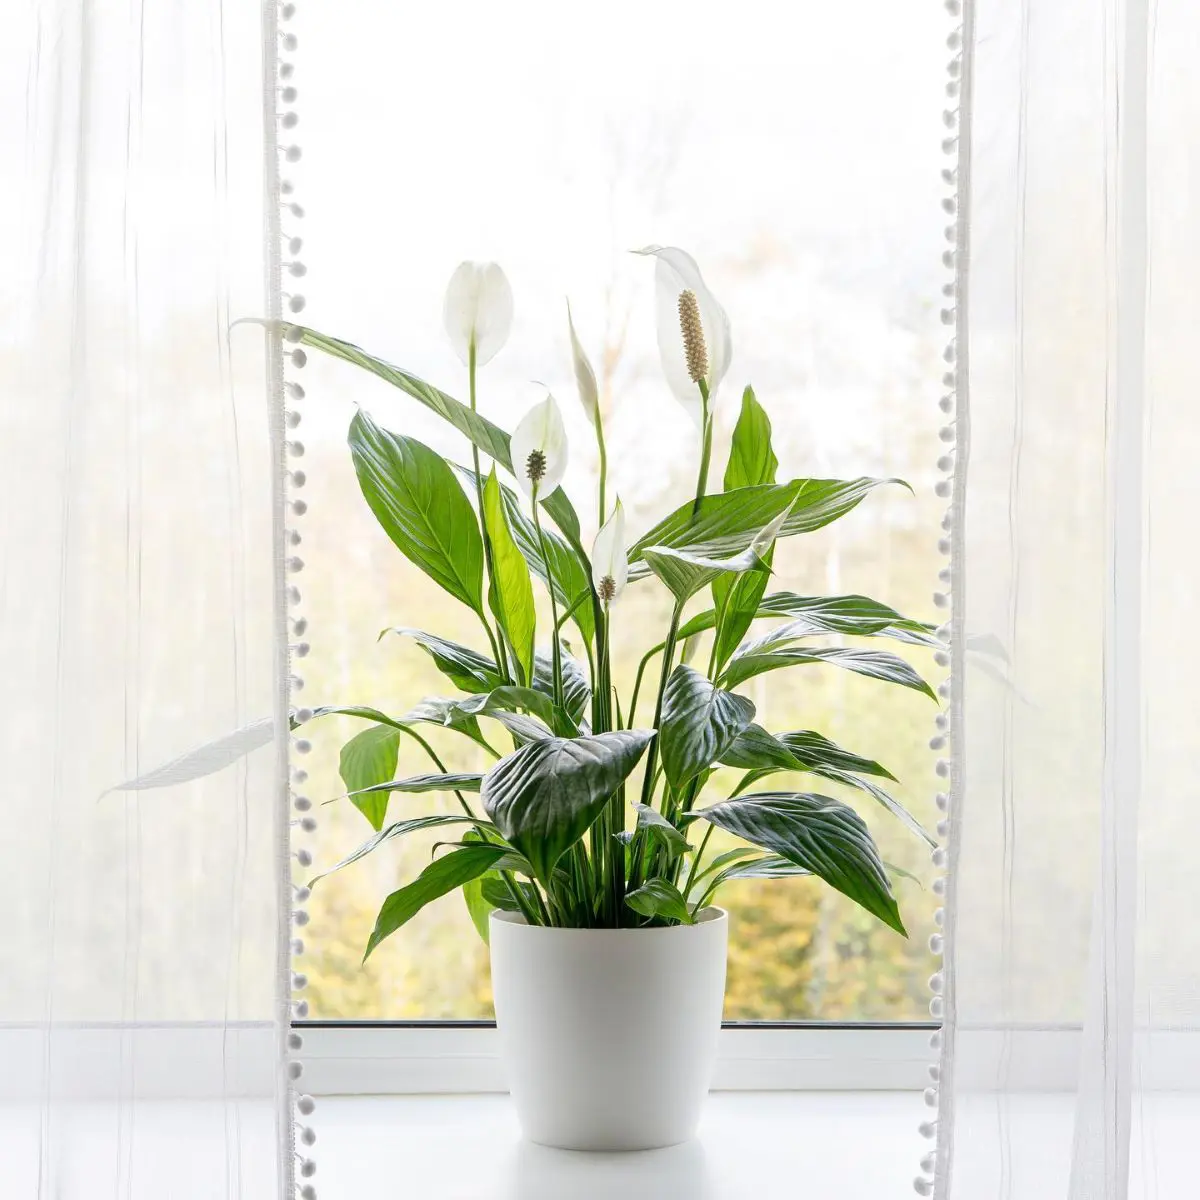
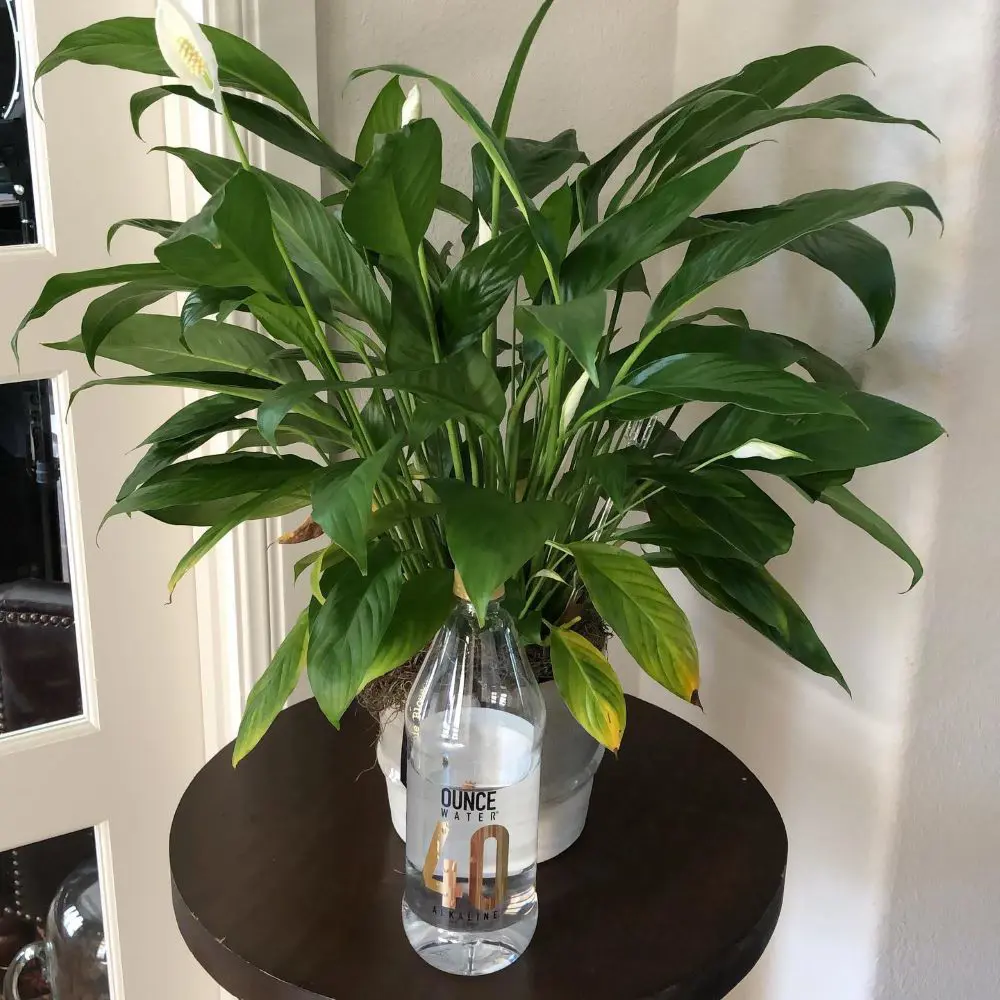
Why Peace Lily Leaves Turn Yellow
There are 12 main reasons why your peace lily is turning yellow. Some causes are obvious, meaning you can diagnose and fix them immediately.
Others are more difficult to diagnose, and the problem is more of a mystery. In such instances, you will have to keep experimenting until the condition of your peace lily improves.
1. Not Enough Water
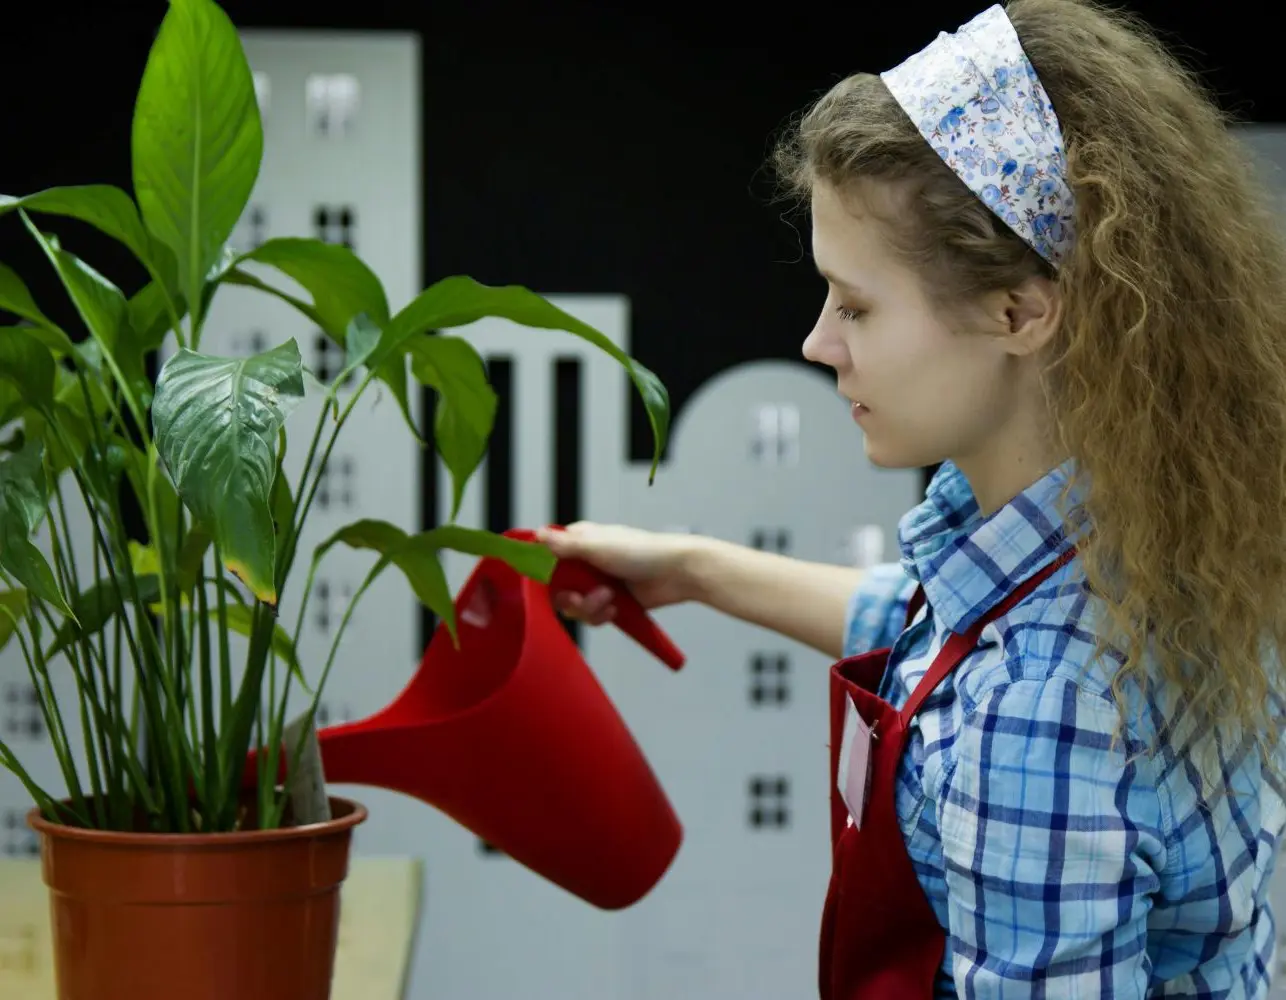
Water issues are the first thing you should rule out from all the causes of yellow leaves. They refer to the quantity and quality of water you are using. Your peace lily leaves will turn yellow if you are not giving it enough water. But then you are sure confident you are confident you are giving your plant enough water.
Well, if you are sure, then you should check the soil and the overall appearance of your plant. The soil of a peace lily that has been underwatered feels dry and crackly. The overall appearance of the plant also looks dead. The leaves are yellow and drooping instead of being full of life and upright.
2. Too Much Water
Giving your plant too much water is just as damaging to your peace lily as not giving enough. So, if you are confident that underwatering is not the cause, maybe you should rule out overwatering. There is no ideal measurement for how much water you should use on your plant because there are many factors to consider.
The only thing you can do is to feel the soil. The soil of an overwatered peace lily feels soggy and mushy, almost muddy. You should let the soil dry out before you water your plant but do not wait until the soil feels dry and crackly. So refrain from overwatering as it can lead to root rot, one of the causes of plant death.
3. Poor Water Quality
Apart from the quantity, the quality of the water you are using on your peace lily could be causing yellow leaves. Most of us use tap water, which is not a problem unless it is chemically treated because it could contain fluoride and other additives that might be unsuitable for plants like peace lilies.
They absorb the chemicals, increasing salt concentration and impeding the plant’s ability to absorb water and oxygen, resulting in the problem you are dealing with right now. Although tap water is not a serious problem, you should try purified water to see if there are any changes in your plant to rule it out.
4. Lack of Humidity
Peace lilies are tropical plants, which means they are found near the tropics, where the climate is warm to hot and moist year-round. So, if you want your plants to thrive and not end up with yellow leaves, you should maintain ideal growing conditions.
One ideal growing condition is the humidity. The humidity level should be between 40% to 60% for your peace lilies to stay healthy. Anything below this level prevents the peace lily from carrying out vital processes that keep its leaves glossy and vibrant.
5. Extreme Temperatures
Peace lilies cannot tolerate cold temperatures as tropical plants. This is why they are mostly grown indoors in a pot unless the owners live near the tropics. Your peace lilies thrive in temperatures between 65 and 85 degrees. They can handle temperatures up to 50 degrees, but if it gets too cold, the leaves will turn yellow.
Therefore, avoid keeping your plant in a drafty room or outdoors where the temperature is cold and unstable. Also, please do not keep your plants near heat vents as it will dry out your plants more quickly, which could be fatal.
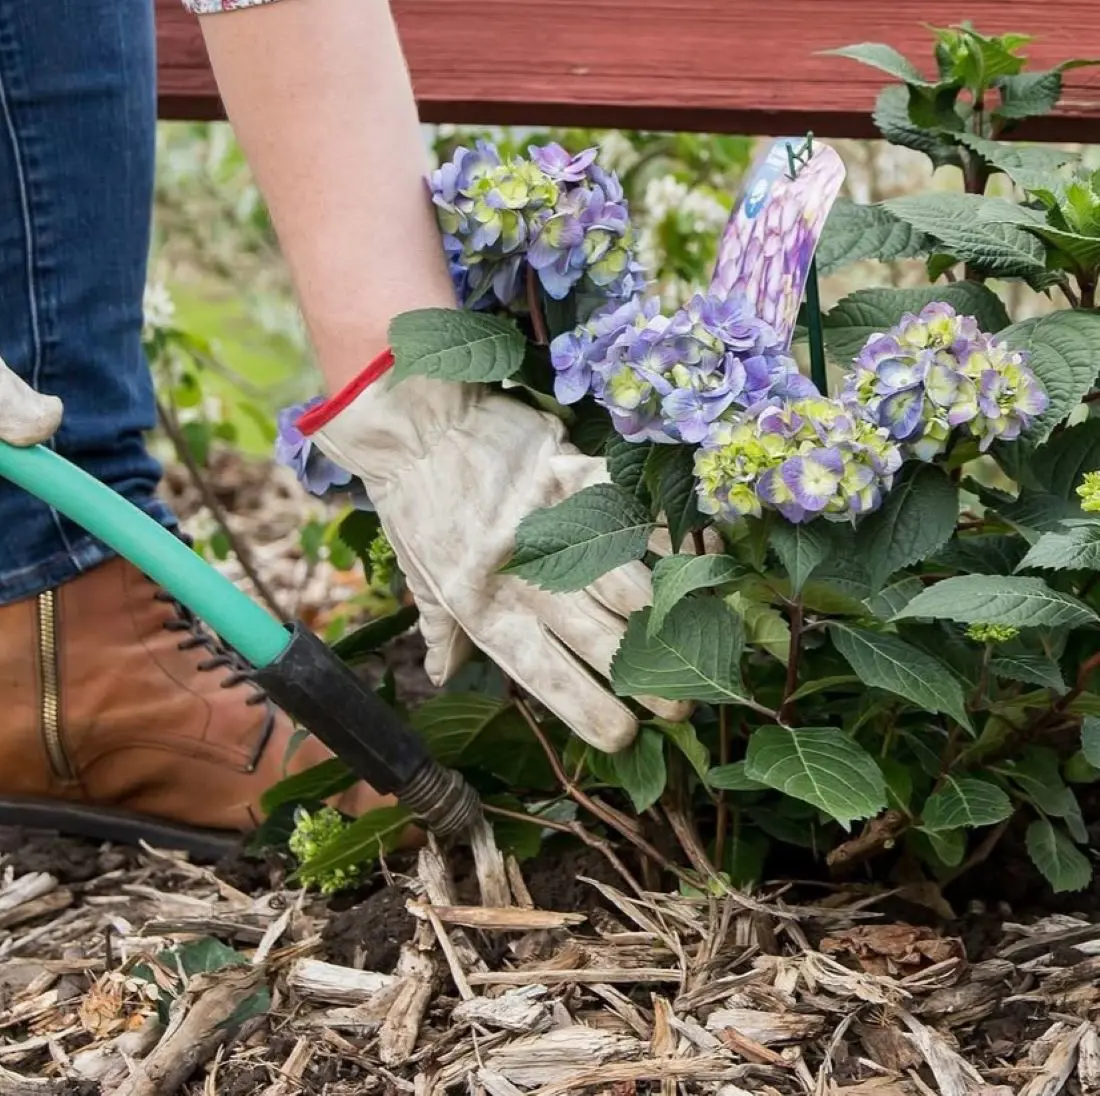
6. Root Bound
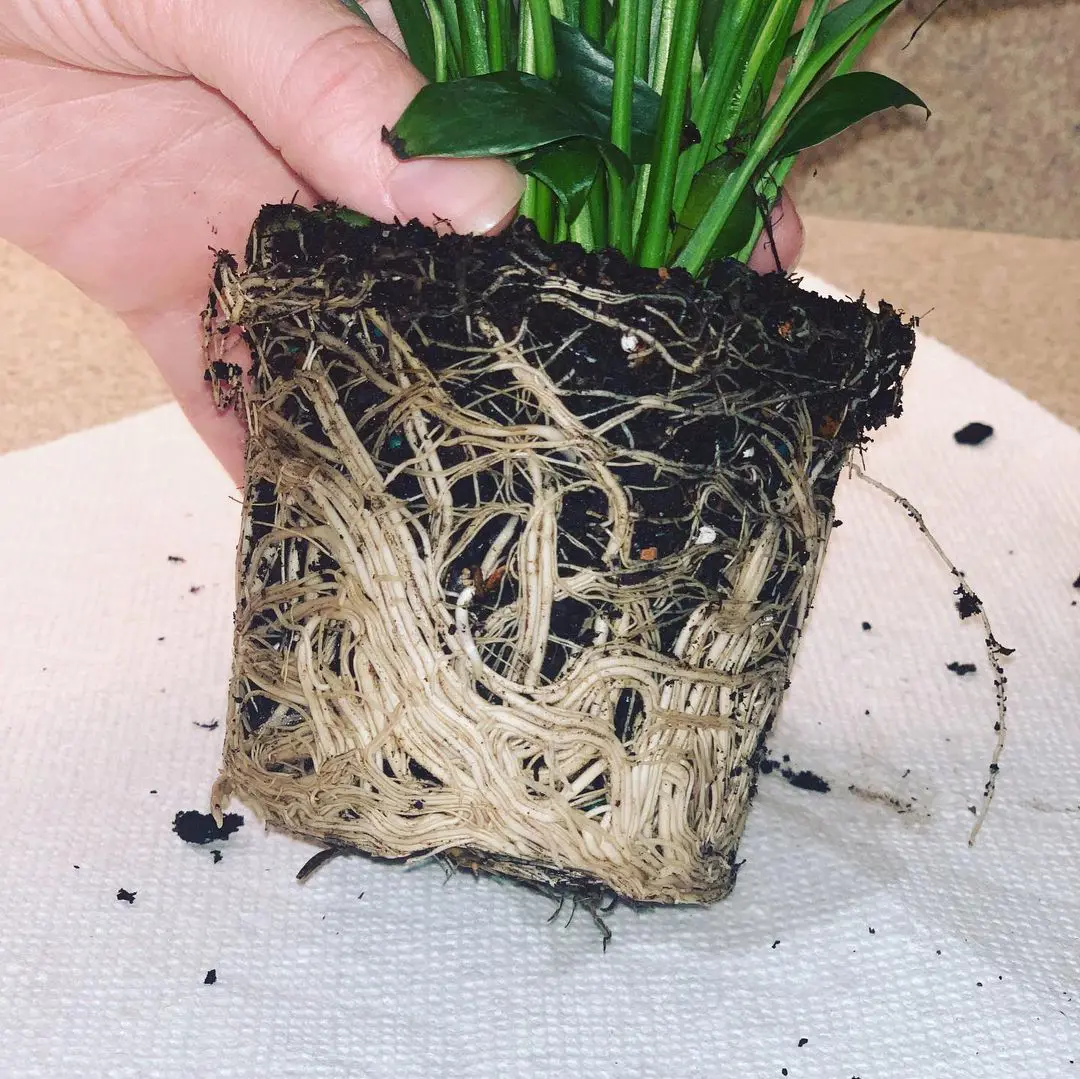
One of the more obvious problems with your peace lily that you can diagnose easily is root bound. If your peace lily’s roots shoot out from the drainage holes and the pot feels tight and snuggly, the roots are bound. This means roots have no more space to grow and are entangled.
When this happens, the peace lily cannot absorb water and oxygen, leading to yellow leaves and declining health. To help the plant heal, you should repot your peace lily in a container that is a few inches bigger than its root ball.
7. Incorrect Nutrient Levels
Caring for your peace lily is relatively easy. It does not need much fertilizer, but this does not mean it does not need any fertilizer. Little to no fertilizer can cause your peace lily's leaves to become discolored and yellow. At the same time, too much fertilizer is also damaging to your peace lily.
Fertilizing when the plant does not need it causes the root to burn, leading to patchy yellow leaves. And unlike other issues on this list, the symptoms of over-fertilizing might appear as soon as you fertilize the plant. If this happens, you should rectify it immediately.
8. Incorrect Soil
In their natural habitat, peace lilies grow beneath taller plants and trees. They are shaded and, therefore, only receive dappled, indirect sunlight. If you want your peace lily to thrive, you should mimic this condition by ensuring that it does not stay out in the harsh direct sunlight for too long.
Peace lilies are sensitive to direct sunlight, so too much sun can scorch their leaves, turning them yellow. You can rectify this by moving them to a different area with indirect light.
9. Too Much Light
In their natural habitat, peace lilies grow beneath taller plants and trees. They are shaded and therefore only receive dappled, indirect sunlight. If you want your peace lily to thrive you should mimic this condition by ensuring that it does not stay out in the harsh direct sunlight for too long.
Peace lilies are sensitive to direct sunlight so too much sun can scorch their leaves, turning them yellow. You can rectify this by moving them to a different area with indirect light.
10. Pests
Peace lilies usually do not get infested by pests unless they are stressed. When they are stressed by harsh sunlight, too much water, or lack of humidity, their health declines. When their health declines, their leaves turn yellow, the stems might have lesions, and many more.
These conditions attract pests like aphids, ants, mealybugs, and other common plant pests. To check for pests, look at the underside of the leaves. They are usually hiding there or might be in plain sight on the soil and stems.
11. Fungal Diseases
If there are pests, there could be fungal diseases on your peace lily caused by fungi and bacteria. Some common diseases include powdery mildew, downy mildew, leaf spots, and leaf blights.
Besides yellow leaves, these diseases cause symptoms like white to light grayish, powdery growth on leaves, blotches or varying sizes, colors, shapes, pustules on leaf surfaces, etc. These diseases are caused by poor sanitation and horticulture practices such as over/under watering, low humidity, over-fertilization, temperature stress, etc.
12. Aging
Lastly, the cause of yellow leaves could be natural aging. As your peace lily matures, the leaves might turn yellow and eventually fall off to make way for new ones.
This is part of a natural process and is not a cause for worry as long as it is one or two leaves at a time. But if all the leaves on the plant are yellow, the cause could be anything else on this list.