Photinia plants are popular for gardeners due to their striking red foliage and hardy nature.
From selecting the right soil and ensuring proper sunlight to mastering watering techniques and effective pruning, this article will provide all the tips and tricks needed to keep your Photinia plants thriving and beautiful year-round.
In this comprehensive care guide, we'll explore the essential steps to grow and maintain these vibrant shrubs successfully.
Growing Photinia
Growing photinia is relatively straightforward, making it a favorite among both novice and experienced gardeners. Here’s a comprehensive guide on how to successfully grow photinia:
- Choosing the Right Variety: Select a photinia variety that suits your climate and garden needs. Photinia x fraseri is the most popular choice due to its decorative red leaves and robust nature.
- Soil Requirements: Photinia plants thrive in well-drained soil. They prefer slightly acidic to neutral pH levels. Ensure the soil is rich in organic matter for optimal growth.
- Planting Time: The best time to plant photinia is in the spring or fall. This gives the plant time to establish its roots before the extremes of summer heat or winter cold.
- Spacing: Space the plants about 3 to 4 feet apart if planting a hedge. This allows enough room for growth and air circulation, reducing the risk of disease.
Choosing Location
Photinia plants are versatile and can be grown in various settings. Here are some ideal locations:
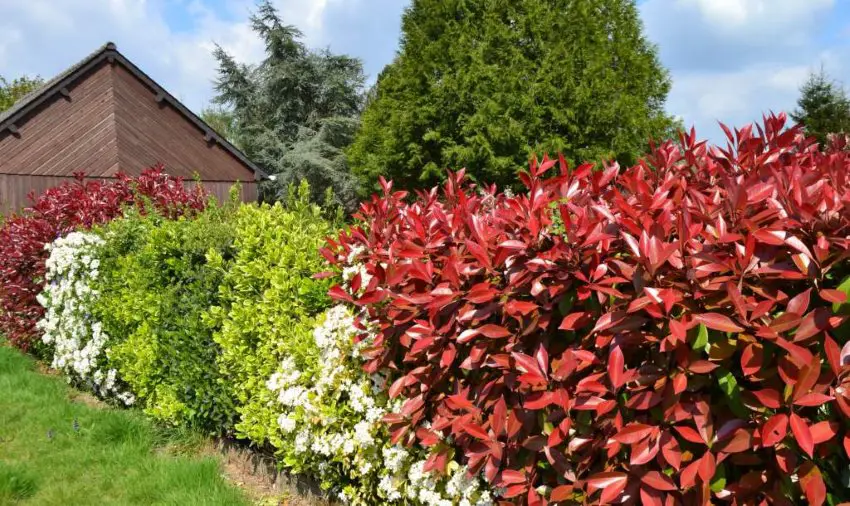
- Hedges and Screens: Photinia is often used as a hedge or screen due to its dense foliage and fast growth rate. It provides privacy and a windbreak.
- Mixed Borders: They make excellent additions to mixed borders, providing contrast with their vibrant red leaves.
- Containers: Photinia can be grown in large containers, making them suitable for patios, balconies, and small gardens.
- Specimen Plants: Some varieties, like Photinia ‘Red Robin’, can be grown as standalone specimens to highlight their ornamental value.
Planting Photinia
Planting photinia requires some basic steps to ensure the plant establishes well and thrives:
- Site Preparation: Choose a site with full sun to partial shade. Photinia prefers a sunny spot but can tolerate some shade. Prepare the soil by digging in plenty of organic matter like compost or well-rotted manure.
- Planting Hole: Dig a hole twice as wide and the same depth as the root ball. This gives the roots plenty of space to spread out.
- Planting: Place the photinia in the hole, ensuring the top of the root ball is level with the soil surface. Backfill with soil, firming it gently around the roots to eliminate air pockets.
- Watering: Water the plant thoroughly after planting. Keep the soil moist but not waterlogged until the plant is established.
Photinia Plants Care
Caring for photinia plants involves several key steps to ensure they remain healthy, vibrant, and attractive. By following a comprehensive care regimen, you can help your photinia thrive and enjoy its full potential. Here is a detailed guide covering all aspects of photinia plant care:
Watering
Proper watering is crucial for the health of photinia plants. These plants require regular watering, especially during their establishment phase and in periods of dry weather. Here are some detailed tips on watering photinia:
- Initial Watering: After planting, water the photinia deeply to help settle the soil around the roots. This encourages the roots to grow deeper, providing better drought resistance.
- Regular Watering: Once established, photinia plants generally need about 1 inch of water per week. This can come from rainfall or supplemental watering. During hot, dry periods, increase the frequency of watering to keep the soil consistently moist but not waterlogged.
- Deep Soaking: Water deeply rather than frequently. This encourages the roots to grow deeper into the soil, making the plant more resilient to drought. A deep soak means applying water slowly over a longer period to ensure it penetrates deeply into the soil.
- Soil Moisture Check: Check the soil moisture regularly by inserting your finger into the soil up to the second knuckle. If the soil feels dry at this depth, it's time to water.
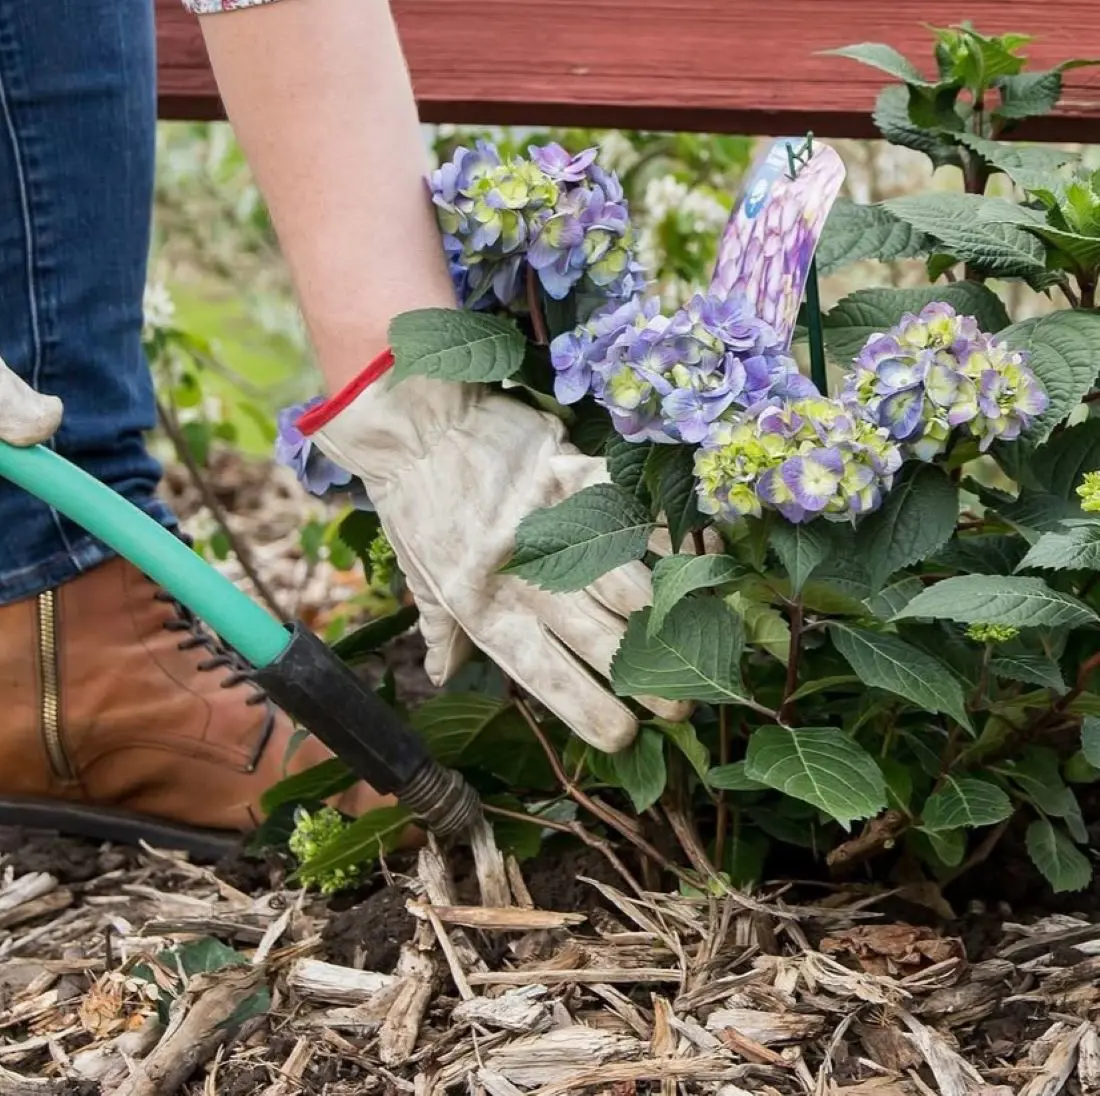
Mulching
Mulching is a vital practice for maintaining healthy photinia plants. It offers numerous benefits, including moisture retention, weed suppression, and temperature regulation. Here’s how to mulch your photinia effectively:
- Type of Mulch: Use organic mulches such as bark chips, straw, compost, or shredded leaves. Organic mulches break down over time, adding valuable nutrients to the soil.
- Application: Apply a 2-3 inch layer of mulch around the base of the plant, extending out to the drip line. Be sure to keep the mulch a few inches away from the stem or trunk to prevent rot and pest issues.
- Renewing Mulch: Replenish the mulch layer as needed, usually once a year in spring. This helps maintain its effectiveness in moisture retention and weed control.
Fertilizing
Fertilizing photinia is essential for promoting vigorous growth and vibrant foliage. Here’s a comprehensive guide to fertilizing photinia plants:
- Timing: The best time to fertilize photinia is in early spring, just before new growth begins. This timing ensures that the plants have the nutrients they need for the growing season.
- Type of Fertilizer: Use a balanced, slow-release fertilizer, such as a 10-10-10 or 14-14-14 formula. Slow-release fertilizers provide a steady
- supply of nutrients over an extended period, reducing the risk of nutrient burn.
- Application: Follow the manufacturer’s instructions for the correct application rate. Generally, scatter the fertilizer evenly around the base of the plant, avoiding direct contact with the stems or leaves. Water thoroughly after application to help the nutrients penetrate the soil.
- Organic Options: Consider using organic fertilizers like compost, well-rotted manure, or fish emulsion for a more environmentally friendly option. These not only provide essential nutrients but also improve soil structure and microbial activity.
How To Prune Photinia?
Pruning is an essential practice for maintaining the shape, size, and health of photinia plants. Regular pruning helps prevent disease, encourages new growth, and enhances the overall appearance of the plant. Here’s an in-depth guide to pruning photinia:
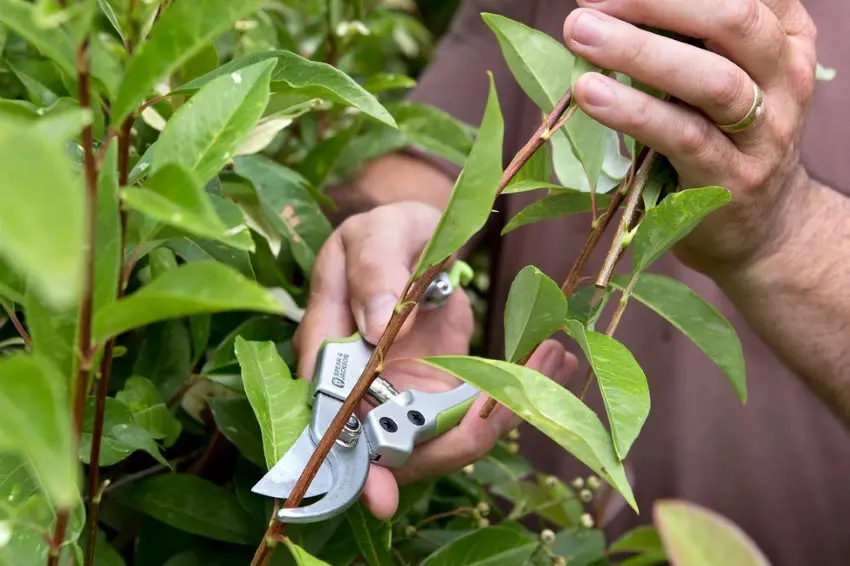
- Timing: The best time to prune photinia is in late winter or early spring before new growth starts. This allows the plant to recover quickly and produce fresh, healthy shoots. Light pruning can also be done in summer if necessary to maintain the shape and size.
- Tools: Use clean, sharp pruning shears or loppers to make clean cuts. Disinfect the tools with a solution of one part bleach to nine parts water before and after pruning to prevent the spread of disease.
- Method: Start by removing any dead, diseased, or damaged branches. Cut back to healthy wood. Next, thin out any crowded or crossing branches to improve air circulation and light penetration. Finally, trim back any overgrown branches to maintain the desired shape and size.
- Rejuvenation Pruning: If the plant becomes too leggy or overgrown, consider rejuvenation pruning. This involves cutting the plant back severely, typically to about 12 inches above the ground. This drastic pruning encourages new, vigorous growth from the base.
Pest and Disease Control
Photinia plants are generally hardy but can be susceptible to certain pests and diseases. Regular monitoring and early intervention are key to preventing and managing these issues. Here’s a detailed guide to pest and disease control for photinia:
- Aphids: These small, sap-sucking insects can cause leaf curling, distortion, and yellowing. Control aphids with insecticidal soap, neem oil, or by encouraging natural predators like ladybugs and lacewings.
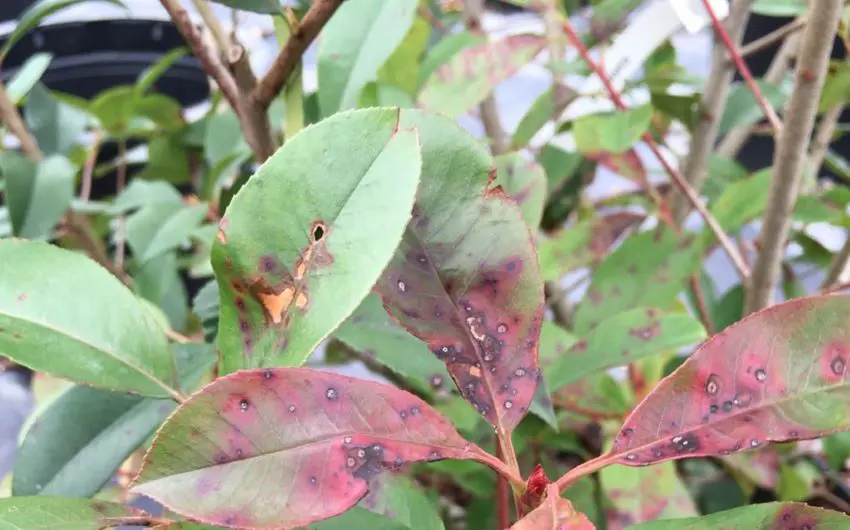
- Leaf Spot: This common fungal disease causes black or brown spots on the leaves, leading to premature leaf drop. Improve air circulation by thinning out dense growth, avoid overhead watering, and apply a fungicide if necessary.
- Fire Blight: A bacterial disease that causes wilting and blackening of shoots, fire blight can be devastating. Prune out affected parts immediately and disinfect pruning tools between cuts. Avoid overhead watering and apply a copper-based bactericide if necessary.
- Scale Insects: These pests appear as small, brown bumps on stems and leaves. They can be controlled by scraping them off with a fingernail or a soft brush, applying horticultural oil, or introducing natural predators like parasitic wasps.
- Powdery Mildew: This fungal disease causes a white, powdery coating on leaves and stems. Improve air circulation, avoid overhead watering, and apply a fungicide if necessary.
Common Problems and Solutions
Even with the best care, photinia plants can encounter problems. Here are some common issues and their solutions:
- Yellow Leaves: This can be caused by overwatering, poor drainage, or nutrient deficiencies. Ensure proper watering practices, improve soil drainage, and apply a balanced fertilizer.
- Leaf Drop: Leaf drop can result from environmental stress, such as drought, extreme temperatures, or transplant shock. Ensure consistent watering and protect the plant from extreme weather conditions.
- Stunted Growth: Stunted growth can be due to poor soil quality, lack of nutrients, or root-bound conditions in container-grown plants. Improve soil fertility with organic matter, apply a balanced fertilizer, and transplant container-grown plants into larger pots if necessary.
Types of Photinia to Try

There are several varieties of photinia, each with unique characteristics:
- Photinia x fraseri ‘Red Robin’: The most popular variety, known for its vibrant red new growth and dense habit.
- Photinia davidiana: An evergreen species with white flowers and red berries, adding seasonal interest.
- Photinia serratifolia: Known as the Chinese photinia, this species has larger leaves and a more open habit.
- Photinia glabra: Also called Japanese photinia, it has smaller, narrower leaves and a more compact growth habit.
- Photinia villosa: A deciduous species with stunning autumn foliage and red berries.