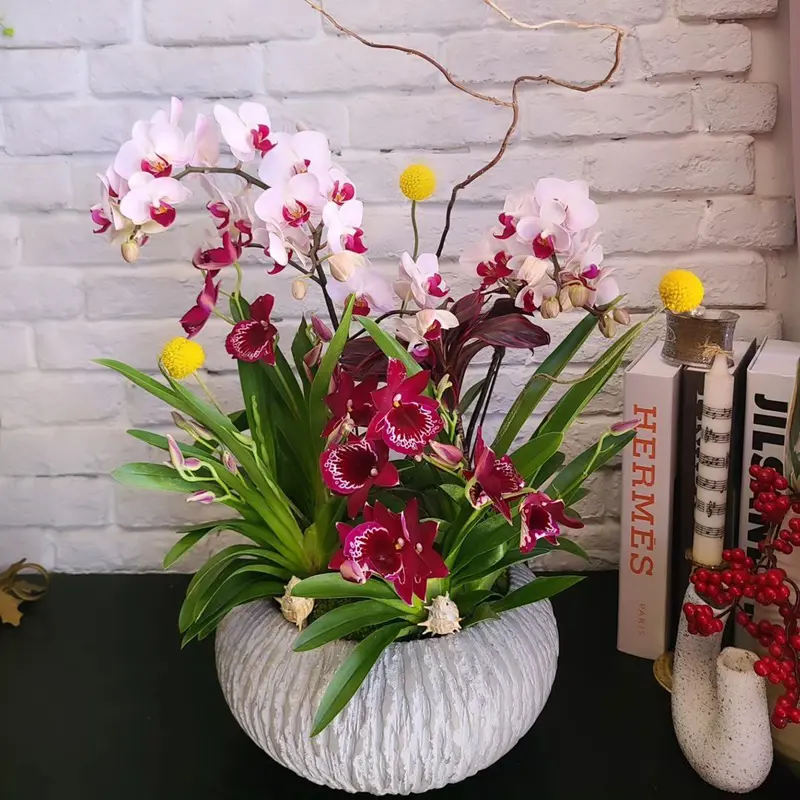
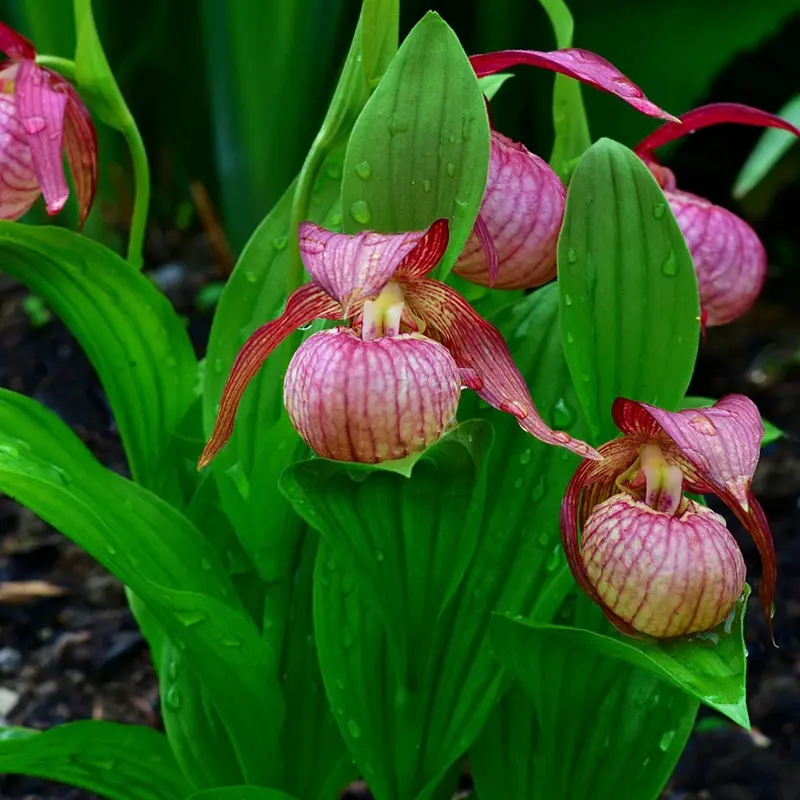
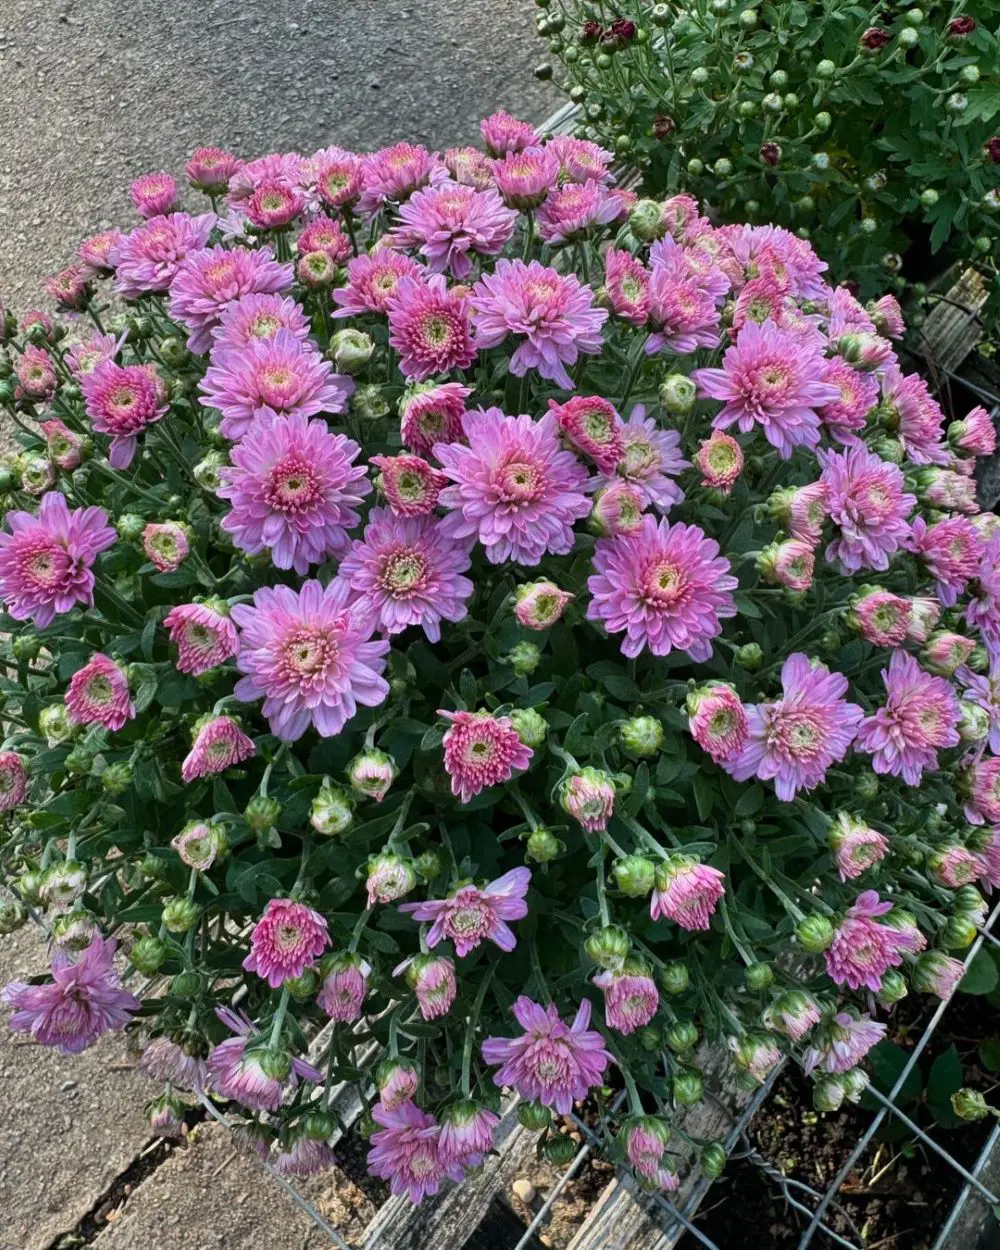
Among the most popular and beautiful houseplants, one finds orchids. However, these flowers need the right pruning to keep up with their more-than-beautiful blooms. Cutting the orchid at the right time and in the right manner provokes healthy growth and increases blooms.
This tutorial will provide you with how to cut orchids for more blooms concerning different techniques, timing, and common mistakes made. Now, let's summarize the most important steps in successful orchid cutting.
Orchid Cutting
Orchids are highly valued for their exquisite flowers, placing them among the most favorite flowers of plant lovers. In this respect, orchids require particular care for their continuity and survival. Among all other reasons, orchid pruning is considered one of the essential orchid care factors.
Cutting of orchids enhances their beauty, but it also plays a significant role in healthy growth and further blossoming of flowers. Pruning orchids can be intimidating to anyone who hasn't performed this before, but once armed with the correct knowledge and methods, it should be rather straightforward.
Key Aspects of Orchid Cutting
Cutting Dead, Diseased, and Damaged Wood
Removal of Browning Tissue
Control of Shape and Size
Timing of Cutting Orchid
How To Cut Orchid Plants
Orchids are among the most beautiful and common houseplants, yet they require special treatment, too, including pruning methods. Cutting your orchid plants at the right time and in the right way may spell the difference in the encouragement of healthy growth, prevention of disease, and assured stunning blooms year after year.
Each one of the six cutting techniques described below in orchids is done to take care of your plant for another specific need it may have. This will guide you on how to take care of your orchid from removing spent blooms to trimming frost-damaged leaves.
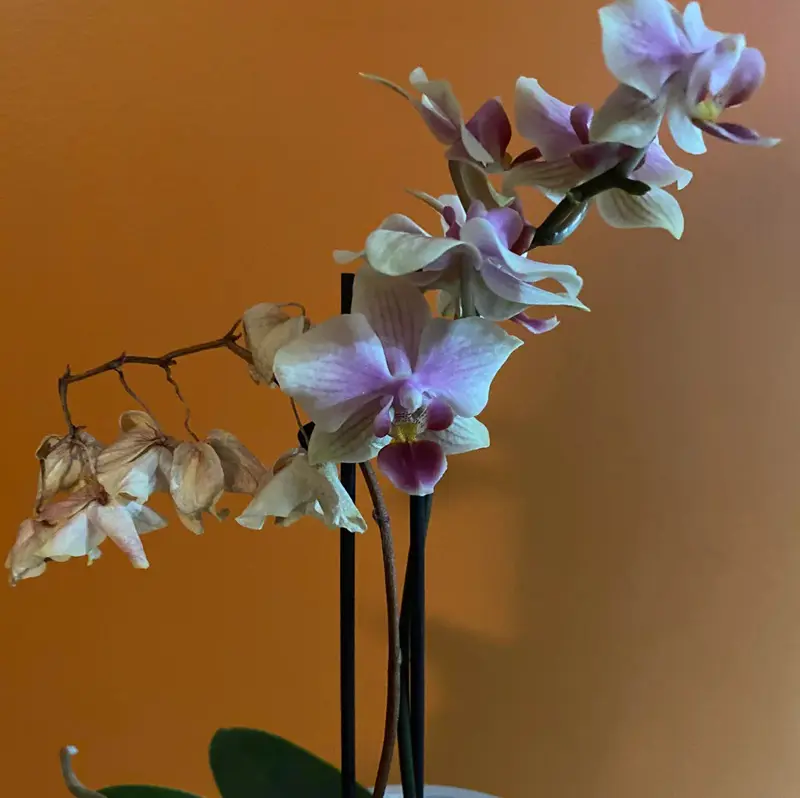
1. Deadheading
Deadheading is among the important ways of caring for orchids, as this helps your plant spend more energy on developing new blooms rather than wasting energy on the older ones. Light pruning keeps the orchid alive and healthy. Regular deadheading provokes continuous periods of blooming and freshens up your orchid plant.
This is because, without this process, your orchid may never bloom again and use all its energy to keep the dead flowers. In this section, we look at steps to follow in deadheading orchids that will help you keep your orchid fresh and healthy.
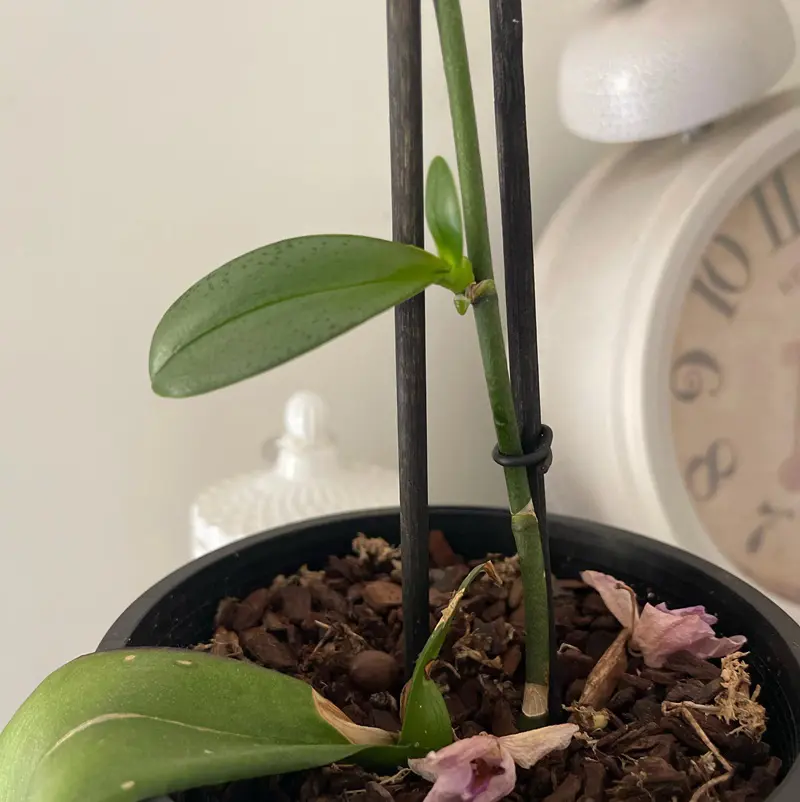
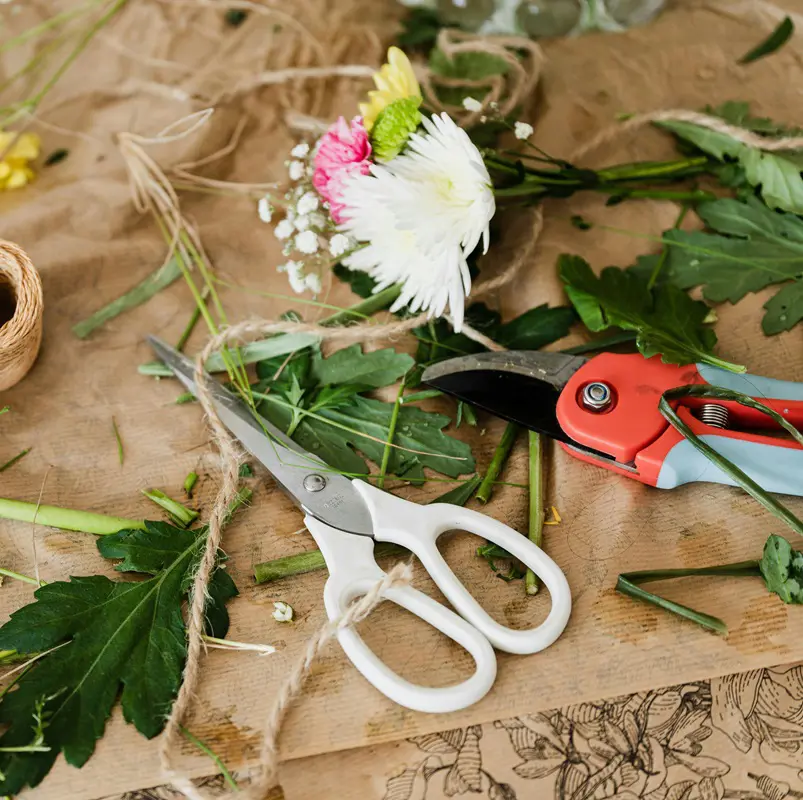
First, inspect your orchid for dead flowers. Using sanitized scissors or pruners, cut the flower spike about half an inch above a healthy node-a small lump on the stem- or right over a healthy leaf. Make sure in the process that you have removed all withered and yellow leaves.
This should be done right after the flowers have died because if you wait longer, you may cause the plant to waste some of its energy on old spikes.
2. Cutting to Control the Disease
Just like other plants, orchids do suffer from diseases that spread so quickly when not taken care of. Whether the cause is a fungal infection, bacterial blight, or root rot, the only thing that can save your orchid is to cut back the affected areas.
A disease can weaken the whole plant, and if this is left without intervention on time, it can lead to the loss of an orchid.
How to Prune a Diseased Orchid
Identify the part of your orchid that seems diseased. It could be yellowing leaves, black spots, or a root that has begun to rot. This portion needs to be cut back with sterilized pruners just below the node where the disease is. Remove infected material.
After cutting, dip your tool into rubbing alcohol or a bleach solution to prevent the spread of disease to another part of the plant or any other orchid. This is often overlooked but is an important precautionary step to help eliminate further infection.
3. Mid-Fall Fan Trim
As winter months start to approach, it will be time to give your orchid some special attention. You can do this by giving it a mid-fall fan trim. This would involve the removal of some leaves around the outer to avoid fungal infections that may be spurred on by winter, and so the plant can conserve a little energy for the upcoming cold season.
This is the pre-winter trim that will not only prepare your orchid for the challenges of winter but also set the stage for robust growth in the spring. You thin the foliage to allow better air circulation and reduce diseases borne by moisture.
How to Fan Trim
In mid-fall, before the onset of winter, snip the outer leaves of the orchid's fans with sharp, sterilized scissors, leaving the central growth intact. This allows air to move more freely around and within the plant, reducing fungal spores that can thrive in moist conditions.
But one should be very careful not to cut much foliage; only thin it out such that it will not interfere with the photosynthesizing process of the plant.
Frost is injurious to orchids, basically injuring leaves, which may impede further plant growth if not treated immediately. If a frost has occurred, you should immediately check your orchid for any signs of frost damage and prune those leaves so that no further damage would be caused.
Damaged leaves, if left on the plant, could invite pests and diseases and weaken your orchid gradually. This pruning after frost enables the orchid to heal and prepare for further growth.
How to Trim Foliage After Frost
Once the frost has passed, inspect your orchid very carefully. Leaves damaged by frost will often look wilted, discolored, or feel soft to the touch. Using sterilized equipment, snip back the damaged leaves, being careful to remove the area damaged.
This should be done using clean cuts, not leaving a ragged edge that could invite pests and diseases. Carefully prune frost-damaged foliage, but do not remove too much healthy tissue. Removing too much tissue makes the plant weak and slows the recovery process from frost damage.
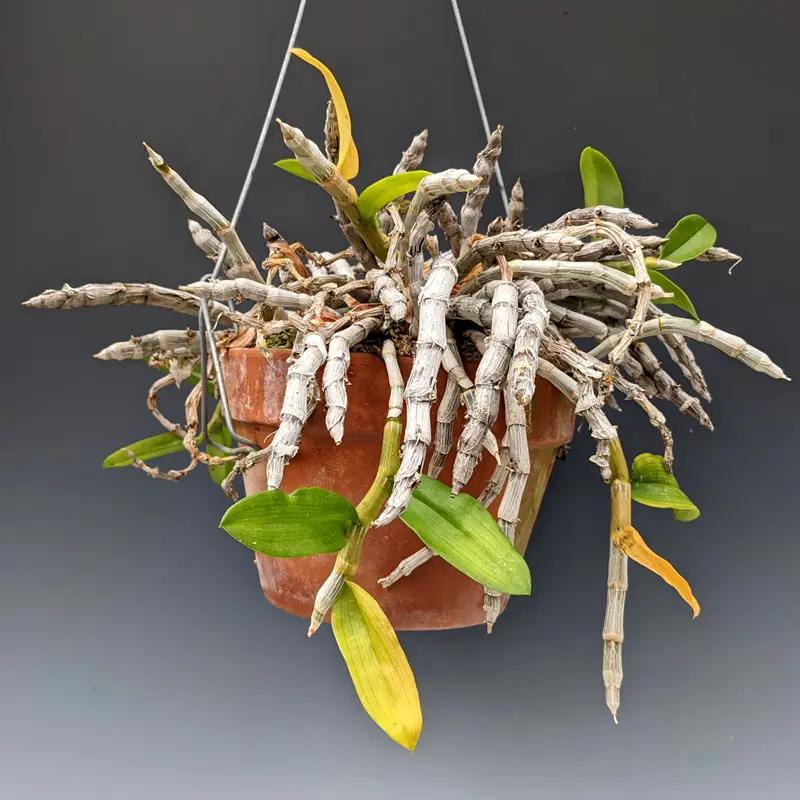
5. Pruning Bad Rhizome
Rhizomes are among the major parts of your orchid responsible for storing nutrients and producing new growth. Injured or diseased rhizomes, on the other hand, will affect the plant's health and, as such, should be cut back into better sections. If bad rhizomes are not attended to, they may decay even further and impact your plant's survivability.
Cutting Back Rhizomes
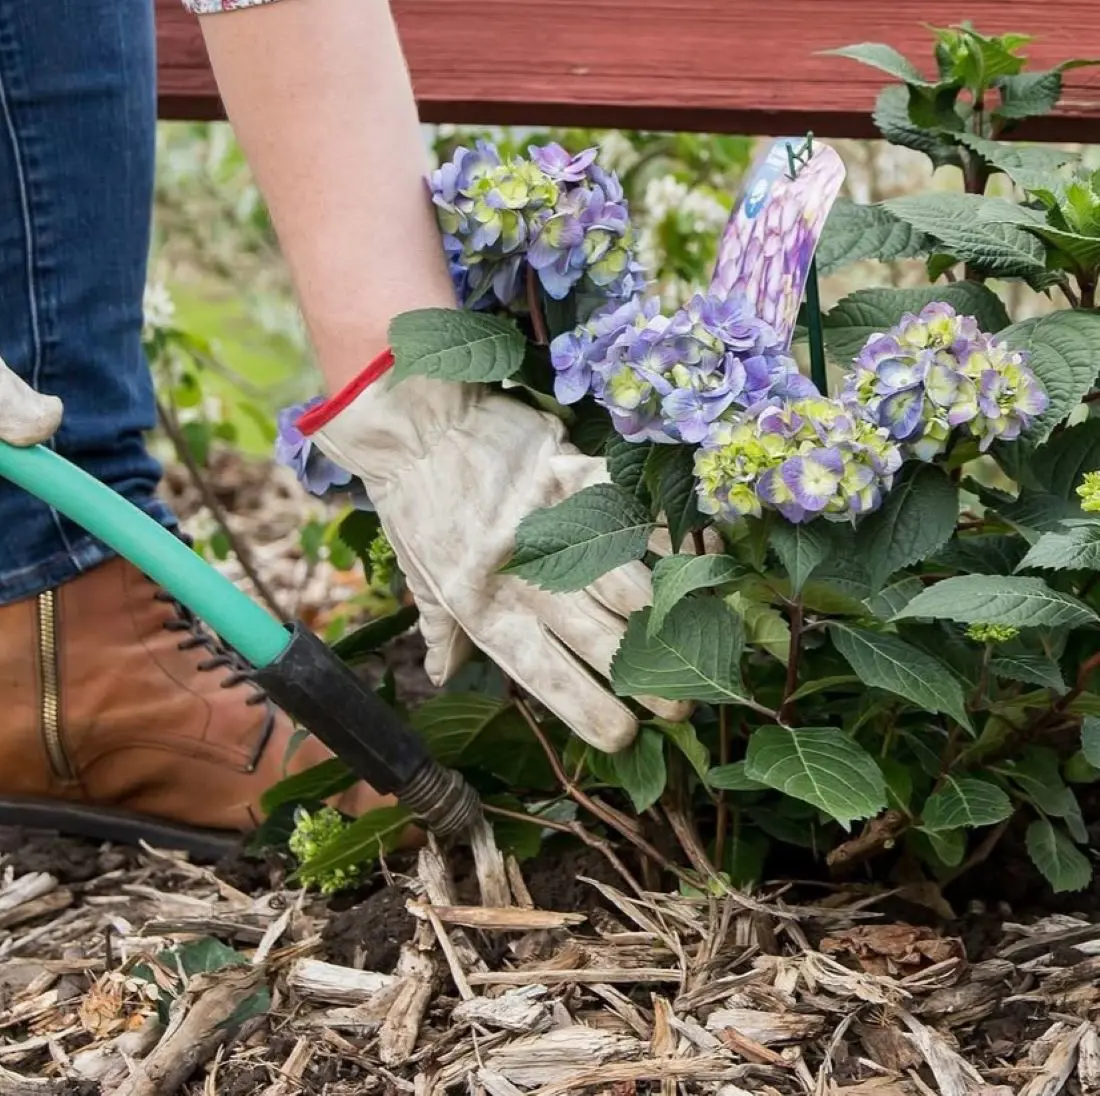
Just start by gently digging around the base of your orchid until the rhizomes are exposed. Just be careful not to injure those healthy parts of the plant. At this point, examine the rhizomes since they are all exposed. Check for damage such as soft spots, blackened portions, or rot.
Using sterilized pruners cuts back the bad sections of the rhizome but leaves the healthy part. Trim injured rhizomes with care and accuracy because too much removal weakens the plant.
6. Pruning to Prevent Pests in Orchids
Aphids, mealybugs, and spider mites bring great damage to your orchid, which, if left unattended, may be difficult to reverse. Such insects can be controlled by cutting the infested area from your orchid to save its remaining parts.
Early intervention is sometimes the only thing that lies between you and a full-scale outbreak, spilling over onto other plants inside your home.
At the first sign of a pest attack on your orchid, like tiny holes in the leaves, sticky resin, and sometimes even the insects themselves, take immediate action. Carefully remove the infected leaves or stems using sterilized pruners. Be sure to dispose of cuttings far away from other plants to avoid a pest infestation.
Regularly check your orchid for pests and instantly cut off the part with infestation. After pruning, you can alternately apply insecticidal soap or neem oil to the remaining parts of the plant.
Orchid pruning is not only an aesthetic concern, but a very necessary practice that affects many more fundamental things like health, or even flower production. You do that to get rid of the dead or diseased part to make it look more presentable, to enhance the healthy growth of the plant, and to produce more flowers.
Pruning helps the orchid plant channel its energy into new growth, rather than expelling energy on damaged or spent flowers. Cutback also avoids the appearance and proliferation of a plant with diseases and pests, for protection for the long life of the plant.
Trimming the dead or diseased part of your orchid will enable the plant to invest its energy in developing new, healthy shoots and leaves. Such rejuvenation strengthens the general structure of the orchid.
Regular pruning allows an orchid to invest its energy in a new bloom rather than taking care of the old or spent flowers. It encourages an orchid to start the new blooming cycle after removing spent flower spikes.
Early removal of the affected part can help in saving the rest of the plant from any potential diseases. Regular checking and timely pruning will keep your orchid healthy and devoid of any ailment.
Orchids sometimes grow big and unruly if not curtailed, which can be a challenge in handling and tending. Here, regular cutback may be performed to shape the plant and keep it at a reasonable size, ensuring that it will fit well in your space.
Common Orchid Care Mistakes
1. Deadheading Too Late
Deadheading your orchids too late should not be encouraged, as it can affect the health of the plants and their ability to bloom well. With old blooms having remained on the plant, they still consume some energy that would have been devoted to new flower production.
It also tends to delay the next blooming cycle as the plant is worn out over time. It should be done directly after the flowers have faded, so that the orchid may channel its energy to the development of new blooms.
The most overlooked yet vital details regarding the care of orchids are usually the sterilization of pruners between cuts. Orchids are prone to infection, and dirty tools can spread diseases from one part of the plant to another or even from plant to plant.
Unless sterilized, your pruners may well introduce bacteria, fungi, or viruses into otherwise healthy tissue and thereby cause the plant problems of serious consequences badly damaged or dead plants. Cleaning your tools with rubbing alcohol or a bleach solution after each cut can help you avoid cross-contamination.
3. Planting Orchids Too Deep
Planting your orchids too deep in the soil can be one of the worst mistakes an orchid enthusiast can make because this leads to grave problems, especially with the rhizomes. Unlike other plants, orchids are one of those plants that need to have good air circulation around the roots.
Keeping the rhizomes too deeply buried can result in their choking. The most common outcome is root rot, whereby the rhizomes get waterlogged and start decaying, weakening the plant in the process. Keep the rhizomes just below the surface of the soil where they will be free to breathe but not disturbed.
4. Not Dividing Orchids
With time, the larger majority of the orchids, especially those bearing multiple shoots or "pseudobulbs," they become overcrowded if left unsplit. Leaving them unattended struggling for nourishment, water, and space leads to stunted growth of plants and less flowering.
Dividing orchids rejuvenates a plant; it gives each division more room for growth and therefore access to more resources. It will also give the necessary incentive for new growth that might translate into more frequent and copious blooms.
Mulching retains moisture and suppresses weeds, but in the case of orchids, mulching over the rhizome is a harm to good. The air circulation that the orchid plants require around the rhizome is, on the contrary, trapped by its covering with mulch, while its rotting is promoted.
This can get problematic in regions with high humidity since excess moisture can raise fungal infections pretty easily. For this, mulch should always be kept away from the plant base so that the rhizomes are always allowed to breathe.
6. Division of Orchids after Frost
The timing for dividing orchids is everything, and if done after a frost, the results could be catastrophic for the plant. Frost can weaken orchids, predisposing them to shock and injury when splitting. If you split your orchids when they are already stressed from cold weather, the risk of further weakening the plant may impede recovery and growth.
To avoid this, split your orchids before the first frost of the year so that the division will have time to settle and strengthen over the winter period. Timing is everything if you want to keep orchids healthy and produce flowers for the next season as well.
Additional Tips for Healthy Orchids
Provide 6 Hours of Sunlight
As much as orchids are like sunbathers, with the tender structure of their leaves and all, they can get scorched if directly exposed to sunlight. If possible, place your orchids so they can be in a gentle, diffused light for approximately 6 hours each day.
This can be accomplished by putting them near a north or east-facing window, or by pulling sheer curtains over other window areas. Too little light and the plant will experience weak growth with very minimal flowering, while too much direct sunlight will burn the leaves and result in stressful conditions for the plant.
Rhizomes of orchids have to be correctly spaced so that they are not over-crowded but give the plants adequate aeration around them. While planting or re-potting orchids, make sure to leave some free space between the rhizomes for each plant to grow naturally.
When rhizomes are too crowded, plants will not have enough air in between them, increasing the chances of fungal infection and root decay. Having enough spacing will ensure proper aeration; the orchids will dry faster if watered, hence reducing the chances of diseases.
Fertilizing Orchids
Orchids need to be fertilized regularly to keep them healthy and strong. A balanced, water-soluble fertilizer that is specifically prepared for orchids needs to be applied, using the recommended dosage rate on the label. Generally speaking, orchids will benefit from fertilizing every 2-4 weeks in their growing season, usually spring and summer.
A balanced fertilizer, such as a 30-10-10 or 20-20-20, provides essential nutrients in the form of nitrogen for leaf growth, phosphorus for root and flower development, and potassium for general plant health. Be very cautious with over-fertilizing, as this can lead to salt buildup and damage to the plant's roots.
The most efficient and best way to water orchids is through drip irrigation. This has the immediate effect of supplying them with continuous moisture, thereby avoiding one of the most common problems encountered: overwatering. Water will be supplied right to the root base down the tubes and emitters of this system, keeping the soil moist.
Orchids prefer to be around well-drained areas, and any excess amount of water applied can result in root rot and other fungal problems. Through drip irrigation, you have the authorization to pour the correct amount of moisture without leading to any problem concerning excess water accumulation.