How To Propagate

How To Propagate A Rubber Plant Using 5 Methods

Source : instagram

If you’ve been collecting and caring for houseplants for years, you probably have rubber plants in your collection. Rubber plants are easy to care for and propagate if you want to grow your collection. So, if you possess one at home, you can have more without spending money for your personal use and gifting. 

You should know there are five different methods to learn how to propagate a rubber plant. You don’t have to use all five methods for propagating rubber trees. Choose one that is suitable for you.

1. How to Propagate a Rubber Tree Plant Using Stem Cutting: Soil

Most gardeners prefer stem cuttings because they are fast and easy. This method mimics the plant’s natural growing conditions, reducing transplant shock risk. It has a high success rate. 

Tools and supplies: sharp knife or pruners, rooting hormone, container, soilless potting mix, 

Prepare a Clean Surface

Rubber tree propagation can be a little messy because the plants exude a sticky, latex-rich white sap at the cuts in the stem. You might want to protect your work surface lest it gets stained. Also, wipe away the debris or soil that could spread diseases.

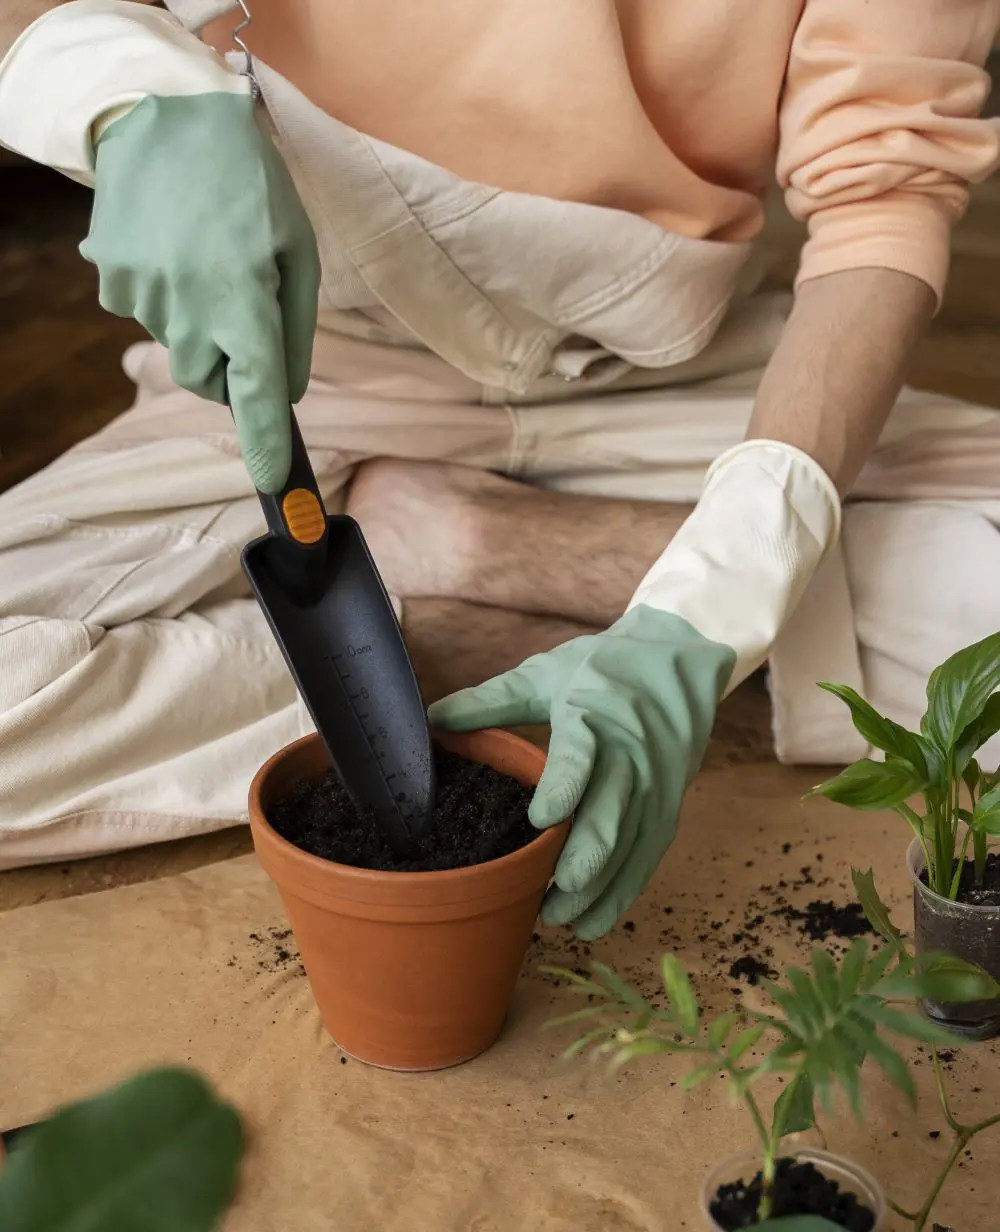
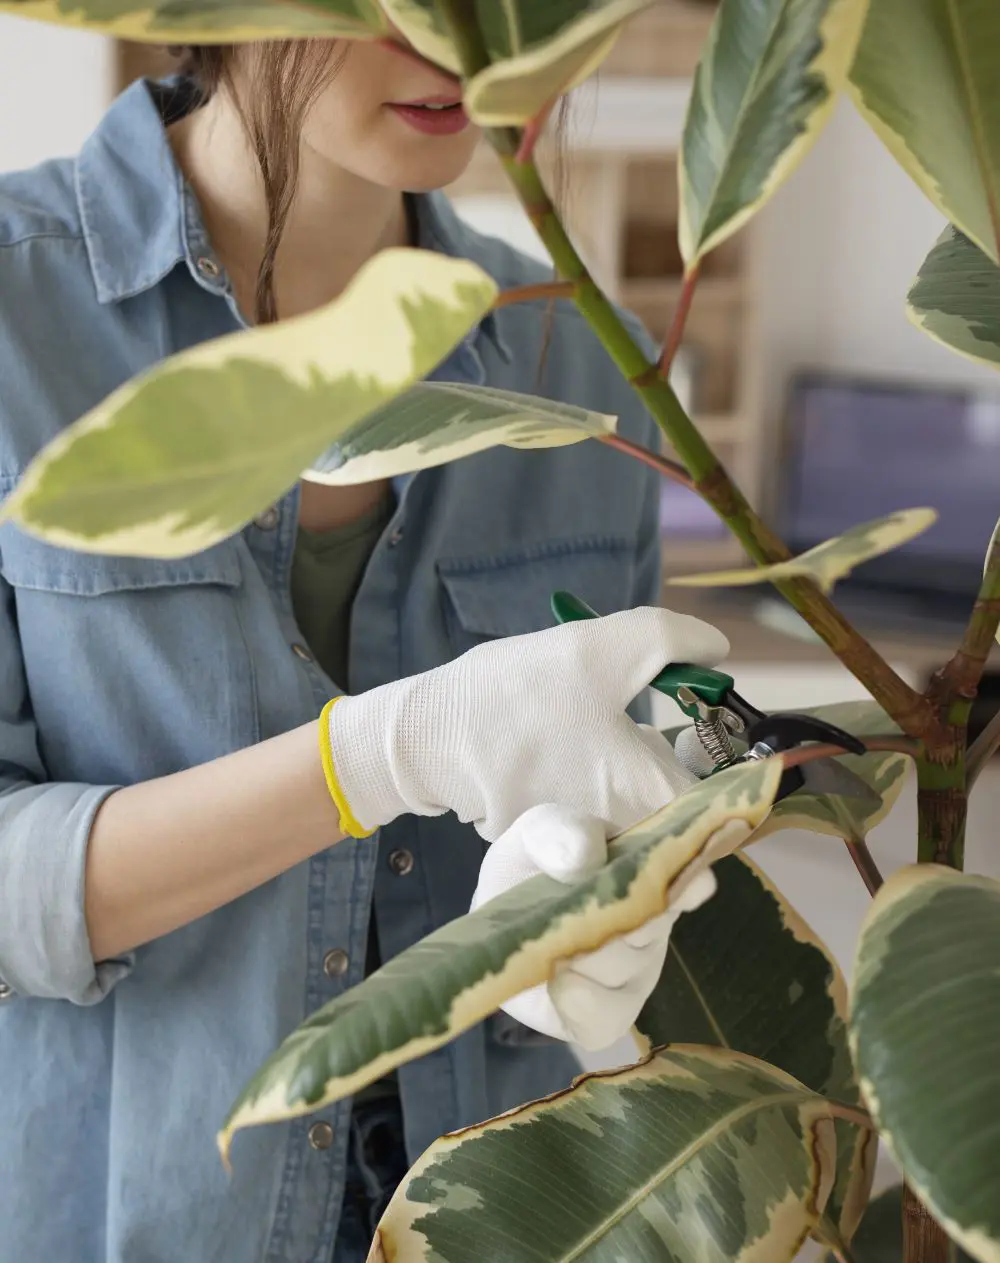
Always wear protective gloves while taking stem cuttings from a rubber tree because its sap can irritate the skin on contact and gather all the tools and materials before you start. 

Pick a Stem

An ideal rubber plantation propagating stem is an actively growing branch. Inspect your plant for a stem with several leaves and flexible new growth at the tip. Choose one that is healthy and has multiple blemish-free leaves. Identify leaf nodes along the stem where new roots eventually grow before cutting into the stem.

Find areas that need to be trimmed as well. Look for sparse areas or spots that could use some fuller growth. Ideally, you also want to take cuttings from leggy, long-stemmed, or branched sections. Rubber tree cuttings should be about 6 inches long with at least four leaf nodes to ensure success, so choose a long stem. 

Take a Cutting
Source : freepik

Using your knife or shears, cut at a 45-degree angle below a leaf on the stem where two nodes (the location where the leaf meets the stem) meet.

The angle will give the stem a larger surface area for rooting. If the cutting bleeds sap, hold the cut end of the stem with a moist paper towel until the bleeding stops.

Prepare the Cuttings

Once it stops dripping, remove the bottom leaves from each stem, leaving one or two leaves at the top of the cuttings. Exposing the stem by removing excess leaves helps the plant focus its energy on rerooting rather than maintaining existing leaves. 

Take the remaining leaves and roll each one into a cylinder shape, keeping the waxy side outermost, and secure the leaves with a rubber band. Rolling the leaves helps reduce the plants' moisture loss.

Apply Rooting Hormone and Plant the Cutting

Fill the small planter with a soiless potting mix and moisten thoroughly. Poke a small hole in the center with a chopstick or pencil and insert the cutting. The top node of the cutting should be level with the mixture surface. Ensure you use an optimally sized pot to avoid transplanting before the plant is established.

You may also coat the end of the cutting with rooting powder before planting to speed up root development. Pat the soil firmly down around the cutting to secure it in place. You can insert a small stake in the rolled leaf's center to support the cutting. 

Provide Warmth, Humidity, and Sunlight

Ideally, place the pot with the cutting in a greenhouse to maintain ideal growing conditions. If not, keep it in a warm spot with bright, indirect sunlight after covering the pot in a clear plastic bag or humidity dome. 

Direct sunlight scorches the leaves and dries the soil, while the plastic covering traps moisture, essential for the cutting to grow. You can also mist it occasionally to maintain moist conditions and keep the soil from drying out.

Check Root Development
Source : instagram

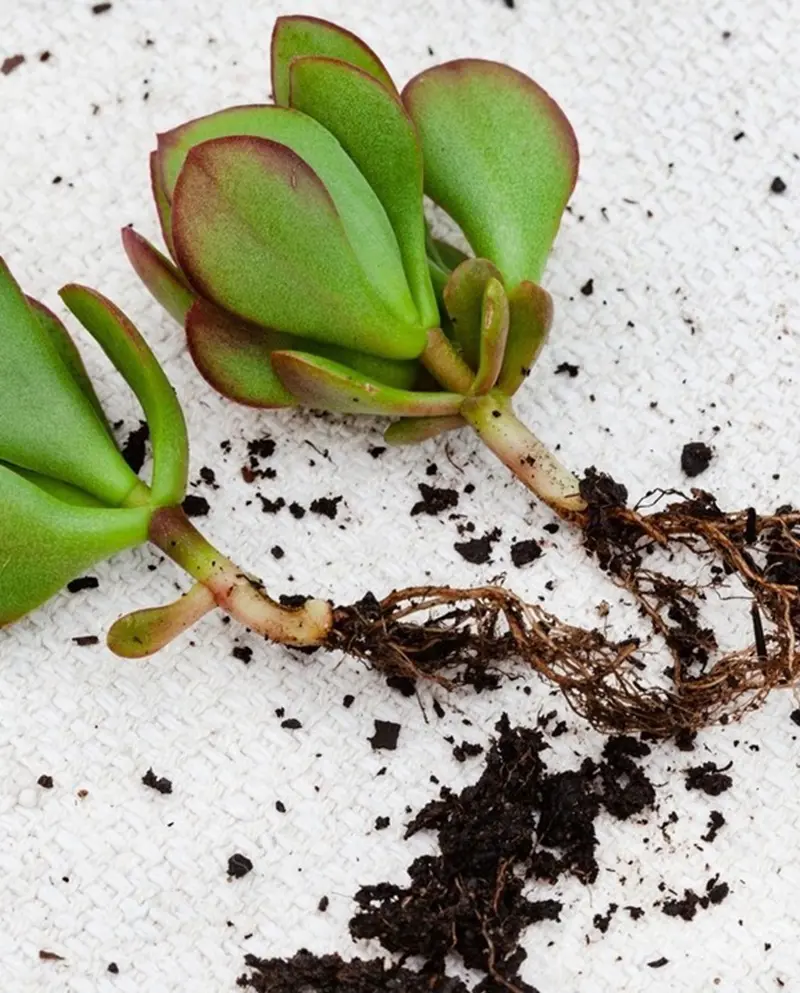
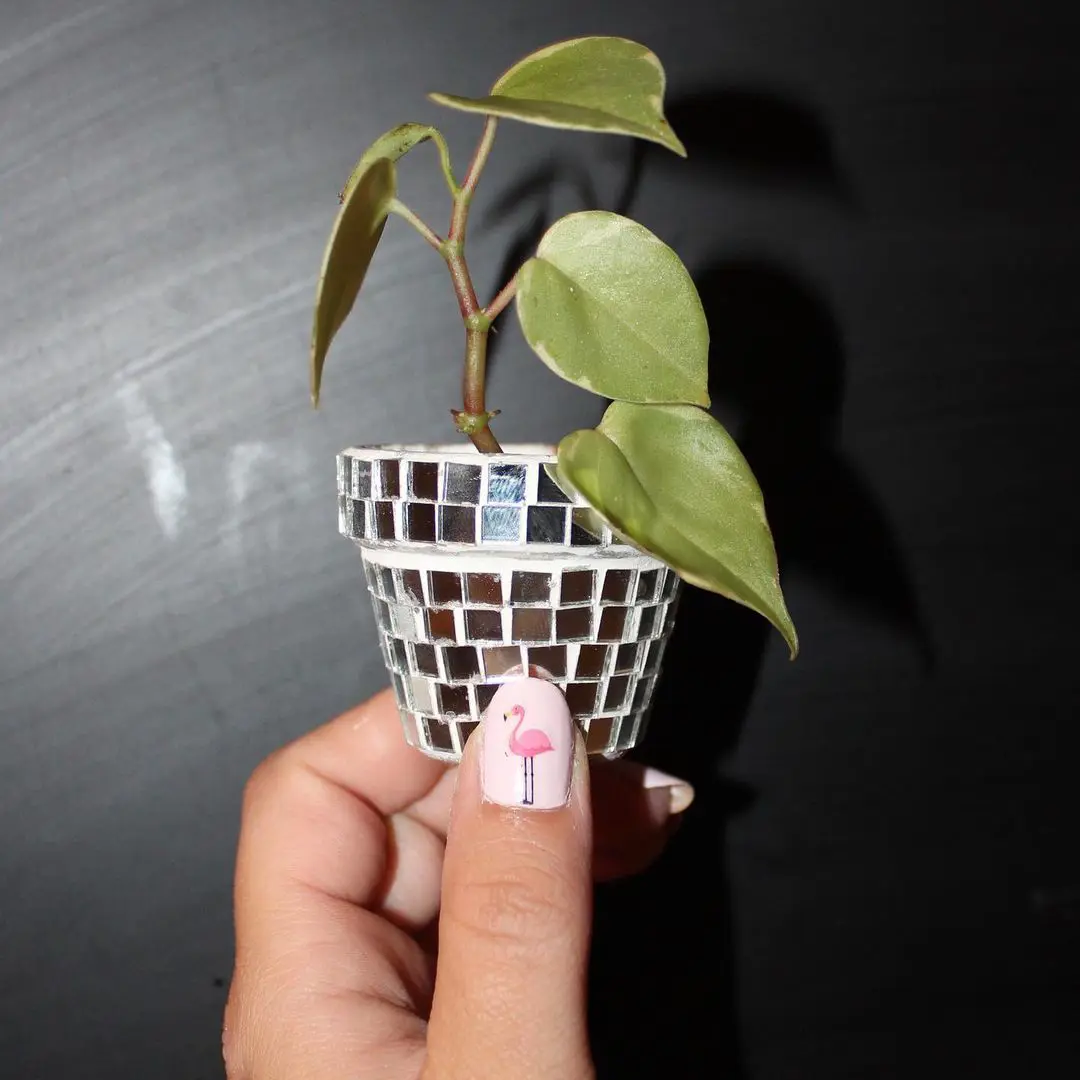
The roots will take a few weeks to develop, and until then, don’t disturb the cutting. They should start developing roots after four to five weeks. Gently pull the cutting to check if the roots have developed. 

If tugging is difficult and you encounter resistance, roots have begun to form. When the roots have developed, remove the plastic covering or dome and care for the baby plant. You can use this method to propagate any type of rubber plant.
2. How to Propagate Rubber Trees Using Stem Cuttings: Water

Rubber tree plant propagation with water is sometimes faster than in soil, but the roots are weaker. Here are the steps to propagate a rubber plant in a jar filled with water: 

Select a Stem

We have already discussed the kind of stems you should select in the method above. Look for:

  • At least 6-inch stem
  • Four leaf nodes minimum
  • A few blemish-free leaves

Cut the Stem 

Use clean pruners or scissors to cut the stem below a leaf node at 45 degrees and stop the sap from bleeding with a paper towel.

Remember to wear gloves or wash your hands and keep the sap away from your eyes. 

Remove Lower Leaves and Place Stem in Water

Source : instagram

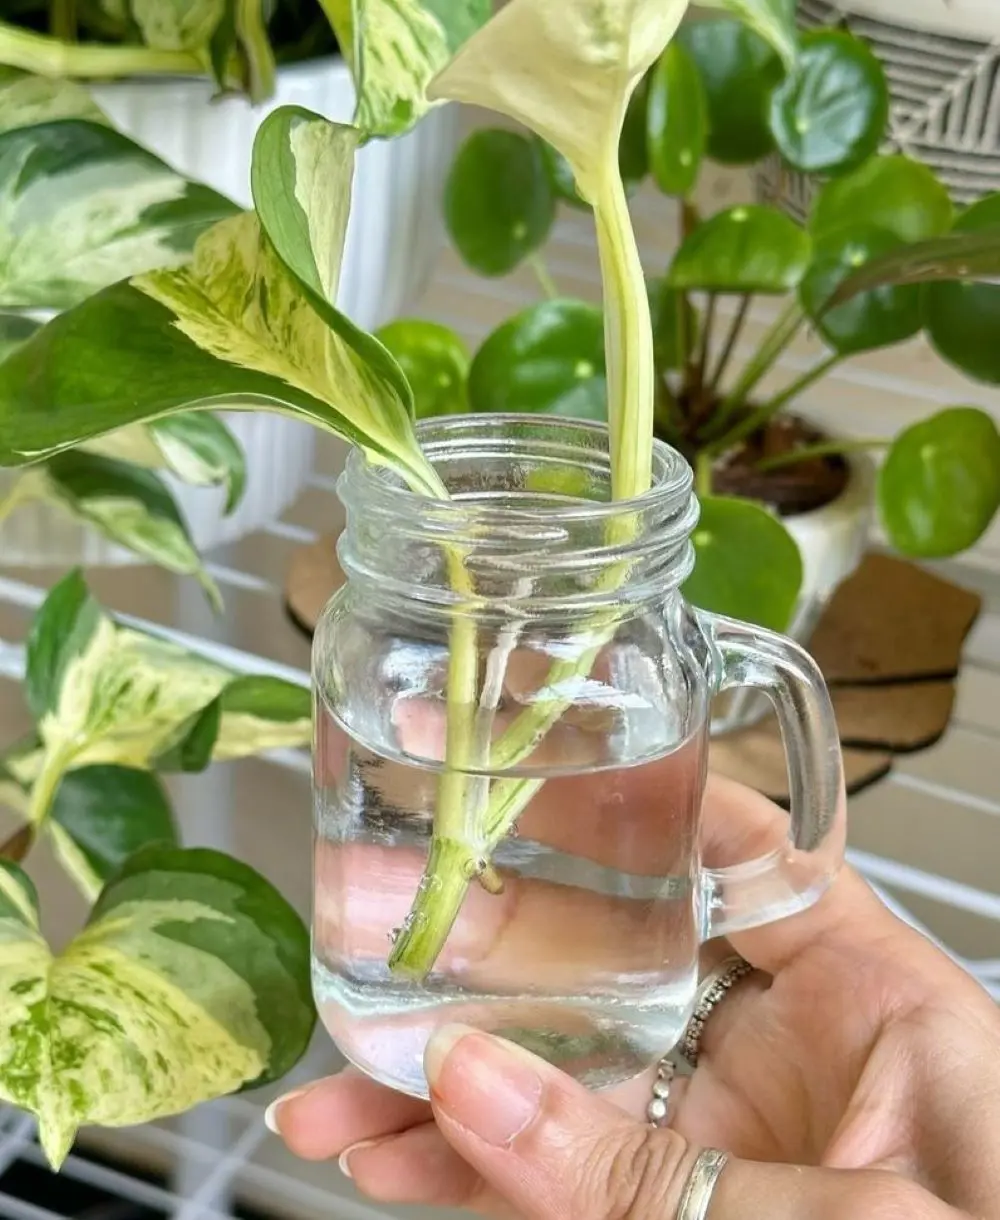
Remove the lower leaves from the stem that might be submerged in water later to prevent rotting and ensure at least one leaf remains at the top. These nodes are where you can anticipate the new roots.

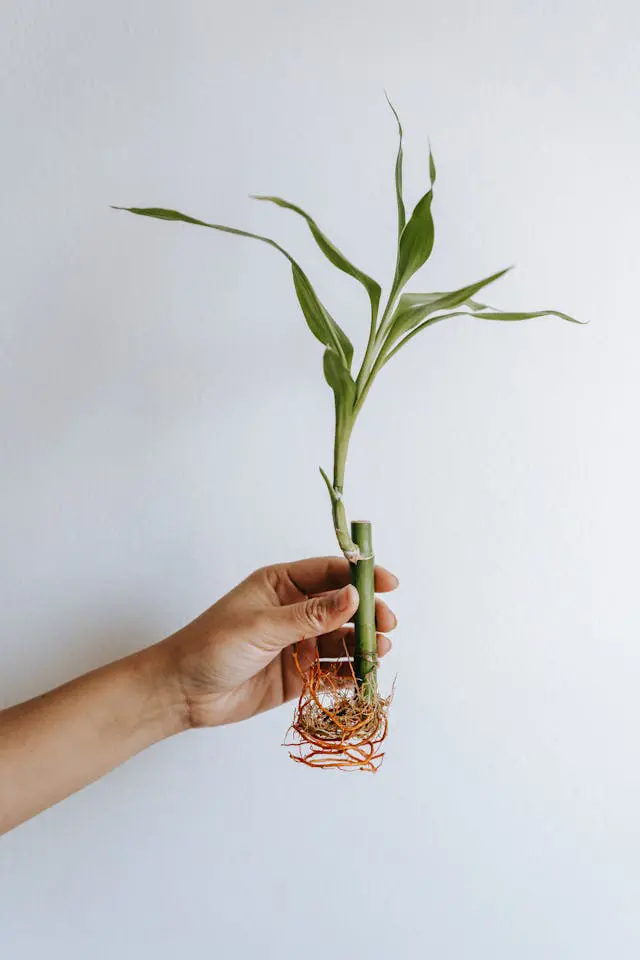
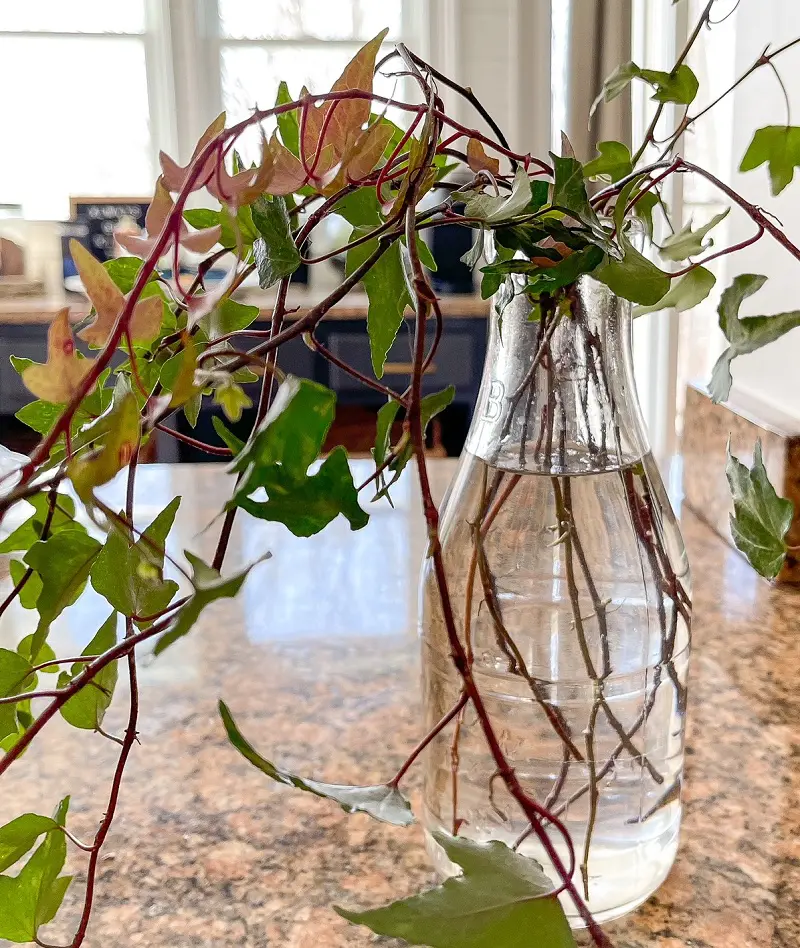
Then, fill a clear glass with enough room temperature water so the bottom half of the stem is submerged and place the cutting in the water. Ensure the remaining leaves are above the water surface. The water might turn cloudy with sap as soon as you place the rubber plant stem in the. This is okay, and the plant will stop producing sap shortly.

Find a Sunny Spot

Place the jar in a warm location with bright indirect sunlight. Avoid direct sunlight as it can overheat the water and scorch the new root growth.

Change the Water Regularly

The best part about propagation with this method is the stem cuttings require no maintenance. You only have to refill the container with clean water every week or when the water starts to look cloudy. This reduces the risk of root rot.

Transplant 

Every plant is different, and depending on various conditions for planting and growing rubber plants, you should start to see root growth anywhere from 4 to 12 weeks.

Once you see established roots forming, and they have become full, thick, and reach about 2 inches long, your plant is ready to be transferred to the soil. However, you can also leave the plant in water until you replant it.

3. How to Propagate Rubber Tree Plant: Petiole

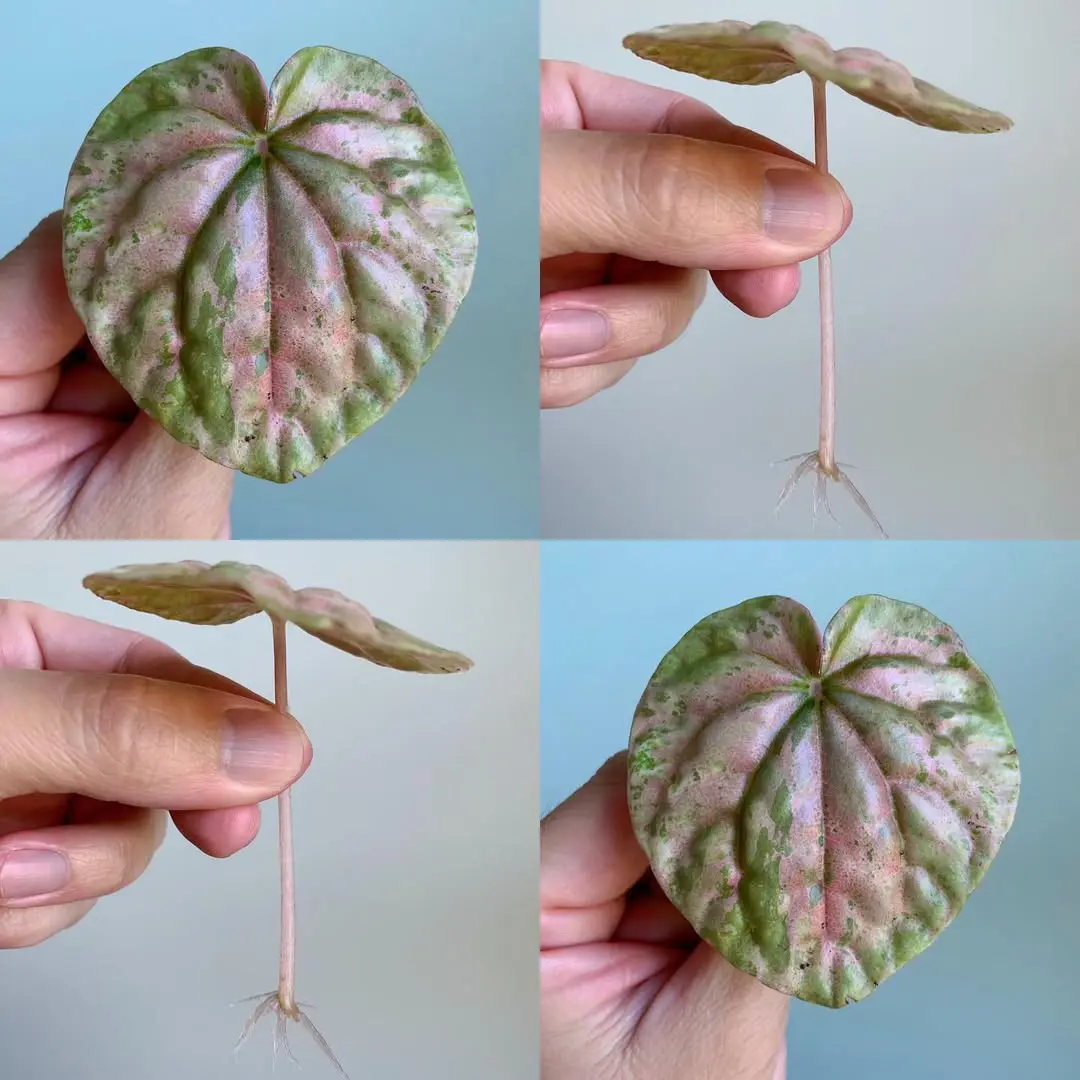
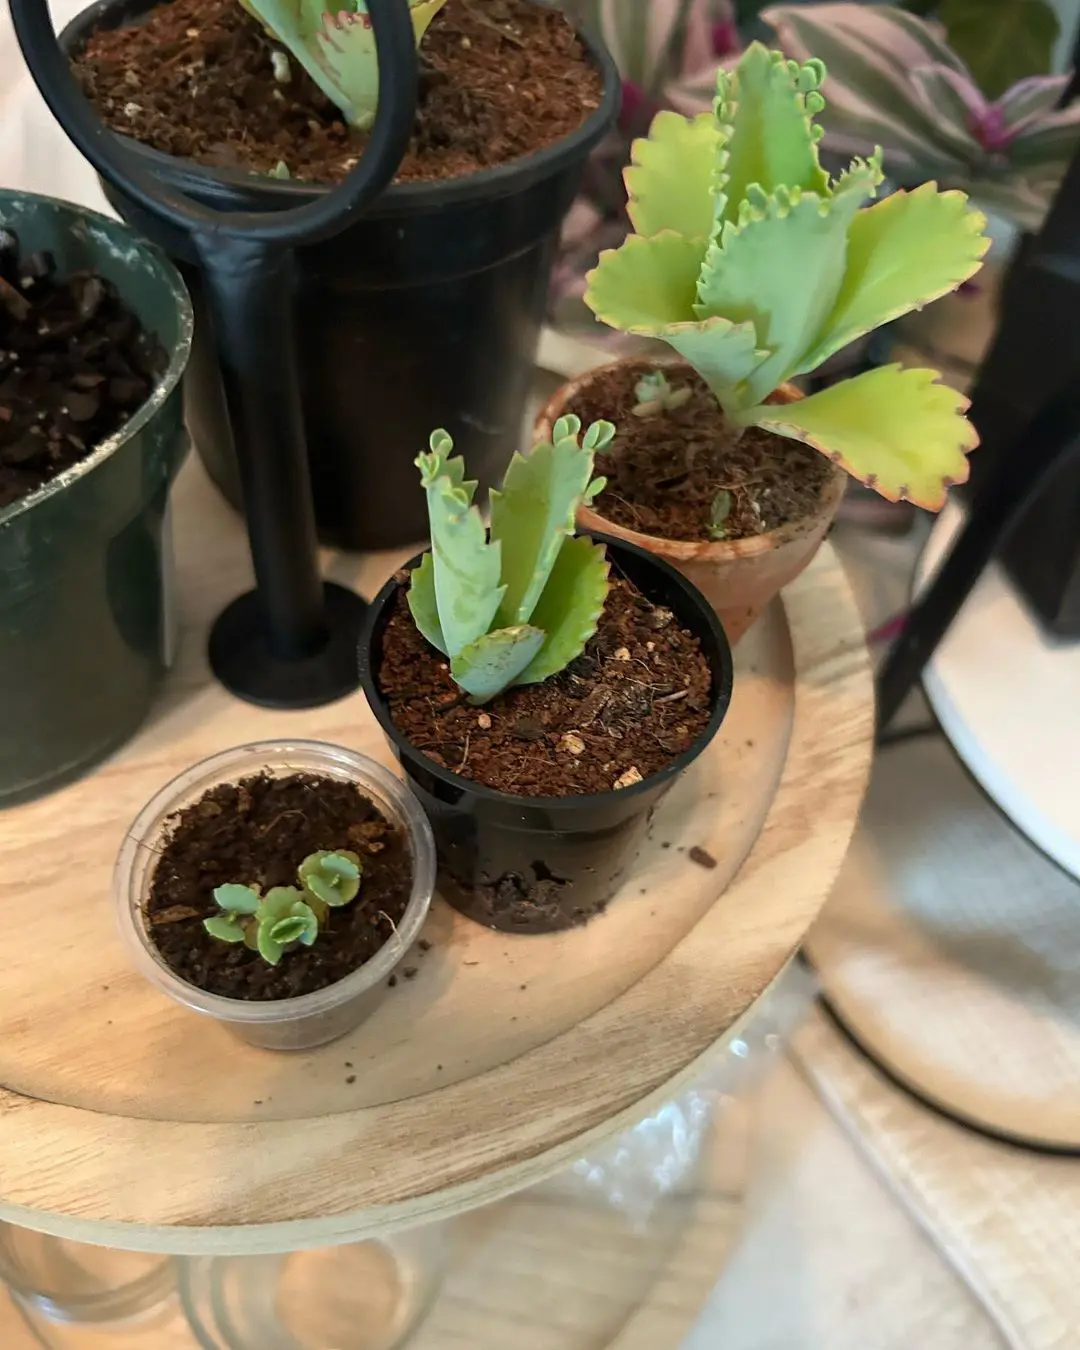
Rubber plant propagation using a petiole involves a leaf attached to a petiole, a stem-like cutting holding the leaf blade to the stem. The cutting develops new roots and leaves at its base that become a small plant.

Select and Cut a Healthy Leaf 

Source : instagram

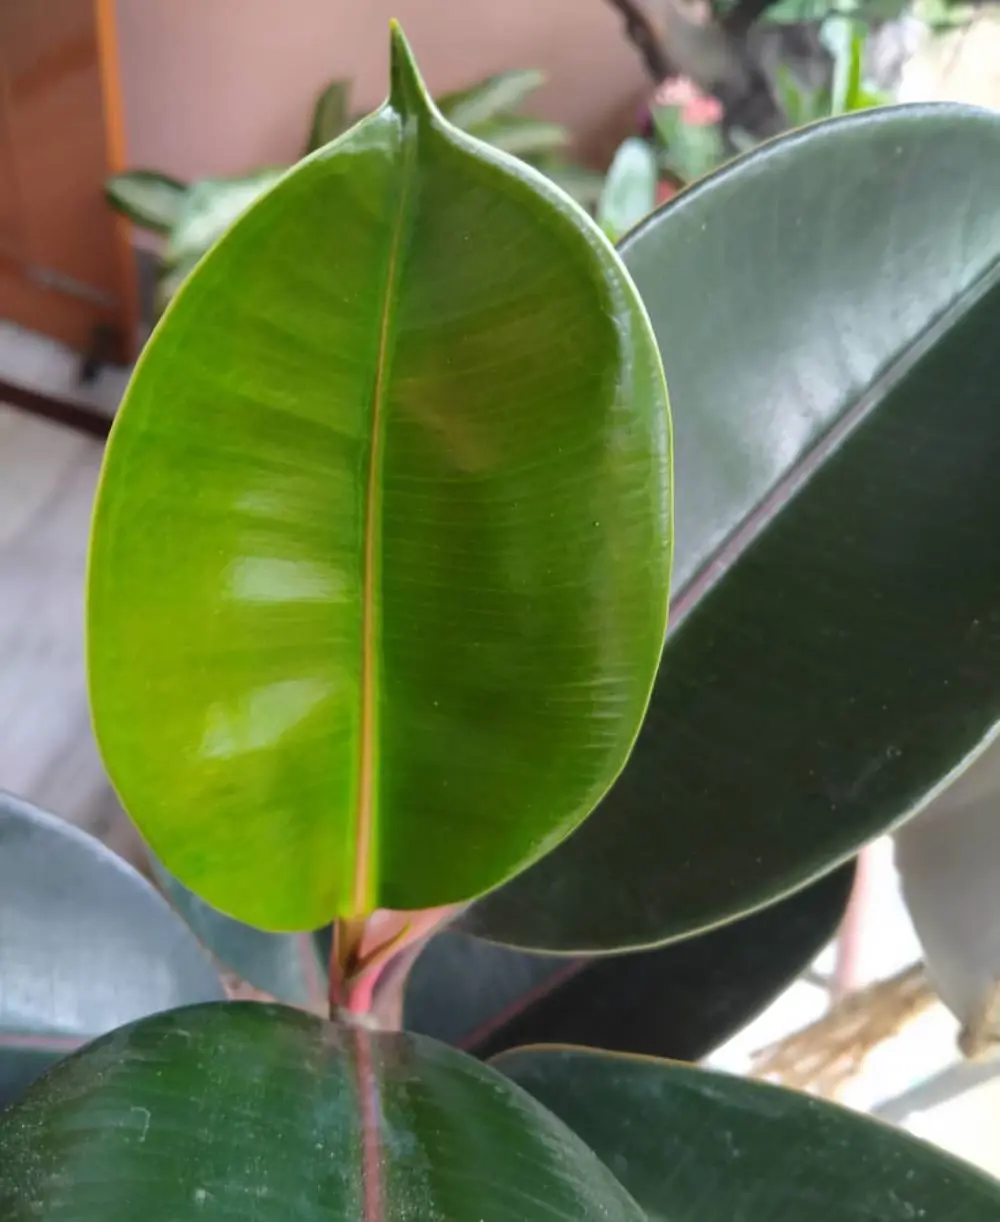
Choose a thick, fleshy, undamaged leaf from the rubber plant. Ensure the petiole is attached to the leaf blade and at least 1–2 inches long or as much petiole as possible if it is shorter.

With a sharp, clean knife or scissors, cut the leaf at the base where the petiole meets the stem, but leave out the node. A clean cut reduces the risk of infection.

Prepare the Growing Medium

You can use any growing medium if it has a good balance of water and air holding capacity to support the formation of new advantageous roots.

Popular mixtures include sand with peat moss and perlite with peat moss. Moisten the mix lightly without making it soggy. You can apply a rooting hormone to the petiole end to promote root formation 

Plant the Leaf

Before planting the petiole, ensure your planter is sterile and has good drainage. It should be at least 2 inches deep to allow enough depth to hold the cuttings upright. Make a hole in the center of the potting mix and insert the petiole at a 45-degree angle about an inch deep.

If the petiole is small and the cutting cannot stand upright, a small portion of the blade can also be buried. Gently firm the potting mix around the petiole of the cutting, ensuring the leaf stays upright and above the soil. 

Provide Proper Conditions

Place the cutting in a warm location with bright indirect light and high humidity. Covering the cutting with a plastic dome or bag effectively raises the humidity to encourage rooting. 

Moisten the soil occasionally if using a plastic covering to prevent the leaf from drying out.

Transplant

Source : instagram

Roots usually form in several weeks or take months. Signs of success include small plantlets at the base of each petiole, which appear in six to eight weeks.

When adequate roots have formed, separate the plantlets by carefully pulling or cutting them apart if needed and pot the new plant in regular potting soil. Once potted, keep the new plant well-watered and in bright, indirect light and care for it. 

4. How to Propagate a Rubber Plant: Air Layering

Propagating rubber tree plants with air layering is not as popular as the methods above. However, if you want to learn and use this technique, you can. Most beginners in propagation may find it elaborate and complex. 

This method stimulates rooting while the stem is still attached to the plant. After rooting, the stem is cut and separately planted. Here are the steps for this technique:

Choose a Healthy Stem 

Select a vigorously growing 12 to 18-inch stem and remove the lower leaves. Select a point on a vigorously growing stem about 12 to 18 inches from the shoot tip. Remove all leaves in this immediate section.

Create a Wound

Source : instagram

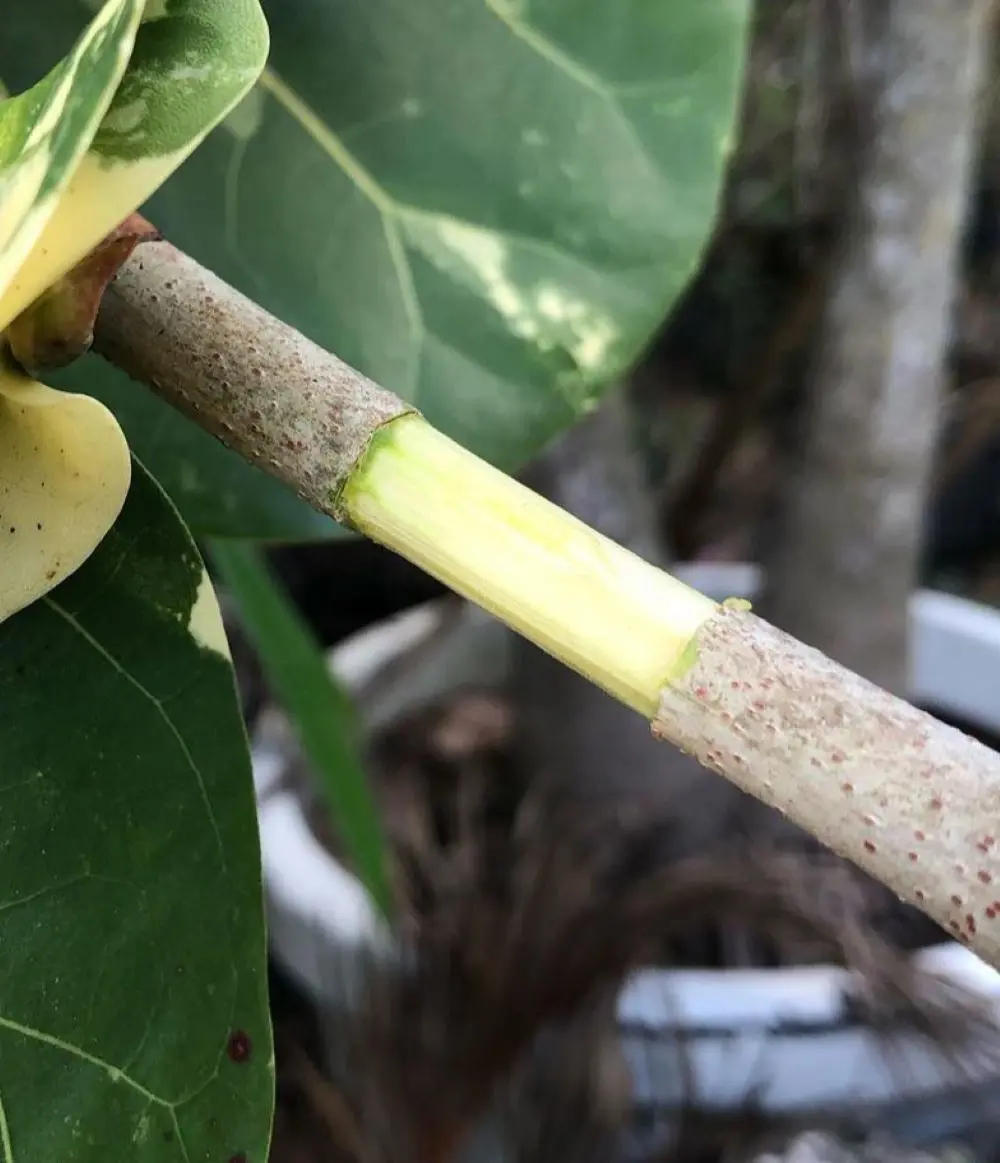
With a sharp, small cutter, cut two parallel rings around the stem 2 inches apart, deep enough to reach the woody center. Then, angle the blade and traverse it along the branch vertically to make a connecting cut between the two points. 

Ensure that the blade is moving slowly to prevent breaking the branch. Finally, remove the bark ring between the first two cuts until you see green or white wood underneath.

Cover the Wound

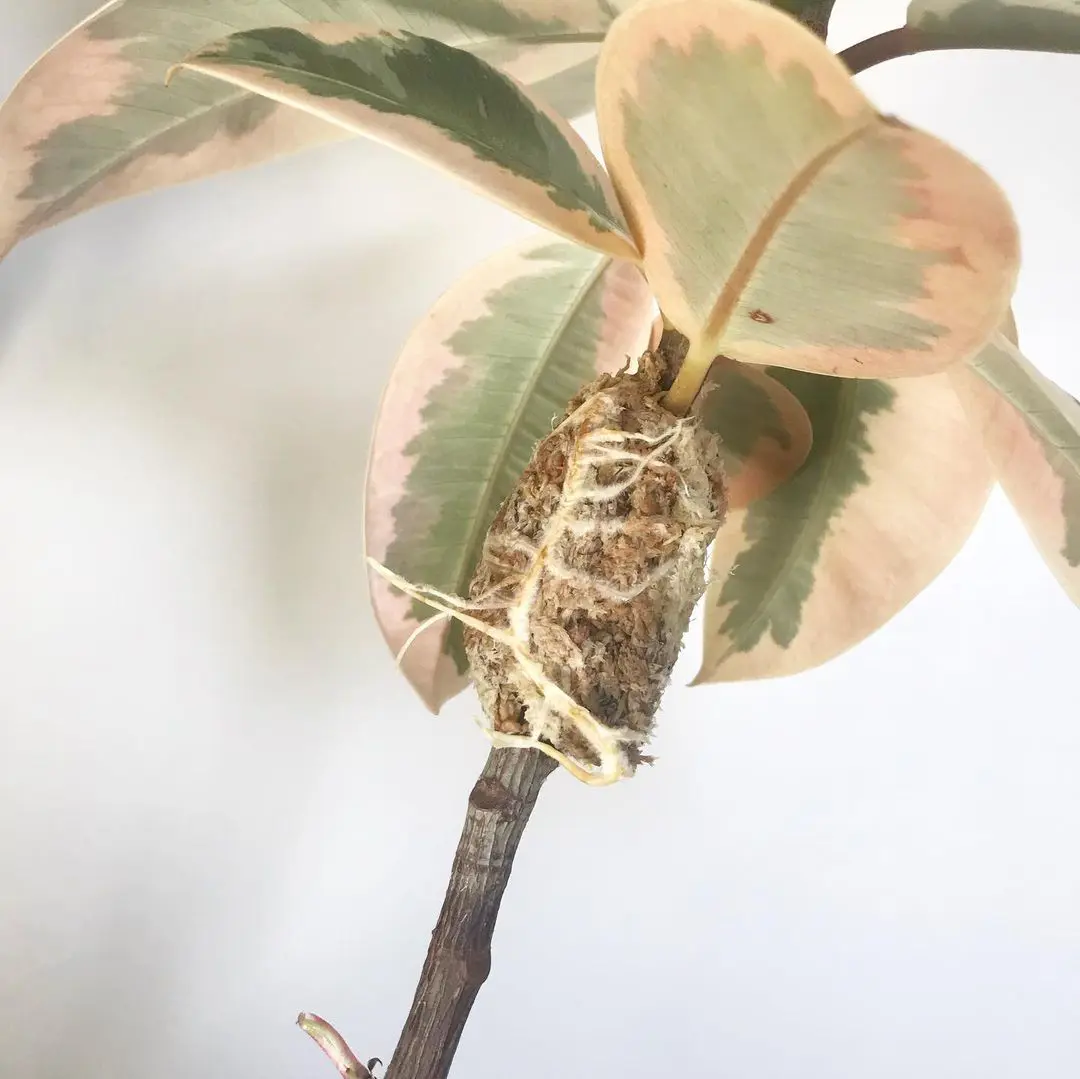
Scrape the soft tissues from the exposed woody surface by holding the knife parallel to the top ring and dragging it down to the bottom ring. Move your knife up and down while circling the branch. Dust a small amount of rooting hormone powder on the exposed surface. 

Soak a handful of sphagnum moss in clean water for 1–2 minutes and wring out all excess water until it stops dripping. Wrap the moss around the wound tightly so it stays in place. Then, cover the moss with plastic wrap or aluminum foil tightly to trap moisture, which induces healthy roots, and secure the ends of the plastic wrap with twist ties.

Check Moisture Level

Check the sphagnum moss every couple of days to ensure it stays moist. If it dries out, it will appear lighter in color and feel dry. When that happens, remove the plastic and rewet it before wrapping it again. 

Wait for the Roots and Transplant

Source : instagram

It may take 6 to 8 weeks to grow healthy roots, but this timing may vary based on the climate and tree species.

Once the roots are several inches long, cut the stem right below the new roots and moss. Remove the plastic wrap, but leave the moss around the roots to prevent stressing the roots. Then, plant the propagated cutting in a pot with fresh soil, place it in a spot with indirect light, and water it well. 

5. How to Propagate a Rubber Plant: Water Air Layering

The thing about propagating rubber tree plant by air layering is that once you have wrapped the wound and moss, you cannot monitor the root growth because it is not visible. Also, you have to unwrap the plastic to rewet the dry moss, which can be inconvenient.

To negate that, instead of wrapping the wound in plastic, you can soak it in water. That way, you can observe the growth and provide moisture with ease. 

Prepare a Plastic Cup/Bottle

Source : instagram

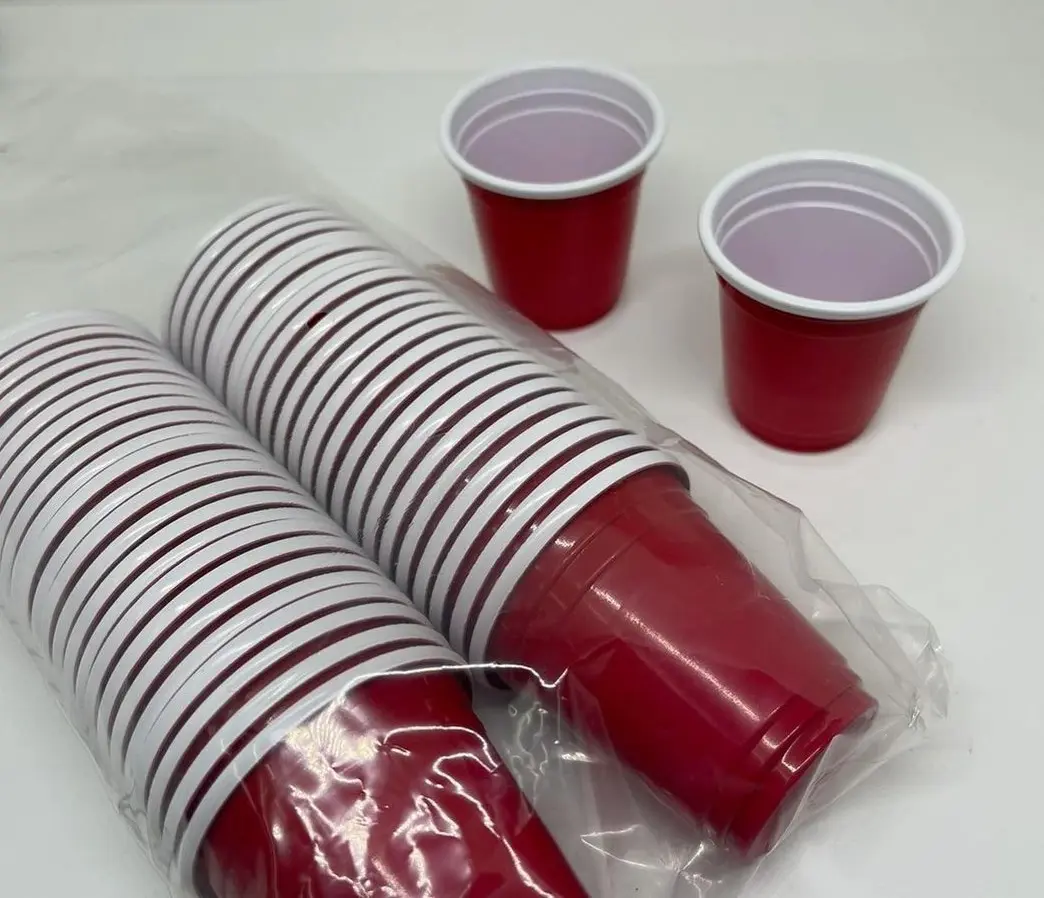
Find a plastic cup without a twist cap. Mark two points 3/4-inch away on the tip of the cup. From each mark, make a 0.5-inch vertical cut down the cup. Then, cut diagonally across to remove the marked portion of the cup. 

Select a Branch and Make a Cut

Find a branch that is at least 1/4-inch. With a sharp cutter, cut through the branch diagonally upwards until the blade reaches the center, and move the blade vertically upwards. 

Continue slicing upwards until the cut is around 2 inches long.

Insert the Plastic Cup

After cutting, insert your plastic cup inside the cut. Ensure the removed or empty portion of the cup is inside the branch. Slide the cup up slowly until you reach the topmost part of the cut.

Secure the Cup and Fill With Water

Secure the cup to the branch by wrapping twist ties around the main branch and the cup. Ensure the cup is stable and fill it with water. It will not slide down from the weight if it is secure.

Wrap the Cup

Cover the cup using aluminum foil and ensure you go around the branch so that the cup does not have any openings. Refill with water if necessary and monitor for root development. You can unwrap the foil to check the progress.

Transplant

Once the roots are about 2–3 inches long, cut the stem below the rooted section and carefully remove it without damaging the roots.

Plant the rooted stem into a pot filled with well-draining soil or a soilless mix. Water it lightly and keep it in indirect sunlight until it becomes established.