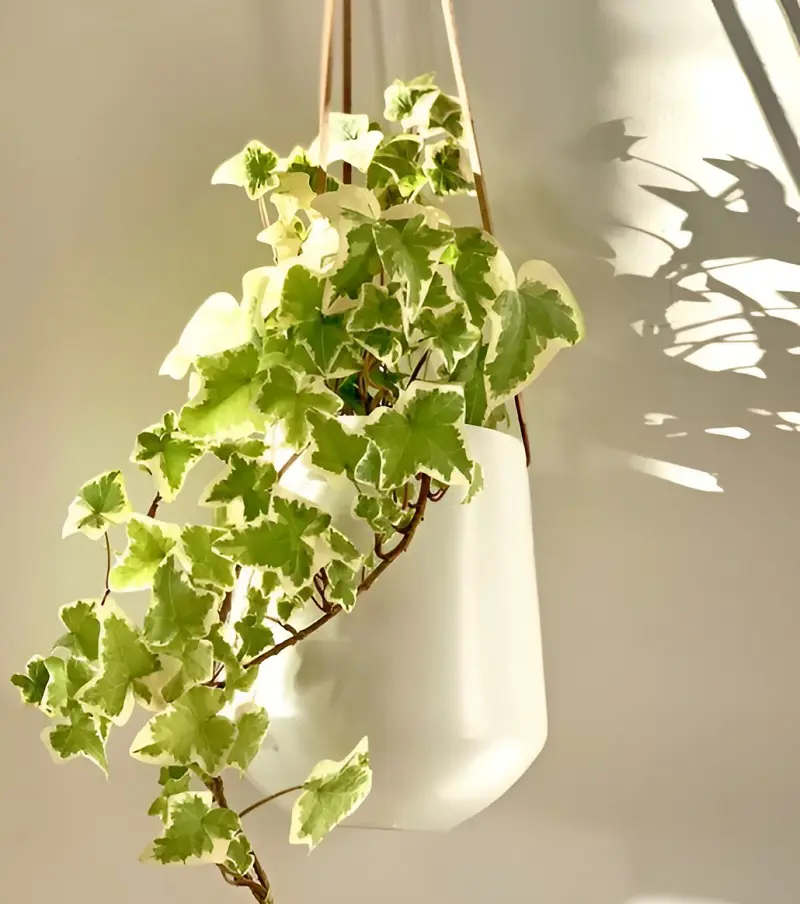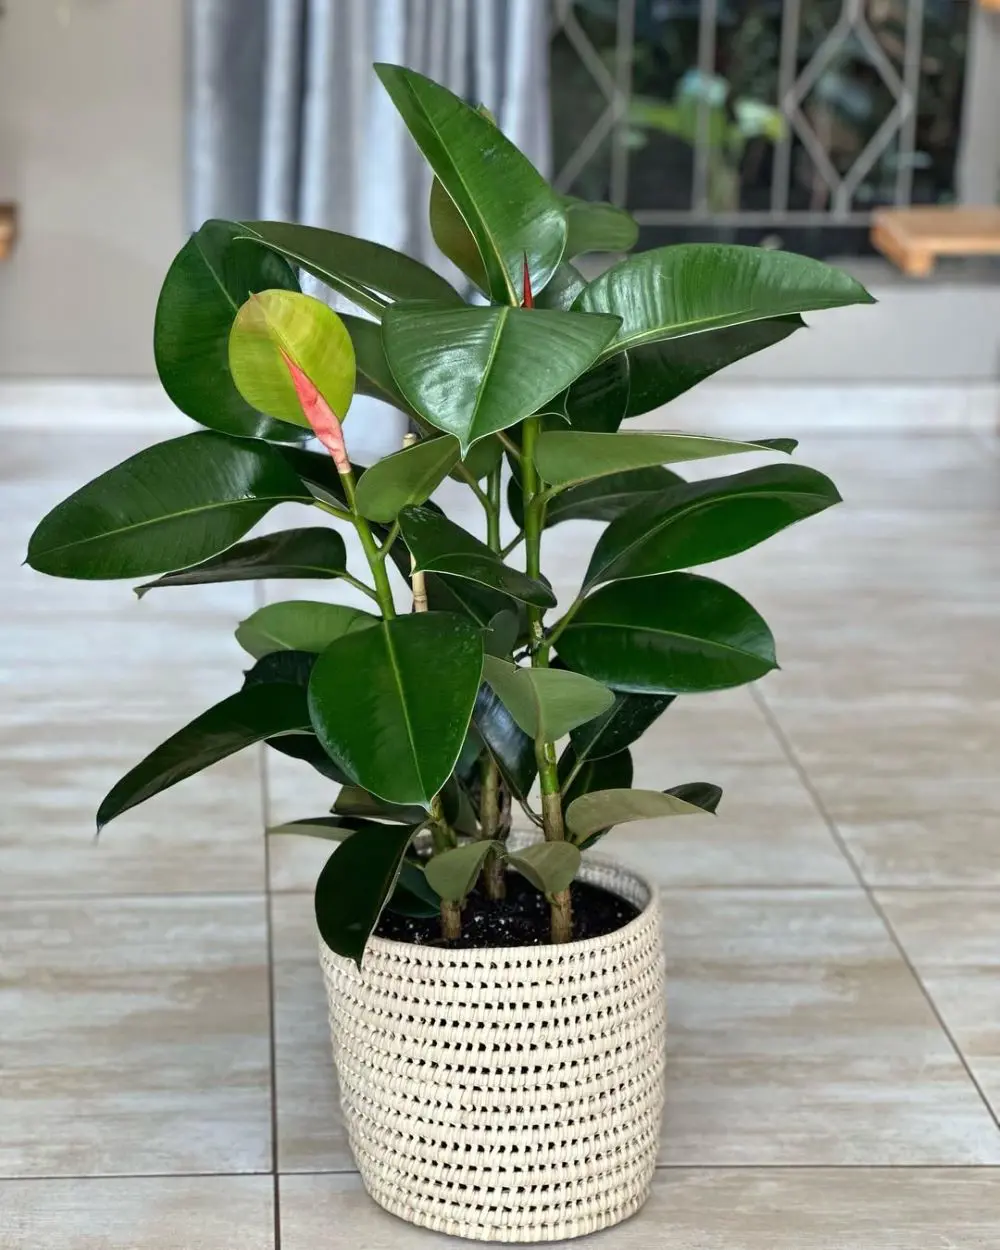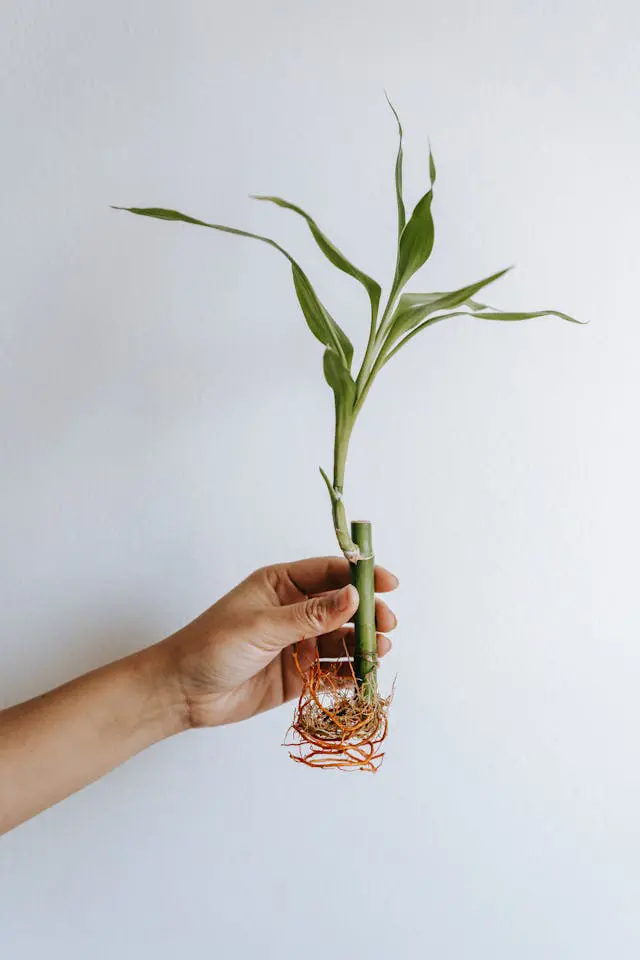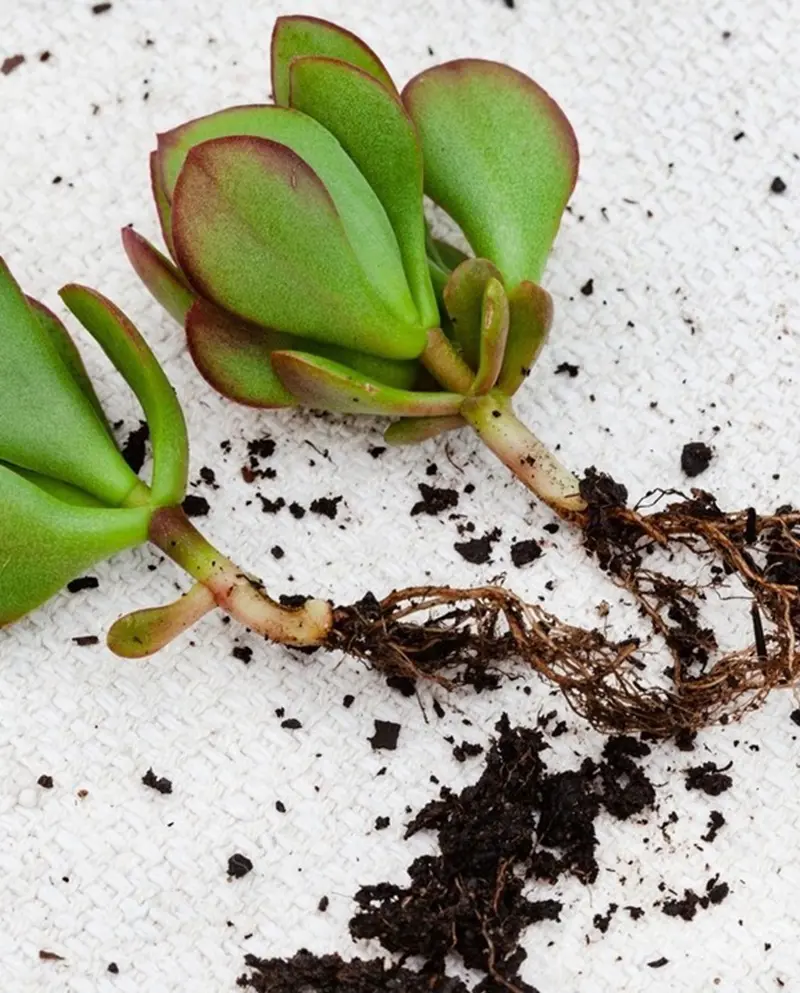
1. Propagating Ivy By Stem Cutting In Water
The easiest way to propagate ivy for indoor use is by taking stem cutting and placing them in water. Remember to clean your cutting tools before getting started.
Materials Needed:
- Pruning shears or a sharp knife
- Gardening gloves
- Clear container filled with water
- Sand
- Well-draining soil
- Flowerpot
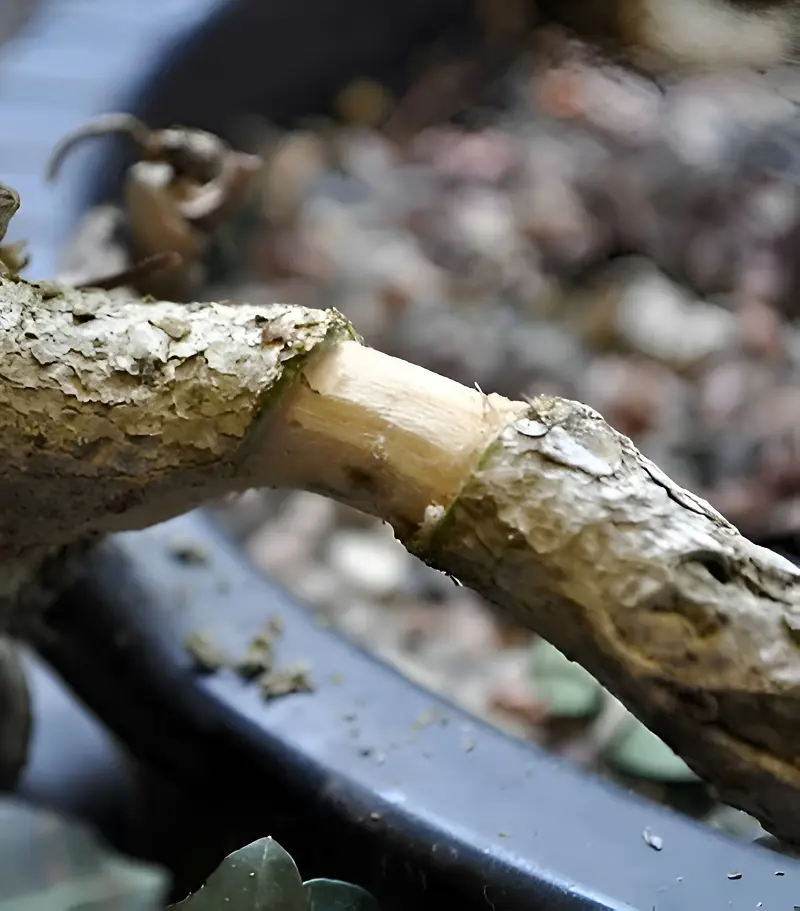
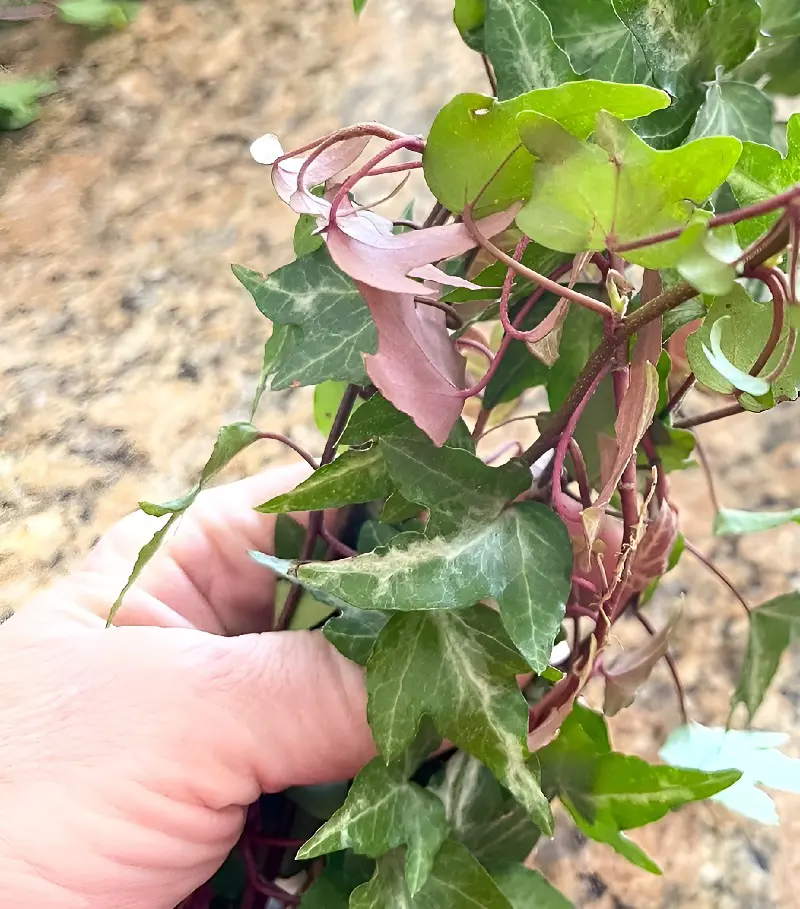
1. Make Your Cut
Use clean and sterile pruning shears or a sharp knife and cut off an overgrowth of ivy. While you can cut just about anywhere, for the best results your cuts should be 4-5 inches long from a healthy vine.
You can do this during your regular pruning routine and this can also help keep your indoor ivies shorter.
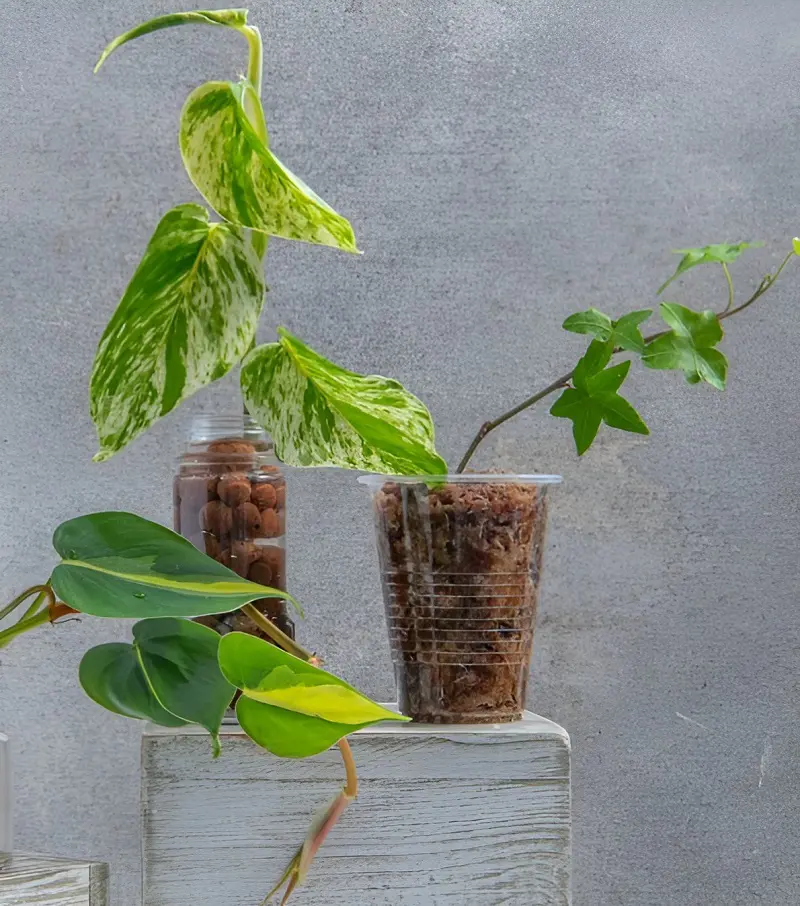
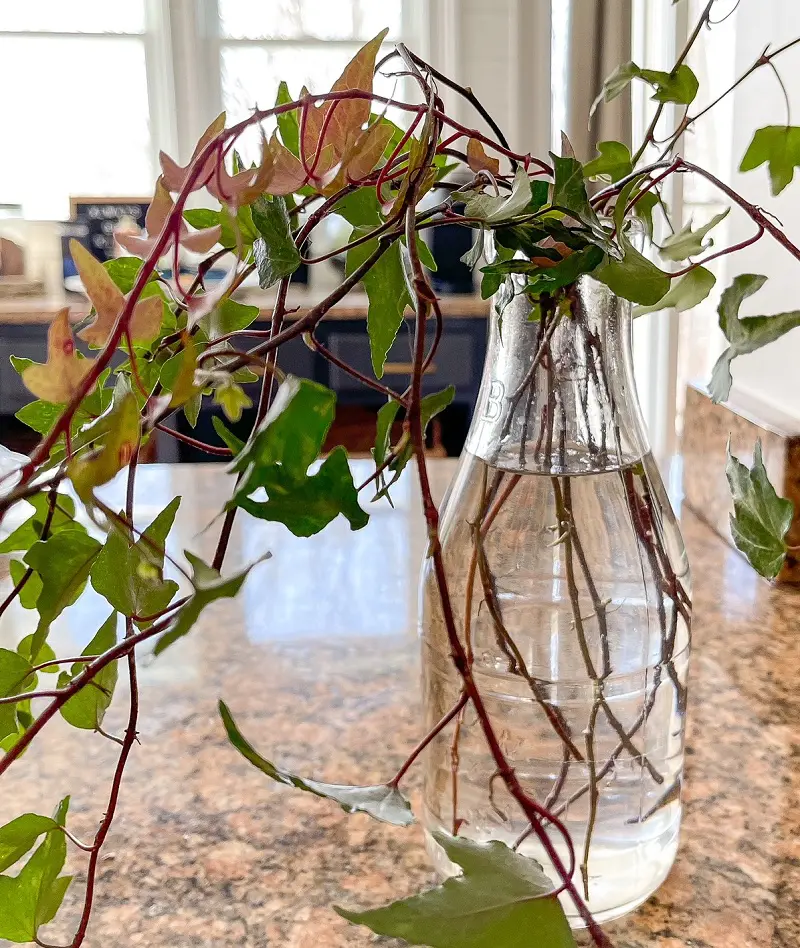
2. Prepare The Container
Fill a container, preferably one that is transparent and see-through with 3 inches of water. You can use anything from a glass to a jar, but it must allow you to see your cutting completely once it's submerged in water. complete cutting when it’s placed in the water.
The main advantage of propagating in water is to be able to tell the stage of the root development, therefore not being able to see the cutting will make a huge advantage of this technique useless.
3. Remove The Leaves
Either by using your hand or a sterile scissor, run it down the stem, and gently pluck off or snip remove any of the ivy leaves on the stem or vine which will be in water once submerged.
You don't want any submerged leaves when the cutting is in the container as it can damage the delicate cutting via leaf rot, oxygen deprivation, and nutrient loss. Since there will be 3 inches of water, cut off any leaves below that area.
4. Place in the Water
After preparing the container, submerge your ivy cutting into the water and place the glass in near indirect sunlight. Take care not to place them in direct or excessive light as it can encourage algae growth.
Remember to replace the water every two or three days to provide nutrients and avoid bacteria buildup in stagnant water. After a few weeks, new roots will begin to sprout from the cutting.
5. Move To Soilless Pot Mix
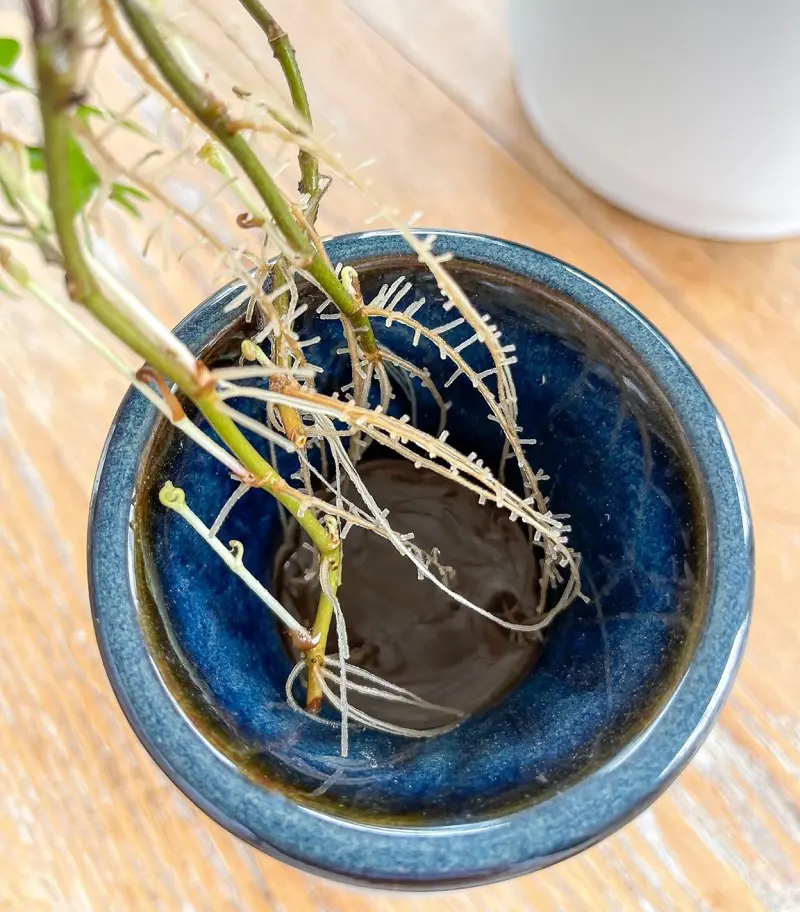
Once the cutting has developed roots which have been observed to be a few inches long, they need to first be made to acclimatize to soil conditions. Therefore, do not immediately transplant the cuttings directly onto the soil as that can cause transplant shock.
Instead, plant the cutting in a soilless medium such as sand, perlite, gravel, peat, etc so they can adjust slowly to a terrestrial life without the risk of getting shocked to death. Water regularly and once you notice them growing, it's time for the next step.
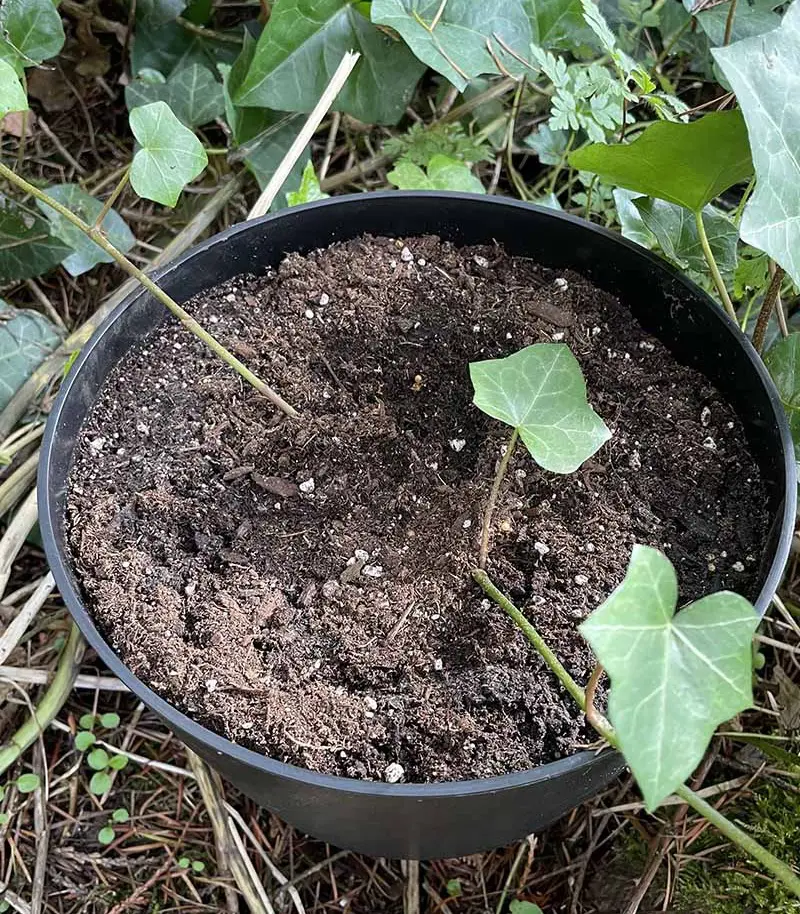
6. Plant The Cutting
Once the cutting has been observed growing slightly, you can move them to their permanent location. Use well-draining potting mix soil for the new pot or garden, dig it up then place the cutting's root deep into the soil, and gently press the soil around it.
For best acclimatization and growth success, the new location should be partially shaded and the soil should be kept moist. Thankfully, being able to observe the roots and root length during the initial phase makes this process simpler with a higher likelihood of success.