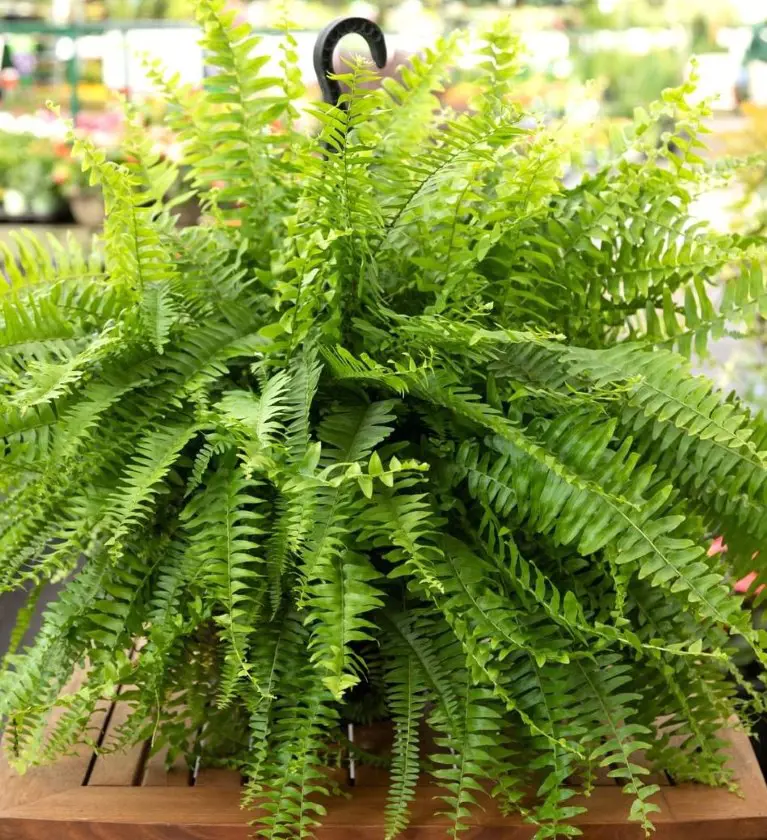
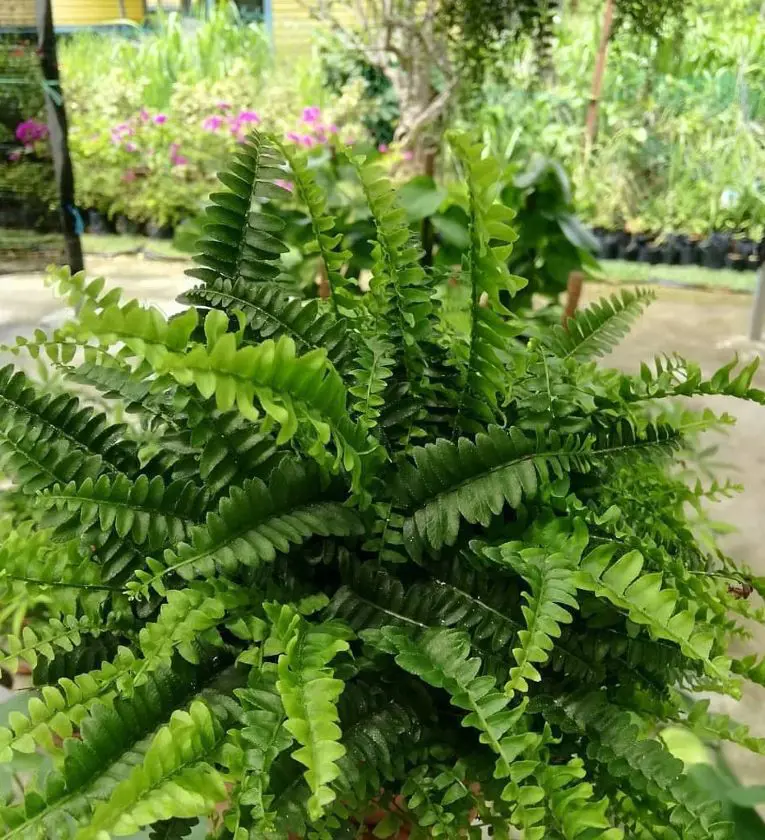
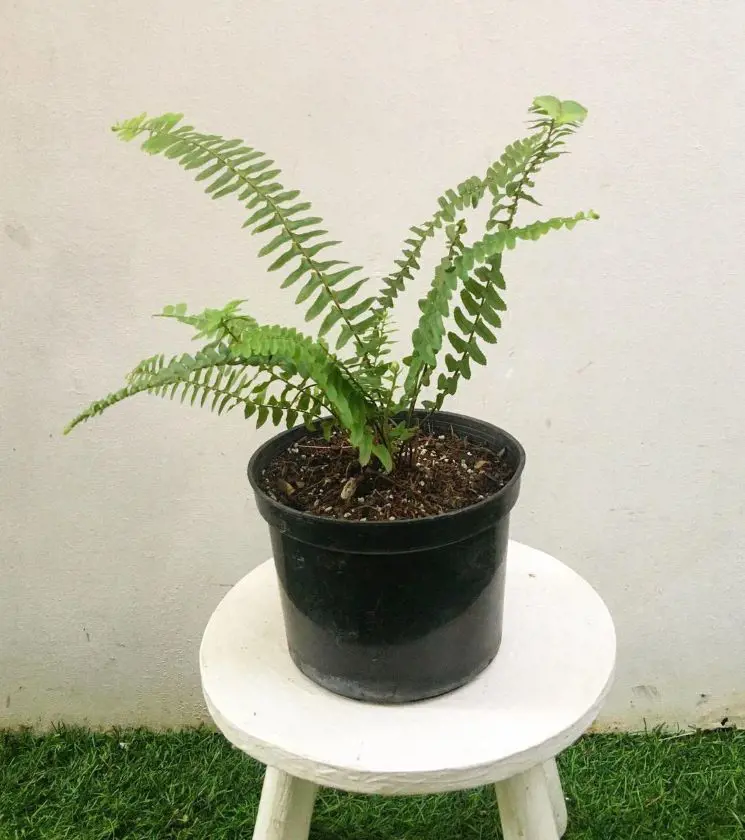
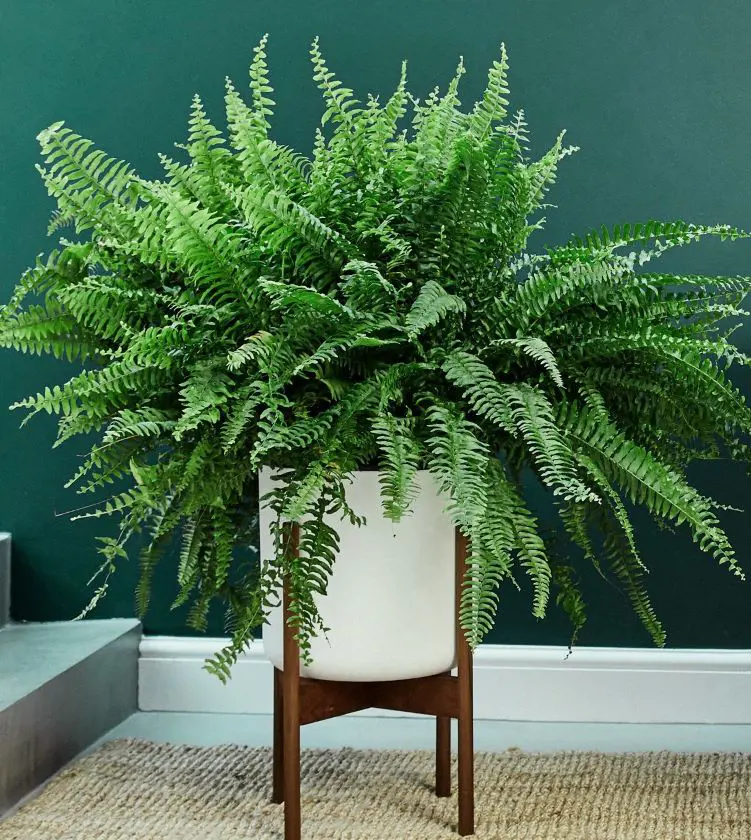
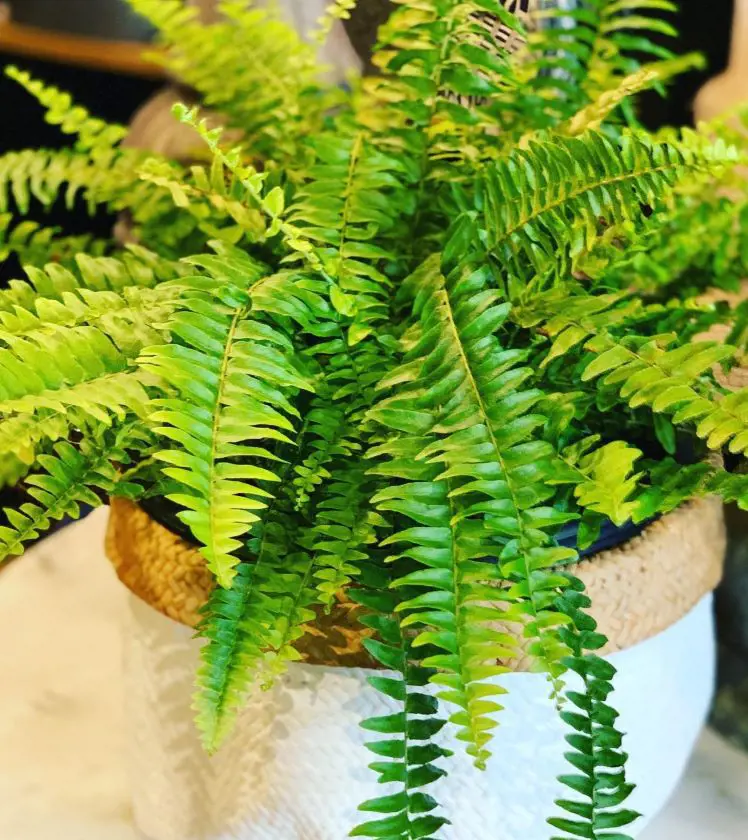
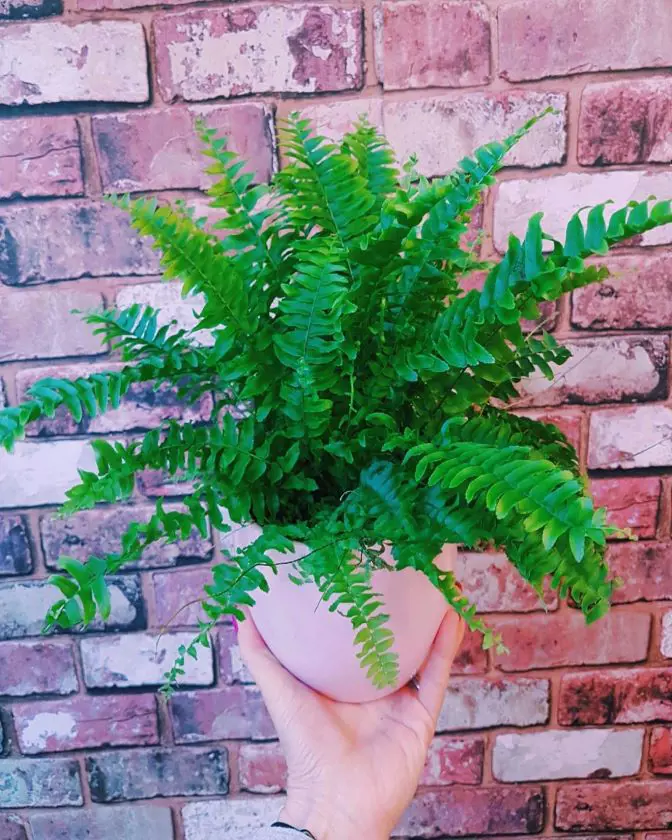
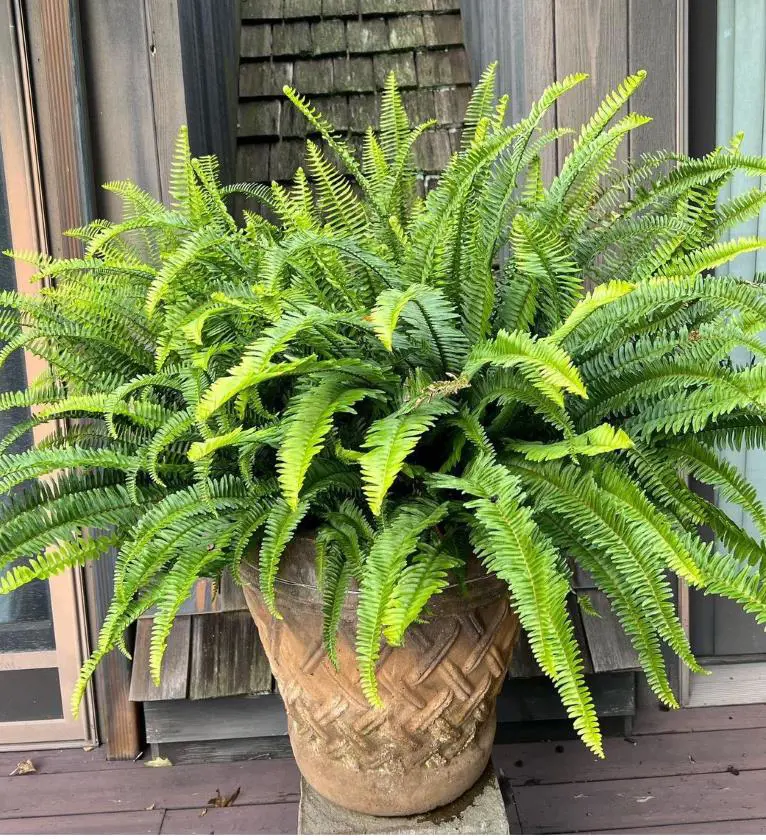
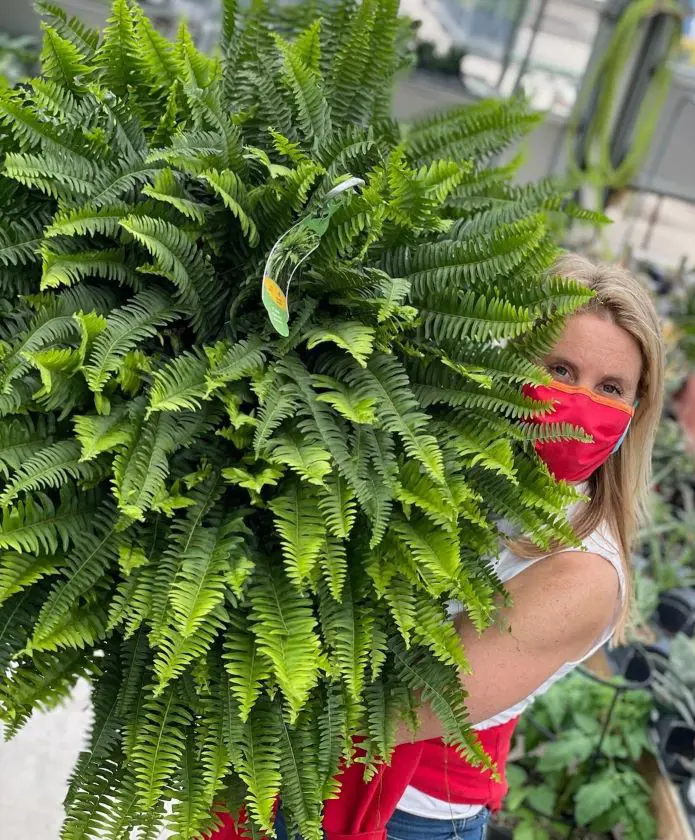
Boston fern is a vibrant houseplant known for its dense, feathery fronds. Belonging to the Nephrolepidaceae family, this perennial fern thrives in humid environments, making it an excellent choice for indoor cultivation.
These plants are native to tropical regions and have adapted well to life indoors, adding a touch of greenery to homes.
Boston fern care mainly involves providing consistent moisture, indirect light, and occasional feeding. The Boston fern, with its air-purifying traits and elegant charm, effortlessly enhances any home, demanding minimal care for a flourishing presence.
To keep your Boston fern plant thriving, make sure it gets bright, indirect light. These plants don't like direct sunlight because it can harm their delicate leaves. Instead, find a spot where sunlight is filtered or place it a bit away from the window. This will help your fern thrive without getting sunburned.
Remember, these ferns naturally grow in the shade of larger plants in their tropical habitats, so recreating this environment indoors is key. Give them the right amount of light, and your plant will reward you with its lush and green appearance, creating a lovely atmosphere in your living space.
For the well-being of hanging indoor plants, like the Boston fern, maintaining the right temperature is essential. Aim for a consistent and comfortable range between 60-75°F (15-24°C). Imagine the comfortable warmth you enjoy. Your indoor fern appreciates the same.
Take care to position your fern away from drafts, like those tricky breezes by windows or doors, which can make it unhappy. Also, steer clear of sudden temperature changes, as they might stress out your plant. Holding stable conditions, free from drafts and with steady temperatures, is crucial for keeping your fern growing.
Boston ferns need lots of humidity to grow better. To preserve the right humidity levels, give your fern a good misting regularly. Simply spray water on its leaves to create a humid atmosphere. Placing a tray of water near your fern is another easy trick; as the water evaporates, it adds moisture.
Another option is using a humidifier to make the surroundings humid. Aim for a humidity level between 40-50%, creating conditions that align with their preferences. Regularly check the humidity with a hygrometer and adjust the misting or the humidifier as needed to maintain the right moisture level for your plants.
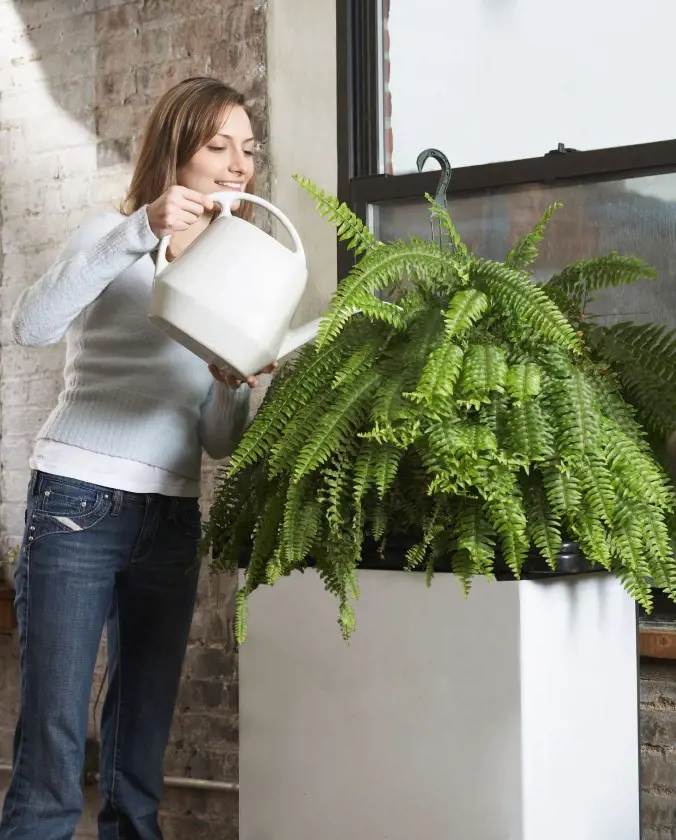
Create an optimal environment for your plants by keeping the soil consistently moist but not waterlogged. Regularly check the top inch of the soil to gauge when it's time to water. If it feels slightly dry, that's your signal to provide moisture. When watering, take care to thoroughly moisten the soil for optimal absorption.
A helpful tip is to water around the base of the plant, targeting the roots directly. To adapt your watering routine, consider the surrounding conditions. On hot days, increase watering frequency, while during cooler periods, reduce it to prevent overhydration.
For your fern's roots to thrive, it's important to use the right soil. Choose a well-draining, peat-based potting mix to ensure they get the proper aeration. This type of soil prevents water from pooling around the roots, reducing the risk of root rot. When preparing the soil, ensure it's fluffy and light, allowing air to circulate easily.
Mixing in perlite or sand enhances drainage further, retaining a healthy balance. This step is paramount, as it emulates the fern's natural habitat, fostering optimal conditions for root growth. Utilize this fast-draining mix to pot your fern, establishing an ideal foundation for its overall vitality.
Securing your plant's health starts with selecting the right container. Opt for a pot that has drainage holes to prevent waterlogging. These holes allow excess water to escape, preventing the soil from becoming too soggy. When the excess water can escape, it helps maintain the right level of hydration for the plant.
Additionally, it's important to repot your plant when it outgrows its current container. When the plant becomes too large for its pot, it may face challenges in accessing sufficient nutrients and water. Thus, repotting into a larger container provides more space for your fern to spread.
Nourish your Boston fern by applying a balanced, diluted liquid fertilizer every 4-6 weeks during the growing season, which spans from spring to summer. This type of fertilizer provides necessary nutrients crucial for your plant growth. Determining the optimal time to fertilize is simple. Just observe the changing seasons.
As spring unfolds and transitions into summer, seize this opportunity to feed your fern. Consistency is crucial, so make sure to follow the recommended timing for fertilization, encouraging a wholesome and strong Boston fern.
Remember to trim those brown or yellow fronds regularly to help your fern grow fresh ones. Pruning is essential for supporting the plant's shape and appearance. Choose the right time to prune, ideally when you observe fronds turning brown or yellow. This timing supports the plant in utilizing its energy for fresh growth.
When pruning, use clean and sharp scissors or pruning shears. Snip fronds at the base, close to the main stem, to promote a neat appearance and stimulate new shoots. Always inspect your plant for any discolored fronds, and trim them promptly.
Maintain your fern's neatness by incorporating regular cleaning into your routine. A simple way to keep it tidy is by wiping the fronds with a damp cloth. This helps remove dust that can accumulate, potentially hindering the fern's ability to breathe. Dust-free fronds even promote better air circulation and support plant soundness.
When wiping, be gentle to avoid damaging the delicate leaves. Make this a routine, especially if you notice dust accumulating on the fronds. Regular cleaning not only enhances the fern's appearance but also ensures it can efficiently absorb sunlight and nutrients.
During winter, adjust your care routine to ensure the well-being of your fern. Since the plant enters a dormant phase, you need to reduce both watering and feeding. This period of rest allows the fern to conserve energy. But be mindful not to overwater, as the plant's water needs decrease during dormancy.
Moreover, maintain a slightly cooler environment for the fern. The cooler temperature complements its natural resting state and supports its proper fitness. This adjustment aligns with the fern's seasonal cycle, promoting a healthy dormancy period and preparing it for when the warmer seasons return.
Keep a watchful eye on pest control for your fern, particularly being alert to common pests like flying insects. Frequently patrol your plant, and if these pests are detected, take prompt action. Treat the infestation by using insecticidal soap or neem oil, both effective remedies against these creatures.
Spider mites too can harm your fern by sucking sap from the leaves, leading to discoloration and damage. So, applying pest control solutions, according to the product instructions, helps control the infestation and protects the health of your fern.
Good air circulation around your plant prevents various problems including fungal issues. When air circulates nicely, it helps to minimize the chances of fungal diseases. To achieve this, avoid overcrowding your plant with other plants. As plant overcrowding can restrict airflow, creating a damp environment that promotes fungal growth.
Hence, make sure to provide enough space between plants by allowing air to move freely. Adequate spacing not only prevents fungal problems but also contributes to a more beneficial surrounding for your plant.
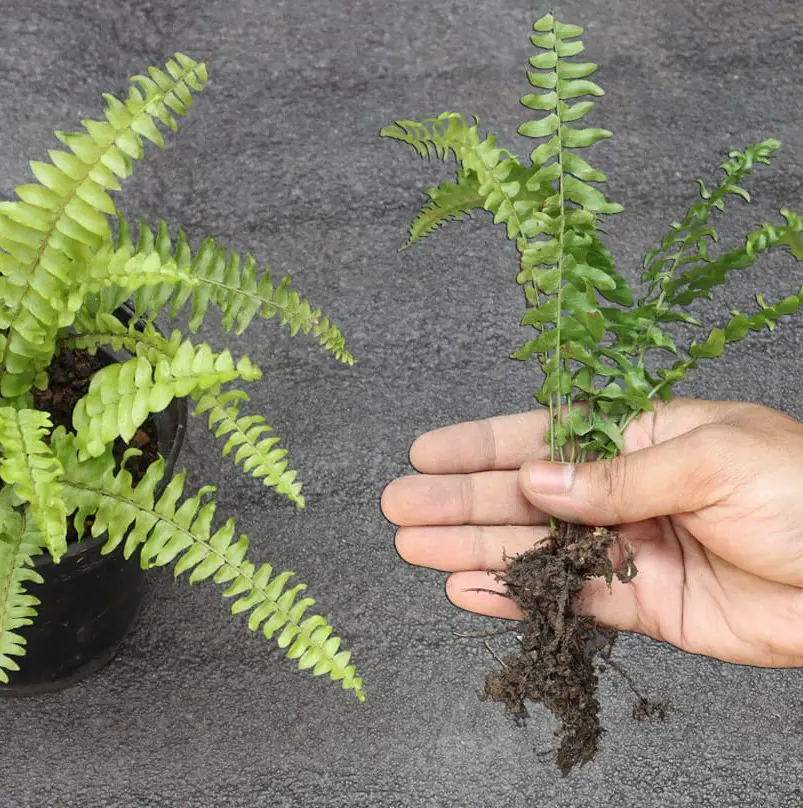
The ideal time to propagate ferns is during the growing season, commonly in spring or early summer. This period coincides with the ferns' active growth, providing optimal conditions for successful propagation. Check the rhizomes, which are the underground stems of the fern, for overcrowding. Use this as a signal to proceed with propagation.
Gently remove the fern from its container and shake off excess soil to expose the rhizomes. Using a sharp tool to separate crowded rhizomes ensures that each section possesses its own roots. Then, replant divisions in new containers, allowing consistent watering.
Protect your fern by shielding it from drafts originating from windows, doors, or air vents, as these drafts can cause stress to the plant. Drafts again can lead to temperature fluctuations and increased air movement, which may adversely affect the fern's health. The stress induced by drafts can manifest in slowed growth, leaf yellowing, or even leaf drop.
To safeguard your plant, confirm it is placed in a location where it is shielded from direct exposure to drafts. This precaution contributes to a stable and comfortable environment for your fern, promoting its well-being and helping it prosper in a more consistent and stress-free setting.
To monitor the moisture levels for your Boston fern, simply insert your finger into the soil to determine when it's time to water. Alternatively, you may employ a moisture meter too. This moisture meter offers a precise measurement while feeling the soil with your finger gives a hands-on indication of its dryness.
It's important not to let the soil dry out completely between watering sessions, as this plant prefers consistently moist conditions. Regularly checking and adjusting the watering schedule based on moisture levels ensures a suitable environment for your fern and promotes excellent growth.