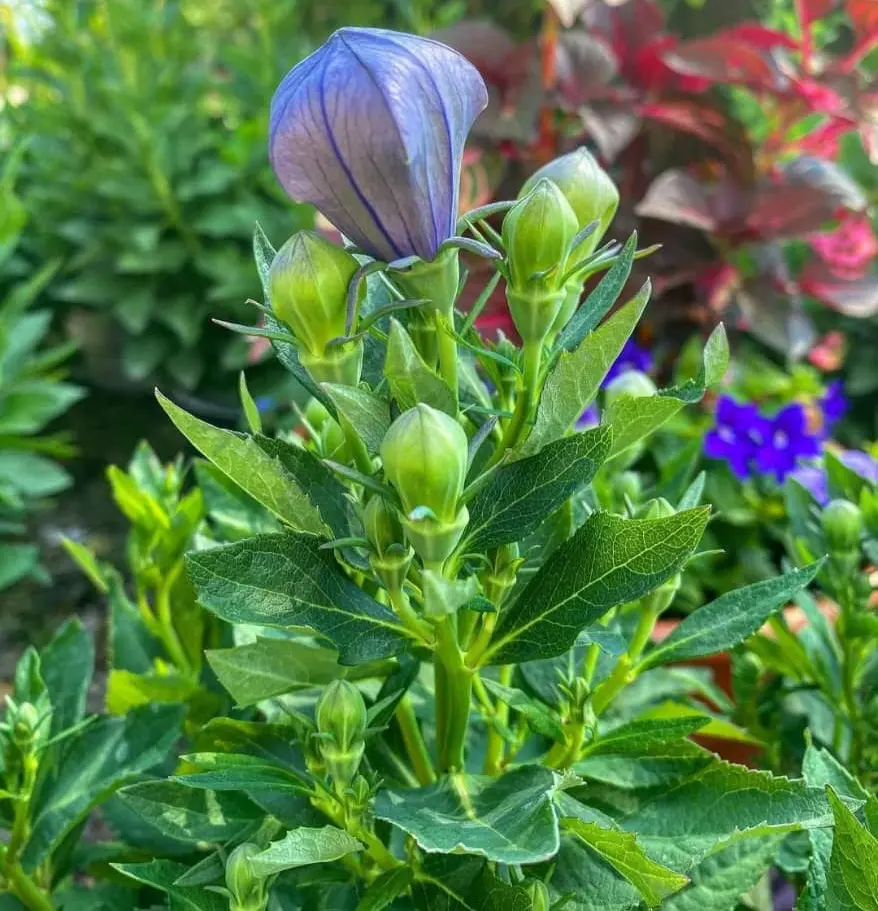
Balloon flowers are beautiful, easy-to-grow plants that add color and charm to any garden. They get their name from the way their flower buds puff up like little balloons before they bloom.
In this guide, we'll show you how to take care of balloon flowers and help them grow strong and healthy. It doesn't matter whether you're a beginner or an experienced gardener; you'll find these balloon flower care tips simple and helpful.This guide covers planting tips, soil requirements, pruning, and troubleshooting common issues."
Balloon Flower Specifications
Botanical Name
Platycodon grandiflorus
Height
12-30 in. tall
Spread
12-18 in. wide
Sun Exposure
Full, partial
Soil Requirement
Loamy, moist, well-draining with acidic, neutral, alkaline nature
USDA Growing Zones
3-8
When To Plant
In spring
Balloon Flower Overview
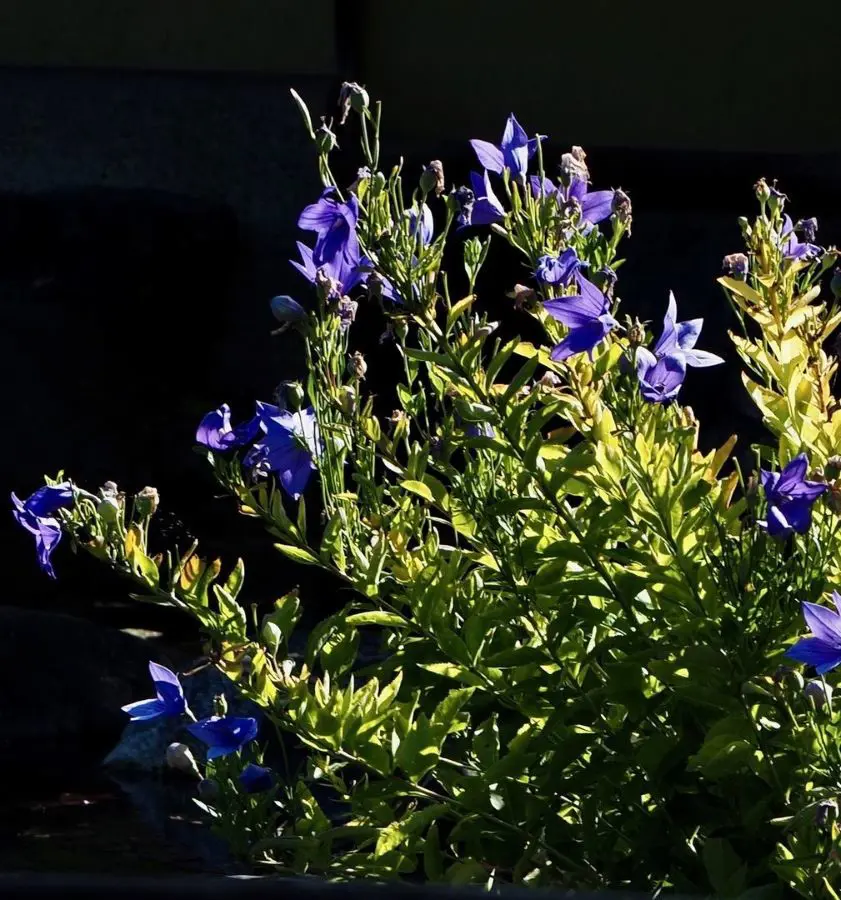
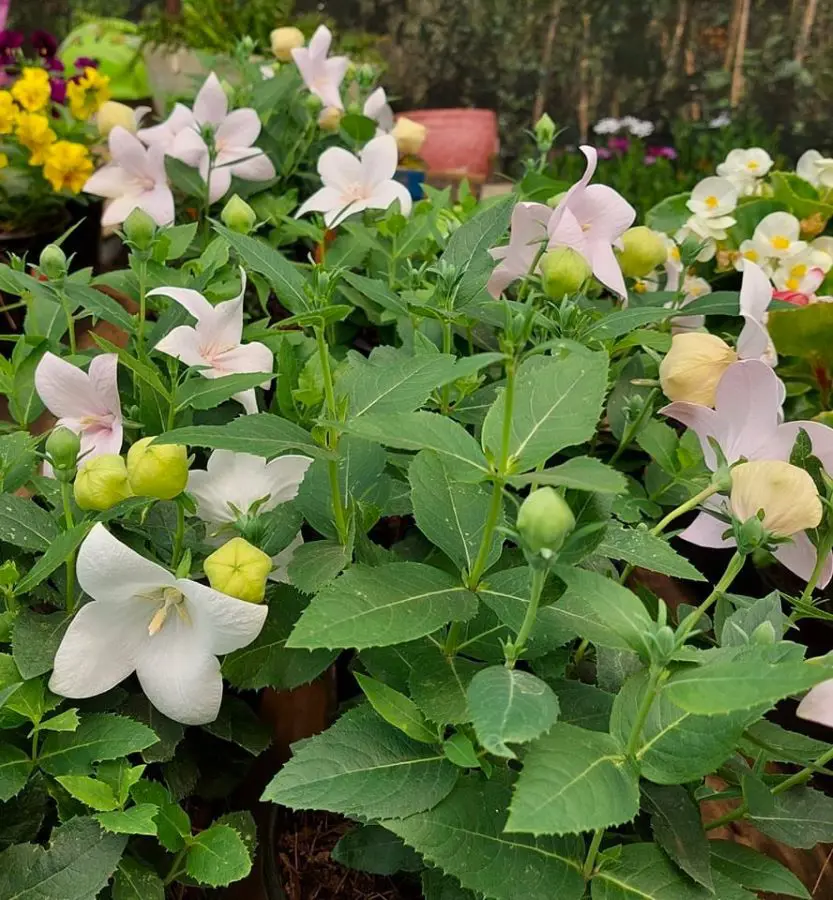
The balloon flower, also known by its common name "Chinese bellflower," is a striking and distinctive plant. These flowers are typically blue, but they can also be found in shades of pink and white.
They are native to East Asia, particularly China, Japan, Korea, and Siberia. One interesting fact about balloon flowers is that they are long-lived perennials, meaning they can come back year after year with proper care.
Additionally, the roots of the balloon flower have been used in traditional Asian medicine for centuries. The plant is not only admired for its beauty but also valued for its resilience and versatility in gardens around the world.
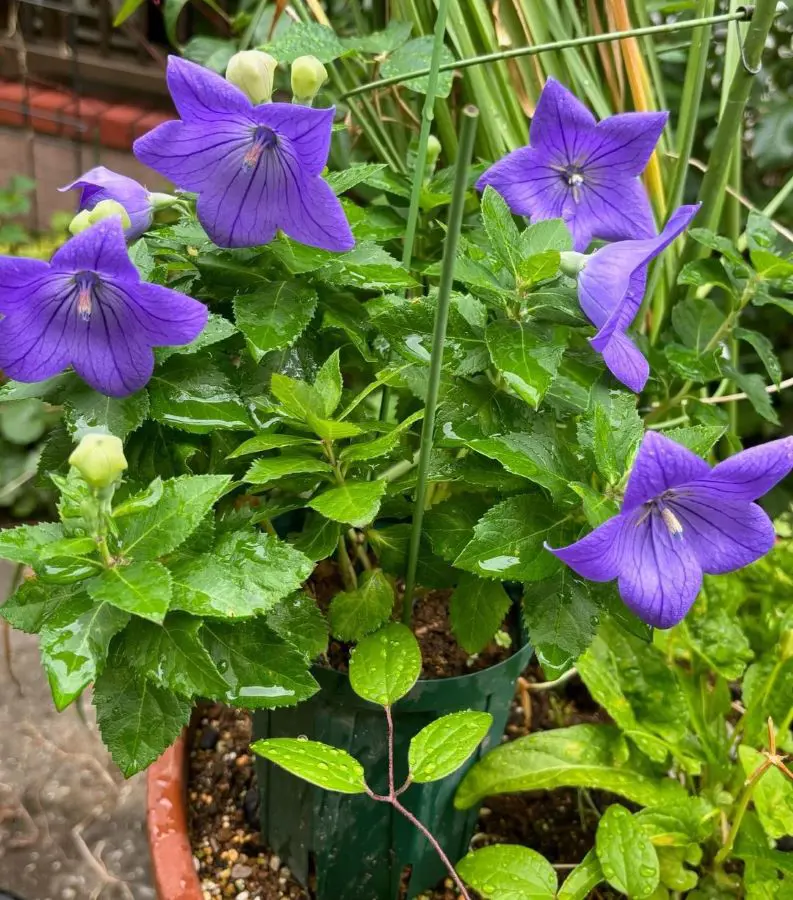
Ballon plant care is simple, making them a favorite among gardeners. They are low-maintenance and can thrive in a variety of conditions. These plants love full sun but can also tolerate partial shade.
They are drought-resistant once established, which means they don't need frequent watering. Additionally, balloon flowers are resistant to many common pests and diseases, adding to their appeal.
Here is how to take care of the essential requirements of this plant:
Light
They do best when they get at least six hours of sunlight every day. That means they need to be in a spot where they can soak up the sunshine for most of the day.
If you live in a place that gets hot, like in the middle of summer, they might appreciate a little bit of shade in the afternoon to keep them from getting too hot. Just make sure they still get plenty of light overall.
Soil
Plant balloon flower in soil that drains well and has lots of nutrients. They like soil that's loose and crumbly, not heavy and sticky like clay. Before planting, you can mix in some compost or old manure to make the soil richer.
This helps them grow strong and healthy. Balloon flowers don't like their feet to be too wet, so make sure the soil drains water well.
The key to keeping these plants healthy and vibrant is practicing proper watering. When you first plant balloon flowers, make sure to water them regularly to help their roots settle into the soil.
After they are established, which usually takes a few weeks, balloon flowers are quite tough and can handle short periods without water. It's best to water deeply, giving the soil a good soak around the roots.
Temperature
They grow best in areas where temperatures are moderate—not too hot or too cold. They are hardy in zones 3 to 8, which means they can survive cold winters and hot summers.
In hotter regions, providing some afternoon shade can help keep them comfortable and prevent their leaves from wilting in the intense sun. If you live in a place with very cold winters, a layer of mulch around the plants in late fall can protect their roots from freezing.
Humidity
Balloon flowers are not too fussy about humidity levels and they can grow well in different humidity conditions, whether it's dry or a bit more humid. The key thing to watch out for is good air circulation around the plants.
This helps prevent any problems with mold or mildew, which can sometimes happen in damp conditions. If your garden tends to be humid or you live in a place with a lot of rain, make sure there's space between your balloon flowers.
Fertilization
These plants don't need a lot of fertilizer, but giving them some can make a big difference. In early spring, when they start growing again after winter, you can sprinkle a balanced fertilizer around the base of each plant.
This fertilizer has three numbers on the package, like 10-10-10, which tells you it has a mix of nutrients they need. You can also use a liquid fertilizer that you mix with water and pour around the plants every few weeks during the growing season.
After the flowers have bloomed and the petals start to fade, you can snip off the old flowers. This is called ballon flowers care deadhead. By doing this, you encourage the plant to produce more flowers.
If the stems start to look messy or overgrown later in the season, you can trim them back to the ground. This helps the plant stay neat and can even make it bloom again. In the winter, when the plant goes dormant and stops growing, you can cut back any remaining stems close to the ground.
How To Grow Balloon Flower
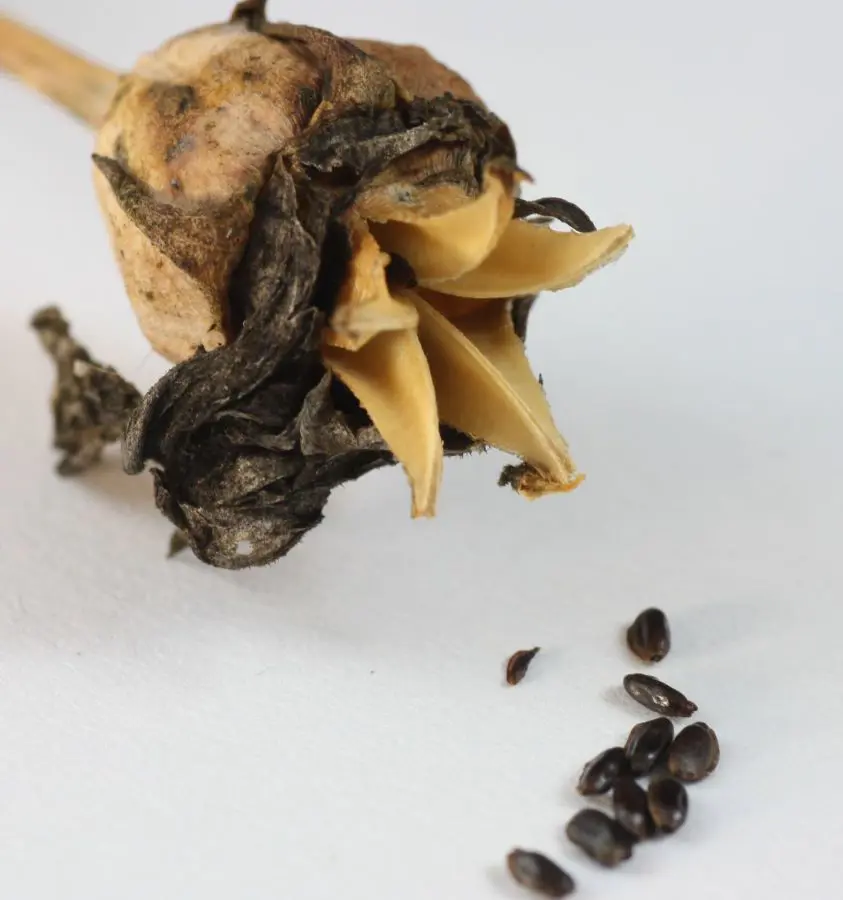
Balloon flowers are typically grown from seeds, which can be purchased from garden centers or collected from mature plants in your garden after the flowers have faded and seed pods have formed. Balloon flower seeds are round, small, and usually brown or black, resembling a poppy seed.
These flowers grow from seeds and generally exhibit traits similar to those of their parent plants. However, occasional variations can occur due to genetic factors or environmental influences.
Here is a detailed guide on how to grow balloon flowers from seeds:
When To Plant
The best time to plant balloon flower seeds is in early spring after the last frost has passed and the soil has warmed up. In most regions, this is typically around March to May, depending on your local climate and frost dates.
Planting at this time gives the seeds optimal conditions to germinate and establish before the heat of summer sets in.
Where To Plant
The seeds are best planted outdoors, either directly in the garden or in containers outdoors. They prefer to grow in a sunny location where they can receive at least 6 hours of sunlight per day.
If you choose to start them indoors, make sure to transplant them outside once the weather warms up and there is no longer a risk of frost. Balloon flowers don't typically thrive indoors in pots for extended periods because they prefer the natural conditions and space of an outdoor garden or container.
Potting and Repotting
When planting balloon flower seeds in containers, ensure the pot is large enough to accommodate the plant's root system as it grows. As the plant matures, you may need to repot it into a slightly larger container every 2-3 years to provide ample space for continued growth and healthy development.
Use fresh potting mix when repotting and ensure the container has good drainage to prevent root rot. Regularly check the balloon flower root and consider dividing the plant if it becomes overcrowded, promoting better growth and longevity.
Apart from growing balloon flowers from seeds, another common method of propagation is through stem cutting. This is because stem cuttings are relatively easy to perform and provide a high success rate for new plant growth.
Division, another method of propagation, is less common and not recommended because the long taproots are fragile and prone to damage. This can cause the plant to experience transplant shock, leading to poor growth or even death.
On the other hand, stem cuttings are less stressful for the plant compared to division, which can cause damage to the long taproot. The best time to propagate balloon flowers through stem cuttings is during the growing season, which allows the cuttings to develop roots and establish themselves quickly.
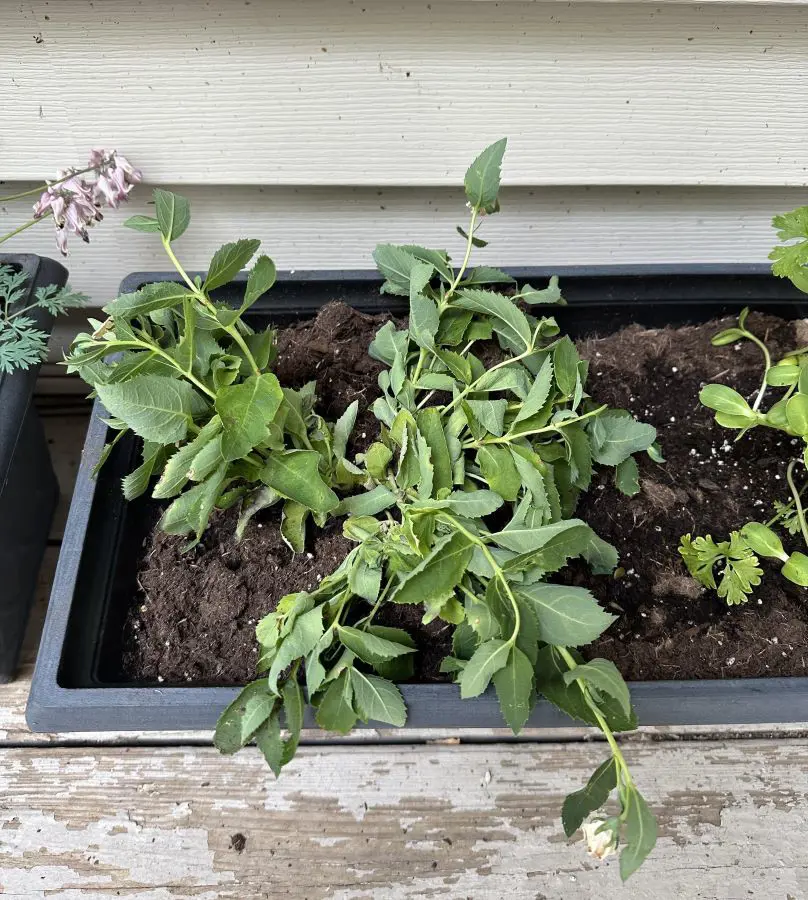
Steps To Propagate From Cutting
Select healthy stems, approximately 4-6 inches long, free from disease or damage.
Cut just below a node using sharp, clean shears where leaves attach for optimal root emergence.
Trim the lower leaves to prevent rot and concentrate energy on root growth.
Plant cuttings in a moist potting mix, burying at least one node, and cover with a plastic bag for a greenhouse effect to trap moisture and warmth.
Maintain consistent soil dampness, avoid waterlogging, and place cuttings in indirect light until roots form.
Monitor for root development by gently tugging on the cutting after a few weeks.
Transplant the new plant to a larger pot or directly into the garden once the roots have developed.
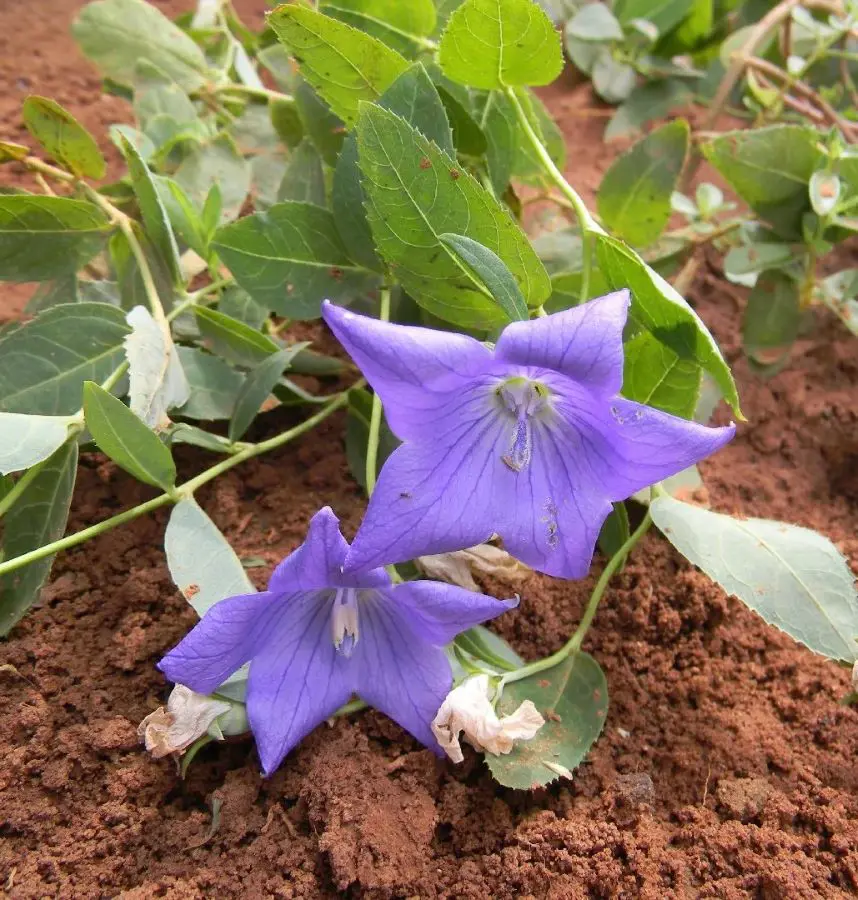
Balloon flowers typically bloom in mid-to-late summer, starting as early as July and lasting until August. Their distinctive feature is their balloon-shaped buds, which unfurl to reveal delicate, bell-shaped flowers with five petals in shades of blue, pink, or white.
These flowers are not strongly scented but are highly attractive to pollinators such as bees and butterflies due to their rich nectar. Deadheading is a crucial practice for encouraging balloon flowers to bloom profusely throughout the growing season.
By removing spent flowers, you prevent the plant from putting energy into seed production and instead redirect it towards producing more blooms. However, do not pull off blooms by hand, as this can damage the stem and leaves, potentially harming the plant.
Besides deadheading, here is something more you can do to encourage blooms:
Balloon flowers (Platycodon grandiflorus) come in several varieties, primarily distinguished by their flower color, size, and growth habit. While the species itself is the most common, a few popular cultivars and types are particularly favored for home gardening due to their unique features and ease of care.
Astra Series
This series includes dwarf varieties that are compact and well-suited for container gardening. They produce an abundance of blooms in blue, pink, and white. It is perfect for small gardens, patios, and indoor growing in containers.
Sentimental Blue
A dwarf variety that reaches about 6–12 inches in height. It produces deep blue flowers and has a compact growth habit. It is excellent for borders, rock gardens, and containers due to its small size and vibrant color.
Featuring white flowers with blue veins, this variety adds a delicate and unique touch to any garden. They are best for adding contrast to garden beds and borders with their distinctive coloration.
Hakone Blue
This variety is known for its deep blue flowers and slightly taller growth, reaching up to 24 inches. Suitable for garden beds and mixed borders, it provides striking color and form.
Double Blue
Known for its double-layered blue flowers, it creates a fuller and more dramatic appearance. It is great for garden focal points and adding visual interest due to its lush blooms.
Balloon flowers are generally resistant to most pests and diseases, making them relatively low-maintenance. However, they can still be affected by certain problems, primarily due to poor growing conditions or overcrowding.
Common Pests
1. Aphids:
Description: Aphids are small, sap-sucking insects that cluster on the undersides of leaves and flower buds.
Symptoms: The symptoms include yellowing leaves, distorted growth, and sticky honeydew on the plant.
Management: Spray the plants with a strong stream of water to dislodge the aphids. Insecticidal soap or neem oil can be used for severe infestations.
2. Spider Mites:
Description: They are tiny, spider-like pests that thrive in dry conditions.
Symptoms: The symptoms include fine webbing on the plant, yellow or bronze discoloration of leaves.
Management: Increase humidity around the plant and spray with water regularly. Use miticides or insecticidal soap if necessary.
3. Slugs and Snails:
Description: Mollusks that feed on the foliage, leaving irregular holes.
Symptoms: The symptoms include chewed leaves and slime trails.
Management: Handpick slugs and snails at night or use barriers like copper tape. Slug baits can also be effective.
Common Diseases
1. Root Rot:
Cause: Root rots are caused by overwatering and poor soil drainage.
Symptoms: The symptoms are wilting, yellowing leaves, and a foul smell from the roots.
Management: Ensure the soil is well-draining and avoid overwatering. Remove affected plants and improve soil conditions.
2. Powdery Mildew:
Description: This is a fungal disease that forms a white, powdery coating on leaves.
Symptoms: Common symptoms are white or gray powdery spots on leaves, stems, and flowers.
Management: Improve air circulation around the plant by spacing them properly. Apply fungicides if necessary and avoid overhead watering.
3. Leaf Spot:
Description: It is caused by various fungi or bacteria, leading to spots on the leaves.
Symptoms: The symptoms are brown or black spots on leaves that may merge to form larger patches.
Management: Remove and destroy affected leaves. Keep the foliage dry and apply appropriate fungicides if needed.