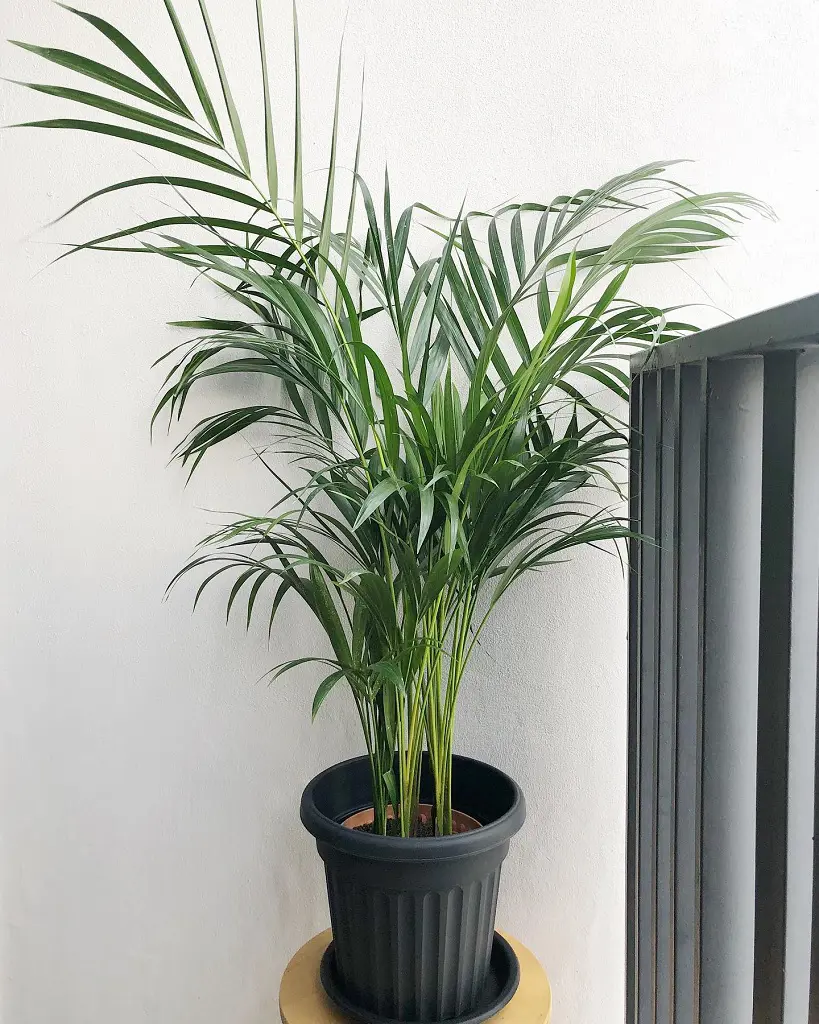
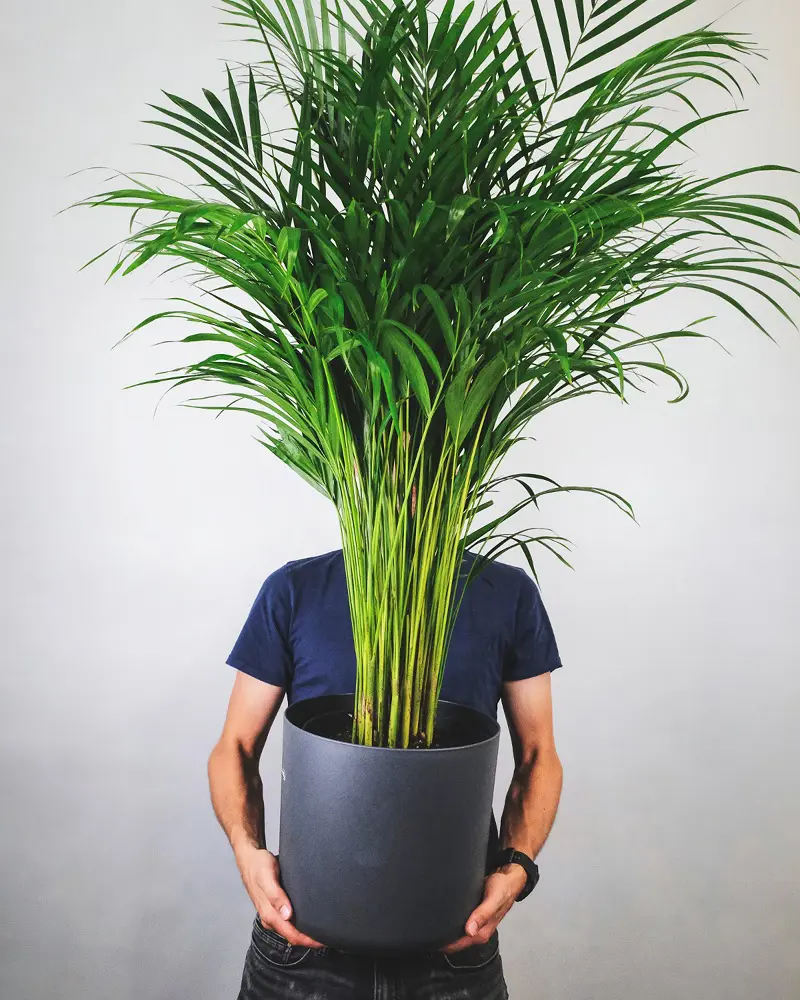
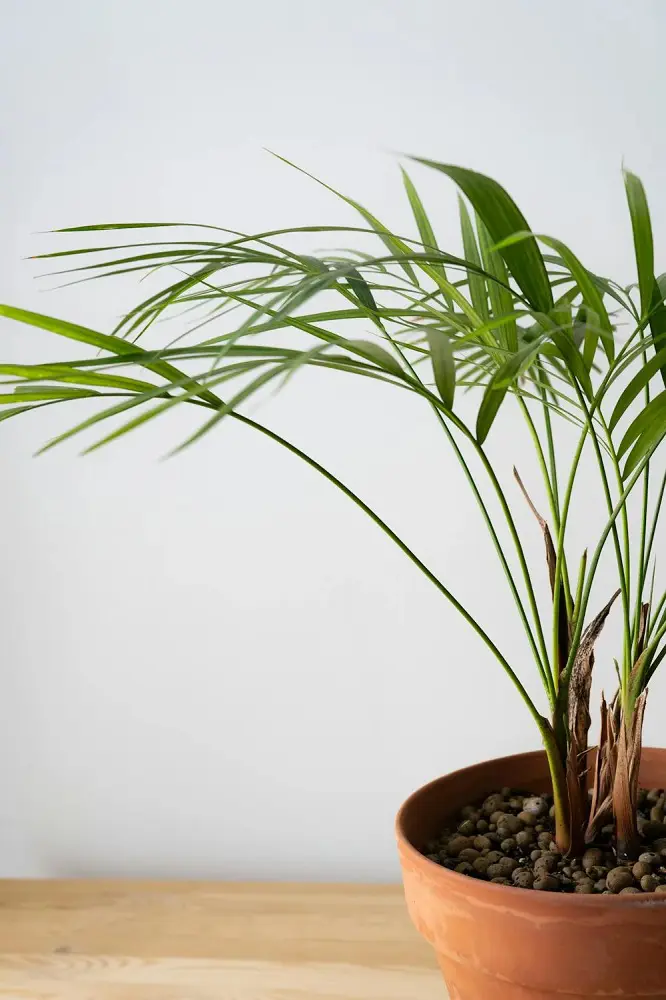
Caring for and growing an Areca Palm can bring a touch of tropical elegance to any indoor space. This plant is known for its feathery, arching fronds and air-purifying abilities.
However, its adaptability to indoor conditions, combined with its low-maintenance nature, makes it an ideal plant for homes and offices. This guide is the perfect way to start your Areca Palm growing journey whether you're looking to improve air quality, add natural beauty to your decor, or simply enjoy the calming presence of greenery.
Overview Of Areca Palm Plant
The Areca Palm is a popular ornamental plant appreciated for its attractive, feathery fronds, and easy maintenance. However, the general overview of the plant is listed below:
Common Names: Areca palm, bamboo palm, golden cane palm, yellow palm
Mature Size: 6-7 ft. tall, 3-4 ft. wide (indoors), 15-30 ft. tall, 8-10 ft. wide (outdoors)
Sun Exposure: Full, partial
Soil Type: Moist but well-drained
Soil pH: Acidic, neutral
Bloom Time: Summer
Flower Color: Yellow
Hardiness Zones: 10–11 (USDA)
Native Area: Africa
Best Time To Grow Areca Palm Plant
The best time to grow an Areca Palm plant is during the warm months of spring and summer. These seasons provide the ideal conditions for the plant's growth, with ample sunlight and warmer temperatures that mimic its native tropical environment.
However, planting or repotting an Areca Palm in spring allows it to establish its roots and acclimate before the more vigorous growing period of summer.
During this time, the plant benefits from longer daylight hours and consistent moisture, both of which are crucial for its development. Similarly, starting the growth process in spring also gives the Areca Palm a full growing season to thrive, resulting in a healthier and more robust plant.
Planting an Areca Palm successfully requires attention to ensure healthy growth and development. Here are some tips for planting an Areca Palm:
Choosing the Right Location
Select a location that receives bright, indirect light. Avoid direct sunlight, which can scorch the leaves. If planting indoors, a spot near a north or east-facing window is ideal.
When it comes to temperature, ensure the location maintains a temperature between 65-75°F (18-24°C). Avoid placing the palm in areas prone to cold drafts or temperatures below 50°F (10°C).
Selecting the Soil
Use a well-draining, peat-based potting mix. Adding perlite or sand can improve drainage and aeration. However, avoid heavy or clay soils that retain too much moisture, as this can lead to root rot.
Planting Process
Choose a pot that is slightly larger than the root ball of the plant, with drainage holes to prevent waterlogging. After that, place the Areca Palm in the pot so that the root ball is level with or slightly below the surface of the soil.
Fill in around the roots with the potting mix, gently firming it down. Importantly, water the palm thoroughly after planting to help settle the soil around the roots. Ensure the soil remains consistently moist but not waterlogged.
Watering and Humidity
Maintain moderate soil moisture, allowing the top inch of soil to dry out between waterings. Increase humidity by misting the leaves regularly or placing a humidifier nearby, especially in dry indoor environments.
Fertilization
During the growing season (spring and summer), feed the Areca Palm with a balanced liquid fertilizer every 4-6 weeks. Hence, reduce or stop fertilizing in the fall and winter.
Pruning
Pruning an Areca Palm plant is essential for maintaining its health and aesthetic appeal. Regular pruning helps manage the plant's shape and promotes new growth.
When it comes to pruning your Areca Palm, it's essential to keep a close eye on the fronds. You should regularly check for any yellow or brown fronds, as these can be signs of aging or damage. However, use sharp pruning shears to carefully trim these fronds near the base, ensuring clean cuts to maintain the plant's health.
Removing dead or discolored fronds not only enhances the plant's appearance but also allows for new growth to flourish. Remember to avoid cutting too close to the trunk to prevent unnecessary stress on the palm.
By staying on top of pruning and maintaining a tidy appearance, your Areca Palm will continue to thrive and bring a touch of green elegance to your space.
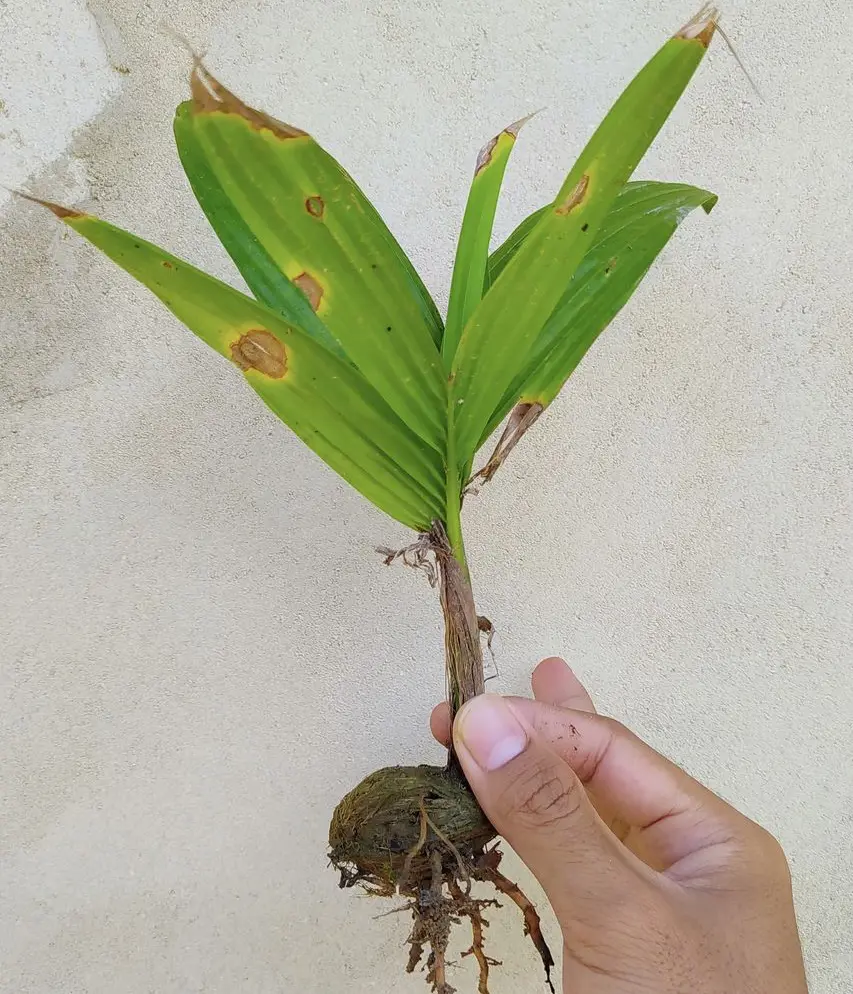
Propagating an Areca Palm is typically done through division, as it does not grow true from seed in home conditions. Here are the steps to propagate an Areca Palm successfully:
Timing
The best time to propagate an Areca Palm is during the spring or early summer when the plant is actively growing.
Choosing the Parent Plant
Select a healthy, mature Areca Palm with multiple stems (clumps). The parent plant should be well-established and thriving.
Preparation
Water the parent plant thoroughly the day before propagation to ensure the roots are hydrated and easier to work with. Prepare pots with well-draining, peat-based potting mix for the new divisions.
Dividing the Plant
Start by taking the Areca Palm out of its container. For larger plants, you might need to carefully loosen the roots by tapping the pot's sides or using a knife. Shake off extra soil to reveal the roots.
Look for natural separations in the root ball to divide the plant. Each section should have a few stems and healthy roots. Use a sharp tool to cut through the roots gently, aiming to minimize any damage to the roots.
Planting the Divisions
Place each division in a prepared pot. Position the root ball in the center and fill in around it with the potting mix, gently firming the soil to eliminate air pockets. Then, ensure the base of the stems is at the same level as it was in the original pot.
Aftercare
Water the newly potted divisions thoroughly to help settle the soil around the roots. Place the pots in a location with bright, indirect light. Avoid direct sunlight, which can stress the newly divided plants. Along with this, maintain consistent moisture in the soil but avoid waterlogging.
Monitoring
Monitor the new plants for signs of stress, such as yellowing leaves or wilting, and adjust care as needed. Once the new plants show signs of new growth, it indicates they have established roots and are adapting well to their new environment.
Potting and Repotting Areca Palms
Potting and repotting Areca Palms are important tasks to ensure their healthy growth and development. Here are detailed guidelines for both processes:
Potting Areca Palms
Choosing the Right Pot
Select a pot that is slightly larger than the root ball of the plant, with drainage holes to prevent waterlogging. Avoid using pots that are too large, as this can lead to overwatering and root rot.
Preparing the Potting Mix
Use a well-draining, peat-based potting mix. You can improve drainage by adding perlite or sand to the mix. Also, ensure the mix is slightly acidic to neutral (pH 6.0-7.0).
Planting the Areca Palm
Place a layer of the potting mix at the bottom of the pot. Then, position the Areca Palm in the center of the pot, ensuring the top of the root ball is about an inch below the pot’s rim.
Fill in around the root ball with the potting mix, gently firming it down to eliminate air pockets. Hence, water thoroughly to help settle the soil.
Repotting Areca Palms
The things to be considered while repotting are:
When to Repot
Repot every 2-3 years or when the plant becomes root-bound (roots growing out of the drainage holes or circling the pot). The best time to repot is in the spring or early summer when the plant is actively growing.
Preparation for Repotting
Water the plant thoroughly the day before repotting to ease the removal of the root ball. And, choose a new pot that is one size larger than the current one.
Removing the Plant
Gently remove the Areca Palm from its current pot. Here, you may need to tap the sides of the pot or use a knife to loosen the root ball if it is stuck.
Inspecting and Pruning the Roots
Inspect the roots for signs of rot or damage. Trim away any unhealthy roots with clean, sharp scissors. If the plant is severely root-bound, gently tease apart the roots to encourage new growth.
Repotting Process
Place a layer of fresh potting mix at the bottom of the new pot. After that, position the Areca Palm in the center of the pot. Fill in around the root ball with the potting mix, firming it gently to remove air pockets. Water the plant thoroughly to help settle the soil.
Post-Repotting Care
Place the repotted Areca Palm in a location with bright, indirect light. Avoid direct sunlight, which can stress the plant. Maintain consistent soil moisture but avoid overwatering. Allow the top inch of soil to dry out between waterings.
Hence, increase humidity by misting the plant regularly or placing it near a humidifier for better care for areca palm.
Caring for Areca Palm involves providing the right conditions and regular maintenance. Here are some detailed ideas for Areca Palm plant care:
1. Light
The first idea to follow for areca palm care is to adjust the light. Areca Palms flourish in bright, indirect light. So, put your plant close to a window facing north or east so it gets that nice filtered sunlight.
2. Watering
Keep the soil consistently moist but not waterlogged. Water when the top inch of soil feels dry. Overwatering can lead to root rot. However, use filtered or rainwater if possible, as Areca Palms can be sensitive to fluoride and chlorine in tap water.
3. Humidity
Areca Palms prefer high humidity levels. Increase humidity by misting the plant regularly, using a humidifier, or placing a tray of water near the plant. Meanwhile, keep the plant away from air vents, heaters, and drafts, which can dry out the air and damage the fronds.
4. Temperature
Maintain a temperature range of 65-75°F (18-24°C). They do not tolerate cold temperatures below 50°F (10°C). Avoid placing the plant in areas with temperature fluctuations, such as near doors or windows that are frequently opened.
5. Soil
Use a well-draining, peat-based potting mix. Adding perlite or sand can improve drainage. However, the ideal soil pH is slightly acidic to neutral (6.0-7.0).
6. Fertilization
During the growing season (spring and summer), feed the Areca Palm with a balanced liquid fertilizer every 4-6 weeks. But, for outdoor plants, use a slow-release fertilizer high in nitrogen and potassium or a special palm food.
It is tiny, red, or yellowish mites that create fine webbing on the undersides of leaves. The symptoms of it are yellowing or stippling of leaves, leaf drop, and fine webbing.
To prevent it increase humidity around the plant, regularly mist the leaves, and use insecticidal soap or neem oil. For severe infestations, consider using miticides.
2. Mealybugs
It is a small, white, cottony insects that cluster on leaves and stem. However, the symptoms are yellowing leaves, stunted growth, and honeydew secretion that attracts sooty mold. To treat it you should wipe it off with a cotton swab dipped in rubbing alcohol, and use insecticidal soap or neem oil.
3. Scale Insects
It is a brown or tan, oval-shaped insects that attach to stems and leaves. The signs of this insect are yellowing leaves, sticky honeydew, and sooty mold. Remove it manually with a soft brush or cloth, apply insecticidal soap or neem oil, and introduce beneficial insects like ladybugs.
4. Aphids
It is a small, green, black, or white insect found on new growth and undersides of leaves. To identify this in plants you should notice the symptoms like deformed new growth, sticky honeydew, and sooty mold.
To solve this spray with a strong stream of water to dislodge them, use insecticidal soap or neem oil, and introduce beneficial insects like ladybugs.
Problems
1. Yellowing Leaves
It is caused often due to overwatering, underwatering, nutrient deficiencies, or pests.
2. Brown Leaf Tips
It occurs due to low humidity, underwatering, salt buildup, or chemical sensitivity.
3. Leaf Spot
It is caused due to fungal or bacterial infections, often due to high humidity and poor air circulation.
4. Root Rot
It is caused due to overwatering and poor drainage. The symptoms of it are wilting, yellowing leaves, and a foul smell from the soil.
5. Nutrient Deficiencies
It is caused by to lack of essential nutrients in the soil. The symptoms are yellowing leaves (nitrogen deficiency), weak growth (phosphorus deficiency), and brown leaf edges (potassium deficiency).
Prevention and Maintenance
Regularly check the plant for signs of pests and problems. Early detection and treatment are crucial.
Maintain consistent soil moisture but avoid waterlogging. Adjust watering based on the season and plant needs.
Ensure adequate humidity and good air circulation around the plant to prevent fungal issues and improve overall plant health.
Keep the plant and surrounding area clean. Remove debris and fallen leaves that can harbor pests.
The Areca Palm is a favored indoor plant due to its combination of aesthetic appeal, air purification benefits, and ease of care. With its feathery, arching fronds and elegant structure, the Areca Palm brings a lush, tropical ambiance to any indoor space, enhancing both homes and offices.
Its ability to effectively remove toxins like formaldehyde, xylene, and toluene from the air, along with its natural humidifying properties, contributes to a healthier indoor environment. The plant's adaptability to bright, and indirect light and tolerance of lower light levels make it versatile for various indoor locations.
Additionally, Areca Palms are relatively low-maintenance, requiring moderate watering and thriving in different humidity levels, making them ideal for busy individuals or those new to plant care.
The presence of this greenery indoors can reduce stress, improve mental well-being, and enhance focus and productivity. As a non-toxic plant, it is also safe for households with pets.