For many homeowners, the perfect lawn conjures images of lush green uniformity. But achieving that picture-perfect green often comes at a cost: frequent mowing, constant watering, and applications of fertilizers and weed killers.
However, clover lawns offer a refreshing alternative, trading some of that uniformity for a more sustainable and low-maintenance approach. If you're looking for a low-maintenance, eco-friendly lawn that requires less water and chemicals, a clover lawn is definitely worth considering.
What Are Clover Lawns?
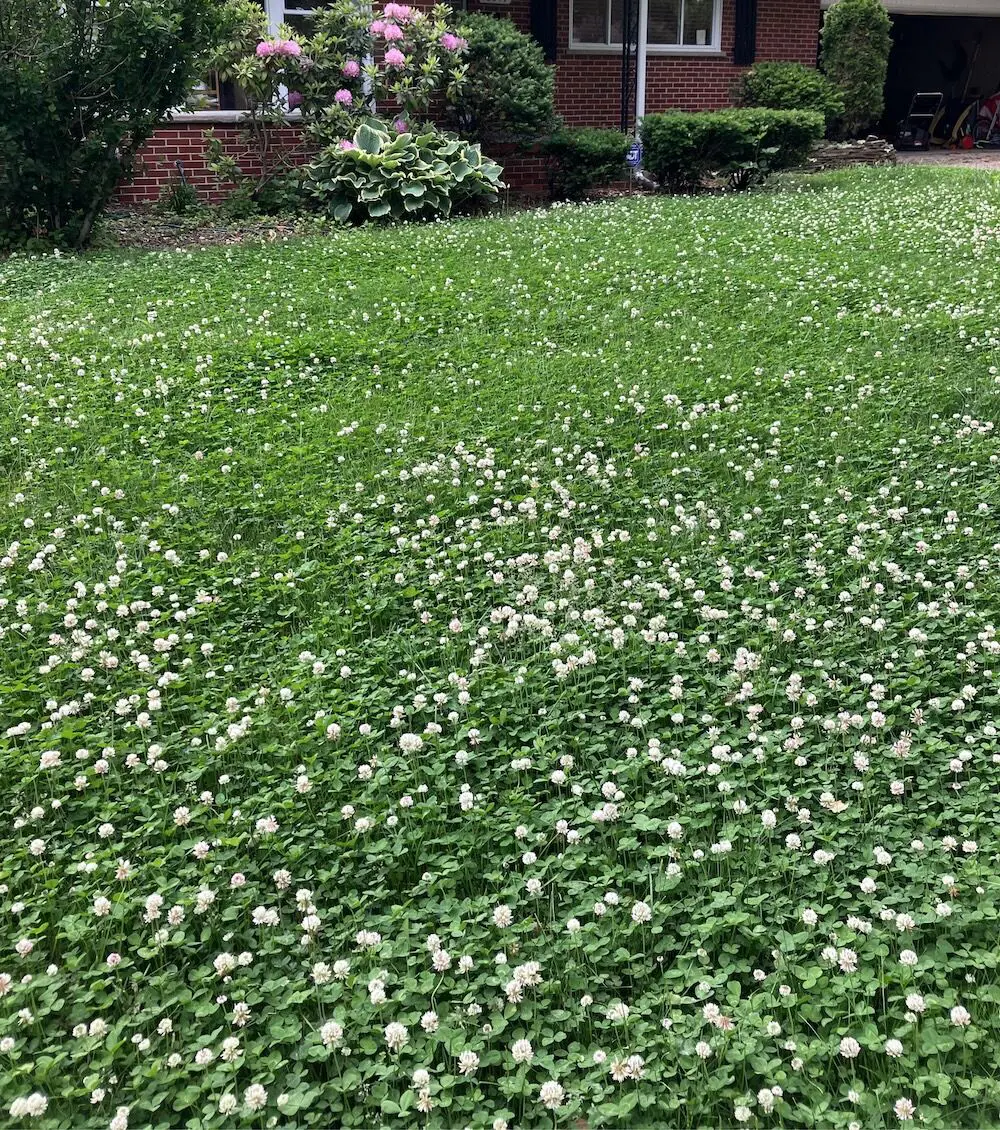
Clover lawns are ground cover alternatives to traditional grass lawns, consisting of either pure clover or a mix of clover and grass. Clover lawns boast a number of advantages over conventional grass lawns.
Perhaps the most attractive feature is their low maintenance requirements. Clover is naturally drought-tolerant, requiring less frequent watering than most grasses.
It also fixes nitrogen in the soil, reducing the need for synthetic fertilizers. This nitrogen-fixing ability even benefits nearby plants, making it a great choice for those who want a more ecologically friendly yard. Clover lawns are also praised for their resilience.
They can withstand harsher conditions than many grasses, making them a good option for areas with limited rainfall or hot summers. And because they grow lower to the ground, they can help suppress weeds and prevent erosion.
Plus, it is a bee-autiful addition to your garden as its eco-friendly benefits extend beyond nitrogen fixation. The vibrant flowers that many clover varieties produce are a valuable food source for bees, butterflies, and other pollinators. This makes clover lawns a haven for beneficial insects, promoting biodiversity in your backyard.
How to Plant a Clover Lawn
While planting these clover in your lawn, there are a few things you have to consider, and they are as follows-
1. Planting Time
If you experience cold winters with frost, wait until early spring to plant your clover. The ideal time is when the soil warms up consistently and nighttime temperatures stay above 60°F (15°C). This warmer soil provides optimal conditions for germination and establishment of your new clover plants.
In areas with mild winters and infrequent frost, you have more flexibility. You can plant clover seeds in late summer to early fall. This allows the clover to germinate and establish itself before winter arrives.
Aim to grow at least six weeks before the first frost to ensure the seedlings have enough time to develop some strength.
2. Preparing the Soil
Before you plant your clover seeds, it's important to prepare the soil properly to ensure their successful germination and growth. Thus, the first step is to clear the planting area of any obstacles that might hinder seed-to-soil contact or future clover growth.
This includes removing weeds, leaves, sticks, or any debris that might be present. You can achieve this by hand-picking weeds or using a rake to clear the surface.
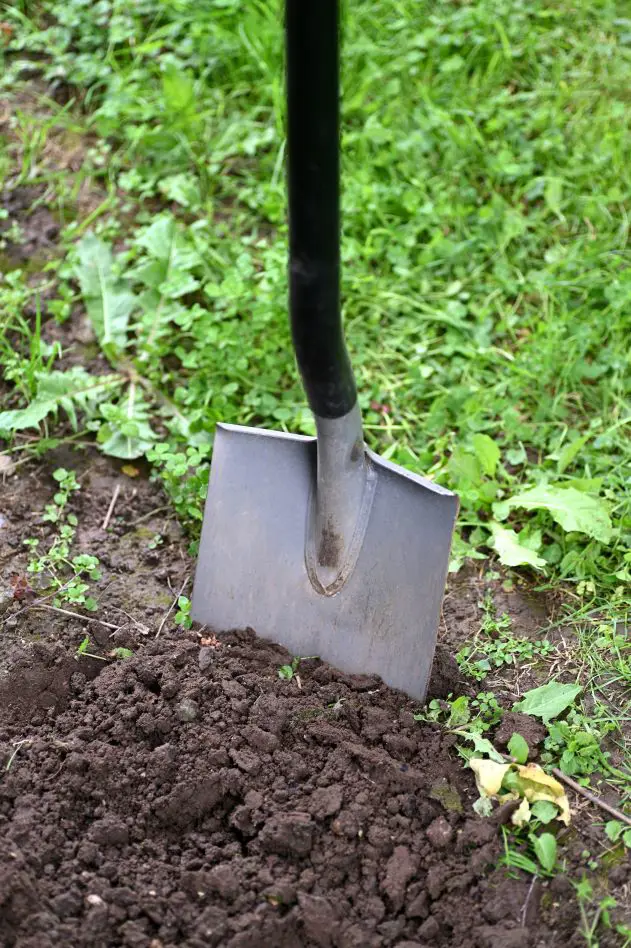
Once the area is clear, loosen the top layer of soil, ideally reaching a depth of 8-10 inches (20-25 cm). This can be done with a shovel, garden fork, or tiller. If you are wondering about this process, loosening the soil allows for better root development and water drainage, which are both crucial for healthy clover growth.
If your soil feels compacted, sandy, or clay-heavy, it might benefit from some improvement before planting. In such cases, consider adding a thin layer of topsoil to enrich the existing soil. Topsoil is rich in nutrients and organic matter, providing a more favorable environment for your clover seeds to thrive.
After loosening and potentially amending the soil, use a rake to level the surface to create a smooth and even seedbed. This process ensures even spreading which further ensures even germination and growth of your clover lawn.
While not always necessary, giving the prepared soil a light watering before seeding can be beneficial. Light soaking helps settle the soil and create better seed-to-soil contact, which can improve germination rates. However, avoid overwatering, as soggy soil can hinder seed growth.
To achieve good coverage, clover seeds require a specific application rate. So, aim for 50 grams of seeds per square meter of planting area. This translates roughly to 2 ounces of seeds per 10 square feet. You can do it manually or use a handheld spreader.
If your planting area is small, you can easily spread the seeds by hand. As even distribution is the key, try broadcasting the seeds in small handfuls back and forth across the prepared seedbed.
However, for larger areas, using a handheld spreader can ensure a more even distribution of seeds. Simply set the spreader to the appropriate setting for clover seeds (refer to the spreader's instructions) and walk back and forth across the planting area, releasing the seeds at a steady pace.
Once the seeds are spread, they need slight cover to germinate successfully. Then, gently sprinkle a thin layer of topsoil over the seeds. The aim is to cover the seeds lightly, around 1/4 inch deep. However, avoid burying them too deep, as this can hinder germination.
After planting, consistent moisture is crucial for germination. Water the seeded area gently but thoroughly. Aim to keep the soil surface moist, especially during the first few weeks until the seedlings establish themselves.
You can water daily or every other day, depending on your climate and how quickly the surface dries out.
Best Time to Plant Clover
Are you wondering when to plant clover? The ideal time depends on your climate and, specifically, the average winter temperatures in your area. If you live in a region with cold winters that experience frost, early spring is the best time to plant clover.
So, wait until the nighttime temperatures consistently stay above 60°F (15°C) and the soil warms up. This warmer soil provides the optimal conditions for germination and establishment of your new clover plants.
For locations with mild winters and infrequent frost, you have more flexibility. You can plant clover seeds in late summer to early fall. This allows the clover enough time to germinate and establish itself before the arrival of winter.
Remember, the goal is to plant at least six weeks ahead of the first frost to ensure the seedlings can develop some strength before the colder weather sets in.
There are several types of clover that can be used to create a beautiful and low-maintenance lawn. Some of the most common ones are as follows-
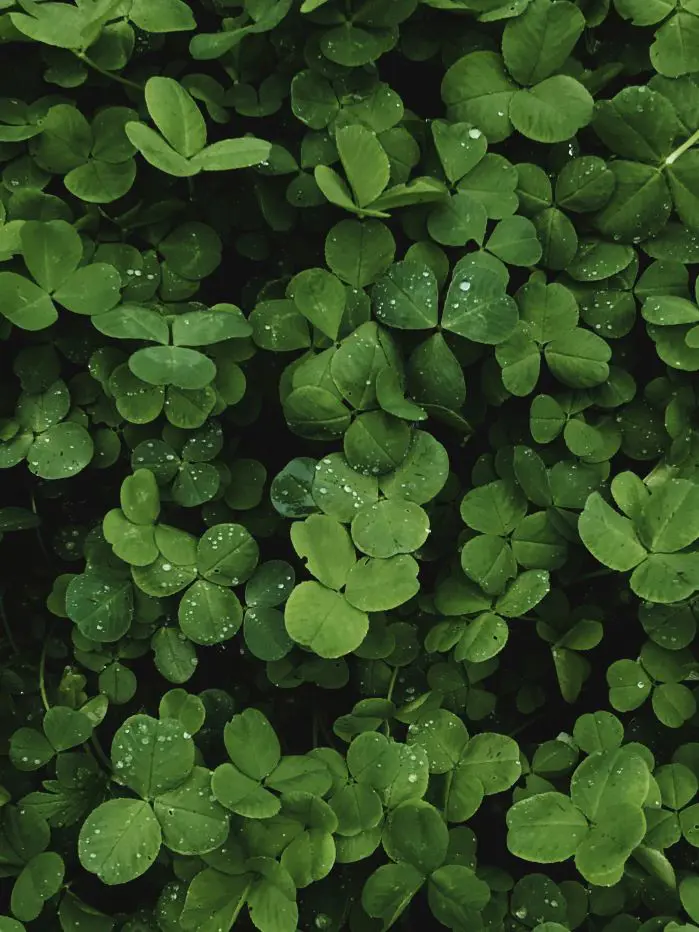
• White Clover Lawn (Trifolium repens): This is the most popular type of clover for lawns. It is a perennial clover with small white flowers and three lobed leaves. White clover is a nitrogen fixer, which means it helps to improve the fertility of the soil.
It is also very drought-tolerant and requires less mowing than traditional grass lawns.
• Microclover (Trifolium repens var. minimum): This variety of white clover is smaller and lower-growing than traditional white clover. It is a good choice for areas with much foot traffic. Microclover is also very drought-tolerant and requires less mowing than traditional grass lawns.
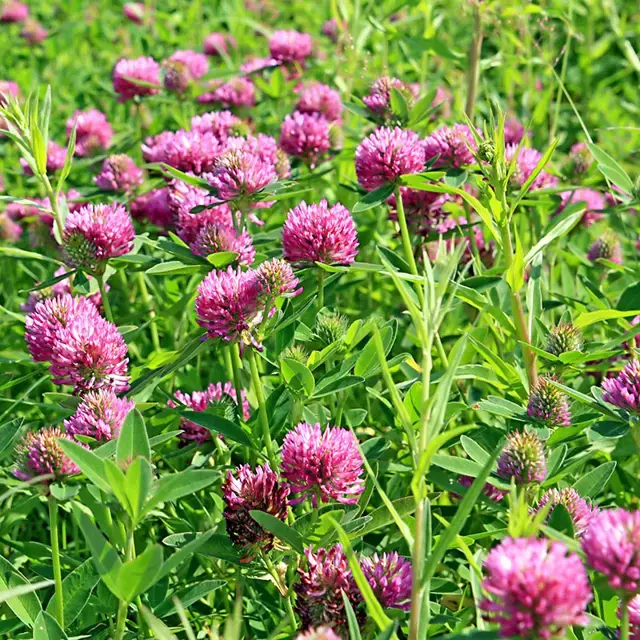
• Red Clover (Trifolium pratense): Red clover is a perennial clover with red flowers and oval-shaped leaves. It is not as drought-tolerant as white clover and may require more watering. Red clover is also not as nitrogen-fixing as white clover.
• Strawberry Clover (Trifolium fragiferum): Strawberry clover is a perennial clover that has white flowers and trifoliate leaves with serrated edges. It gets its name from the fact that it produces small, red fruits that resemble strawberries.
Strawberry clover is not as drought-tolerant as white clover and may require more watering. It is also not as nitrogen-fixing as white clover.
Other types of clover that can be used in lawns include crimson clover, berseem clover, and alsike clover. However, these types of clover are not as common as the four listed above.
Is Propagating Clover Lawn Seed Mandatory?
Unfortunately, propagating a clover lawn through methods other than seeding isn't very practical. Unlike other groundcovers that spread through underground runners or rhizomes, clover primarily spreads through seeds. This makes dividing existing clover plants impractical for establishing a new lawn.
If you are thinking of any other method than planting clover seeds, that might not be a good idea, as dividing established clover plants can be stressful for them, potentially hindering their growth and reducing their ability to establish themselves in a new location.
So, seeding clover is a much simpler and more efficient way to develop a new lawn. Seeds are readily available, inexpensive, and quickly spread over a large area.
However, there is a potential alternative you could consider, which is sodding with pre-grown clover. While not as common as sodding with grass, some specialty gardening stores might offer pre-grown clover sod.
This would involve laying down pre-established clover patches instead of planting seeds. It's a faster way to get a green lawn, but it might be less readily available and potentially more expensive than seeding.
How to Mix Clover With Turf Grass
Adding clover to your existing lawn can be a great way to create a beautiful and low-maintenance landscape. And the key to successful mixed lawns lies in selecting the right clover variety.
So, opt for microclover clover for lawn as it has a lower growing habit compared to traditional clover. This allows it to coexist peacefully with your existing turfgrass. It also tolerates frequent mowing, making it a perfect companion for your lawn.
In addition to choosing the correct variety, you also have to consider the planting time. As fall is the perfect time to introduce clover to your lawn, seeding in this month gives the clover seeds a chance to germinate and establish themselves before the winter arrives.
This allows them to be well-developed by spring when they'll start actively growing.
In order to improve drainage and airflow, aerate your lawn to create pockets in the soil that allow for better drainage and airflow. This step is crucial for the healthy root development of both your grass and the clover.
Alternatively, if your lawn has a thick layer of thatch (dead grass and debris), dethatching can be beneficial because it allows for better seed contact with the soil.
Then, mow your turfgrass to a low height, around 2 inches to create space for the clover seeds to land and germinate without facing competition from the taller grass blades.
After preparing your lawn, sow your seeds as discussed above and provide proper care to the existing turf and newly propagated clover to establish a beautiful, low-maintenance lawn.
Drawbacks of Clover Lawn
While clover lawns offer a compelling alternative, it's important to be aware of some potential drawbacks. The most common concern is the clover's flowers themselves. These blooms attract bees and other stinging insects, which can be a nuisance for some people.
Planting microclover, a variety with smaller, less frequent flowers, can help mitigate this issue.
Another factor to consider is aesthetics. Clover lawns have a different look than traditional grass lawns. The clover leaves grow in a three-part formation, and the flowers add pops of color throughout the lawn. While some find this natural look charming, others may prefer the uniformity of a conventional lawn.
Care for Clover Ground Cover
Sunshine
Like most plants, clover uses sunlight for photosynthesis. During this process, clover captures sunlight energy and converts it into food (sugars) through a reaction with water and carbon dioxide. This food is essential for the clover's growth, development, and overall health.
Most clover varieties are considered full sun plants, meaning they prefer at least 6-8 hours of direct sunlight per day.
Similarly, adequate sunlight exposure promotes stronger clover growth. Enough sunlight also allows clover plants to produce more energy through photosynthesis, which translates to sturdier stems, thicker leaves, and better overall plant health.
Soil
Poor drainage can lead to root rot and other problems for your clover plants. This means clover thrives in well-drained soil that allows water to drain away efficiently, preventing the roots from sitting in waterlogged conditions.
Regarding the soil's pH level, clover prefers slightly acidic to slightly alkaline soil, ideally ranging from 6.0 to 7.8. Within this range, clover has the best access to the nutrients it needs from the soil. This allows for optimal growth, healthy root development, and good overall clover health.
If the soil pH falls below 6.0, it becomes too acidic for clover which can hinder the availability of essential nutrients like phosphorus, potentially leading to stunted growth and weak clover plants.
Additionally, extremely high pH levels (above 7.8) can also cause problems. In very alkaline soils, clover might struggle to take up iron, leading to a condition called iron chlorosis, where the leaves turn yellow due to lack of chlorophyll production.
If you suspect your soil's pH, you can purchase a soil test kit from your gardener or online retailers to determine its current pH. If the test results are according to your needs, you can continue seeding. However, if the soil is too acidic or too alkaline, you can always fix it.
To make acidic soil more alkaline, you can add lime. Conversely, you can add sulphur to lower the pH of very alkaline soil. It's always recommended to follow the specific instructions on the soil amendment product you choose and avoid over-correcting the pH.
Water
The best time to water your clover lawn is early in the morning. This allows the water to penetrate the soil effectively before high midday temperatures cause excessive evaporation. When watering your clover lawn, focus on providing deep watering rather than frequent shallow watering.
Deep watering encourages the clover roots to grow deeper into the soil, making them more resilient to drought conditions in the long run. The frequency of watering will depend on factors like your climate, soil type, and rainfall patterns.
During hot and dry periods, established clover lawns might need watering once or twice a week. However, always check the soil moisture level before watering to avoid overwatering.
One of the significant advantages of a clover lawn is its low mowing requirements compared to traditional grass lawns. Clover grows slower and doesn't require frequent mowing to maintain a neat appearance. So, you can choose to leave it unmowed for a natural, meadow-like aesthetic.
But, the clover flowers will bloom and attract pollinators like bees and butterflies. If you are not a fan of them and prefer a more manicured look, you can mow your clover lawn a few times a year.
When mowing clover, the mowing height should be higher than that of a traditional grass lawn. So, aim for a height of 2.5 to 3 inches which allows the clover plants to maintain healthy growth and continue to fix nitrogen in the soil.