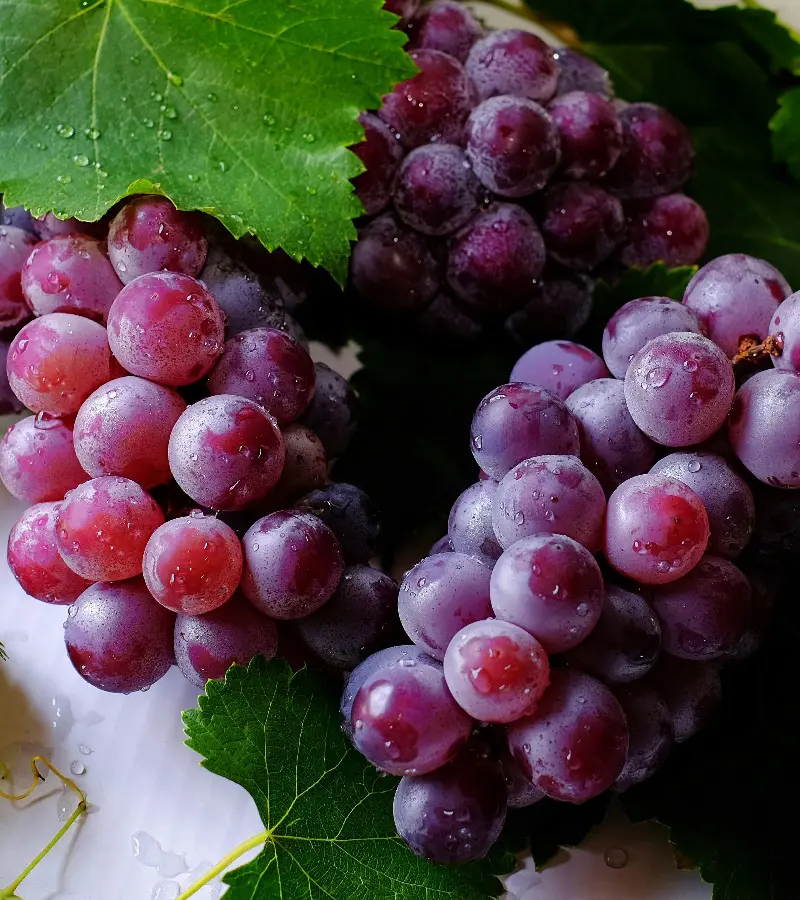
Prep Work Before Storing Grapes
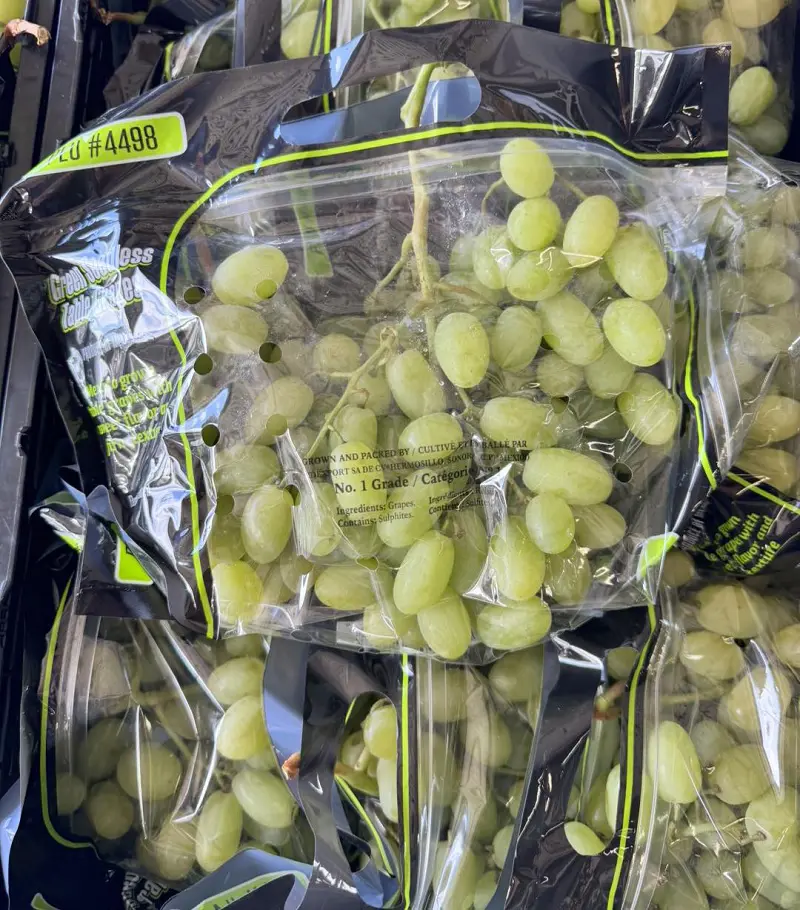
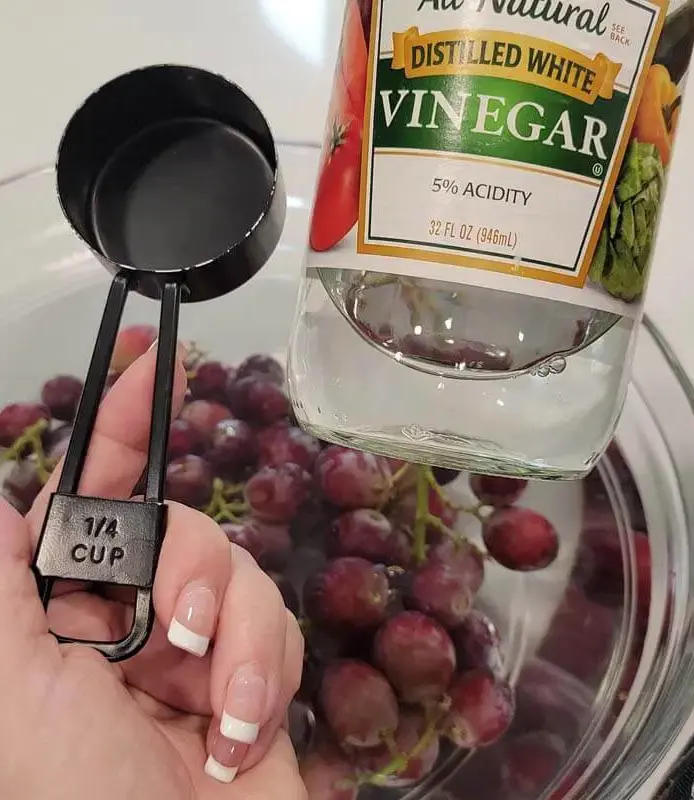
Once you have purchased the perfect bunch of grapes from the mart or the local farmer’s store, some preparations need to be made before you can proceed any further.
Some misconceptions need to be addressed regarding this process so continue reading to properly extend your grape’s shelf-life.
1. Remove Bad Grapes
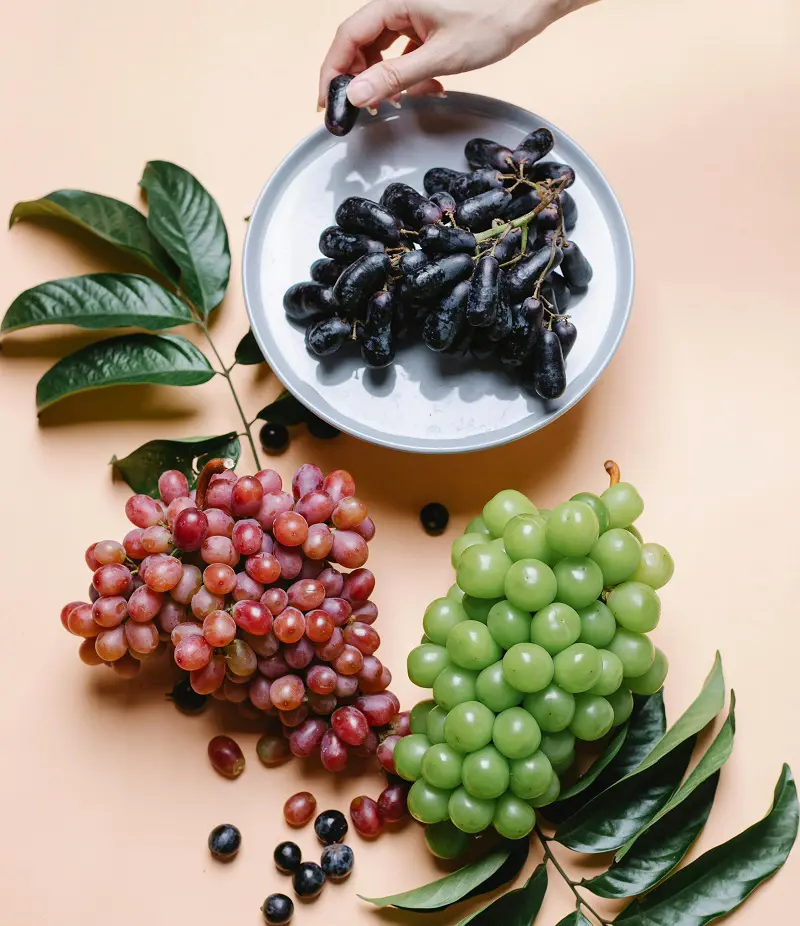
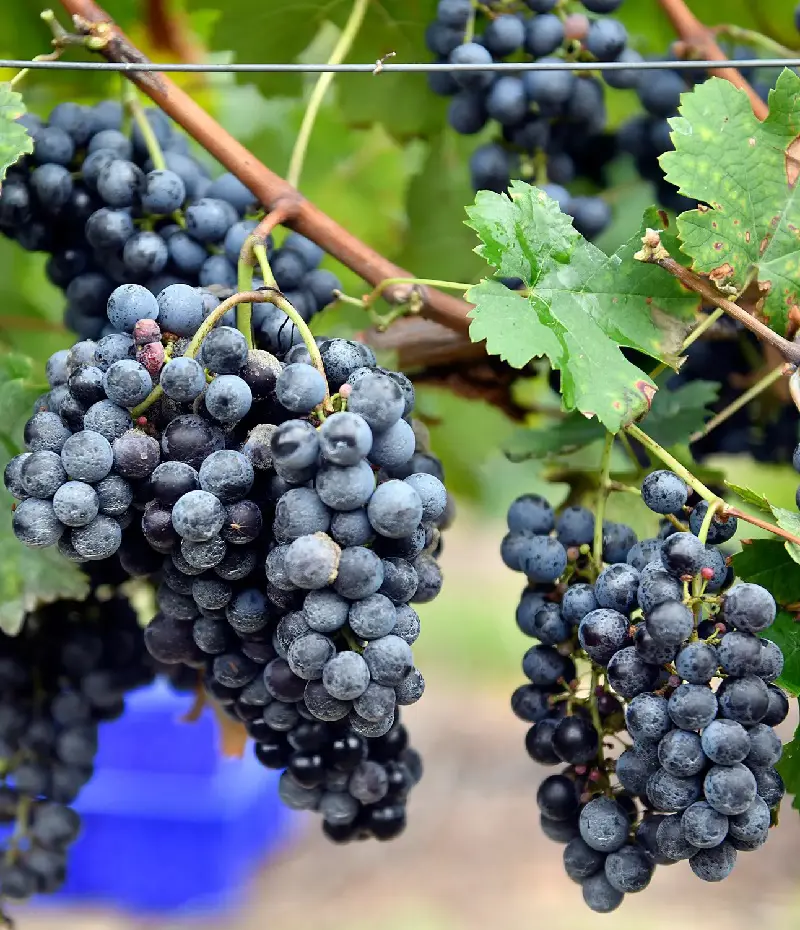
Not everyone can purchase the perfect bunch of grapes from the market and certainly not every day, perhaps maybe you forgot to check the undersides of the grape branch, or it was hiding some nasty grapes underneath.
These things happen and well, there’s nothing wrong with that. Simply be thorough this time and look through all the grapes, even those hidden underneath, and remove all the ones that look bad, withered, or moldy. A single berry of grape can ruin the whole thing.
2. Fallen Stem Grapes
While you certainly shouldn’t store withered, fermented, or damaged grapes with broken skin, some grapes have simply fallen off the stem and are still perfectly fine to eat. Gather them all together in a separate bowl.
While these grapes are perfectly acceptable for eating and storing, they won’t store as long as other grapes and release ethylene gas which can spoil the surrounding grapes. Therefore, eat these grapes first, and if not, store them separately from other perfect grapes.
3. Make Smaller Grape Clusters
Using a kitchen scissor, snip the branch of the grapes carefully to turn them into smaller clusters. Ensure that you do not remove any grapes from the branches. Grapes removed from the branches will be oxygenated through the stem area and spoil quickly.
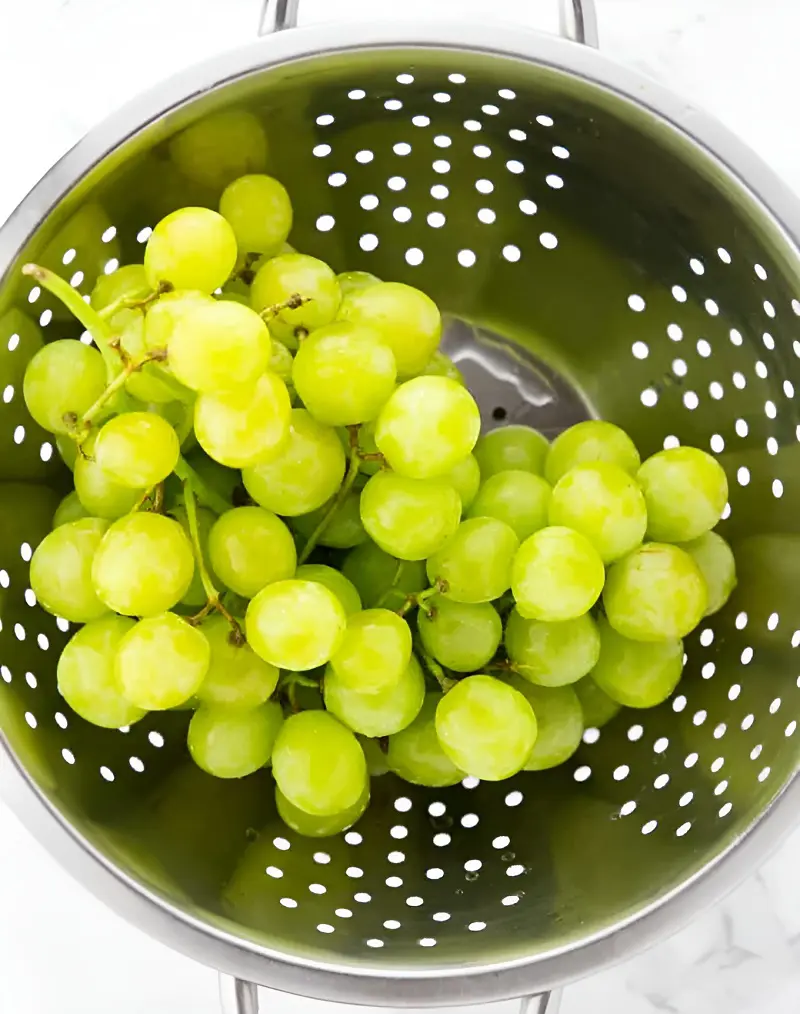
Turning the grapes into smaller clusters makes them easier to clean and work, furthermore, it also promotes better air circulation between the various bunch of grapes and reduces the rate of spoilage.