Gardening

How To Remove Bushes In Your Garden

Source : facebook

If you have a bush that has grown too big for its area, is diseased, or no longer serves your garden's style, then its removal can be well for an upgrade. Shrubs and bushes can be deceptively tough - having deep roots and stubborn branches.

But once done with the proper approach, you are effectively able to get rid of them, getting the area ready for fresh new growth in its place. Here's how to get started on removing bushes from your garden without too much fuss.

1. Gather the Right Tools for the Job

Source : instagram

Before you jump to the field, make sure you have all the essential tools to tackle the removal efficiently.

  1. Set of pruning shears,
  2. Hand Saw,
  3. Shovel,
  4. A root saw to work through branches and roots.

If the bush is especially large or has a robust root system, you might need to consider renting heavier equipment, like a chainsaw or a garden winch.

2. Start by Cutting Back Branches

Begin by cutting back the bush’s branches, starting from the top and working your way down. Trimming bushes allows you to access the main stem or trunk more easily and reduces the overall size of the bush. 

Use pruning shears for smaller branches and a hand saw for thicker limbs. Aim to trim down to a manageable size so you can get to the root system with less obstruction.

3. Dig Out Root System Block

Source : imgur

Once the branches are out of the way, it is now time to take care of the roots. The first step is to start digging around the bottom of the bush to expose a major root system of it. Take your shovel or spade and dig a trench around the bush. This action will loosen the dirt and cut through the smaller roots.

Be a bit more patient here, as the roots of bushes can be deep and wide. For particularly persistent roots, use a root saw or an ax to break them up - so it's easier for you.

4. Loosen and Pull the Main Root Ball

After you've cut through the smaller roots, you will most likely still have to deal with the main root ball. You can loosen this up from around the base using a shovel.

If it is still anchored, insert the pry bar or leveraging tool under the root ball and lever it upwards out of the soil. This can be cumbersome if the root ball is large, in which case extra help may be required.

5. Remove Stubborn Roots with Chemical Solutions (Optional)

Source : pexels

If some roots are particularly stubborn or deep, chemical root removers can help speed up the process. Apply a root-killing solution directly to the exposed roots, and allow it to sit for the recommended time. 

This step can be useful if you don’t plan to replant in that spot right away. Just be cautious, as chemicals can impact nearby plants.

6. Clear and Prepare the Soil for New Plantings

After the bush is fully removed, clear out any remaining debris, like twigs, leaves, or leftover roots. Break up the soil where the bush once stood, adding fresh topsoil or compost if necessary to enrich it for new plants. 

Rake the area smooth, and you’ll have a refreshed plot ready for new growth or landscaping.

When to Remove Bushes

Source : instagram

Knowing when to remove the bush may keep your garden healthy, beautiful, and functional. Here are common situations when it may be time to take a bush out.

Overgrown or Crowded Space

When the bush has outgrown its space or is crowding other plants, it affects the general health and balance of your garden.

Overgrown bushes will shade out other plants from needed sunlight and create an environment with restricted air circulation, resulting in mold and mildew. In such instances, the removal of the bush allows opening of the area for better growth and spacing.

Disease or Damages

A diseased bush that would exhibit yellow leaves, wilts, or strange spots may already be beyond help. Dead or damaged branches are identified with stunted growth as an indication of serious problems with its health.

These bushes could be infected and may have infected the plants beside them by swift action, which guards your garden against further infection.

Pest Infestation

Source : instagram

Bushes may attract pests such as termites, aphids, or beetles. When these infestations reach critical stages, they may affect other plants in proximity to the bush or even penetrate your home. If these treatments against pests are ineffective, removal of the bush halts further spread of the pest infestation.

Landscaping or Redesign Projects

Sometimes, one may just want to get rid of the bush for various reasons related either to aesthetics or landscape redesigning.

Whether one is devising a new garden layout, setting a pathway, or opening up a view, the removal of selected bushes may allow room for new designs and improvement in one's yard.

Declining Health Due to Age

As bushes age, they become weaker, less vigorous, and even more susceptible to certain diseases and pest problems. Older bushes may also be less floriferous or fail to do as well as they once had done.

This allows for the death of some of these aging plants, gives room for new growth, and makes space for other hardier varieties that can be more suitable for the area.

What to Do With Removed Bushes

After removing the bushes, one doesn't know what to do with the remaining plant material. Well, here is a way how to handle them in an environmentally friendly manner and at the same time be practical.

Compost the Smaller Branches and Leaves

If your shrub is disease-free, you can also add the smaller branches and leaves to your compost pile. Shredding the material will help it break down more quickly, and mixing into your other compost materials will blend all nutrients.

Do not compost any woody stems or thick roots, as these take a very long time to decompose.

Make Mulch from Branches and Stems

Source : instagram

Thicker branches and stems can be turned into mulch. Run the material through a wood chipper to shred the material into a size friendly to plants, then spread the mulch around your garden beds.

Mulch reduces soil moisture loss, limits weed growth, and generally improves soil structure over time.

Use for Firewood or Kindling

For plants with thick woody branches, consider chopping them down into logs or even kindling. If dried, these can serve as firewood in keeping your fireplace or pit nice and warm.

Just make sure the wood is fully dry before burning, and avoid using treated or chemically treated plants.

Repurpose for Garden Borders or Raised Beds

Source : instagram

The thicker stems and branches of the shrubbery can be used creatively in the garden. They can be laid naturally to form borders or edges around the garden and pathways. Use them to construct flimsy frames for your raised beds and trellises for support of climbing plants.

Dispose Responsibly

If you have no method of composting, mulching or repurposing the bush material, dispose of the rest at a local waste management facility or at your neighborhood garden center's green waste acceptance area.

Many communities have either collection or drop-off sites to collect green waste, which then may be composted or mulched for reuse in the community.

Common Bushes Removal Problems

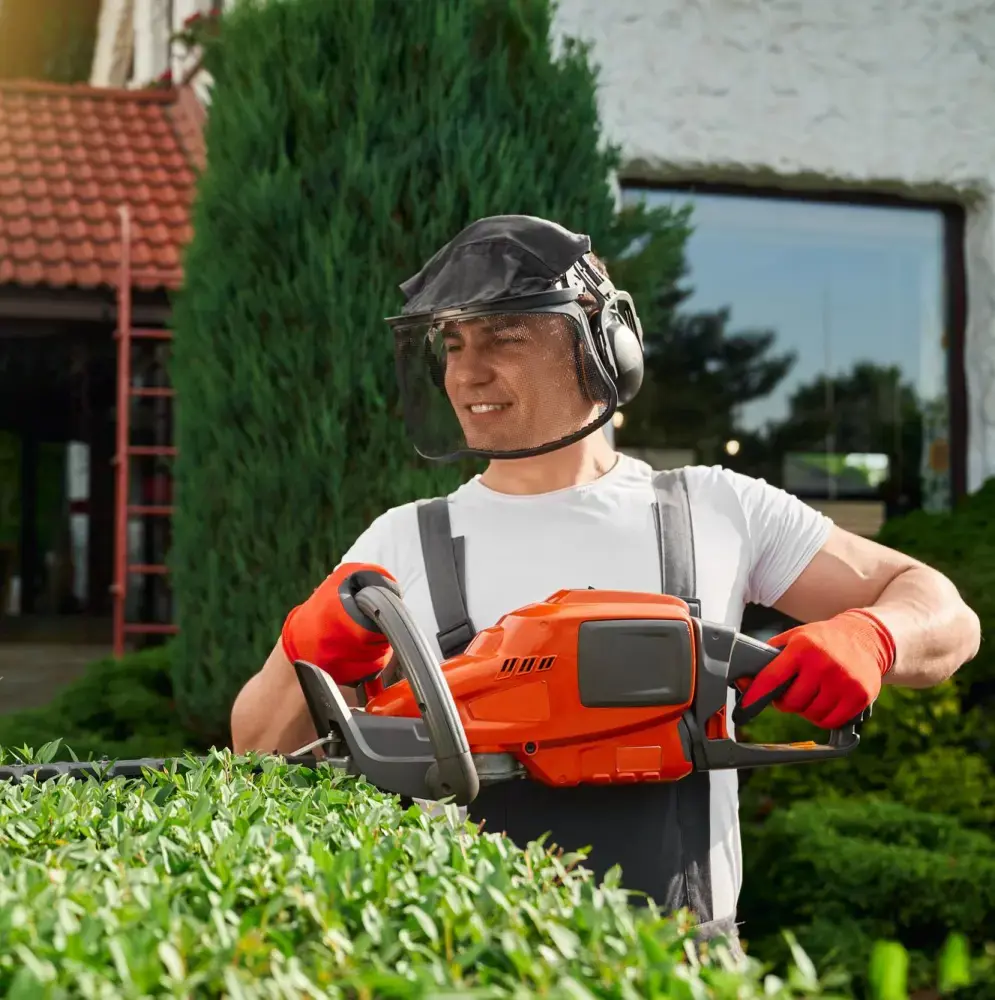
Removing bushes can sometimes bring unexpected challenges. Stubborn roots, hidden obstacles, and regrowth can complicate the process, especially for beginners. 

Here’s a breakdown of common issues you may encounter and how to handle them effectively.

Roots Too Deep or Wide

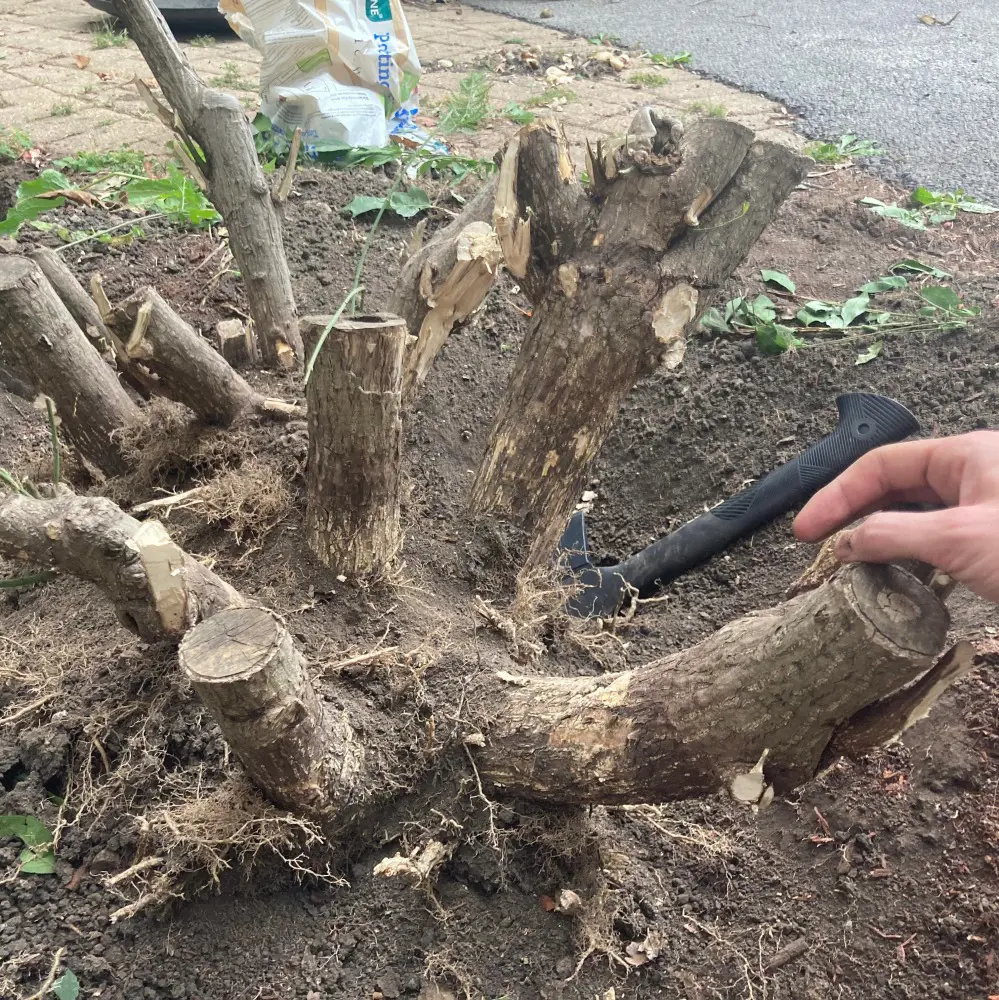
One of the biggest obstacles in removing a bush is its root system, which can run deeper or spread wider than anticipated. Large or mature bushes often have extensive roots that anchor them firmly into the soil, making manual removal difficult. 

To tackle this, dig a trench around the root ball to expose as many roots as possible. For extremely deep roots, consider using a root saw or ax to cut through thicker sections, or rent a root removal tool if needed.

Regrowth After Removal

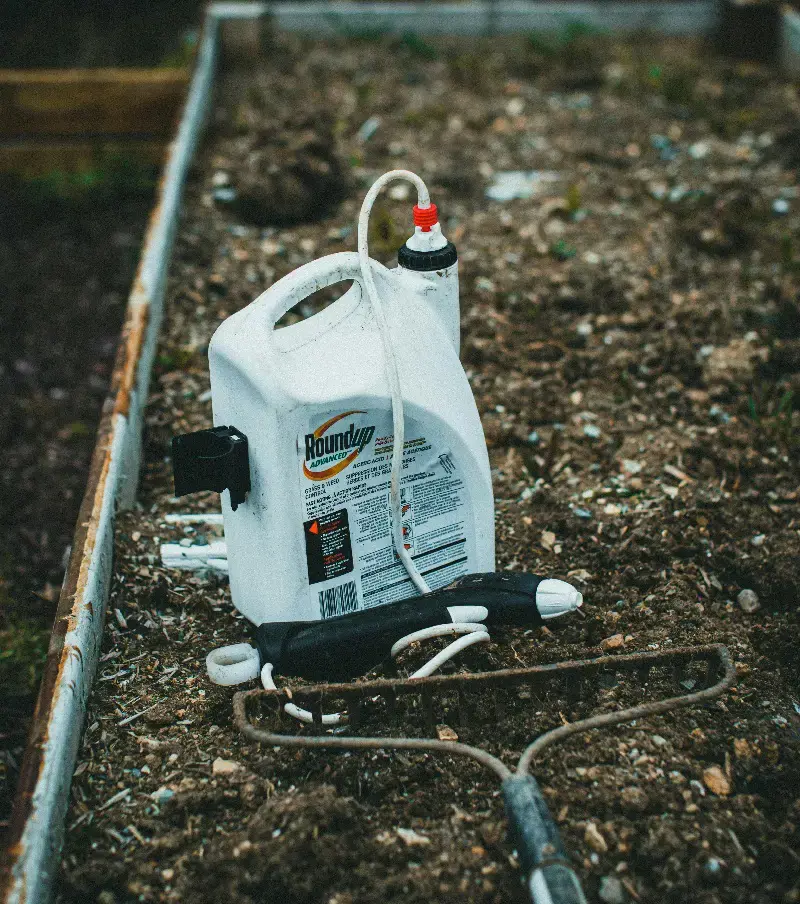
Even after you’ve removed the visible bush and roots, some bushes may start to regrow. This is especially common with hardy shrubs that can regenerate from small root fragments left in the soil.

To prevent regrowth, try to remove as many roots as possible during the initial extraction. Additionally, applying a root-killing solution to any remaining root pieces can inhibit further growth. Be cautious with these solutions, especially if other plants are nearby.

Hard or Compacted Soil

Hard or compacted soil around the bush may make the digging very hard. The soil that has not been aerated for some time, or watered, almost feels rock solid and hence makes the actual process of removal rather slow.

If necessary, this can be made a little easier by soaking the soil around the bush a day in advance of removal. This will soften the ground and make digging easier.

Of course, if you have compacted soil throughout your garden on a regular basis, it might also be worth considering purchasing a garden fork or rototiller for use on projects in the future.

Damage to Nearby Plants or Structures

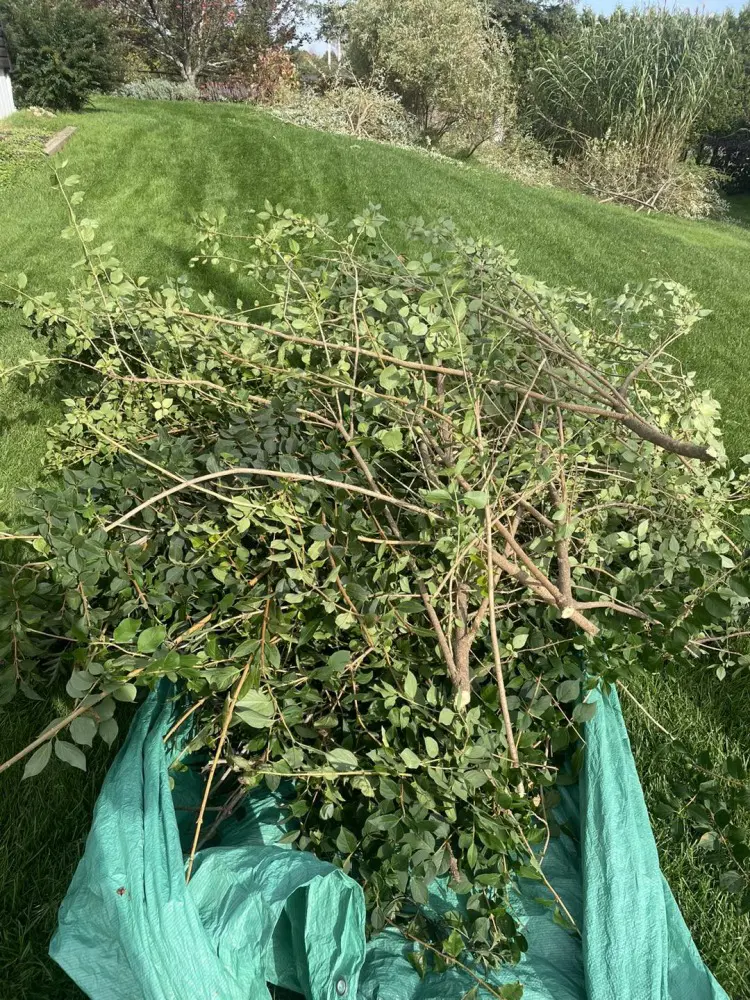
This is a very simple process, though often one may damage any plants or structures nearby in the removal, especially when roots have grown into other areas. Bushes that are close to fences, walls, or other landscaping features can present some complications.

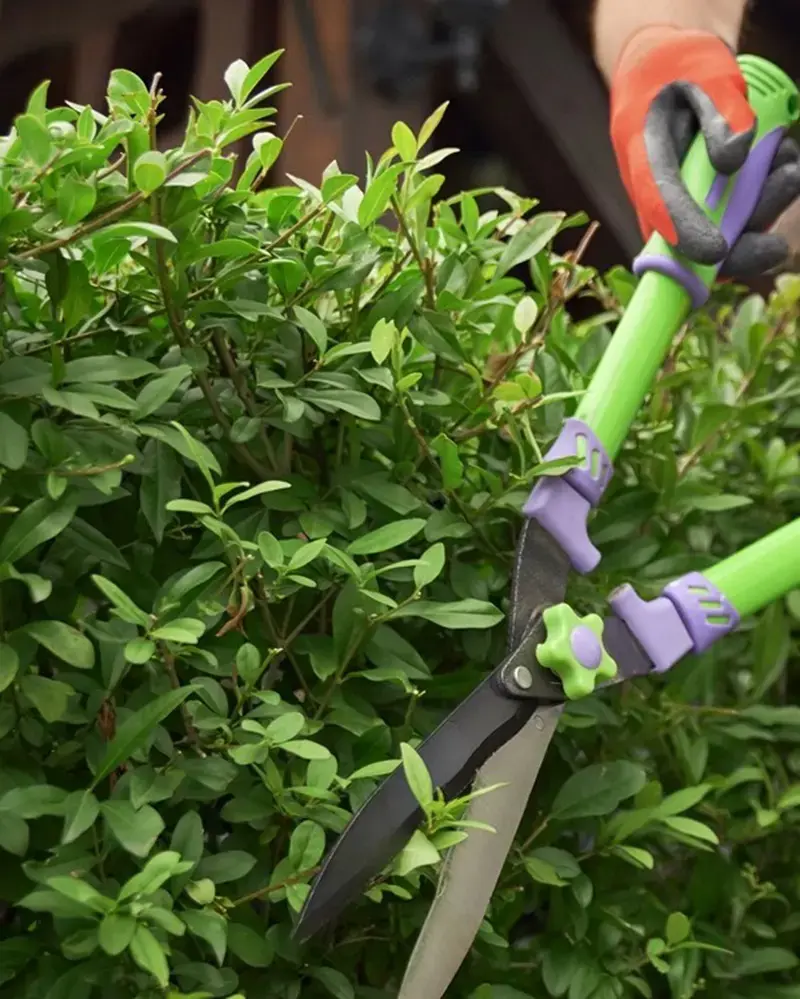
Clear out as many of the branches as possible without going into the roots. Be careful with your cuts, making clean cuts instead of tugging at the roots too hard, which could cause disruptions to plants or infrastructure nearby.

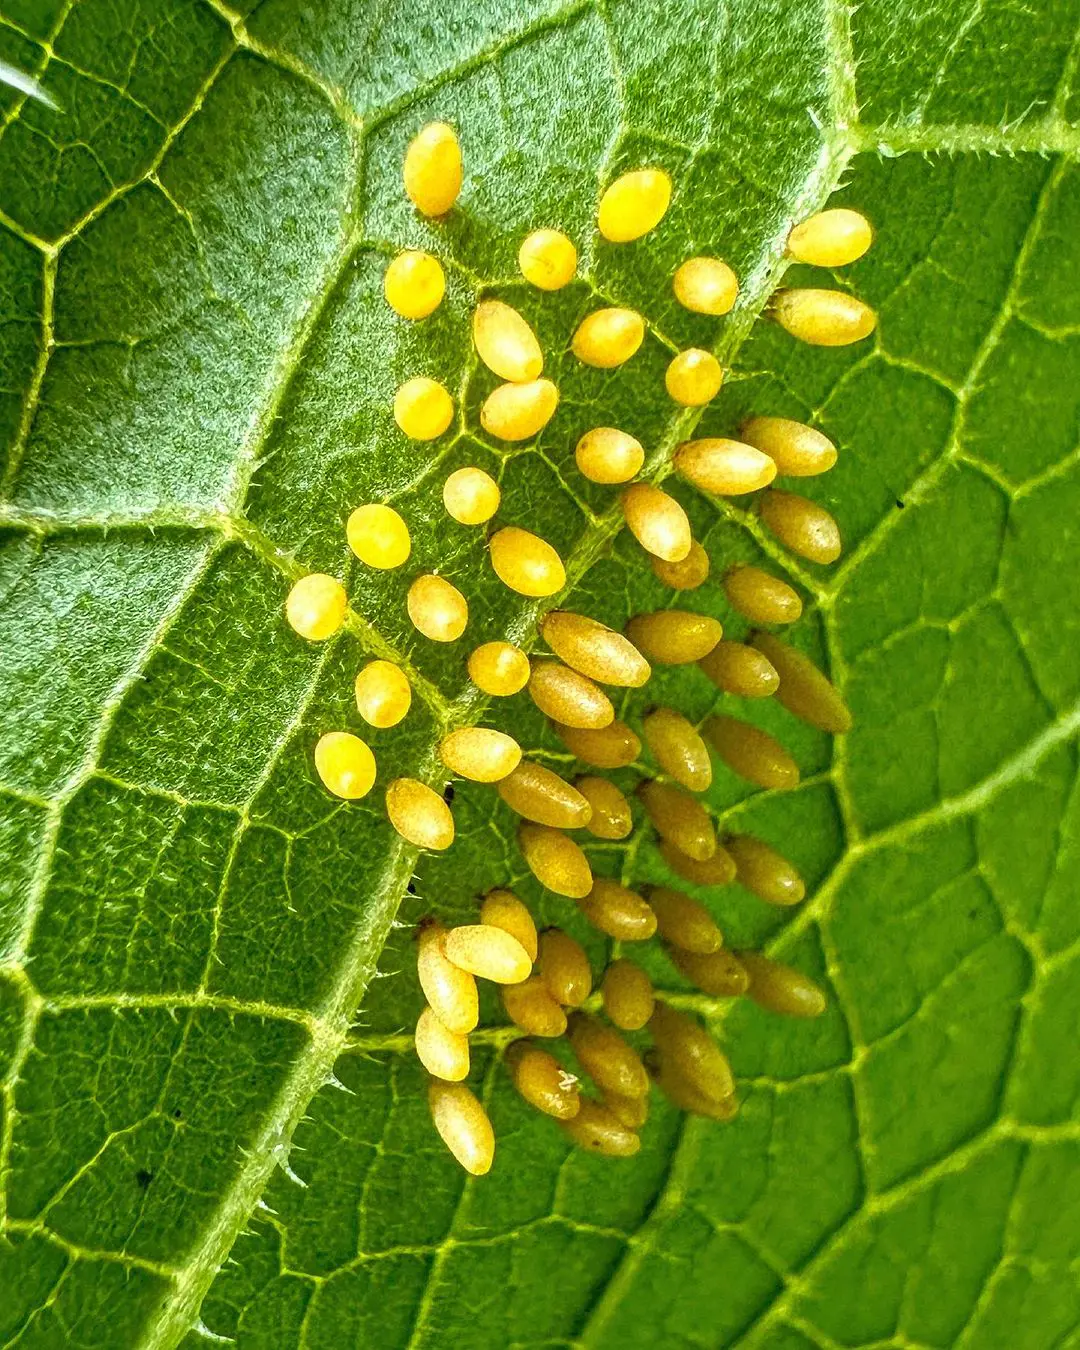
Discovering Pests or Diseases

Sometimes, eliminating a bush reveals some latent pest activity or even some symptoms of disease. Pests like termites or grubs might have infested the roots and surrounding soil. Similarly, some diseases can be transmitted to other plants from a bush if it is not disposed of correctly.

If pests are found, you may want to take care of the area with a non-toxic pesticide to avoid further spread. If the disease is present, remove infected soil and plant material; if replanting, do so after treatment of the area.

When To Call A Professional

Source : freepik

Some bush removal jobs are best left to professionals, especially when they involve:

  • Large or Mature Bushes: Big bushes have extensive roots and are hard to remove without heavy-duty equipment. Pros handle them safely and quickly.
  • Close to Utilities or Structures: Roots near water lines, gas pipes, or foundations can lead to costly damage. Professionals know how to safely work around these.
  • Difficult Terrain or Soil: Sloped or compacted soil can be tough to dig through. Pros have tools to handle tricky areas without damaging the landscape.
  • Pests or Diseases: Bushes with pests or diseases can spread issues to other plants or your home. Experts can dispose of them properly and prevent further problems.
  • Safety Concerns: If you’re short on time or worried about using heavy tools, professionals ensure a quick, safe removal with minimal hassle.

DIY vs. Hiring a Pro to Remove Bushes

Whether to go for the DIY approach or hiring a professional for bush removal depends on time, effort, cost, and the complexity of the task. Below is a comparison guide that will help determine which option best suits you.

DIY Bush Removal

Pros

  • Cost-Effective: DIY saves you money because it means you save on the professional labor you would have otherwise paid for. If you already have basic gardening tools, then it can prove to be a pretty economical project.
  • Flexible Timing: You can work on the removal at your own pace, thus this would be easier to fit into your schedule.
  • Satisfaction: There is much satisfaction in dealing with the physicality of a garden-type project yourself.

Cons

  • Time-Consuming: Removing a bush, especially larger or well-settled ones, may take hours or even days of work. It is a labor-intensive job to remove bushes, requiring certain tools such as pruners, saws, and shovels. And often, especially with stubborn roots and compacted soil, it may be even more challenging.
  • Risk of Property Damage: If roots are very close to pipes or structures, there is a risk of accidentally causing serious damage in an amateur removal.

Hiring a Professional

Pros

  • Expertise: Experts develop the required experience and tools for efficient bush removal, including heavy machinery when necessary.
  • Safety: Experts are enlightened on how to avoid risks such as underground utilities and sharp-edged tools, which may be dangerous to handle individually.
  • Quick and Efficient: Unless one has the equipment and experience, a professional is likely to remove a bush in a fraction of the time one might take.

Cons

  • Higher Cost: You can hire a professional, but it will cost money for which you have to depend on the size of the bush and the complexities of the job.
  • Scheduling: Depending on their availability, you may need to schedule with them. That may push back your project if they happen to be booked up.

Which Option Is Right for You?

Assuming that your bush is small and accessible, and you have no issues with physical labor, then DIY is likely a good course of action. If the bush is large or in a tricky location, hiring a pro can save time and minimize risk.