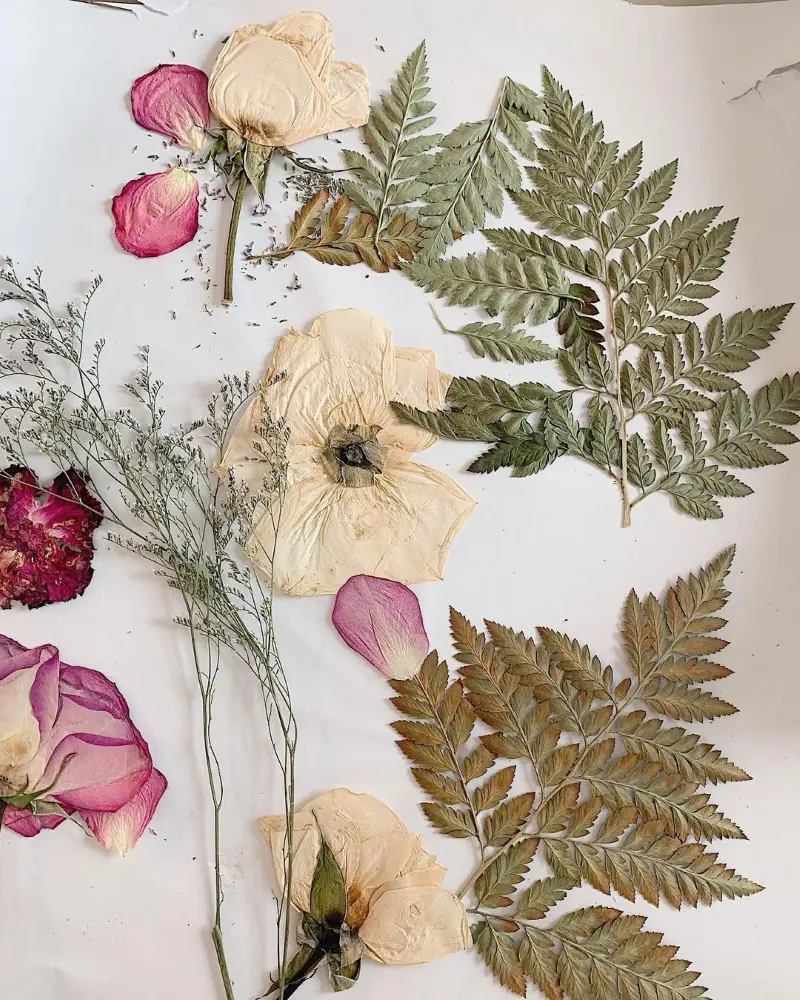
Pressing a flower is a great idea to keep it lively almost forever. It is also a great way to preserve your special bouquet as a keepsake. Pressed flowers always turn out beautiful, which you can later frame or keep in your collection of dried flowers.
Flower pressing is effortless. You do not need any technical skills or prior knowledge to press flowers. Here, we have explained in detail how to press flowers.
How To Select Flowers To Press Flat
Not all flowers are easy to press or turn out beautiful. If you want a great result, you should have the right tools. In this case, it is the flowers.
When selecting flowers to press flat, these are things you should be aware of:
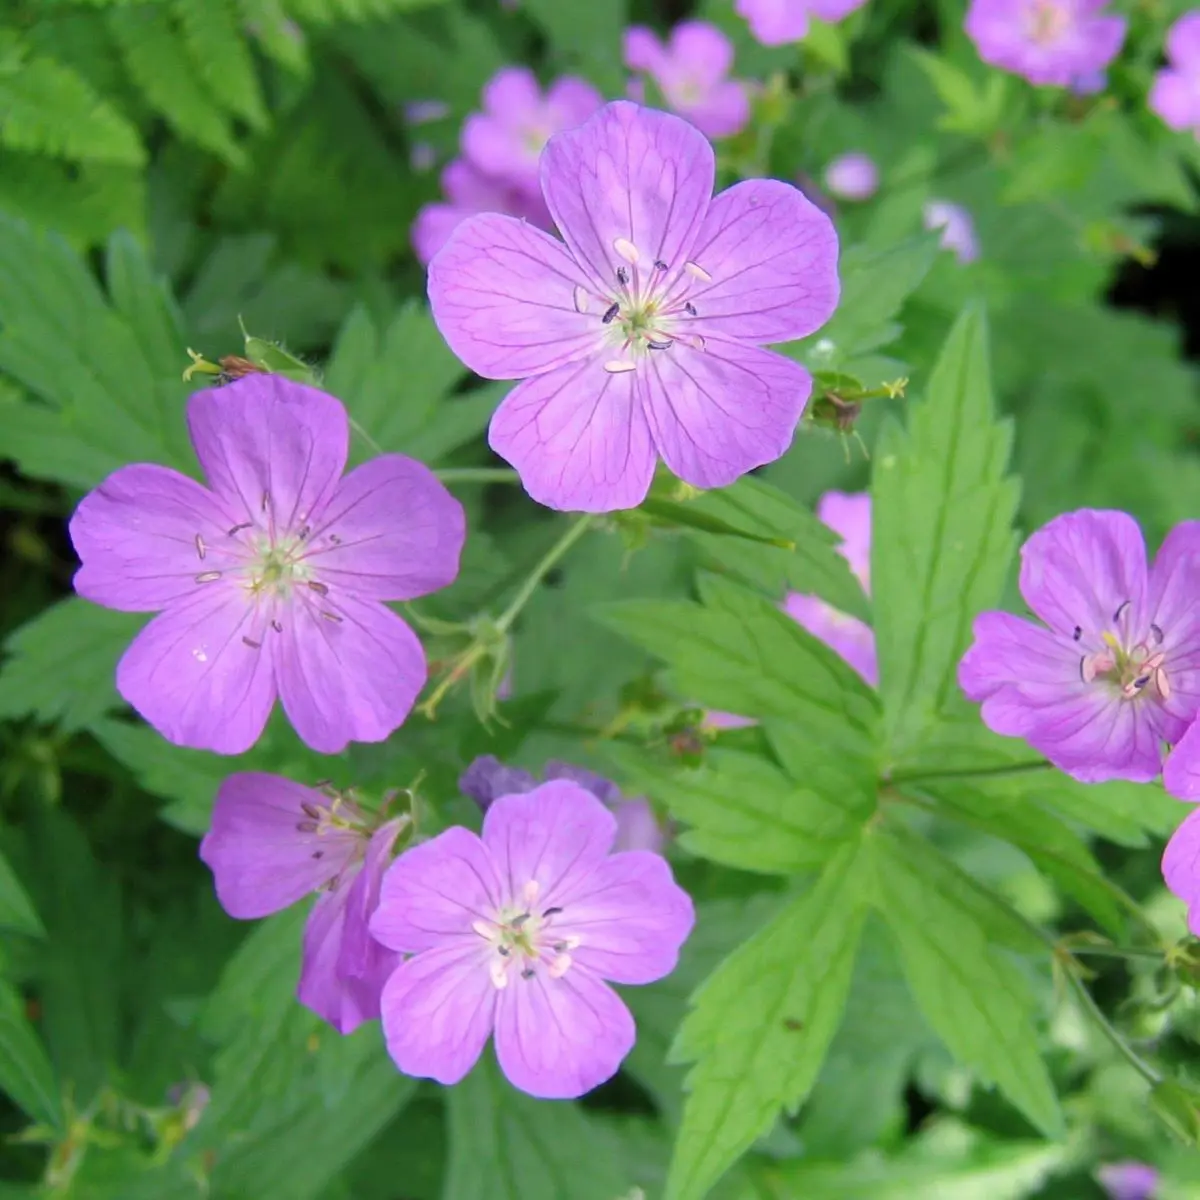
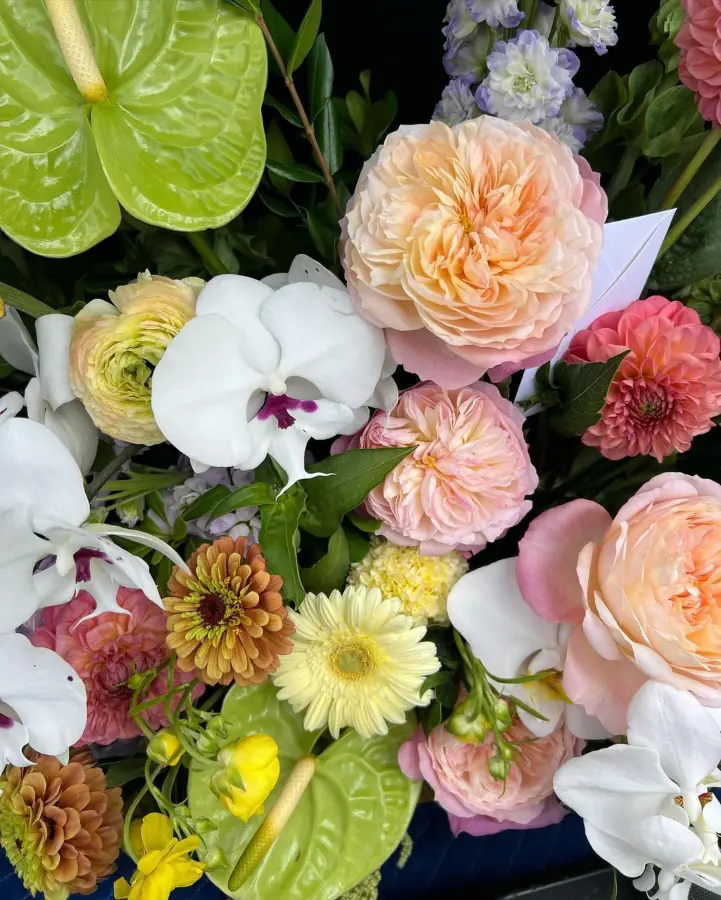
Avoid marred flowers and choose ones in full bloom to capture their color. One such beginner-friendly flower is hydrangeas, but do note that different types ofhydrangeas bloom at varying times.
If you are using from your garden, pick one without morning dew in the morning. This is because moisture can cause flowers to become moldy.
But for bouquets, keep it in water until ready to press. They should be fresh. You can keep them fresh by cutting the stems of the flower at an angle and putting them in a vase with water. Remember to replace the water regularly to remove debris.
Consider separating large flowers with layered petals into smaller sections before pressing. You can always arrange them to mimic their original form before pressing.
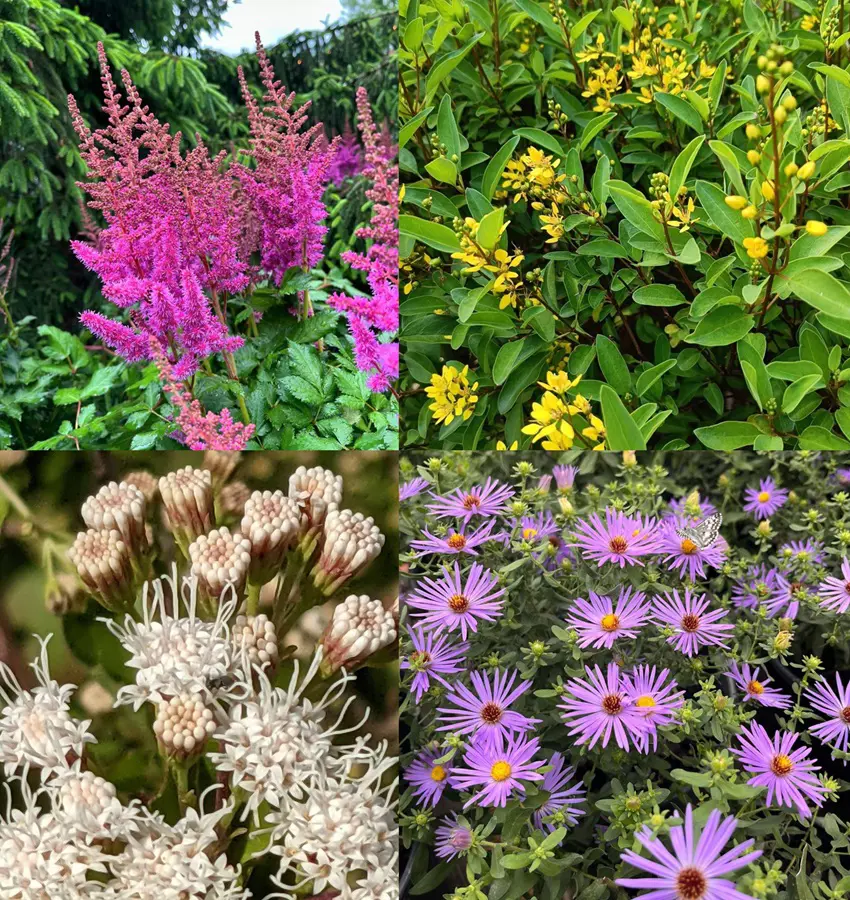
That being said, some flowers were made for pressing. These flowers are flat-faced with a single layer of petals. Examples include:
Geranium
Cosmos
Zinnias
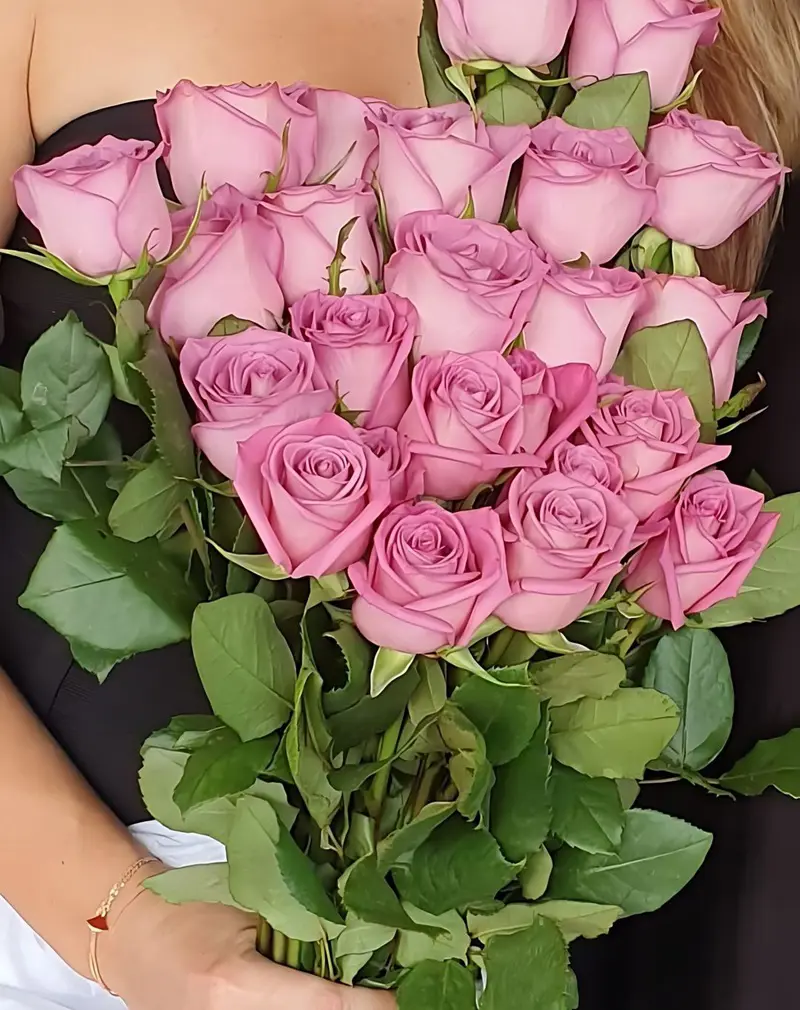
Roses
Bluebells
Daisies
Sweet Peas
Pansies
Muscari
Larkspur
Forget-me-not
Lily-of-the-valley
Love-in-the-mist
You can preserve the whole flower by separating the individual petals from the stems for larger bulbs or spherical flowers like hyacinths and dahlias. You can also split the flower in half before pressing.
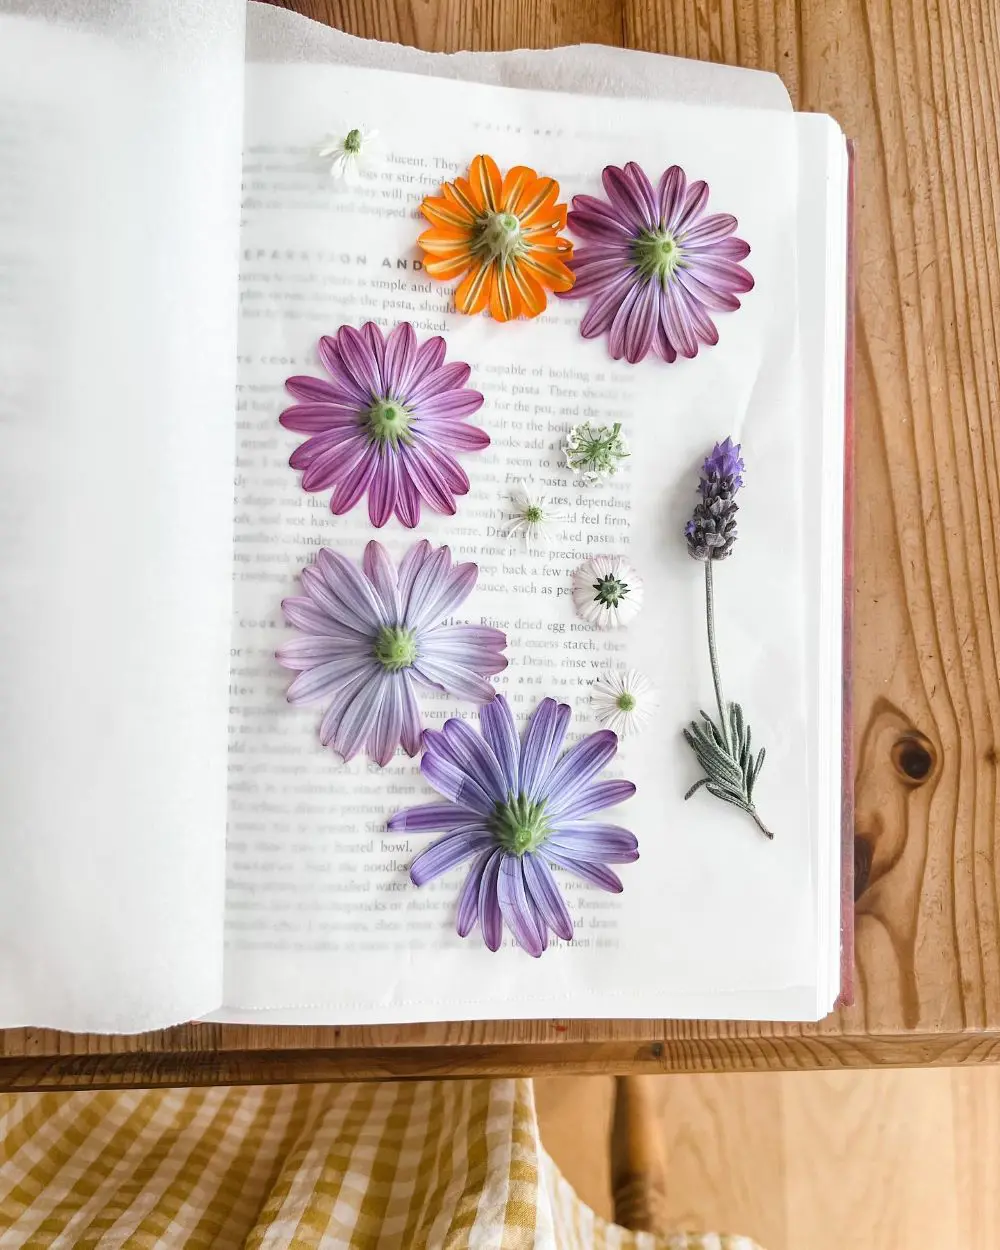
You should ideally pick flowers that retain their color and shape after pressing. This practice will ensure the pressed flowers will remain vibrant and attractive. Flowers with flat, broad booms like lilies, violets, and daisies can be perfect for pressing.
Now that you know some of the flowers you could use for pressing, let’s look at which flowers are unsuitable.
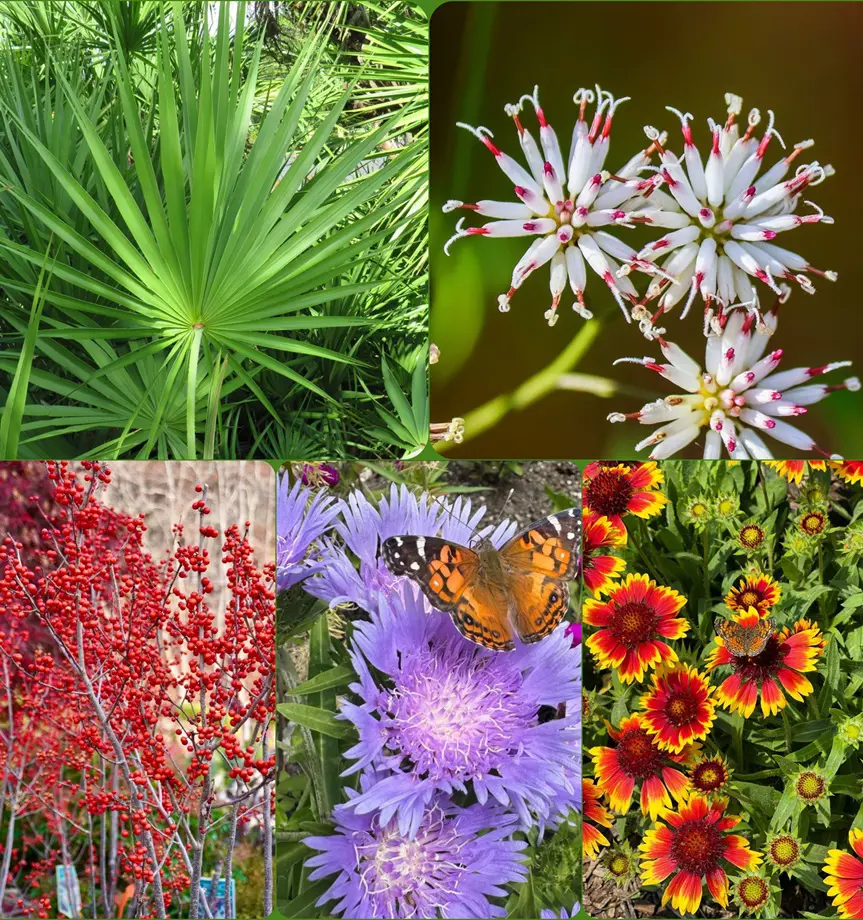
Thick-Petaled Flowers
Fully bloomed flowers like chrysanthemums and dahlias still do not press well because of their thick petals. The petals will mold within a few weeks of pressing.
Large Flowers with High Water Content
You also want to avoid flowers with high water content, like succulents or hydrangeas. They will not dry well and become mushy.
Flowers with High Oil Content
Like high water-content flowers, high oil-content flowers are also unsuitable. The oils will stain the pressed petals and lead to discoloration over time. You should take extra precautions to press flowers like that.
Flowers with Irregular Shapes
Flowers like violas and violets can lose shape and form when pressed because of their irregularly shaped petals.
Bulb Flowers
After growing and caring for tulips, you would want to save them as long as possible. But sadly, many bulb flowers like tulips and irises (except daffodils) are challenging to press.
How To Press Flowers: 4 Methods
Once you have selected the flowers, you are finally ready to learn how to flower press. There are four methods, all of which are discussed below:
The simplest method to press flowers is using a book. It requires a little patience, but it is worth the wait.
What You Need:
Heavy books like an old dictionary, phone book, or novels.
Moisture-absorbing paper like parchment paper, coffee filters, or blotting paper
Heavy weights (dumbbell, hammer, more heavy books, bricks)
Step 1: Prepare flowers
Prepare the flowers for pressing. You can trim excess stems and separate petals until you are happy with the form.
Then, arrange your flowers on a sheet of parchment paper with at least 3/4-inch of space in between. If pressing multiple flowers, use ones with similar thickness.
Step 2: Cover the flowers and close the book
Cover the arranged flowers with parchment paper once you are satisfied. Sandwich the flower inside a book and set a weight on top.
How the pressed flowers turn out will depend on the weights used, so use something heavy. Place the book with the weight in a corner of your house that will be undisturbed.
Step 3: Wait for the flowers to dry
You may need to wait 2 to four weeks for your flowers to be pressed. It depends on the thickness of the flower petals.
Do not move the book, as that will affect the results. Once the flowers are pressed, use a nylon tweezer to handle them. These flowers are delicate and tear easily.
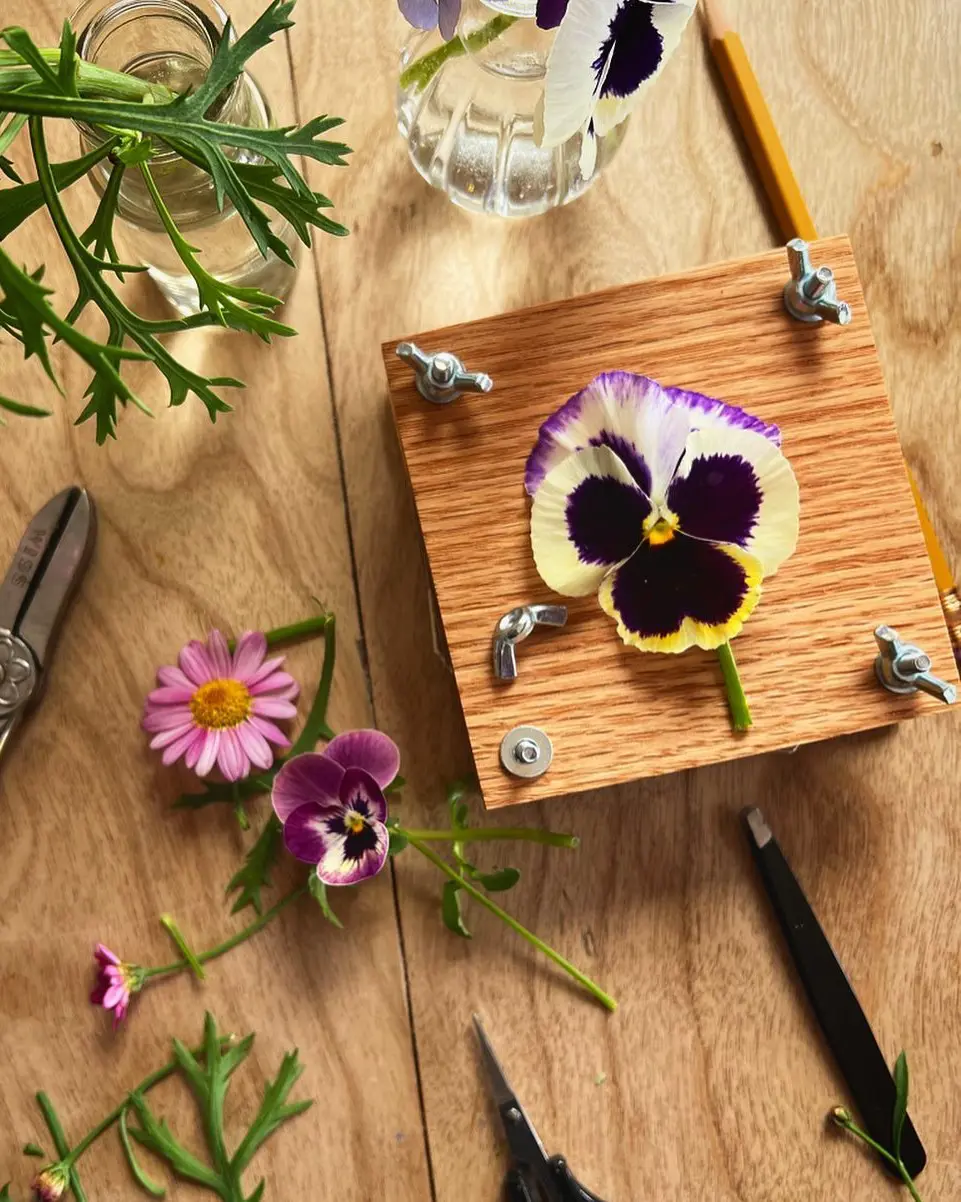
You can also use a wooden press if you have one and don’t want to damage a book.
What You Need:
A wooden press
Moisture-absorbing paper like parchment paper, coffee filters, or blotting paper
Cardboard
Step 1: Arrange flowers in between cardboard and paper
Cut the cardboard to fit inside the bottom half of the wooden press and cut four holes to insert the bolt.
Lay a piece of the paper on top, and arrange the flowers as desired. Cover the flowers with two pieces of paper and a piece of cardboard on either side, followed by the top half of the wooden press.
Step 2: Screw in the bolts, and for flowers to dry
Secure everything with the bolts. The drying time could take 2 to 4 weeks, depending on the flowers.
A wooden press will press the flowers more evenly than the book.
Pressing Flower With Iron
If you are pressed for time and don’t have a microwave, you can iron. It is quick, but the result might not be as pretty as the first two.
What You Need:
An iron
A thin towel
Moisture-absorbing paper like parchment paper, coffee filters, or blotting paper
Step 1: Arrange flowers between paper
Sandwich your flower arrangement between parchment paper. Position them on a hard surface like an ironing board and cover them with a thin towel.
Step 2: Iron on low heat
Iron on low heat without the steam settings for 15 seconds at a time. Let the flowers cool before ironing to prevent scorching the flowers.
Once the petals are partially dry, finish pressing using any previous methods. You can also use this method to press dry flowers.
Pressing Flower With Microwave
The microwave is your best option if you want to press flowers to frame them. It is also ideal when you want results quickly.
What You Need:
A microwave
A thin cloth made of microwave-safe material like cotton, flannel, linen, and wool
Step 1: Place flowers on the inner lining
Arrange your flowers on the towel as you desire.
Step 2: Microwave flowers for an initial burst
Microwave the flowers for 25 seconds and let the flowers cool.
Step 3: Continue microwaving in short bursts
After that, microwave for 10 seconds and let it cool. Repeat this process until you are satisfied with the texture of the flowers.
Avoid scorching it by giving the flowers enough time to cool, or you can microwave for shorter bursts, like 5 seconds.
Step 4: Remove flowers from the towel.
Remove the flowers from the towel using a nylon tweezer, as the petals may stick to the towel. You can loosen the flowers by stretching the towel in the opposite direction.
Best Way to Press Flowers
Fresh flowers should ideally be pressed by using the book method. The color and texture of the flowers turn out beautiful. In terms of convenience, microwaving is the best.
Care for Pressed Flowers
After pressing flowers and storing or using them, you should provide continuous care to them, for them to maintain their beauty and attractiveness. We have listed some ways for you to care for your pressed flowers:
Handle Gently
While handling pressed flowers, you should avoid damaging their petals. Clean, dry hands or tweezers should be used to position the flowers and you should strictly avoid using pressure or bending them.
Avoid Humidity
Place the pressed flowers away from damp and humid locations such as bathrooms or basements, as overhydration can weaken them or make them moldy. You should keep it dry for a long period of time so that it keeps looking nice.
Protect from Light
Make sure to keep pressed flowers away from bright sunlight because it can make their colors fade and look less pretty. Store them in a dark place, like a drawer or a shaded shelf, to help them stay colorful and nice for a long time. This way, they’ll look just as beautiful as when you first pressed them!
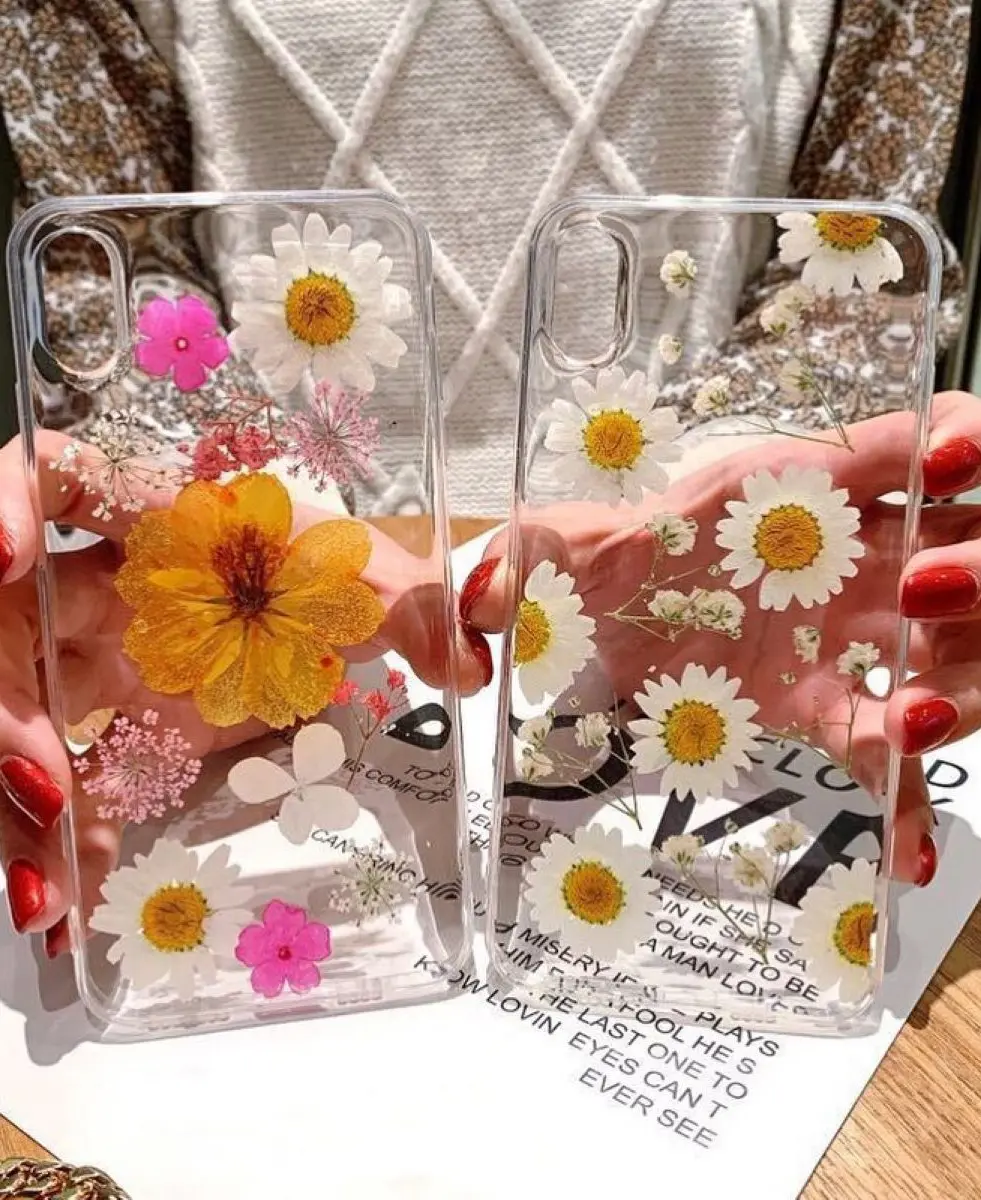
Most people decorate with pressed flowers, but there are other creative uses of your pressed flowers, like an iPhone case.
Making these cases can be a fun DIY project and save you a few dollars. A DIY-pressed flower iPhone case is really a fun project.
Gift Wrapping
If you want to show that you care for the person you are gifting, go the extra mile by making a beautiful pressed-flower gift wrap.
Most people only put their efforts into the gift, not the wrapping. You don’t have to do anything except glue your dried flowers on a classic brown craft paper and wrap your gift with it. Finish off with ribbons or colorful string.
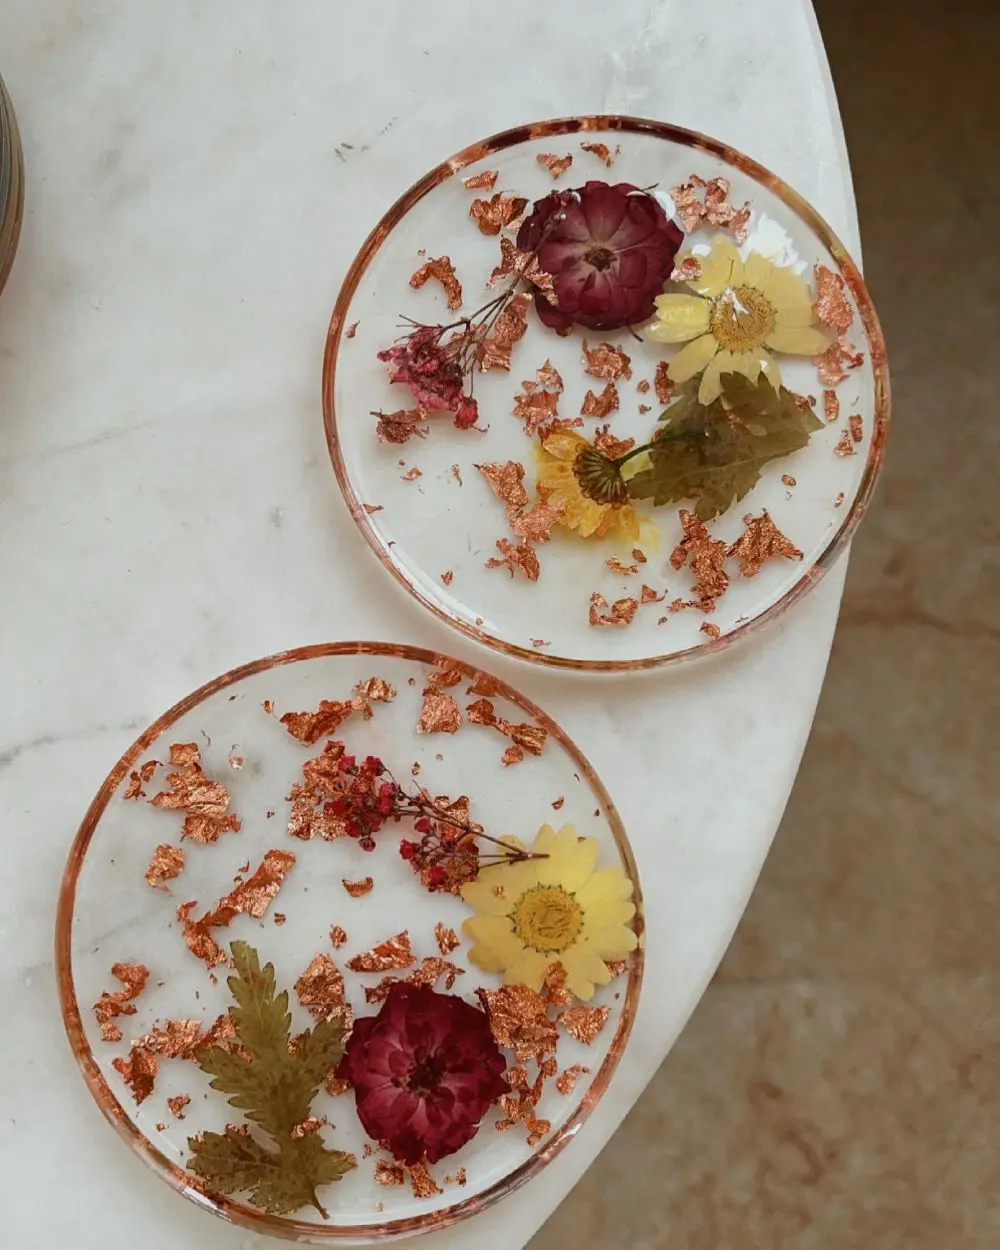
No one pays attention to coasters unless they are beautiful and unique. Coasters decorated with pressed flowers would make great conversation starters. You can make a set with neatly round polished wood, pressed flowers, and clear epoxy resin. There are tons of tutorials online.
Jewelry
Beautiful pressed flower crafts are like an achievement, and if you want to show that off, make them into jewelry. You can make necklaces, rings, earrings, or bracelets and wear them to work or out with friends.
You might even receive a compliment or two and imagine their surprise if you told them you made it yourself. All you need is clay mold, epoxy resin, and pressed flowers.
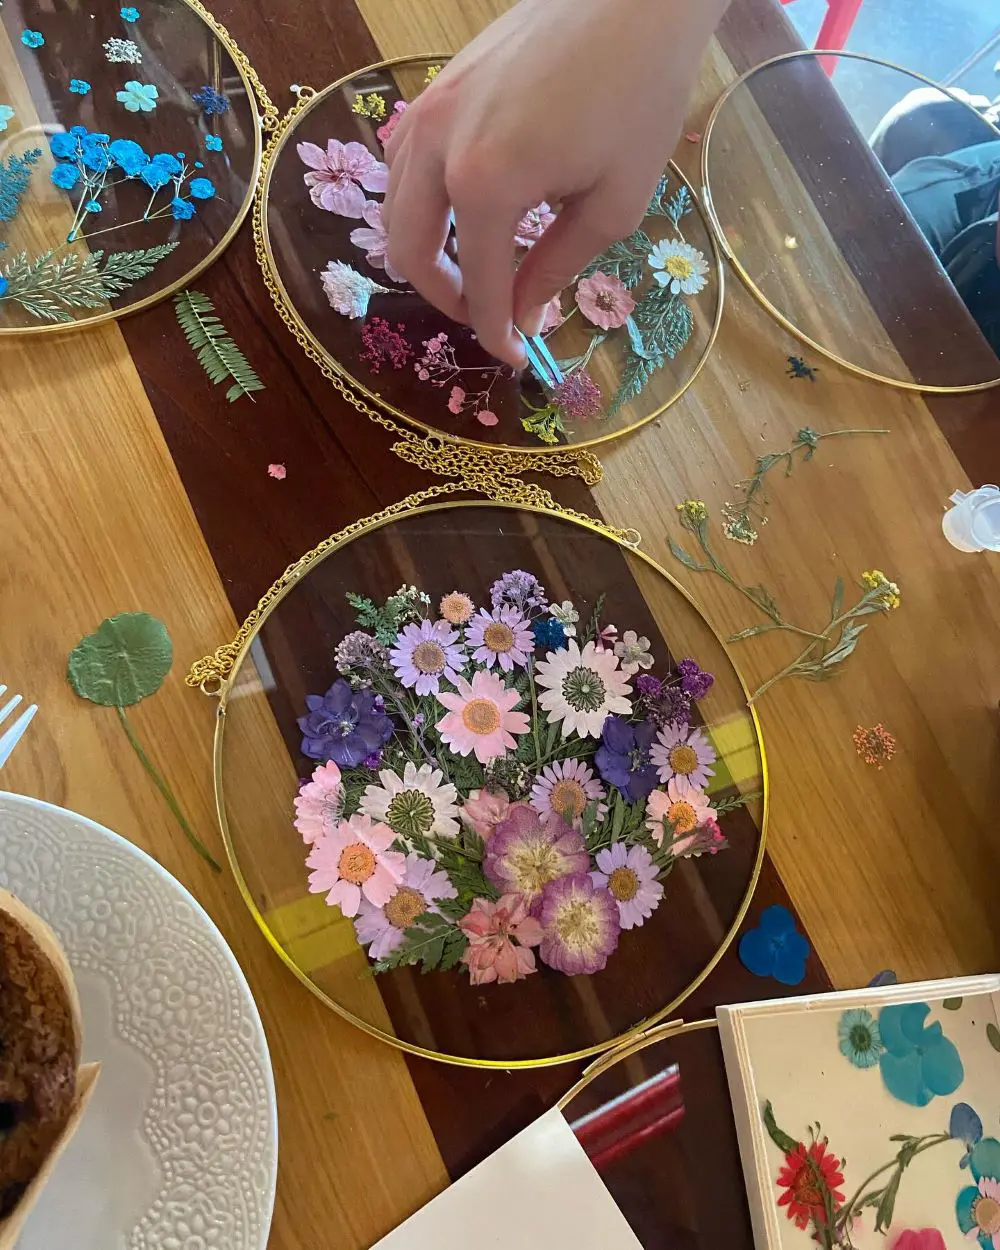
Frames
The easiest and simplest thing you can make with your pressed flowers is probably decorative frames.
You can hang them around your home or gift them to your loved ones. After all, everyone loves handmade gifts.
But if we want something more exciting than decorative frames, you can make sun catchers with pressed flowers.
It might sound intimidating, but this is so easy to make that you can let your children in on this fun DIY project. Just be careful, as one of the steps requires a hot iron. To learn more about this craft, you can watch videos online.
Benefits of Pressed Flowers
Pressed flowers are often used for various purposes, which we have listed below:
Preservation
Pressing flowers is a great way to preserve their beauty. It keeps their colors vivid and shapes intact. You can enjoy them for a long time. You also prevent the flowers from damaging or decaying.
Crafting
Pressed flowers are used for a plethora of creative crafts. They are generally used to create handmade bookmarks, original greeting cards, and exquisitely framed artwork highlighting the blossoms' inherent beauty.
Additionally, pressed flowers can be used in do-it-yourself crafts like making attractive magnets or resin coasters. Their subtle hues and patterns provide handmade goods with a unique finishing touch that imbues each with individual charm.
Educational Purpose
Pressing flowers offers a practical approach to learning about the features and structures of plants, which is educational. It enables learners and lovers to study morphology details, petal arrangement, and leaf structure of various flowers.
In botanical studies, pressed flowers are used to compare species, see variances, and comprehend the growth of plants. They also provide a tactile and visual way to learn about the diversity of plants and how environmental factors affect plant growth. This method contributes to a better comprehension and appreciation of plant biology.