Gardening

How To Make A Bouquet In 12 Steps

Source : instagram

Whether it's Mother’s Day, Valentine’s Day, or a wedding, a bouquet is an elegant centerpiece that will liven up any space. It might be expensive to get the best floral arrangements, but with some time and practice even you can make a beautiful DIY bouquet.

Making bouquet yourself not only saves you money but also allows you to customize it to your vision. So, how to make bouquets? Making a bouquet is no simple task, follow the steps given below.

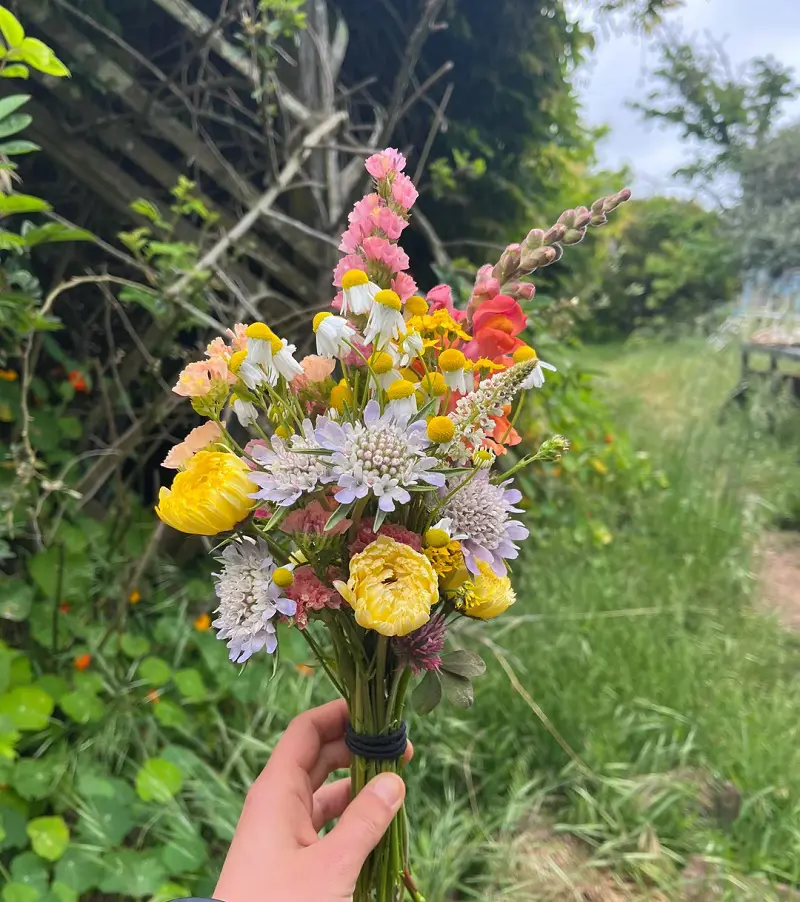
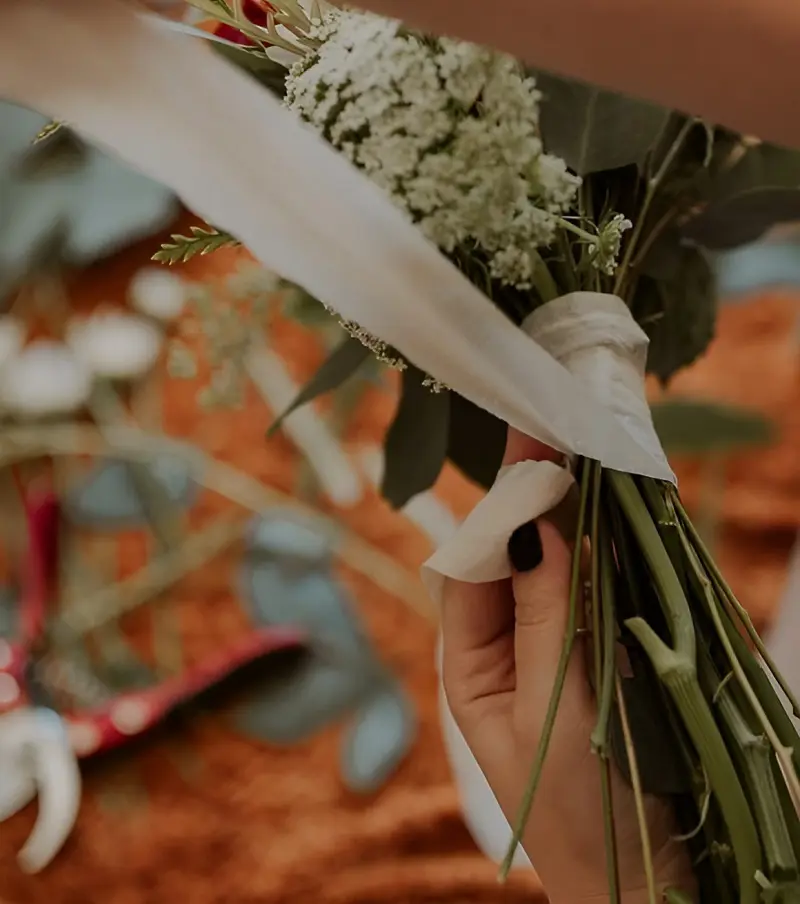
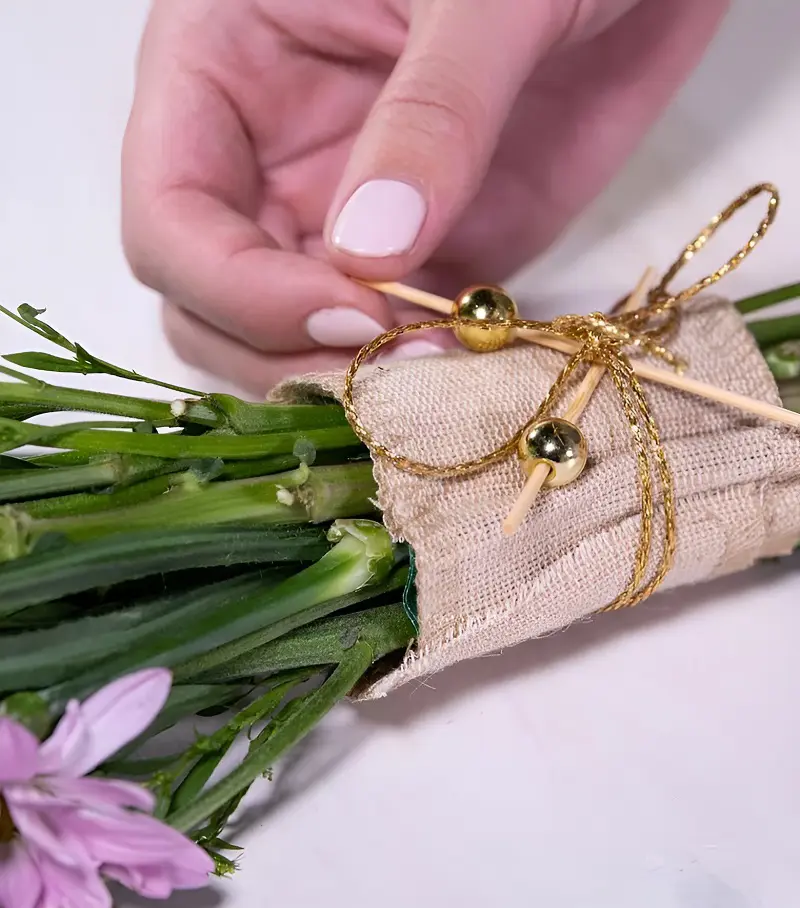
1. Determine Your Style

Source : blogspot

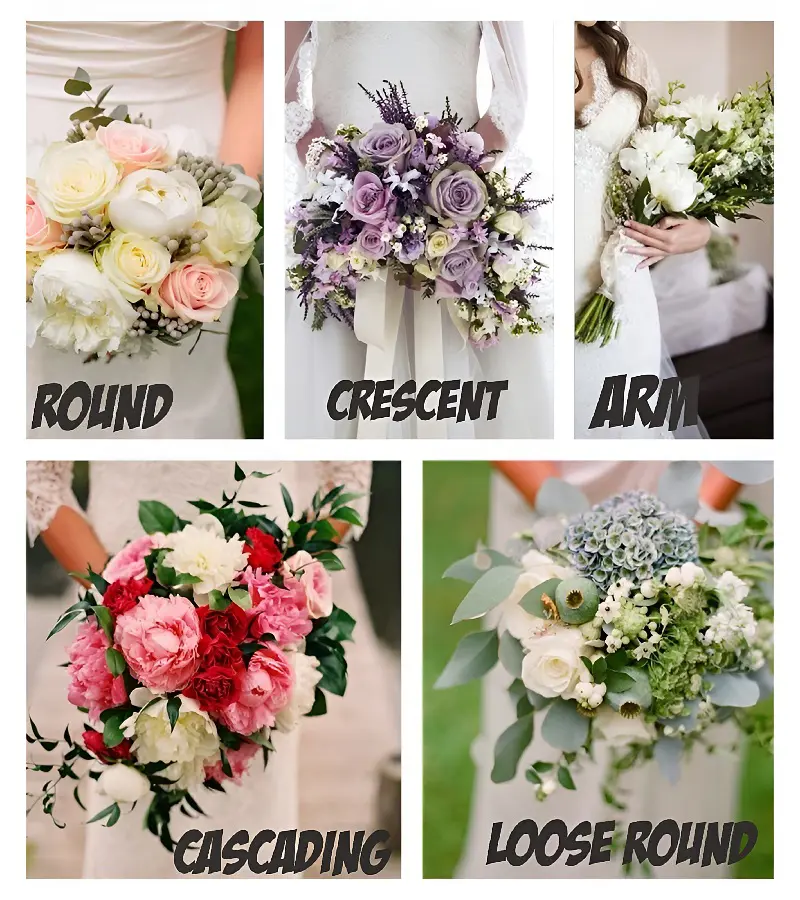
Depending on the occasion, you will have to change the style of the bouquet. You can't begin your journey without actually knowing what you want. There are various styles and themes you can choose from. You could play it safe and stick to a classic bouquet or try out basket and cascading bouquets. 

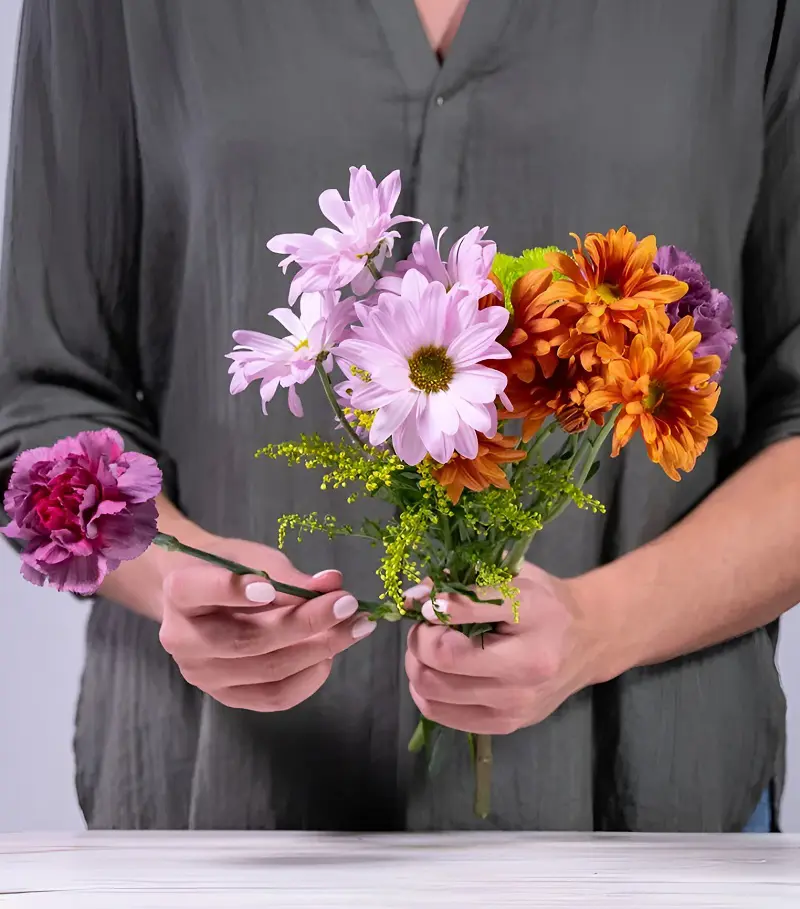
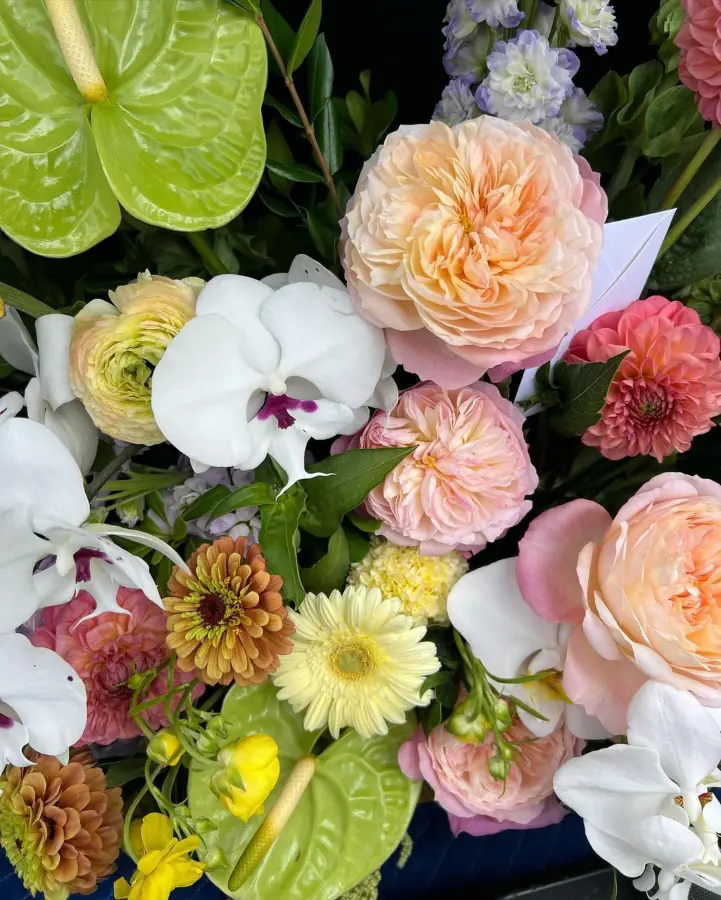
Since you're only starting, we recommend sticking with a simple modern design that doesn't use more than three varieties of flowers with little to no greenery but be sure to select texturally interesting flowers.
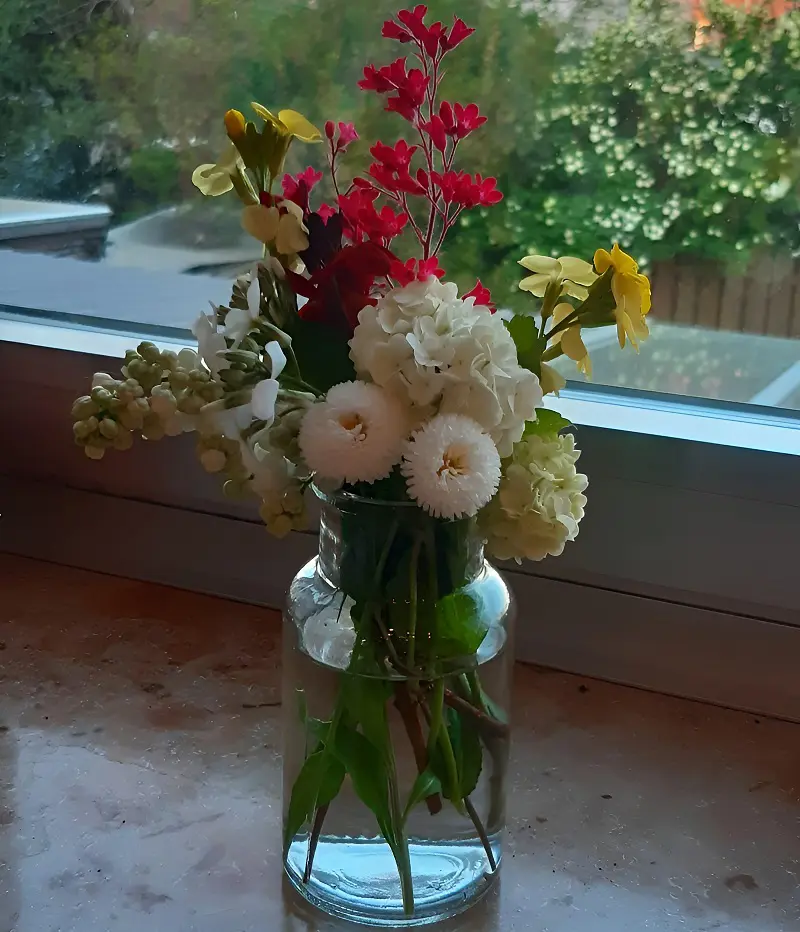
Color Scheme

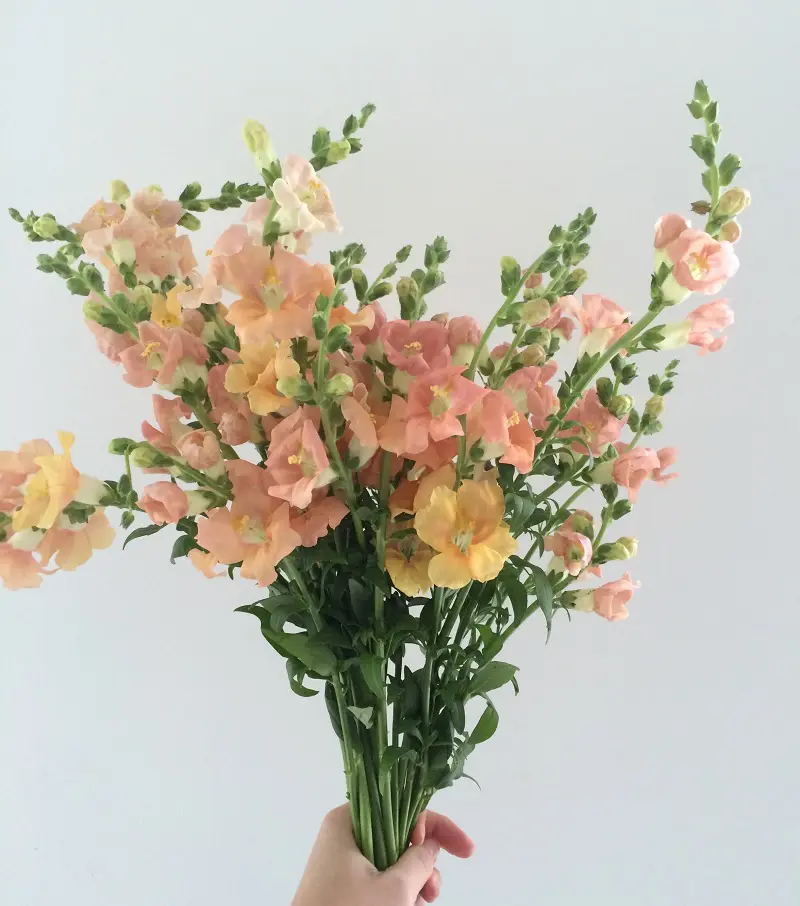
Often the best way to design the bouquet is to pair the bouquet with the theme or color scheme of your home or event venue as reference. Some common theme mood boards designed by professionals include autumn, cottage gardens, exotic tropics, pink or purple weddings, rustic, and more.   

Choose the seasonal flowers that complement where the bouquet will be as well as the colors of the flowers within the bouquet.
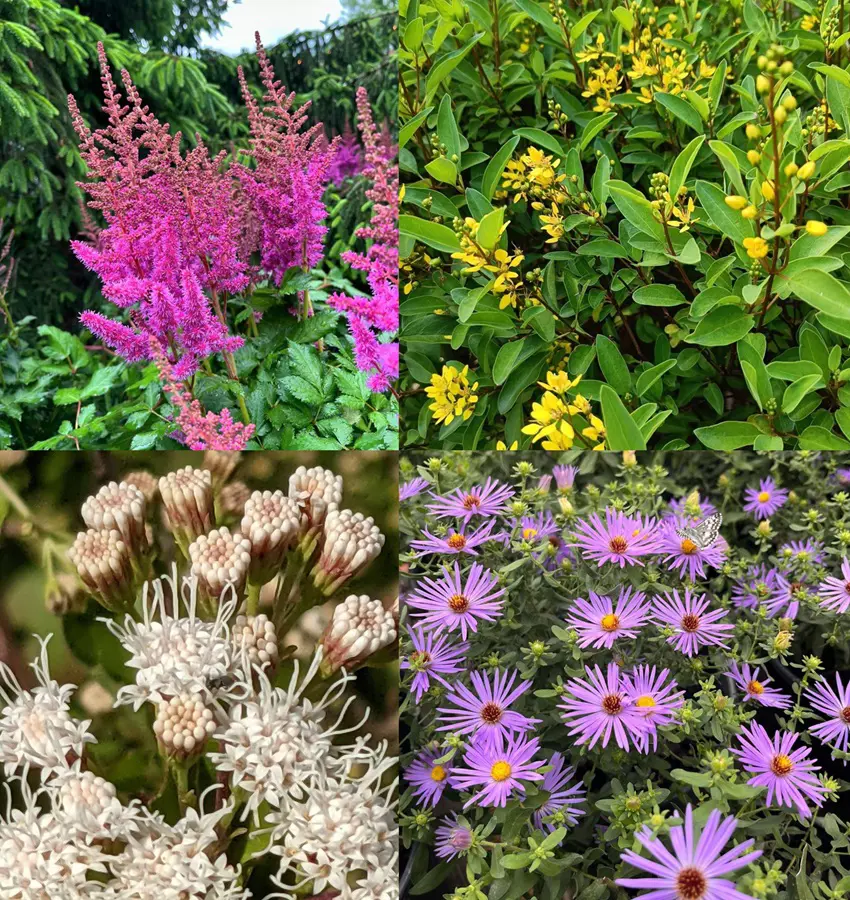
Check The Season

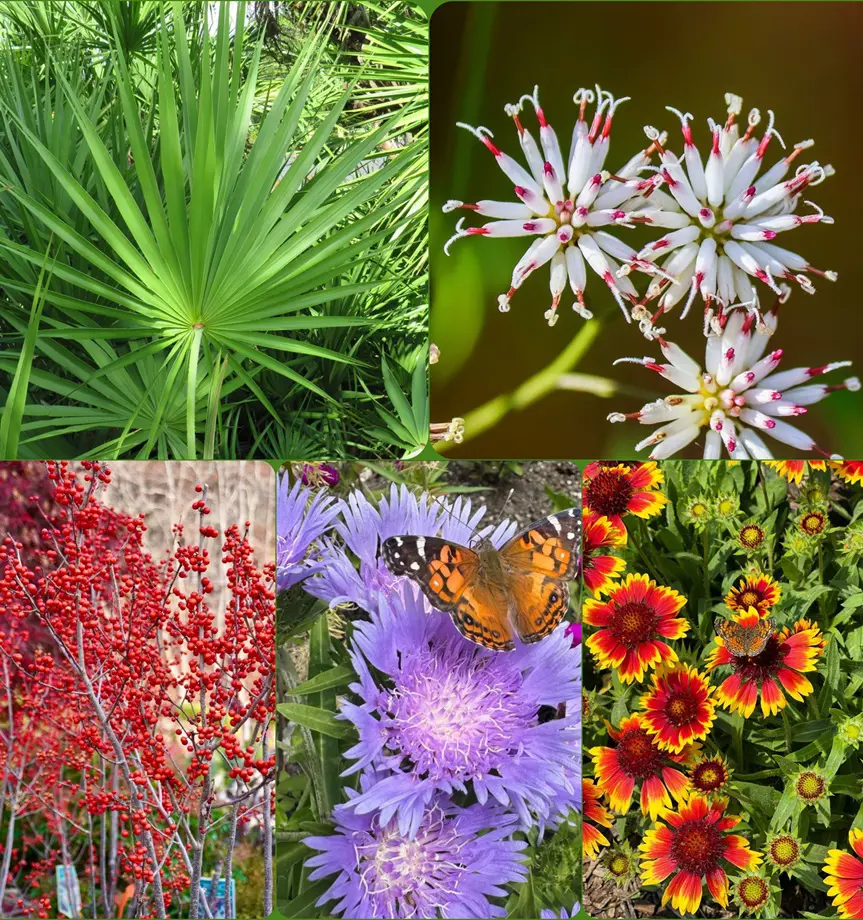
Another reason to get easily overwhelmed is the sheer variety of blooms available to you thanks to greenhouses and global shipping. If you only look at seasonal flowers, suddenly the total amount of blooms available to you will shrink drastically and make it easier for you to decide.

The reduction in choices isn't a bad thing as the blooms will be fresher and more affordable. Don't worry about not being able to find the appropriate colors for your bouquet to pair with the venue because hydrangeas are grown year-round and come in all shades of color.

2. Source Fresh Blooms

Source : reddit

This step cannot be understated. Make sure all the flowers that you have sourced for your bouquet are fresh and in season. Seasonal blooms will be fresher and cheaper to purchase while their freshness ensures that they are rigid and easy to work while being full of fragrance.

We recommend taking a look at your own, a friend's, or a family member's garden before turning to local farms or grocery stores since they are guaranteed to be the freshest and cheapest. As a last resort, you may choose to order flowers online in bulk. 

Stem Count

Here are some things to remember while ordering the total flower stems for your bouquets. On average, a bride's bouquet contains around 25-30 flower stems and a bridesmaid's bouquet contains 12-15 stems. Standard buttonholes contain 1-3 stems while standard corsages contain 2-6 stems. 

Additionally, don't forget to order flowers to decorate pedestals, table tops, wedding table centers, pew ends, and thank-you bouquets. Stems for these bouquets generally range from 25-45 as per the desires of the bride.

Greenery

Also, consider purchasing some smaller flowers and accent greenery which can add contrast and greatly improve your floral design. Greenery gives it a more natural aesthetic and adds the life-like illusion of the flowers still being alive.

Some accenting flowers and greenery that are used by professionals, and recommended by our experts are baby’s breath, myrtle, wax flowers, eucalyptus, and more.

3. Materials For Making Bouquet

Source : pinkandperfectflorists

Once you have decided on your blooms, there are a variety of tools that you will require to make a stunning bouquet. So make sure to have these on hand before making bouquet:

Pruners

The flower stems need to be de-thorned and their length trimmed before they can be used in a bouquet. Make sure to have a clean sharp pair of pruners to cleanly cut the stems before arranging the flowers together.

Alternatively, you may cut the stems once all the flowers have been arranged. This might be a bit tedious so choose the method that works best for you.

Floral Snips

Sometimes the flowers might look unsightly due to being unbalanced or asymmetric. Instead of throwing out an entire flower, you can make use of floral snips to trim the edges of the blooms to give them a more balanced symmetric look.

Bucket With Water

Until the bouquet is finished, it's best to put the flowers in a bucket filled with water to ensure that they last for as long as possible. You don't want your flowers to wilt before they get the chance to shine in the event venue or festive occasion. 

Rubber bands

Once the bloom arrangement work is complete, the blooms have to be held securely in place with a tight rubber band. Having to let go of your hand and lose your arrangement process only because you forgot to have any rubber bands is a common beginner mistake that you can avoid.

Floral Tape  

Rubber bands look unseemingly in your bouquet, who would have thought? Make use of floral tape or ribbons to hide the rubber bands so it doesn't detract from the beautifully crafted flower arrangement that you have made.

4. Choose The Best Flowers

Source : bestofthislife

Especially if are wondering "How do I make a bridal bouquet", it can be overwhelming because of the pressures involved and needing to make it memorable. Take it slow and easy with the basics. A beautiful bouquet obviously starts with the right flowers. If you are overwhelmed and paralyzed from having too many options, follow these tips.

Choose Hardy Flowers

You are going to want to make sure that your flowers look as fresh as possible, especially for a bouquet wedding DIY. A trade secret to achieve this is to use strong and durable hearty flowers like daisies, roses, and chrysanthemums.

They will not only look stronger but despite being carried around all day, they will still retain their shape and structure all the while making the special day extra memorable. 

Prioritize The Focals

Since the star of the bouquet is the focal flower, start with the best-looking focal flowers. Furthermore, if you have more than one type of focal blooms ensure that the focal flowers don't detract from each other but rather add to the overall build.

Select the two flowers and put them together, Some things just can't be noted in advance, thus the best thing for you to do is pair your focal flowers together and take a good look at them. Don't rush the process. It will be too late to change your mind once you have already purchased the flowers.

5. Prepare The Flowers

Source : ftd

Before you dive any further with the bouquet construction, you'll want to make sure all the flower stems are prepared and ready. It saves a lot of work later. Using pruners, snip off all the leaves from the stems, the bouquet doesn't need this type of green.

Afterward, cut off the stems by half their length, after all bouquets don't need to be long. Make sure to snip the bottom of the stem at a 45-degree angle then keep them in a bucket of water while you're doing the assembling. 

De-Thorning

Many beautiful flowers also have the unfortunate misery of coming with thorns such as roses, bougainvillea, hawthorn, quince, and holly. To be able to work with them properly, you certainly will also want to trim off all the thorns in advance so you don't get hurt. 

Thorns also interfere with banding the stems together as well with the floral tapes. Furthermore, a thorny bouquet will also cause annoyance for the bride and the bridesmaids. 

Preserving The Flowers

Most fresh bouquets are made just before the wedding thus placing them in a jar of water is enough to preserve them. However, if you working with exotic tropical blooms, make sure to take into account your current climate and the flower's natural habitat. 

You don't want them to wilt during the big day so you might want to research the best preservation techniques for your flowers such as drying in silica or painting with wax during the preparation stage so they stay vibrant for as long as necessary.

6. Start With Focal Flowers

Source : ftd

Once you have prepared all the stems, flowers, and greenery, you are finally ready to challenge the herculean task of assembling the bouquet. Luckily, you're not alone like Hercules and we have some tips for you which is sure to reduce this task from the labors of Hercules to the leisure of Hercules.

Build The Framework

So, how to make a bouquet for a wedding? Making a bouquet starts with the focal flowers. Gather your focal blooms, these will act as your bouquet framework. Normally, a bridal bouquet might have the rule of having odd blooms such as having either 3 or 5 of certain blooms. 

Don't feel pressured to stick to traditions and consider breaking the mold by exceeding 5 or going even number of blooms. Whilst building the framework, think about dimensions as well. Some bouquets are conical while others are cascading. 

Make Use Of Mirrors

To ensure that the bouquets look exactly as you intended for them to do, our expert suggests standing in front of a mirror while holding the half-assembled bouquet from time to time so you’ll be able to know exactly what it looks like in the front. 

Sometimes the angle isn't right, the flower doesn't pair, or isn't symmetric enough which might not be noticed when you lose yourself in work. A mirrored bouquet can certainly help with this.

7. Add Filler Flowers

Source : teamflower

Once you are satisfied with the framework of your bouquet, it's time to add in the smaller filler flowers. Remember that a bridal bouquet typically consists of 25-30 flower stems? So far we've only used 2-5 of those stems so the majority of those stems will come from these fillers.

Once you've added all the fillers, it's time to add even more volume by using greenery. This is optional but the additional sprigs and green foliage give the bouquet additional dimension. 

Create A Spiral Effect

As you build onto the bouquet with the filler flowers, consider placing the stems in the same direction. You can do this by continuously turning the bouquet and adding additional stems until the bouquet arrangement satisfies you and is the desired size. 

Doing this creates a spiral effect, which is also an additional trick used by professionals to add an extra flair to bouquets. Also, make sure to leave 4-5 inches of exposed stems at the base to be able to place them in water before use. 

8. Don't Rush

Source : masterclass

This cannot be understated enough. Do. Not. Rush. Most people as they go on about making a bouquet, start overstressing themselves as they work on arranging the flowers. This can impair their judgment and thinking and ultimately impact their work. 

You might have an additional 12 bridesmaid bouquets to make but once you have a bridal bouquet that satisfies you, the accompanying bouquets are essentially just smaller versions so you can take it easy once you have a solid template.

Redo The Bouquet

If something isn't right or satisfactory with the bouquet, don't be afraid to undo the bouquet and start all over again. Remember, it's about the process just as it's about the results. Just take a deep breath and learn the entire process which eventually ends up with you creating something beautiful with your hands.

Also, the flowers are more resilient than you think, so despite being the center statement of beauty's fragility the flowers definitely handle you undoing and redoing the bouquets so there's no need to fear damaging your blooms. 

9. Cut Stems Evenly

Source : ftd

Next, once you have finished arranging the entire bouquet, complete with filler blooms and greenery. If you already haven't done so during the preparation stage, cut off all the leaves and any extra foliage near the part of the stem where you’ll be tying the bouquet.

Tying the bouquet will not only secure the bouquet but will also act as the handle.  So having a handle that is more comfortable to carry isn't a mere trifle and certainly isn't something that should be ignored. 

10. Secure The Bouquet

Source : blacksaltphotos

Once the bouquet is fully constructed and ready to be secured after trimming the stems, wrap the entire bouquet with a rubber band to secure them. Make sure the bands are secure and won't be undone. Alternatively, you can also make use of floral wire, tape, or hot glue instead of just bands.

Also, make sure to wrap the wires right underneath the flower heads to prevent the bouquet from separating. Lastly, use an unassuming floral tape that matches the flowers, hide the wires and rubber bands.

11. Decorate Bouquet Handle

Source : ftd

You're almost done now. All the hard work is over, and it's time for a fun part. Personalize your bouquet by embellishing it with ribbons or decorative wraps for a nice touch. Make sure to keep the ribbon parallel with the floral tape, and leave enough space at the bottom to be able to hold it.

You can also choose to hide the floral tape underneath with this decorative veneer. If you prefer the ribbons to be more secure, use hot glue to pin it in place.

12. Storing The Bouquet

Source : reddit

Place the finished bouquet in a vase filled with fresh water to keep your blooms looking the same on the event day as they currently are. Depending on the decorative handle finishing touches that you may want to add, it may be better to place the bouquet in water without the decorations.

Avoid storing the bouquet vase in direct sunlight it will cause the petals to wilt. Instead, store it in a cool and dark space like a refrigerator. 

DIY Flower Food

If the event is quite a few days away, you can also consider keeping your blooms fresher for longer by creating your DIY flower food. Simply, mix a teaspoon of sugar with a few drops of bleach into a quart (0.95 liters) of water.

This DIY solution will prevent bacterial growth while nourishing your flowers to ensure an extended lifespan of your flowers so they won't wilt before the big event.