
Vanilla beans are the fruit of the Vanilla orchid, a tropical plant that requires a specific environment and care to thrive. Growing vanilla beans at home can be challenging but rewarding, offering the chance to produce your own supply of this aromatic spice.
This guide will take you through everything you need to know about growing and caring for vanilla beans.
Introduction to Vanilla Beans
Vanilla beans are produced by orchids of the genus Vanilla, with Vanilla planifolia being the most commonly cultivated species for commercial vanilla production.
The vanilla orchid is native to tropical regions of Mexico, but it is now grown in various tropical areas around the world, including Madagascar, Tahiti, and Indonesia.
Vanilla beans are highly valued for their flavor, which comes from the compound vanillin. The cultivation of vanilla beans is labor-intensive and time-consuming, contributing to their status as one of the most expensive spices in the world.
Understanding the Vanilla Orchid
Before diving into the cultivation process, it's essential to understand the vanilla orchid's natural habitat and growth habits.
Natural Habitat
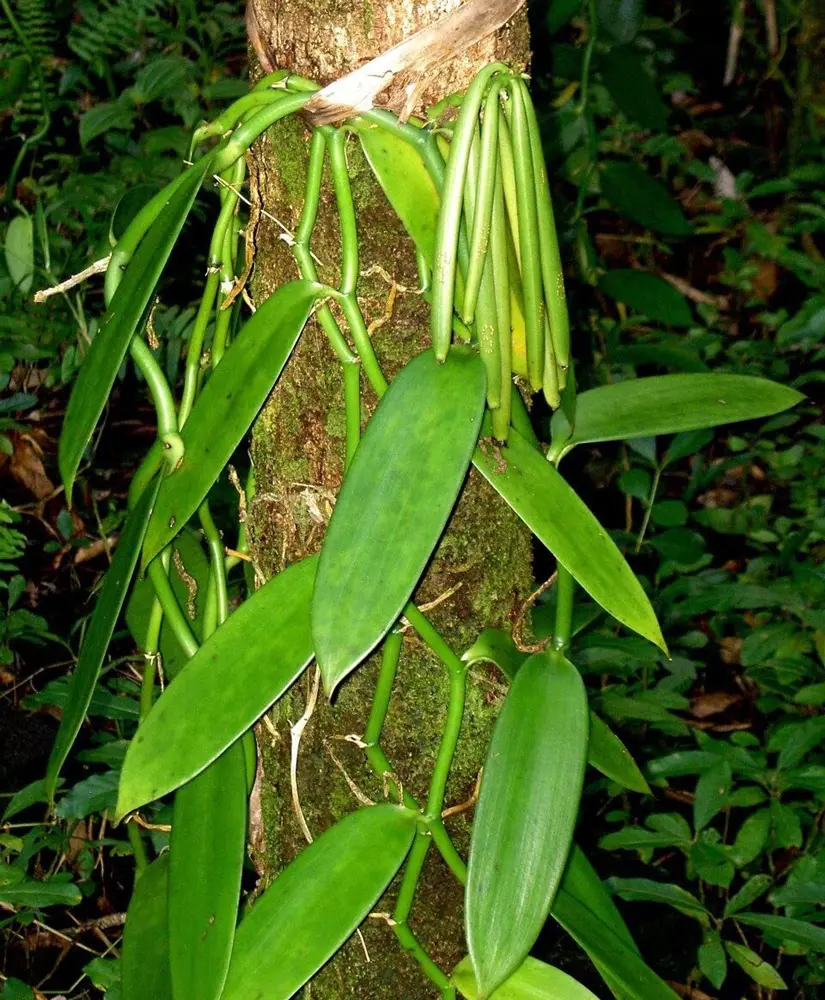
Vanilla orchids thrive in tropical climates with high humidity and consistent warm temperatures. They are typically found in rainforests, growing as climbing vines that use trees for support.
Growth Habits
Vanilla orchids are epiphytic, meaning they grow on other plants rather than in soil. They have long, fleshy vines and aerial roots that absorb moisture and nutrients from the air and their host plant. The orchid produces clusters of small, greenish-yellow flowers that must be hand-pollinated to produce vanilla beans.
Step-by-Step Guide On Growing Vanilla Beans
Growing vanilla beans at home requires creating an environment that mimics their natural habitat. Here are the steps to successfully cultivate vanilla orchids.
1. Acquiring Vanilla Orchid Cuttings
The first step is to obtain healthy vanilla orchid cuttings. These can often be purchased from specialty nurseries or online plant stores. Look for cuttings that are at least 12 inches long with several nodes, as these will have the best chance of establishing roots and growing into healthy plants.
2. Preparing the Growing Environment
Vanilla orchids need a warm, humid environment with plenty of indirect sunlight. Here’s how to create an ideal growing environment:
Temperature and Humidity
- Temperature: Vanilla orchids prefer temperatures between 75-85°F (24-29°C) during the day and no lower than 60°F (15°C) at night.
- Humidity: Maintain high humidity levels around 80%. You can achieve this by misting the plants regularly or using a humidifier.
Light
- Lighting: Provide bright, indirect light. Avoid direct sunlight, which can scorch the leaves. A south or east-facing window with filtered light is ideal, or use grow lights if natural light is insufficient.
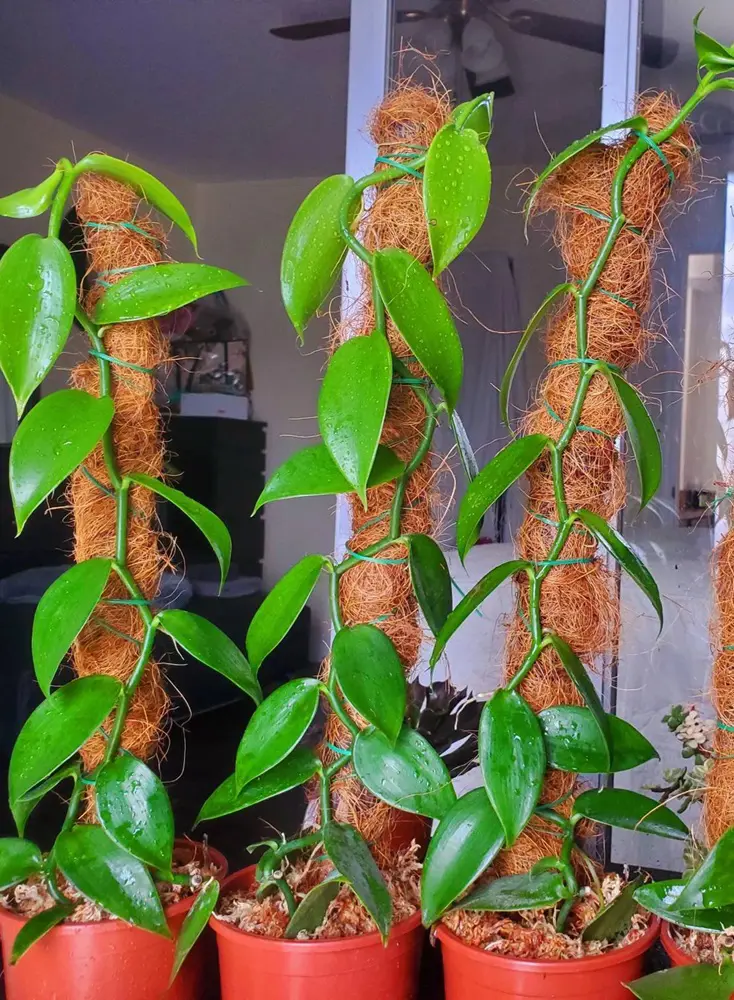
3. Potting and Support
Vanilla orchids need a support structure to climb. Here’s how to pot and support your orchid:
- Potting Mix: Use a well-draining, orchid-specific potting mix. A mix of pine bark, sphagnum moss, and perlite works well.
- Support: Provide a trellis, stake, or other structure for the vine to climb. As the orchid grows, tie the vine loosely to the support to help it climb.
4. Planting the Cuttings
- Planting: Place the cutting in the potting mix with a few nodes buried and the rest above the soil line. Firmly press the soil around the base to support the cutting.
- Watering: Water the cutting lightly, ensuring the potting mix is moist but not waterlogged. Vanilla orchids are susceptible to root rot, so proper drainage is crucial.
How To Care For Vanilla Orchid?
Once your vanilla orchid is planted, ongoing care is essential for its growth and eventual bean production.
Watering
Frequency:
Vanilla orchids need consistent moisture but should not be waterlogged. Check the top inch of the potting mix and water the plant when it feels dry, typically every 2-3 days. This can vary based on factors like humidity, temperature, and the plant's specific environment.
Method:
Water the plant thoroughly, ensuring the water drains out from the bottom of the pot. This helps to avoid root rot by preventing the roots from sitting in stagnant water. Remember to empty the drainage tray after watering to avoid standing water, which can lead to fungal issues. Using room-temperature water is ideal, as it prevents shocking the roots.
Fertilizer
Use a balanced orchid fertilizer, diluted to half the recommended strength, to provide essential nutrients without over-fertilizing. Feed your vanilla orchid every 2-4 weeks during its growing season (spring and summer).
As the plant enters its dormant phase in the fall and winter, reduce the feeding frequency to avoid stressing the plant. A high-phosphorus fertilizer can be beneficial during the flowering phase to support bloom development.
Pruning
Regular pruning is crucial for managing the size of your vanilla orchid and promoting healthy growth. Prune the vine after it has flowered, removing any spent flowers. This encourages new growth and branching, which can lead to more flower spikes and potentially more beans.
Additionally, pruning helps to maintain a manageable size for indoor growth and supports the plant's overall health. Always use sterilized pruning shears to prevent the spread of diseases.
Pollination
Vanilla orchids need to be hand-pollinated to produce beans, as their natural pollinators, specific species of bees, are not present outside their native habitat.
Pollination Process
- Timing: Pollinate the flowers in the morning, within 12 hours of blooming, as they are receptive for only a short period. The flowers usually open in the early morning and last only one day, so timely action is crucial.
- Method: Use a toothpick, small brush, or even a slender bamboo skewer to transfer pollen from the anther (male part) to the stigma (female part) of the flower. First, gently lift the rostellum (a small flap separating the anther and stigma) to expose the anther and stigma. Then, carefully transfer the pollen to the stigma. Be gentle to avoid damaging the delicate flowers.
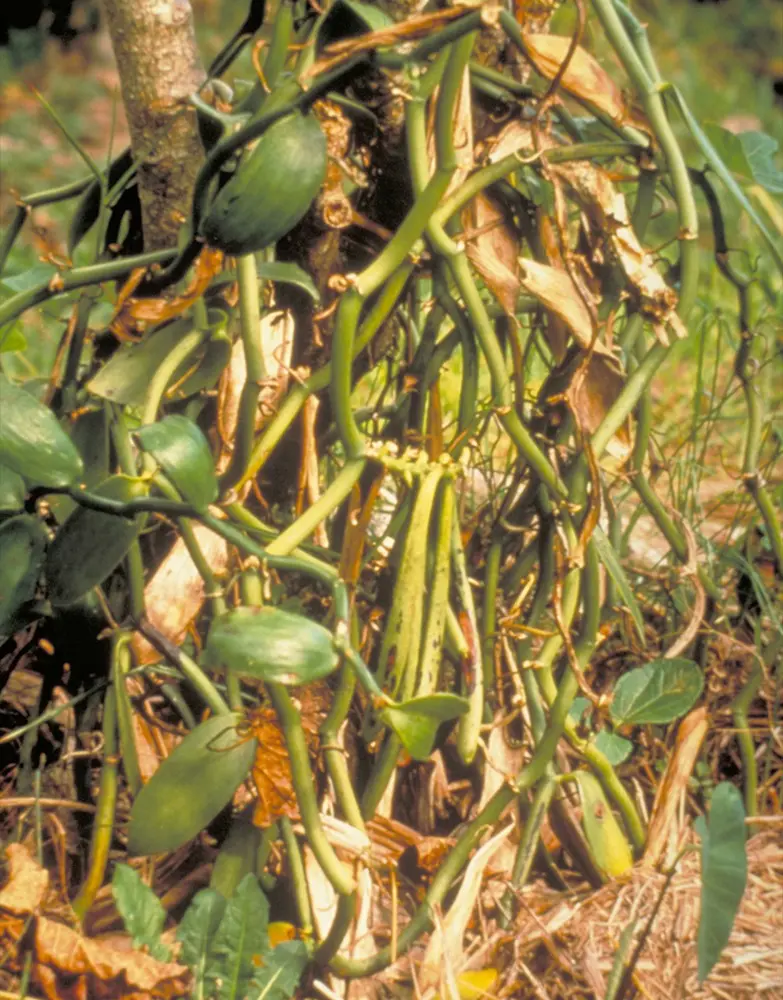
Harvesting Vanilla Beans
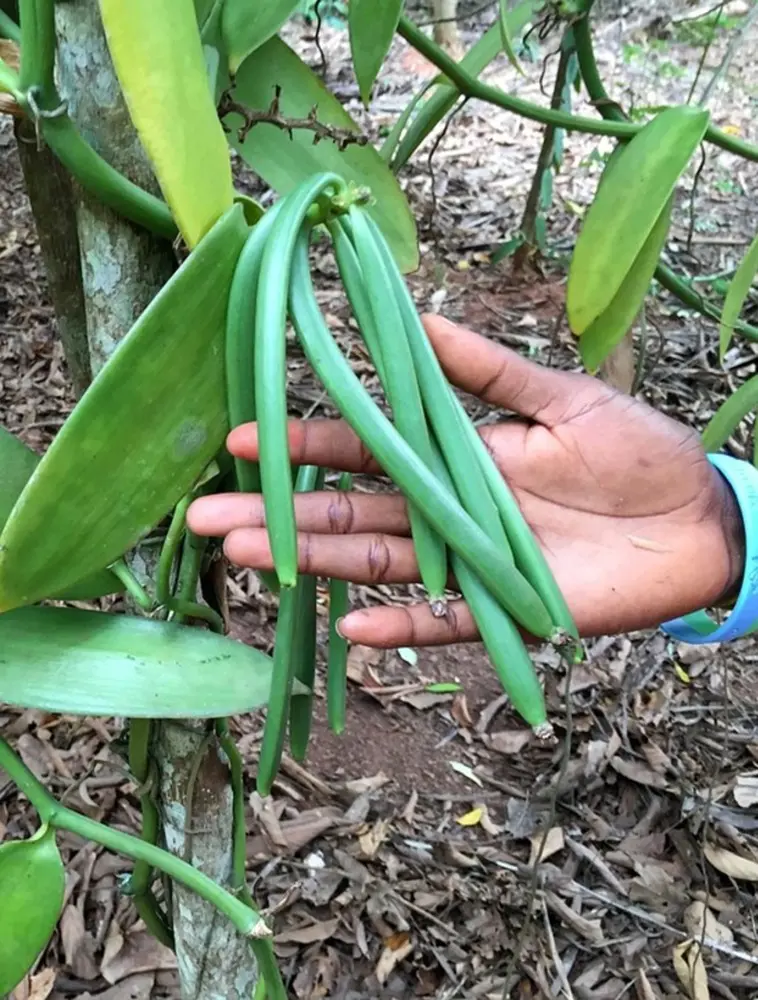
After successful pollination, vanilla beans take about nine months to mature. During this period, they will grow in length and change color from green to yellow-green when they are ready for harvest.
Harvesting
Cut the beans from the vine when they begin to turn yellow at the tips. It is essential to avoid harvesting too early, as premature beans will not have fully developed their flavor. Overripe beans, on the other hand, may split, making them less desirable for curing.
Curing Vanilla Beans
Curing vanilla beans is a crucial process that develops their complex flavor profile. This process involves several steps:
Step 1: Killing
- Begin by placing the freshly harvested beans in hot water at about 160°F (70°C) for a few minutes. This step stops the beans' growth and initiates the enzymatic reactions necessary for developing flavor.
Step 2: Sweating
- After blanching, wrap the beans in a thick blanket or cloth and place them in a warm, dark place with a temperature around 115°F (45°C) for 36-48 hours. This step helps to break down the plant tissues and enhances the development of the beans' characteristic flavor and aroma.
Step 3: Drying
- Lay the beans out in the sun during the day for several weeks, turning them regularly to ensure even drying. The beans should be leathery and dry but not brittle. At night, bring them indoors to prevent moisture absorption, which can lead to mold growth.
Step 4: Conditioning
- Store the dried beans in an airtight container for several months. This step allows the flavor to further develop and mature. During this period, check the beans regularly for mold. If mold appears, it can be wiped off with a cloth dipped in alcohol. The beans should be supple and dark brown when fully conditioned.
Disease And Pest Control
Vanilla orchids, like other plants, are susceptible to various diseases and pests that can impact their health and productivity. Here are the most common issues and how to deal with them:
Diseases
-
Root Rot: Caused by overwatering and poor drainage, root rot leads to decayed, mushy roots and yellowing leaves.
- Prevention/Treatment: Ensure proper drainage and avoid waterlogging by using a well-draining potting mix. Water the plant only when the top inch of the soil is dry. If root rot occurs, trim away the affected roots and repot the plant in fresh mix.
-
Anthracnose: This fungal disease causes dark, sunken lesions on leaves and stems.
- Prevention/Treatment: Improve air circulation around the plant, avoid overhead watering, and remove and destroy infected plant parts. Apply a fungicide if necessary, following the manufacturer's instructions.
-
Stem and Leaf Blight: This can result in blackened, wilted stems and leaves.
- Prevention/Treatment: Maintain good sanitation by cleaning tools and avoiding wounding the plant. Remove and destroy affected areas and apply appropriate fungicides.
Pests
-
Aphids: Small, sap-sucking insects that cluster on new growth, causing stunted growth and deformed leaves.
- Prevention/Treatment: Wash off aphids with a strong stream of water or use insecticidal soap or neem oil. Introduce natural predators like ladybugs if feasible.
-
Spider Mites: Tiny pests that cause stippling and discoloration on leaves, often leading to webbing.
- Prevention/Treatment: Increase humidity around the plant and regularly mist the leaves. Use insecticidal soap or miticides to control severe infestations.
-
Mealybugs: White, cottony insects that suck plant sap and excrete honeydew, leading to sooty mold.
- Prevention/Treatment: Dab mealybugs with a cotton swab dipped in alcohol to remove them manually. Use insecticidal soap or neem oil for larger infestations.
-
Scale Insects: Hard-shelled pests that attach to stems and leaves, causing yellowing and weakening of the plant.
- Prevention/Treatment: Remove scales with a soft brush or cotton swab dipped in alcohol. Apply horticultural oil or insecticidal soap to suffocate the insects.
General Tips for Disease and Pest Management
- Hygiene: Keep the growing area clean and free of plant debris, which can harbor pests and diseases.
- Monitoring: Regularly inspect your vanilla orchid for early signs of pests or disease.
- Environmental Control: Maintain optimal growing conditions (humidity, light, and temperature) to reduce plant stress and vulnerability to diseases and pests.
Troubleshooting Common Problems
Growing vanilla orchids can present several challenges. Here are some common issues and how to address them:
Root Rot
- Symptoms: Wilting leaves, black or mushy roots.
- Solution: Ensure proper drainage, avoid overwatering and use a well-draining potting mix.
Yellowing Leaves
- Symptoms: Leaves turning yellow and dropping.
- Solution: This can be caused by overwatering, underwatering, or inadequate light. Adjust the watering schedule and light conditions as needed.
Poor Flowering
- Symptoms: Few or no flowers.
- Solution: Ensure the orchid is getting enough light, maintain high humidity, and feed regularly with a balanced fertilizer.
Finally, growing vanilla beans at home is a rewarding but challenging endeavor that requires patience and attention to detail. By providing the right environment, proper care, and diligent hand-pollination, you can successfully cultivate vanilla orchids and enjoy the fruits of your labor.
Whether for personal use or as a unique gardening project, producing your own vanilla beans offers a deeper appreciation for this prized spice.


