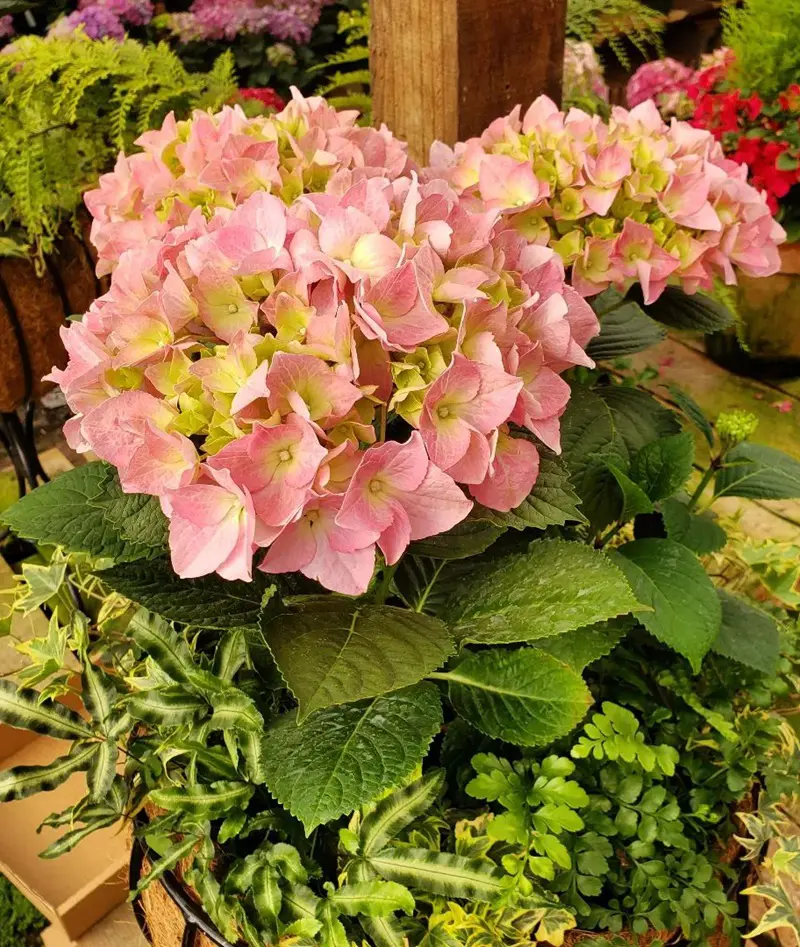
Hydrangeas can mesmerize anybody through their umbrella-shaped, large blossoms. If you are also considering introducing this beautiful plant to your garden, you are in the right place to learn everything about growing hydrangeas independently.
This comprehensive guide gives detailed projections on planting, growing, and caring for your hydrangeas.
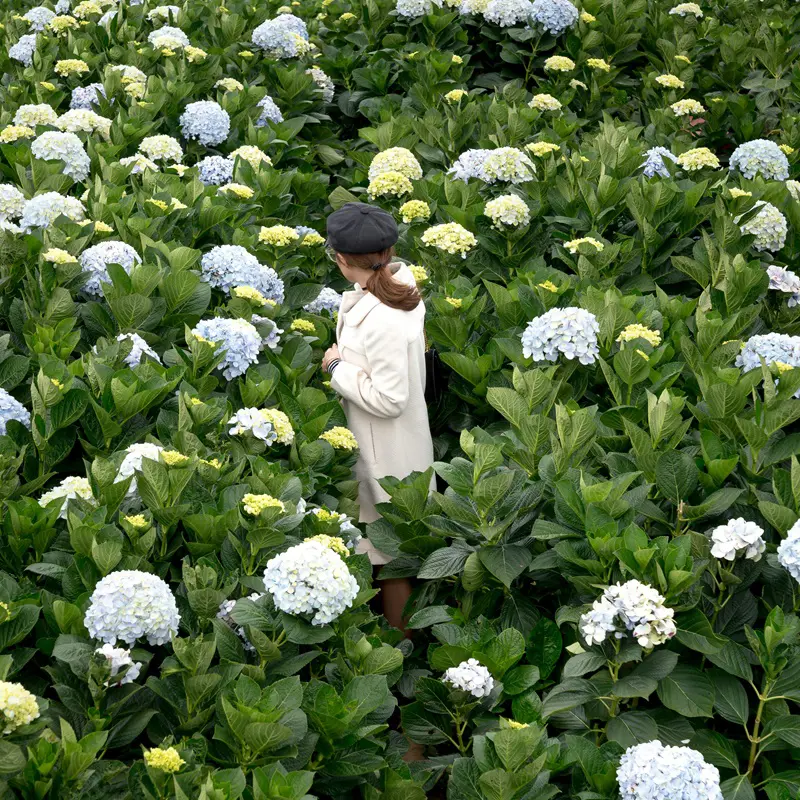
Hydrangeas adore the conditions of partial sunshine, avoiding the heat during the day. They prefer a natural forest edge environment, filtered light, like that found under trees.
Make sure to choose an ideal location that receives sunlight in the morning and shade in the afternoon.
Soil
Similarly, the chosen location should contain soil with good drainage facilities and some sand or clay constituents mixed with organic compost or manure.
Maintain somewhat damp but not soggy soil, particularly throughout the summer and in the first year following planting. Hydrangeas like heavy watering once a week in hot weather for the duration of their lives.
You should know that smooth hydrangeas require little more than 4 to 6 feet of space, while bigleaf and panicle hydrangeas require 7 to 11 or 7 to 13 feet, respectively, when they reach maturity.
Climbing hydrangeas require roughly 6 to 7 feet of space in addition to lots of vertical room. Considering these spacing requirements, you need to plant and grow your hydrangeas allowing them ample space to flourish.
Planting Time
If you are anticipating the best out of your hydrangea plant, you need to make sure you plant them at the right time of fall or early spring.
Professionals have suggested picking the period of early morning or late afternoon of the chosen day to plant your hydrangeas.
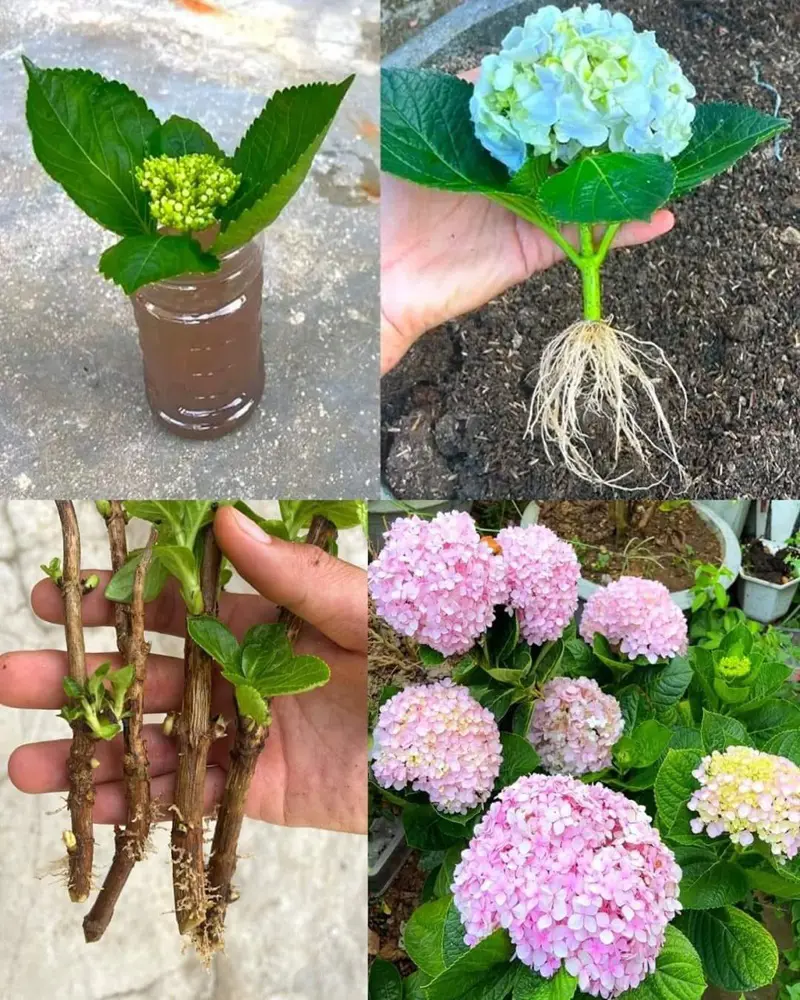
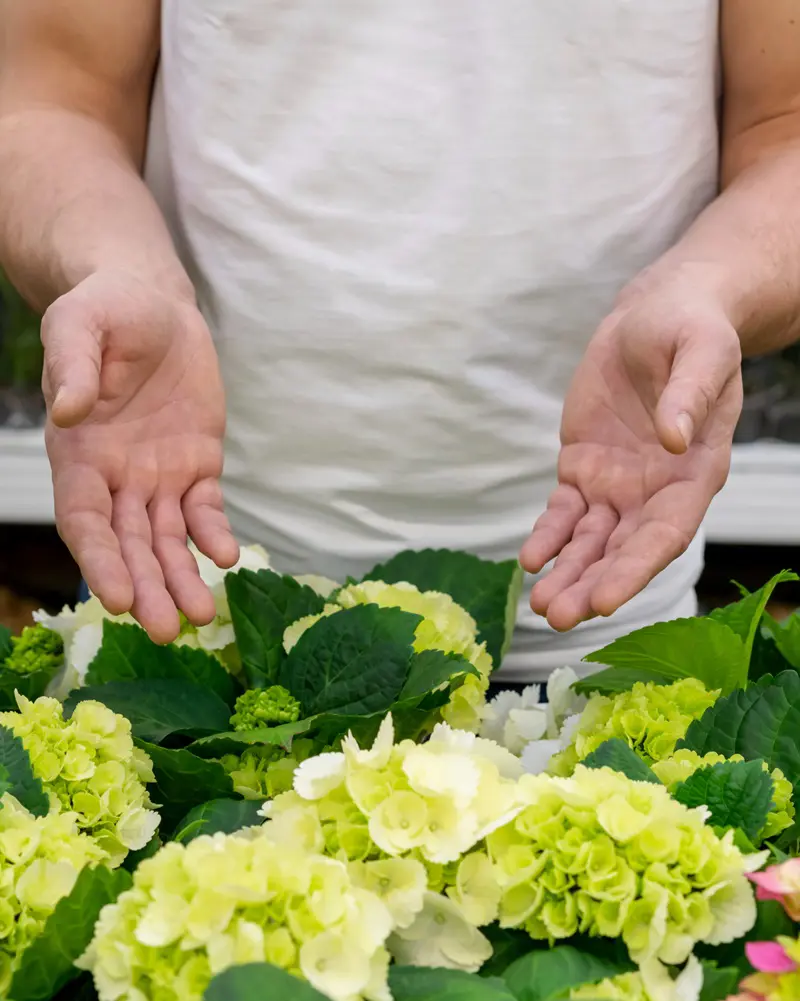
Begin by cutting a stem of the matured hydrangea about 2 inches below a leaf node. Make sure to choose a healthy branch that has not produced flower buds yet.
The stem can be 6-8 inches in length. You can use a clean and sharp pruning tool for this purpose.
Step 2: Remove Leaves
After cutting the stem, you have to remove the leaves from the lower portion of the stem. But make sure to keep the top two to four highest leaves.
You have to be careful handling the cuttings, ensuring they do not get any harm or damage during the process.
Step 3: Prepare a Pot
While choosing a pot for your hydrangeas, you need to make sure the chosen pot is slightly larger than the pot your hydrangea is growing initially.
Mix potting mix into the pot and mildly moisten it. You can also include sand or clay while growing hydrangea in the pot.
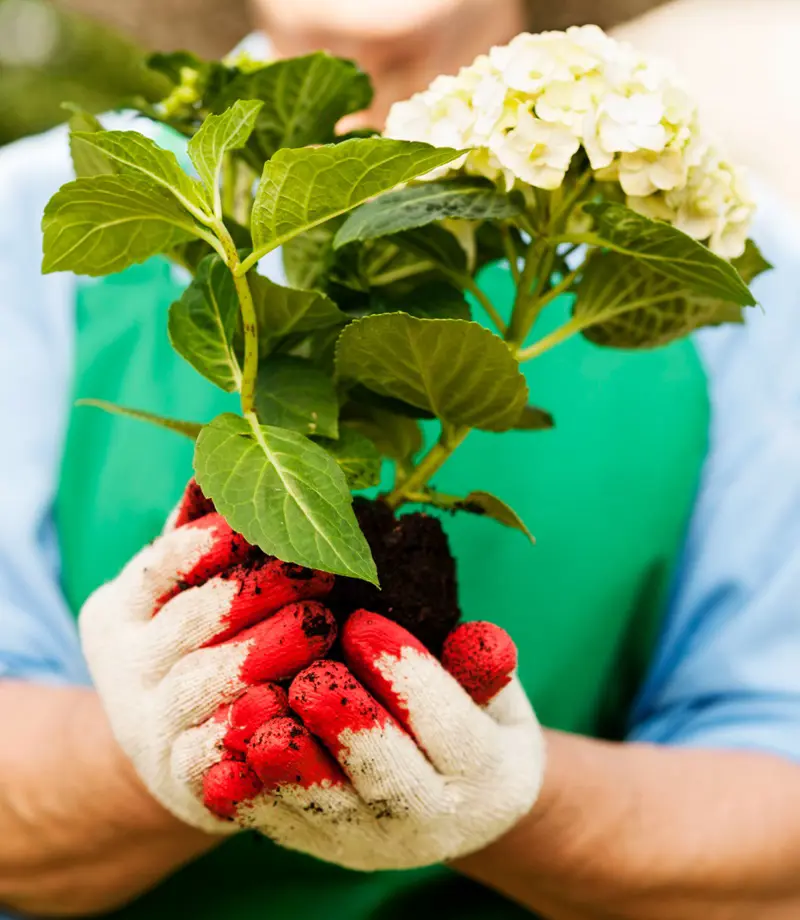
Step 4: Plant the Cutting
When the pot is ready for the plantation, gently pick the cuttings and place them into the mix, making sure the top leaves of the cuttings are just above the base.
After that, the potted cuttings need to be secured in a transparent bag and placed in a location that gets indirect light. Give constant monitoring to the plant and do not allow the soil to dry, it should be mildly moistened but not soggy.
Step 5: Repot Hydrangea if Needed
After the cuttings have started to form new roots, which usually occur within a month of the plantation, you can repot your plant into larger pots if needed.
You can also choose to plant developed cuttings at this period directly into the garden. In any case, for the initial days, you need to water them thoroughly.
Step 1: Check Your Plant Variety for Sun Requirements
Check your plant's type to ensure adequate sun exposure to your hydrangeas. Avoid full sun places as most of the hydrangeas can't handle it.
Search for shady places where sun exposure is minimal and soil is hydrant and moist. Take note that Limelight hydrangeas can take more sun than any of its varieties so it can be planted on full sun.
Step 2: Prepare the Ground by Digging the Proper Hole
Prepare a hole according to the requirements of the plant.
Dig it wider and deeper than the intended size of the plant. Remove debris and stones if there are any in the hole. We need a hole wider than the pot to fit the seeds.
Step 3: Water the Seeds
Water the seeds for them to get properly hydrated. This will loosen up the root and help it to be properly established in the space.
Step 4: Plant in the Hole
Backfill the hole partially ensuring the removal of air pockets remaining in the site.
Step 5: Add Mulch
Add mulch after planting and provide water after every layer of mulch. This will help to trap the moisture. Don't put too much mulch as the plant requires air circulation. Water it on the base to make it hydrated.
If you are to ensure the majestic blossoms of your hydrangea year after year with robust and sturdy health, proper hydrangea care is mandatory. You have to look for both hydrangea fall care and winter care to protect your plant from harsh weather conditions.
Growth Habit
After planting the hydrangea, you should expect their growth consistently over time. If everything goes alright, they can reach up to 15 feet in height.
They do not require constant attention and are usually low-maintenance plants once they mature.
Watering
Since hydrangea prefer partial sunshine with adequate shade, you do not need to water them regularly. Watering in the morning once every 2-3 days will be enough for their soil to remain moist.
Over time, when the plant gets matured, you can water it only after the top few inches of the soil gets dry.
Fertilizing
Apply slow-release fertilizer twice per year in spring and early fall. Apply widely around the drip line of the branches instead of the base of the plant, and cover lightly in soil.
A general all-purpose fertilizer (10-10-10 fertilizer) is enough for hydrangeas.
Mulching
Always use a good quality mulch that has been processed properly. A good quality mulch is found to help retain the soil moisture allowing your plant to flourish vibrantly.
Mulching also improves the look of the landscape and helps to keep hydrangea alive throughout cold winters.
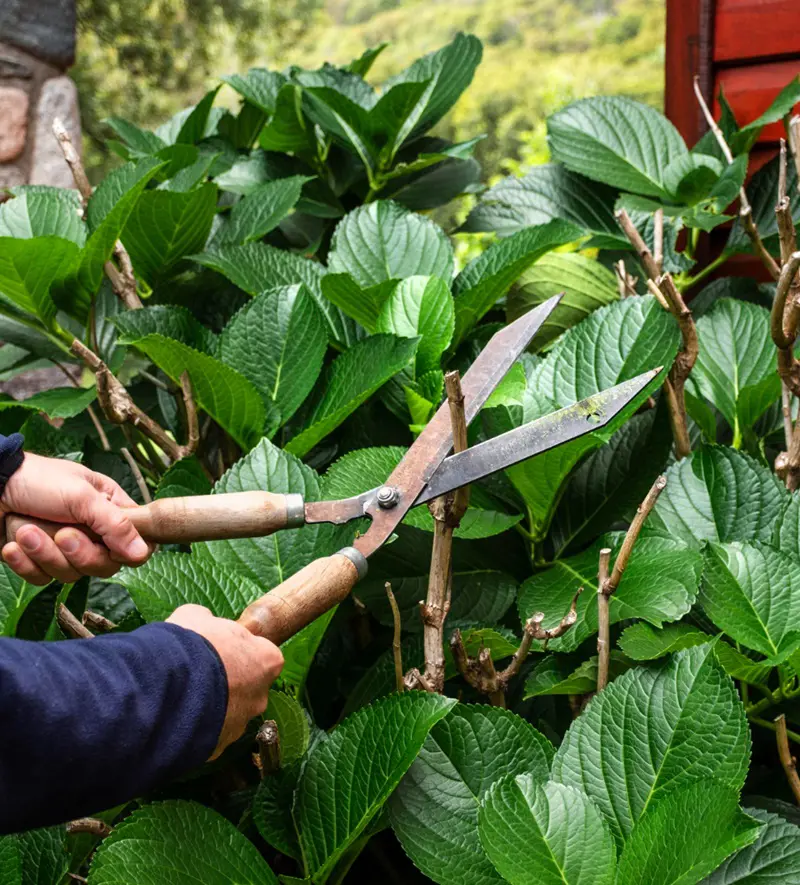
Hydrangeas don't necessarily require pruning and can grow for years without it. However, if they take up space in your area, it is better to prune them.
Make sure to prune hydrangeas in the fall so that they'll be prepared for the next blooming seasons.
Cleaning Debris
Remove all the debris that remains on the base of the plant. The leaves of the plant that are spread on the base can invite pests that are not healthy for the plant.
Also, removing debris will help the plant to have proper air circulation and capture elements that are essential for the plant.
Fertilizing
Fertilize the plant with the commonly available fertilizer in the market as it doesn't require a special one. Apply it properly on the base of the plant after mulching it properly.
Add an extra soil layer and mix it with the fertilizer as it can help the roots to absorb the fertilizer easily. Water it regularly after adding fertilizer.
Mulching
Mulching depends on the place of your residence. The rule is colder the weather more mulching is needed. In areas with temperatures rarely below freezing point, an extra layer of compost is more than sufficient to retain moisture.
However, for the areas with freezing climates, more layers of compost and mulching on the surface are required to protect the plant from freezing.
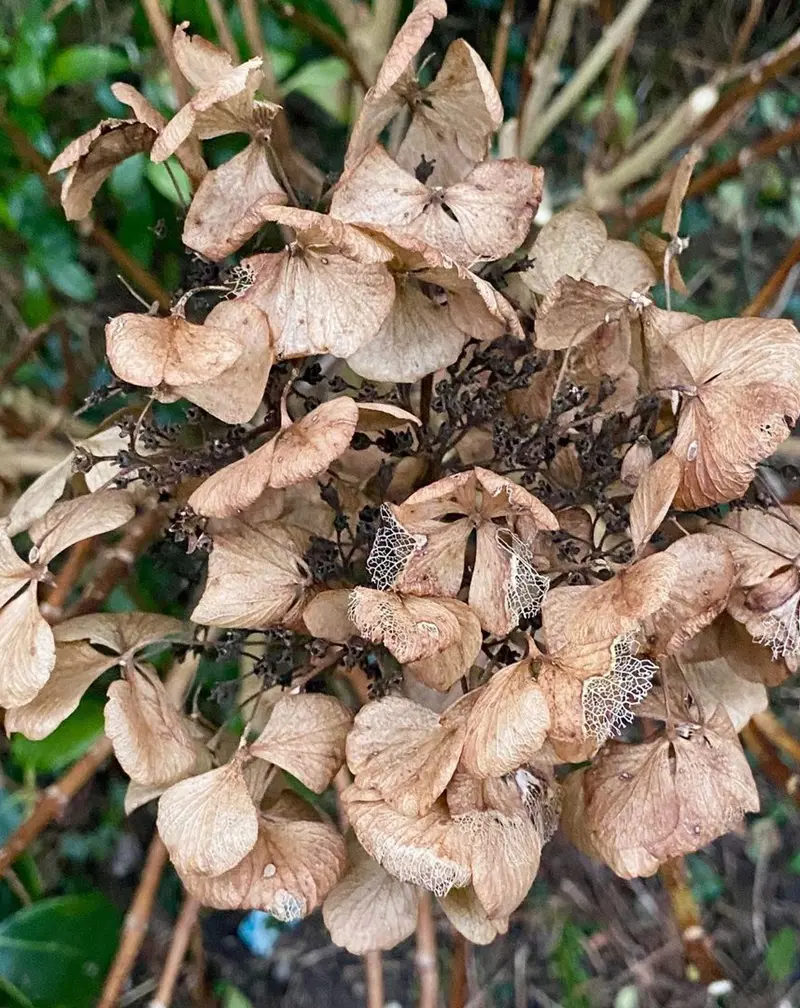
Some species of hydrangea are not winter tolerant. They instantly die from the cold season. It is, therefore, important to protect and care for hydrangeas in winter.
If you want to protect your plant from cold, provide an extra layer of insulation throughout the winter by wrapping them.
If you want an alternative without any effort then consider growing one of the beautiful hydrangea on new wood. This will prevent the buds from freezing.
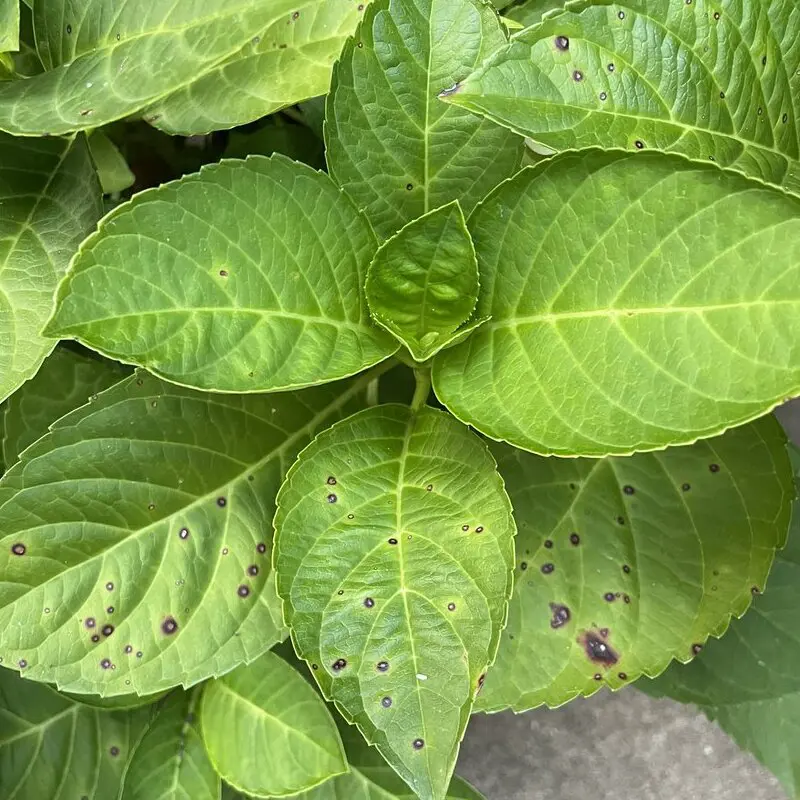
The characteristics of this disease are tan spots with reddish-brown borders forming on the leaves. Infection can be reduced by minimizing wetness. This could be the reason for your hydrangea not blooming.
If necessary, it can be prevented by applying protectant fungicides before infection. Further, the removal of infected leaves during or at the end season may help to reduce the infection.
2. Root Rot
It can occur in landscape plantings, especially in the species of oakleaf hydrangea. This occurs when plants are stressed by drought or other factors.
Within a week, shoots will wilt and hydrangea will die suddenly. This fungus produces white, fan-shaped mycelia mats under the bark near the line of soil.
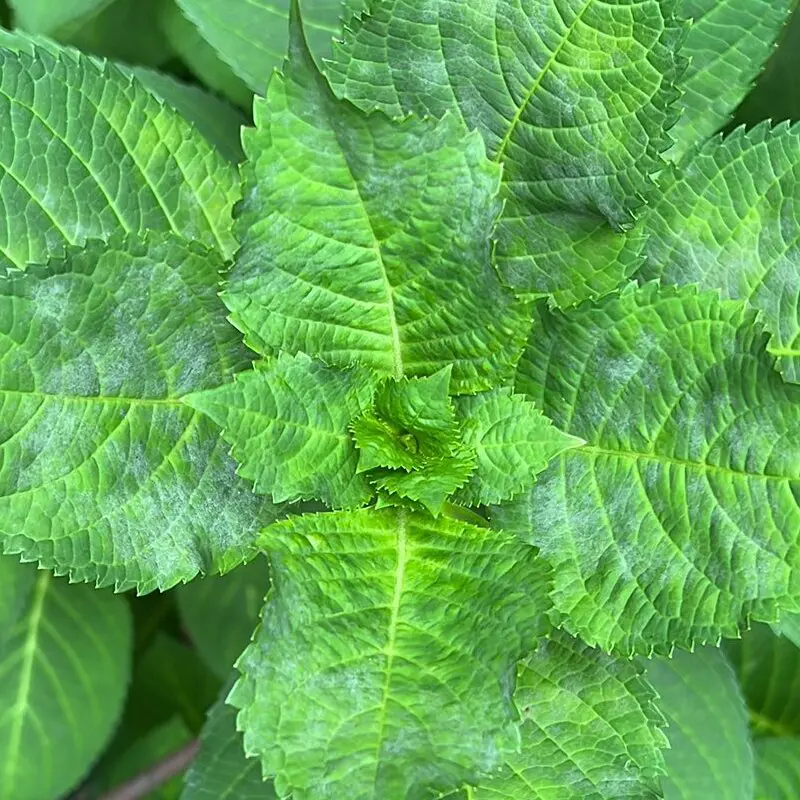
The usual white, powdery fungal growth on the leaf surfaces, or yellow or purple leaf blotches might get induced on your plant once infested by the white mold.
It generally occurs on all hydrangea but is most serious on bigleaf hydrangea. Powdery mildew can be controlled by removing infected leaves, or you can make use of insecticides, if necessary.
4. Aphids
Aphids feeding on your hydrangea can cause leaf yellowing, excreting a liquid from them that is high in sugar.
Over time, upon high infestation, aphids are found to deteriorate the photosynthesis process of your hydrangea, compelling them to shut down eventually.
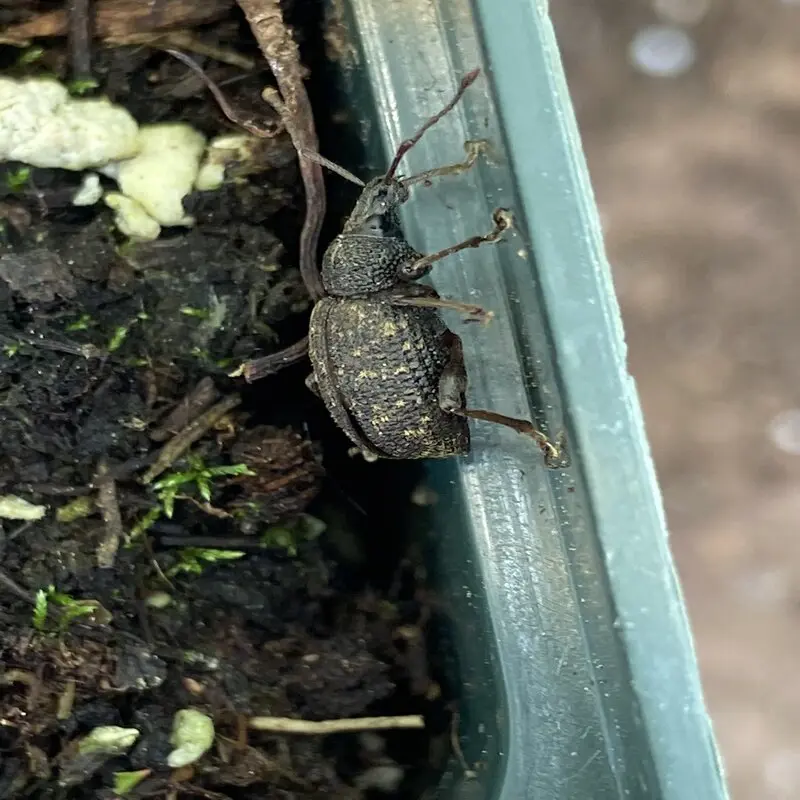
Black Vine Weevil is a larva usually found to attack the root system of your hydrangea. The plant starts to turn yellow at the top, then brown, and causes death at last.
They are flightless and survive on leaves at night. The problem arises when it starts to lay eggs.
6. Hydrangea Leaftiers
This larva doesn't affect the health of the plant instead, it hampers the numbering of flowers. The leaf tiers feed on the top surfaces of the leaves and flower buds of your hydrangea.
If controlling is required then they can be removed from the leaves manually or insecticides can be used.
It feeds on hydrangea and can injure plants by skeletonizing the leaves. Hydrangea with white flowers are at the major risk of Rose Chafer.
8. Japanese Beetles
Oakleaf hydrangea is the primary victim of Japanese beetles. Its outer features are metallic green and they consume leaf tissue leaving behind the skeleton appearance.
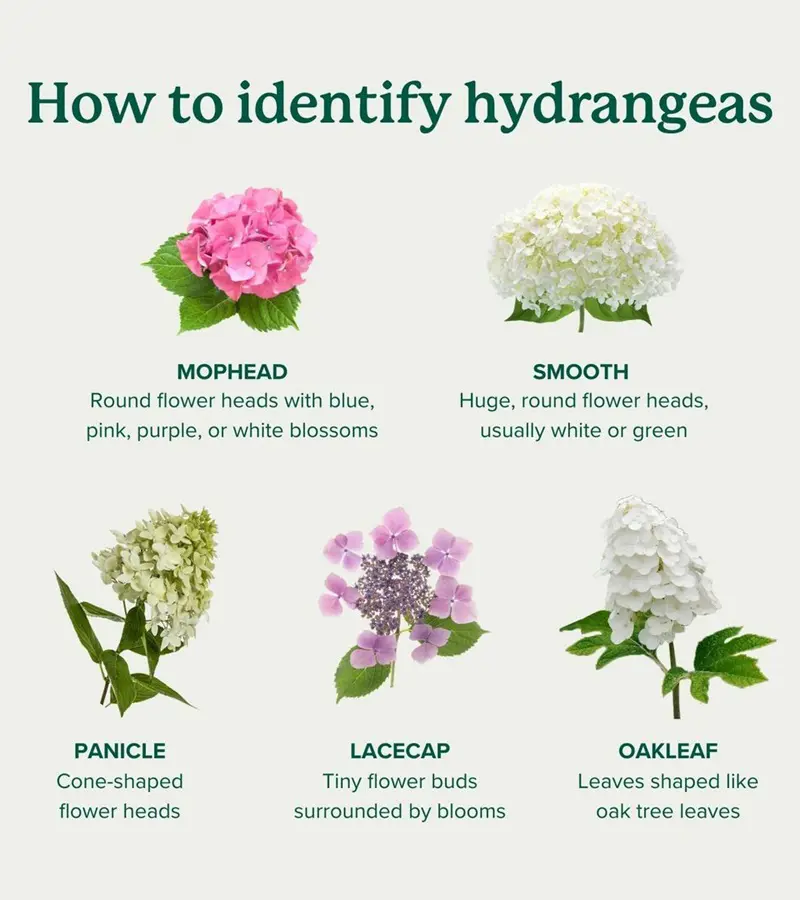
It is also called French hydrangeas, mopheads, or hortensias offering either large globe-shaped heads or flattened heads with beautiful flowers.
2. Smooth Hydrangea
Height: 3-5 feet
Exposure: Part shade
Color: White to pink
Bloom Time: June to September
This hydrangea is native to the eastern and northern America. It generally blooms on new growth.
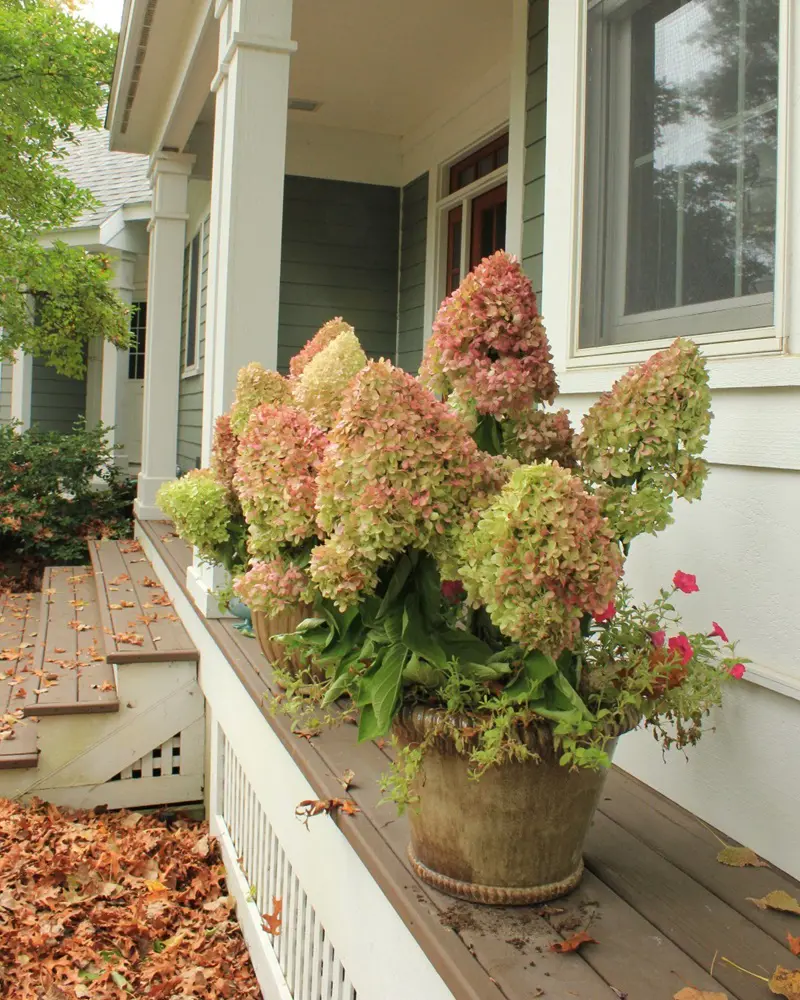
3. Panicle Hydrangea
Height: 15-20 feet
Exposure: Full sun
Color: White
Bloom Time: July to September
This species usually blooms on new growth.
4. Oakleaf Hydrangea
Height: 6-8 feet
Exposure: Full shade
Color: White to pink/purple
Bloom Time: July to September
This species is native to America. It usually blooms on the old wood of the plant.
They are good fall colors as flowers can change from creamy white to dark rose and leaves to a combination of orange, yellow, red, purple, and burgundy.