Dill is a herb that has been constantly used in our kitchen to add citrusy flavor to dishes such as salads, pickles, soups and seafood. Apart from the culinary purposes, the beneficial nutrients present in dill also has medicinal value.
This annual herb is easy to grow when provided with the right growing conditions. We have come up with this guide that will help you covers all the necessary growing conditions required for dill's growth; from choosing the right location with full sun and well-drained soil to the harvesting process.
About Dill Plant
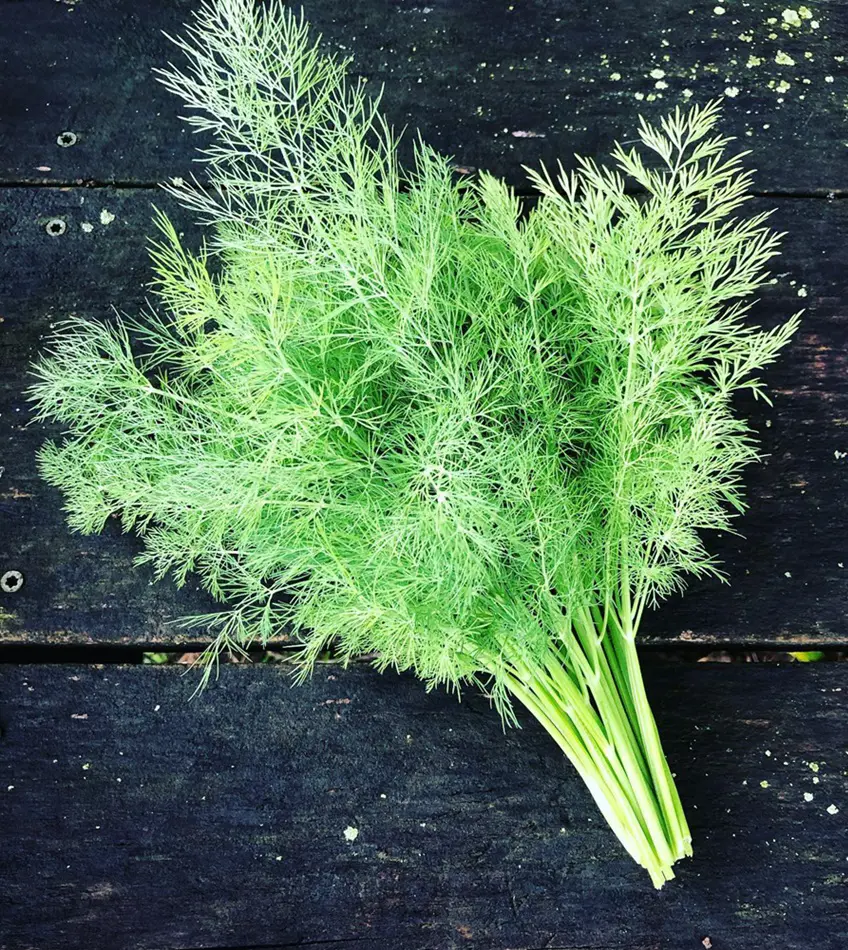
Dill (Anethum graveolens) plant with its feathery, fern-like leaves lies in the same family as celery. There are many varieties of dill among which 7 to 13 are cultivated in many parts of the world for culinary purposes.
Dill possesses small, yellow flowers arranged in umbrella-shaped clusters. These plants grow to a height of 2 to 4 feet (60 to 120 cm) while some varieties may even grow taller.
Not only the leaves but the seeds are also used as a spice, particularly in pickling and baking recipes. This annual herb typically requires 60 to 90 days to complete its life cycle, from germination to seed production and senescence.
Dill plants self-seed after flowering. The flowers contain both male and female reproductive organs. For successful pollination, pollinators such as bees, butterflies, and other insects are necessary. These insects help transfer pollen between flowers which in turn leads to seeding.
Prepare the Planting Space
Dill plants prefer full sun and can even grow in partial shade. Whichever space you choose to plant dill, make sure that the soil is well-drained and fertile. Moreover, dill grows best in the soil with a pH between 6.0 and 7.0.
Planting
The appropriate time to sow sill seeds is late spring or early summer (when the soil warms up). You can directly sow the seeds in the ground during this time. While sowing, make sure that the seed is 1/3 to 1/4 inch below the surface and about 1/2 inch apart in rows spaced 3 inches wide.
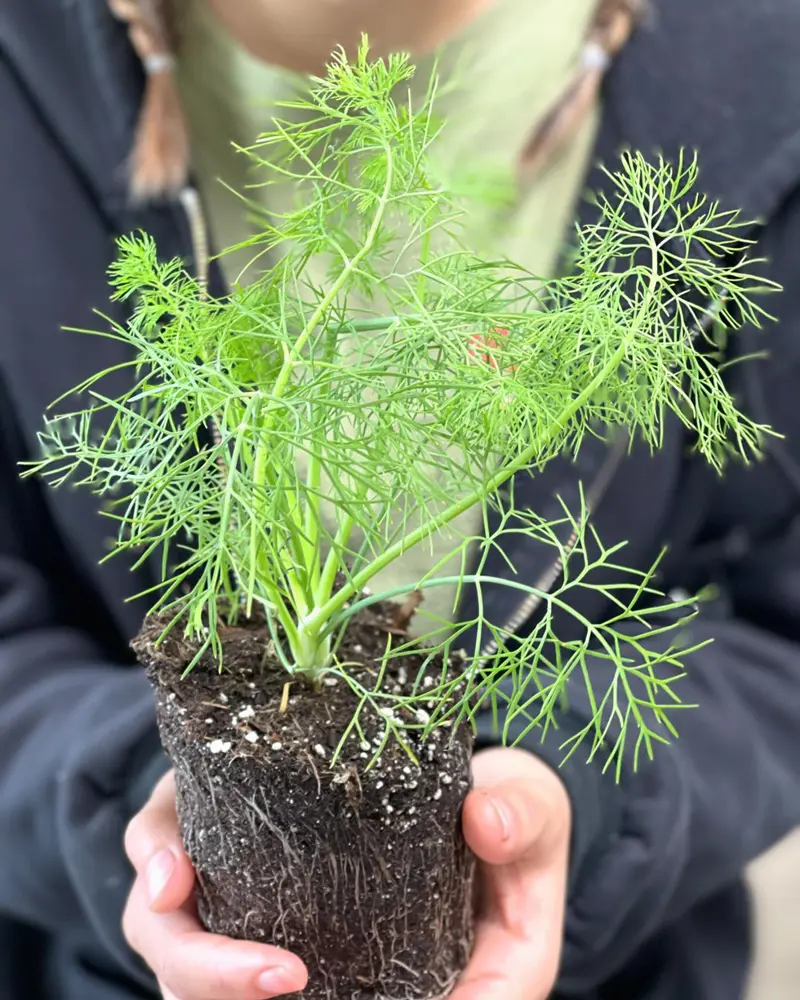
Tips for planting in a container: For anyone who is planning to plant dill plant in a container, choose a deep container as a dill plant bears long tap roots. These roots can go up to 10 to 15 inches. So to promote healthy root development, choosing containers that are at least 15 inches deep is necessary.
Watering Schedule
Dill plants need constant moisture, especially during germination. As the dill plants mature, watering them deeply 1-2 times per week is enough. This ensures that the water reaches the roots and makes them resilient during dry spells.
Fertilizing Schedule
Dill is not a heavy feeder. Generally, fertile soil doesn't require frequent fertilization. Before plantation, a balanced fertilizer (10-10-10 NPK) or organic matter such as compost or well-aged manure can be used so that the plants get proper nutrition during their seedling stage.
Another fertilization can be done after 1 to 2 weeks of growth. The use of fertilizers with a slightly higher nitrogen content (20-5-5 NPK) will be best to promote leaf growth and development.
After 4 to 6 weeks of growth, a fertilizer with a balanced NPK ratio can be used to ensure proper flowering and fruiting. If the dill plants still show signs of slow growth or nutrient deficiency during the growing season, a water-soluble fertilizer diluted to half-strength can be applied once a month.
Dill plants do not necessarily require support like other garden plants (tomatoes/ peppers). But in case of windy areas, there may be problems related to the leaning and bending of the plants.
For such cases, providing support by inserting a stake into the ground next to the plant can be the best solution. The stakes can be tied to the dill plant loosely with the help of soft garden twine or plant ties.
Harvesting
The dill pants are ready to be harvested typically around 6 to 8 weeks after planting. You can use gardening shears or scissors to snip off the individual dill leaves as needed. You can also harvest entire stems by cutting them off at the base of the plant.
While harvesting, make sure to focus on the outer leaves first, leaving the inner leaves to continue growing. These inner leaves can be harvested later after their proper growth.
It's best to harvest the dill leaves regularly throughout the growing season. This prevents the plant from becoming too tall and leggy and encourages bushier growth.
Some Useful Tips
Thin Seedling
The thinner the seedlings are, the more space the dill plant will get to grow. If you have sown the seeds densely, then it becomes important to thin them to prevent from overcrowding.
When the seedlings are dense and too close, they compete with each other for resources resulting in a lower yield. As a standard, seedlings should be 6 to 8 inches apart when they have 2-3 sets of leaves.
Mulching
Dill plant grows best when there is constant availability of moisture. Organic mulches like straw or shredded leaves can be applied around the seedlings when they grow to a height of a few inches.
The organic mulches also serves as a slow nutrient source and a weed suppressor. As mulch may break down over time, periodically check the mulch layer and replenish it as needed to maintain the desired thickness.
Harvest Strategically
Timing of harvest is crucial to maximize the yield of both leaves and seeds. As the dill plant develops sufficient numbers of leaves (about 8 inches tall), harvesting can be started.
Dill leaves can be harvested typically from early summer to early fall. Pinching off the tips during the first harvest will help the plant to direct its energy on the growth of the lateral branches making the plant bushy.
For seeds, allow the plant to flower and then seed. As the seeds begin to get brown and dry out, cut the seed heads from the plant and gently shake them over a container after they have completely dried out.
Companion Planting
Dill can be a great companion plant for your garden. It removes to keep away the pests in the garden, promoting the growth of other plants such as cabbages, broccoli and Brussels sprouts.
Dill plants do not only repel harmful insects but also attract beneficial insects like bees butterflies, and predatory wasps. These insects can help pollinate the other plants and provide natural pest control.
Succession Planting
If you want to enjoy dill harvest throughout the summer till fall, sow dill seeds every 2-3 weeks throughout midsummer. This helps you enjoy fresh tender leaves without experiencing interruptions due to bolting during the hot weather.
Pests and Diseases
Pests and diseases commonly associated with dill plants are listed below:
Pests
Aphids: Dill plants have a high capability to attract aphids. While this feature can be of great benefit while companion planting, it also means that dill plants can go through aphid infestations.
If you find out aphid infestation in dill plants, use organic insecticides such as neem oil to spray on the affected parts. If the infestation is local, you can manually remove aphids from the dill plants by gently squishing them between your fingers or using a pair of gloves.
Spider Mites: Spider mites suck the sap from the dill leaves and leave behind stippling, yellowing, or bronzing of foliage. The use of organic miticide can be the best way to get rid of these mites.
Monitoring the plants regularly for signs of spider mite infestation, such as webbing, stippling on leaves, or fine silk threads can help prevent the infestation from spreading.
Tomato Hornworms: Tomato hornworms are voracious feeders. As they munch on the dill leaves, they may create large holes in the leaves or make the leaves disappear.
It becomes necessary to regularly check your dill plants for signs of hornworm damage. Hornworms can be green, brown, or black in color and up to 4 inches long. If you find hornworms, simply handpick and remove them. You can also drop them in a bucket of soapy water to eliminate them.
Powdery Mildew: Powdery mildew is a fungal disease. This disease causes white, powdery patches on the leaves and stems of your dill plants. The powdery growth appears on the upper surfaces of older leaves initially and spreads to younger leaves, stems, and even flowers as the disease progresses.
The affected leaves may become yellow or distorted due to the infection. If the spread is not intervened in time, the plant's overall growth may be stunted later.
Downy Mildew: Downy mildew is another fungal disease that can infect dill plants, distinct from powdery mildew. The first noticeable sign of downy mildew is the appearance of yellow or pale green spots on the upper surfaces of dill leaves. The spots generally have a "water-soaked" appearance.
As the disease progresses, a white, fluffy fungal growth can be observed on the undersides of the leaves directly corresponding to the yellow spots above. The leaves eventually get damaged and if the spread continues, the plant will have stunted growth.
Damping Off: Damping-off is a fungal disease that commonly affects dill seedlings. The disease causes seeds to rot, hindering the germination process.
The fungi causing damping off can also infect young and tender seedlings with developing immune systems. Overwatering and poor drainage are the main reasons behind this condition.
Pests and Disease Management
Some of the measures that can be adapted to manage the pests and diseases related to dill plants are listed below:
Sunny locations with well-drained soil are the major things gardeners should be aware of. Proper air circulation prevents humidity which in turn wards off many fungal diseases.
Avoid over-fertilizing. Doing so can also make dill plants more susceptible to pests and diseases.
Prevention is the key to these conditions. Regularly inspect dill plants for signs of pests as well as symptoms of diseases like wilting, yellowing, or spots on leaves.
Crop rotation should be practiced to reduce the risk of pests and diseases building up in the soil.
Introduction of biological controls (beneficial insects) and targeted use of pesticides can be very helpful in emergency conditions.
Natural remedies like insecticidal soaps, neem oil, or horticultural oils can be of great help in controlling pests (aphids and spider mites).