
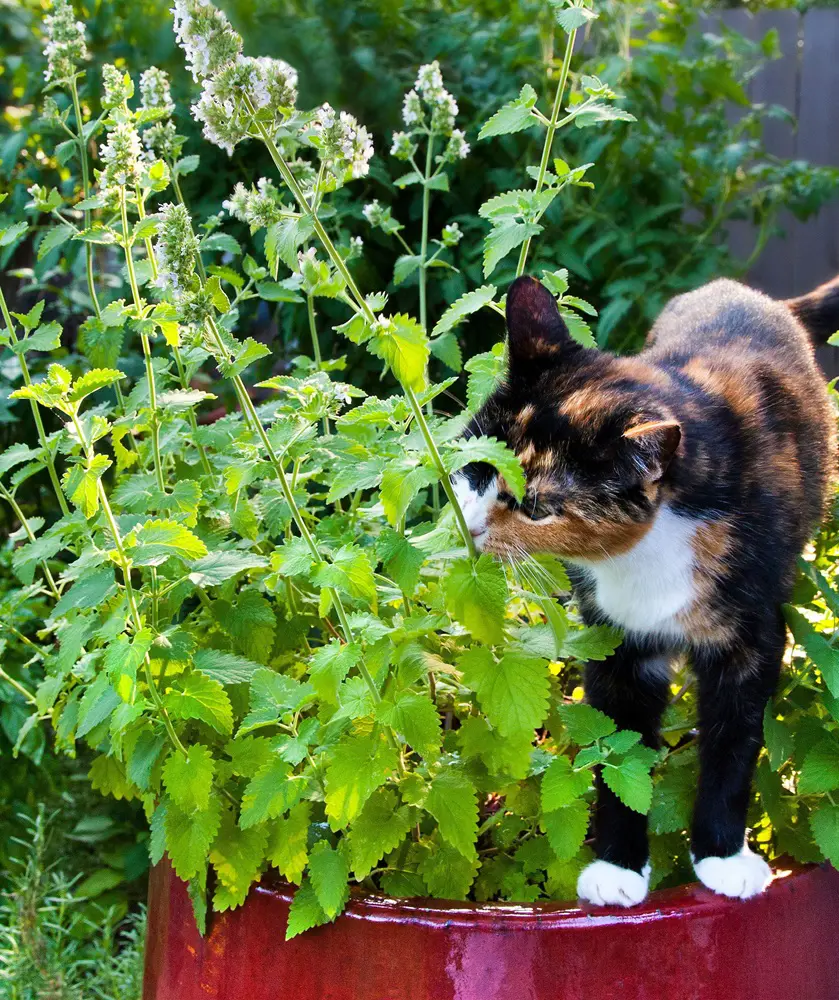
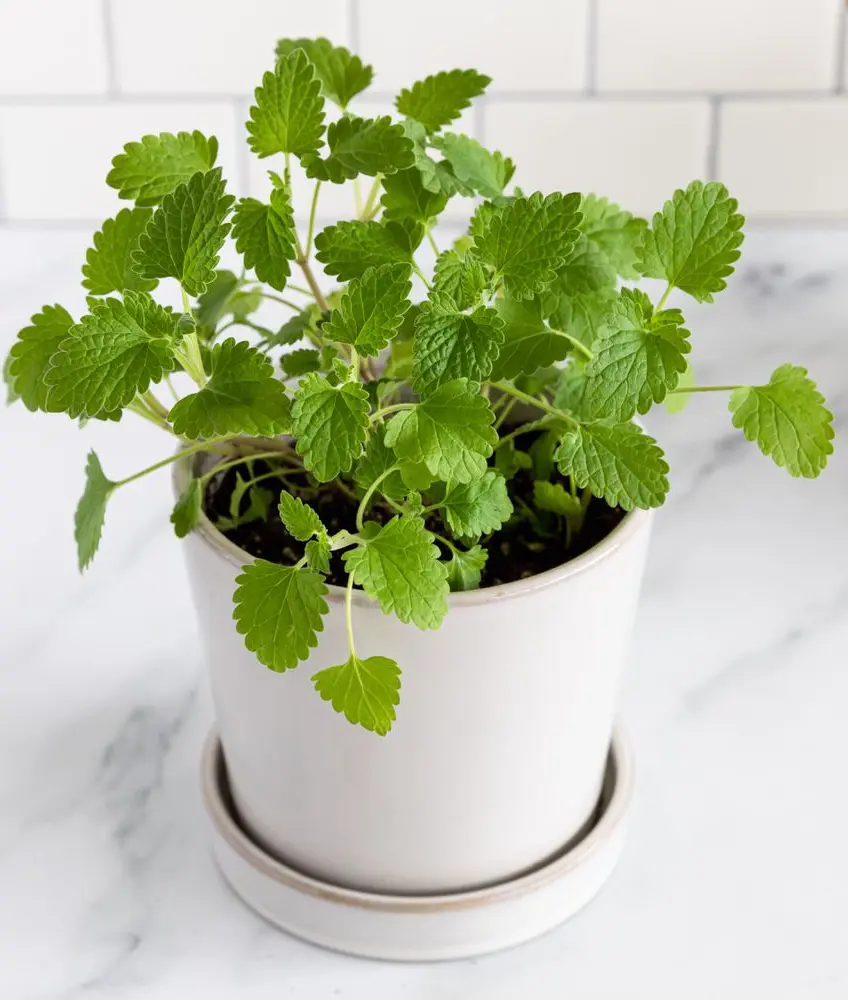
Catnip (Nepeta cataria), a perennial herb from the mint family, is a delightful addition to any garden, known for its aromatic foliage and irresistible allure to cats.
This versatile plant is not only a favorite among feline enthusiasts but also a valuable asset for gardeners due to its low-maintenance nature and benefits such as attracting beneficial insects like bees and butterflies.
This comprehensive guide will walk you through everything you need to know about cultivating and caring for catnip, ensuring your plants thrive, and bringing joy to both you and your furry friends.
Growing Catnip
Growing catnip is relatively straightforward, provided you give it the right conditions. Here's a step-by-step guide to help you successfully plant and grow catnip.
Choosing the Right Variety
There are several varieties of catnip, but the most common for both medicinal purposes and for feline enjoyment is Nepeta cataria. Other notable varieties include:
- Nepeta mussinii (Catmint): Known for its ornamental value and more compact growth.
- Nepeta faassenii (Faassen's Catnip): Sterile hybrid with a longer blooming period.
- Nepeta x faassenii (Walker’s Low): A popular ornamental variety.
Selecting the Planting Site
Catnip thrives in a location that receives full sun, although it can tolerate partial shade. It prefers well-drained soil with a pH between 6.0 and 7.5. Avoid planting catnip in areas that are prone to waterlogging, as this can lead to root rot.
Planting Catnip
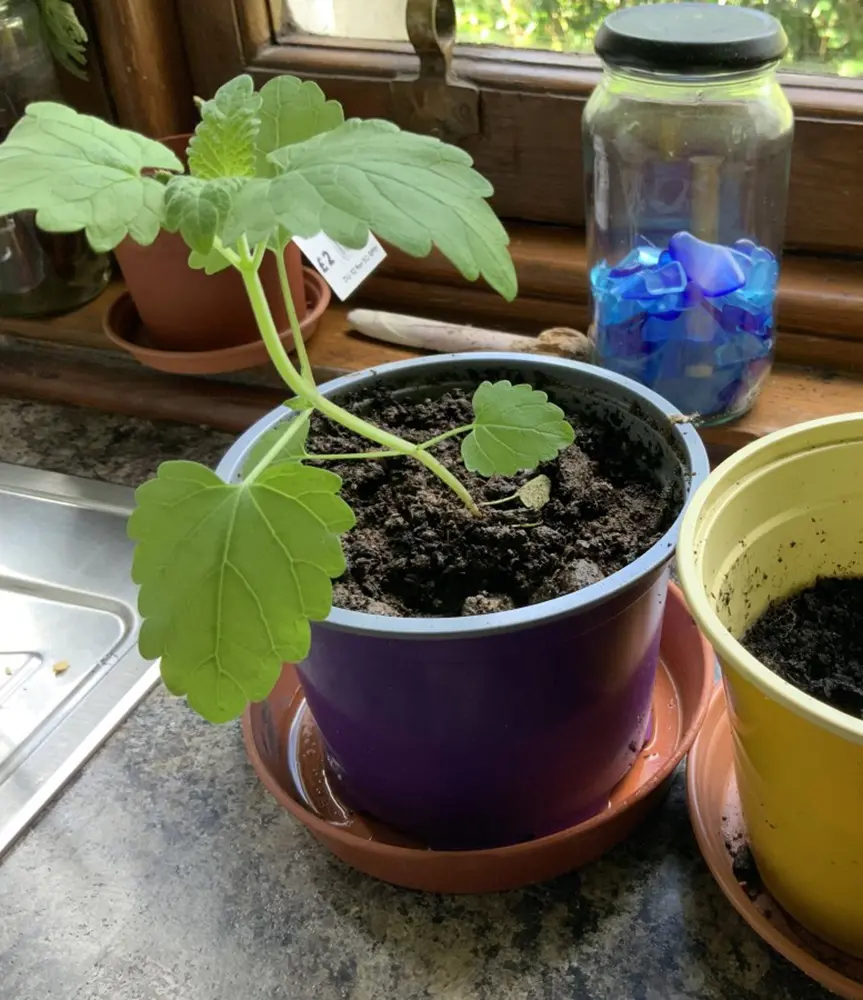
Catnip can be started from seeds, cuttings, or transplants. Each method has its own considerations:
1. From Seeds
- Timing: Start seeds indoors about 4-6 weeks before the last expected frost, or sow directly outdoors after the danger of frost has passed.
- Preparation: Soak the seeds in water for 24 hours before planting to enhance germination.
- Planting: Sow the seeds on the surface of the soil and cover them lightly with a thin layer of soil or vermiculite. Keep the soil moist until the seeds germinate, which typically takes 10-20 days.
2. From Cuttings
- Timing: Take cuttings in late spring or early summer.
- Preparation: Cut a 4-6 inch section from a healthy, non-flowering stem. Remove the lower leaves and dip the cut end in rooting hormone.
- Planting: Place the cutting in a pot filled with a mix of perlite and peat moss. Keep the soil moist and the cutting in a warm, bright location but out of direct sunlight until roots develop.
3. From Transplants
- Timing: Transplant nursery-grown plants or divided plants in the spring or fall.
- Preparation: Dig a hole twice as wide and the same depth as the root ball.
- Planting: Place the plant in the hole, backfill with soil, and water thoroughly.
Spacing
Space catnip plants 18-24 inches apart to allow for adequate air circulation and growth. This spacing helps prevent diseases and ensures that each plant has enough room to develop fully.
Caring for Catnip
Once established, catnip is a hardy plant that requires minimal care. However, a few maintenance practices will keep your plants healthy and vigorous.
Watering
Catnip is drought-tolerant but performs best with moderate watering. Water the plants deeply and allow the soil to dry out between waterings. Overwatering can lead to root rot, so it's better to underwater slightly than to overwater.
Mulching
Apply a layer of mulch around the base of the plants to help retain soil moisture, suppress weeds, and regulate soil temperature. Organic mulches such as straw, wood chips, or compost work well.
Fertilizing
Catnip is not a heavy feeder and typically does well in average soil without additional fertilizer. However, if your soil is poor, you can apply a balanced, all-purpose fertilizer in the spring. Avoid high-nitrogen fertilizers as they can promote excessive leaf growth at the expense of flowering.
Pruning
Regular pruning helps maintain the plant's shape and encourages bushier growth. Here’s how to prune catnip:
- Pinching: Pinch off the growing tips of young plants to promote branching and a fuller appearance.
- Deadheading: Remove spent flowers to extend the blooming period and prevent self-seeding.
- Cutting Back: After the first bloom, cut the plant back by one-third to one-half to encourage a second flush of growth and flowering.
Catnip is a robust and resilient plant, but it is not entirely immune to pests and diseases. To ensure your catnip remains healthy, it's essential to recognize and address potential issues promptly. Here’s a comprehensive guide on managing common pests and diseases that may affect catnip:
Pests And Diseases
Catnip is a robust and resilient plant, but it is not entirely immune to pests and diseases. To ensure your catnip remains healthy, it's essential to recognize and address potential issues promptly. Here’s a comprehensive guide on managing common pests and diseases that may affect catnip:
Pests
Aphids
- Signs: Look for clusters of small, soft-bodied insects on new growth and undersides of leaves. Aphids excrete a sticky substance called honeydew, which can attract ants and lead to sooty mold growth.
- Prevention: Encourage natural predators such as ladybugs and lacewings in your garden.
- Control:
- Insecticidal Soap: Spray affected areas with insecticidal soap, ensuring thorough coverage. Repeat treatment every 7-10 days as needed.
- Neem Oil: Apply neem oil, which disrupts the life cycle of aphids and prevents them from reproducing. Follow the manufacturer's instructions for mixing and application.
- Water Spray: Use a strong jet of water to dislodge aphids from the plant. This method is most effective for small infestations.
Spider Mites
- Signs: Fine webbing on the plant, stippling or yellowing of leaves, and overall plant stress.
- Prevention: Maintain high humidity around the plant, as spider mites thrive in dry conditions. Regularly mist your catnip or place a humidity tray nearby.
- Control:
- Insecticidal Soap: Spray infested plants with insecticidal soap, making sure to cover the undersides of leaves where spider mites often reside.
- Neem Oil: Neem oil can also be used against spider mites. Apply it regularly to keep infestations under control.
- Isolation: If an infestation occurs, isolate the affected plant to prevent the mites from spreading to other plants.
Diseases
Powdery Mildew
- Signs: White, powdery spots or coating on the leaves, stems, and flowers. It often appears in conditions of high humidity and poor air circulation.
- Prevention:
- Air Circulation: Plant catnip in a location with good air circulation. Avoid overcrowding and ensure adequate spacing between plants.
- Watering Practices: Water the plant at the base to keep the foliage dry. Avoid overhead watering, which can create a humid environment conducive to fungal growth.
- Control:
- Pruning: Remove and dispose of affected plant parts to reduce the spread of the fungus.
- Fungicides: Use a fungicide specifically designed to treat powdery mildew. Apply according to the label instructions.
- Baking Soda Solution: A homemade remedy can be made by mixing 1 tablespoon of baking soda, 1/2 teaspoon of liquid soap, and 1 gallon of water. Spray this solution on affected plants every few days until the mildew is under control.
General Care Tips
- Regular Inspections: Regularly inspect your catnip plants for early signs of pest infestations or disease.
- Proper Watering: Water your plants properly to avoid both under and overwatering. Ensure the soil is well-draining.
- Healthy Soil: Use well-draining soil rich in organic matter to support strong, healthy growth.
- Mulching: Apply mulch around the base of the plants to retain moisture and regulate soil temperature while keeping foliage dry.
Harvesting Catnip
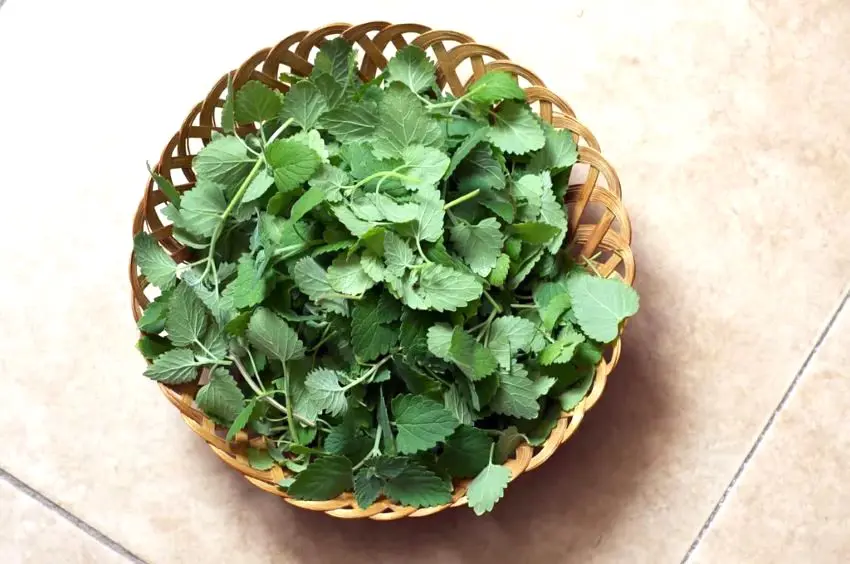
Catnip can be harvested once the plants are well-established, typically in the second year. The best time to harvest is just before the flowers open when the essential oil content is highest.
How to Harvest
- Tools: Use clean, sharp scissors or pruning shears.
- Technique: Cut the stems about 3-4 inches above the ground. Avoid cutting more than one-third of the plant at a time to ensure it continues to thrive.
Drying and Storing
To preserve the essential oils and maintain potency, dry the harvested catnip properly:
- Air Drying: Bundle the stems together and hang them upside down in a dark, well-ventilated area.
- Drying Racks: Spread the stems on drying racks in a single layer.
- Dehydrator: Use a food dehydrator on a low setting for a faster drying process.
Once dry, store the leaves and flowers in an airtight container away from direct light and moisture.
Benefits of Catnip
For Cats
Catnip contains a compound called nepetalactone, which triggers a temporary, euphoric response in many cats. This response includes behaviors such as rolling, rubbing, and purring. It's a great way to provide mental stimulation and exercise for your feline friends.
For Humans
- Medicinal Uses: Catnip tea is traditionally used to relieve stress, anxiety, and insomnia. It also has mild sedative properties and can be used to soothe digestive issues.
- Culinary Uses: While not as common, catnip leaves can be used in salads and as a garnish.
- Insect Repellent: Catnip oil is an effective natural insect repellent, particularly against mosquitoes.
In the Garden
Catnip attracts pollinators such as bees and butterflies, enhancing the biodiversity of your garden. It can also be used as a companion plant to repel pests like aphids and flea beetles.
Common Problems and Solutions
Despite its hardy nature, catnip can face a few challenges:
Leggy Growth
- Cause: Insufficient sunlight or lack of pruning.
- Solution: Ensure the plant gets at least 6 hours of sunlight and pinch back regularly.
Yellowing Leaves
- Cause: Overwatering or poor drainage.
- Solution: Improve soil drainage and reduce watering frequency.
Poor Flowering
- Cause: Excessive nitrogen or insufficient light.
- Solution: Avoid high-nitrogen fertilizers and ensure adequate sunlight.
Seasonal Care Tips
Spring
- Planting: Start seeds indoors or transplant seedlings.
- Pruning: Pinch back new growth to encourage bushiness.
- Fertilizing: Apply a balanced fertilizer if needed.
Summer
- Watering: Water deeply but infrequently.
- Pruning: Deadhead spent flowers and trim back leggy growth.
- Pest Control: Monitor for aphids and spider mites.
Fall
- Harvesting: Harvest leaves and stems for drying.
- Pruning: Cut back the plants after the first frost to encourage healthy growth next spring.
Winter
- Mulching: Apply a thick layer of mulch to protect the roots from freezing temperatures.
- Maintenance: Check for signs of winter damage and prune as necessary in early spring.


