How To Grow

How to Plant, Grow, and Harvest Brussels Sprouts

Source : pexels

Growing Brussels sprouts is a rewarding experience for any gardener. These little cabbage-like veggies thrive in cool weather and can be cultivated in most regions.

While they may seem fussy, growing Brussels sprouts is surprisingly easy with the right conditions. So here is the ultimate guide on all the things that you should know on how to grow brussels sprouts and the correct procedure for harvesting it whether you are a beginner, amateur, or professional gardener.

Briefly About Brussels Sprouts Origin

Source : pexels

Brussels sprouts were first cultivated in the 16th century in Brussels, Belgium, which they are named after. They are a cultivar or variety developed from the same Brassica oleracea plant species that gave rise to cabbage, broccoli, cauliflower, kale, and other crops through selective breeding over generations.

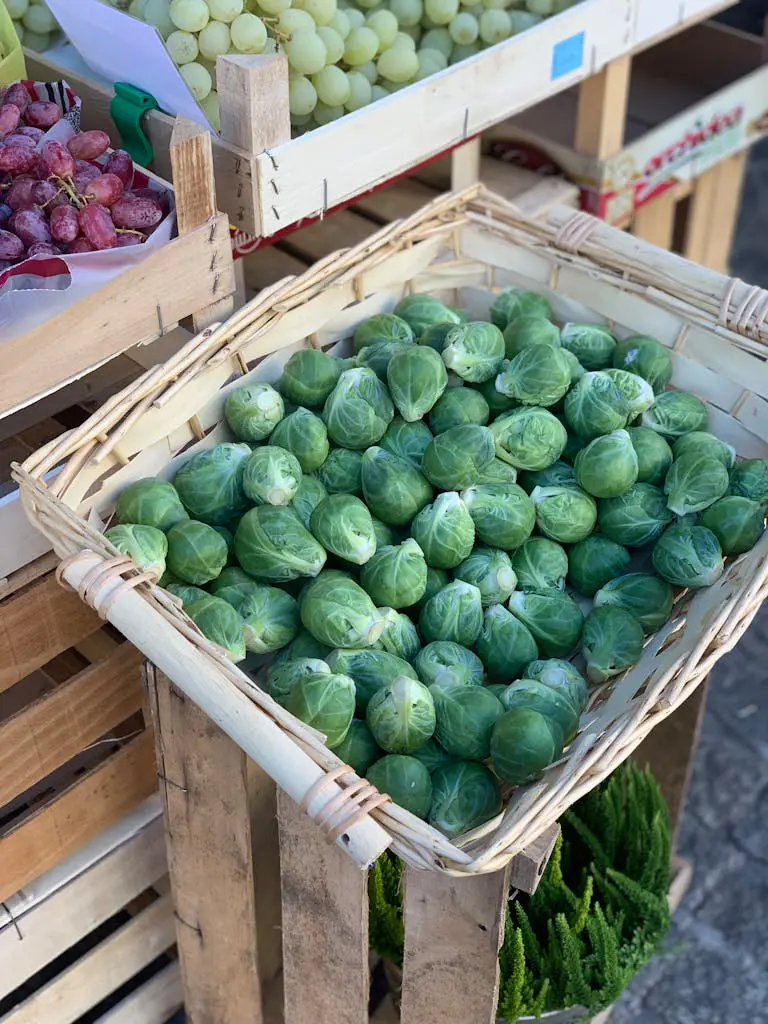
Brussels sprouts have a fairly long 80-100 day growing season to harvest. They are a cool season crop that produces best quality sprouts when grown for a fall or early winter harvest after experiencing some light frost.

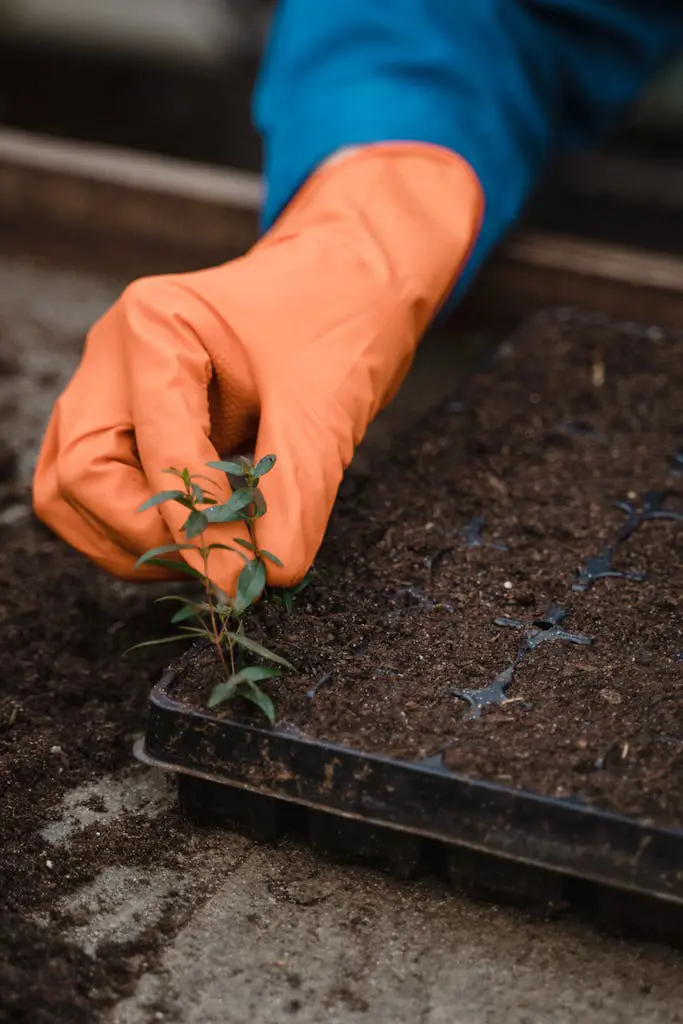
Consistent cool temperatures and ample moisture are needed through the summer growing period. Similarly, protecting plants from pests is also important for getting a good crop.

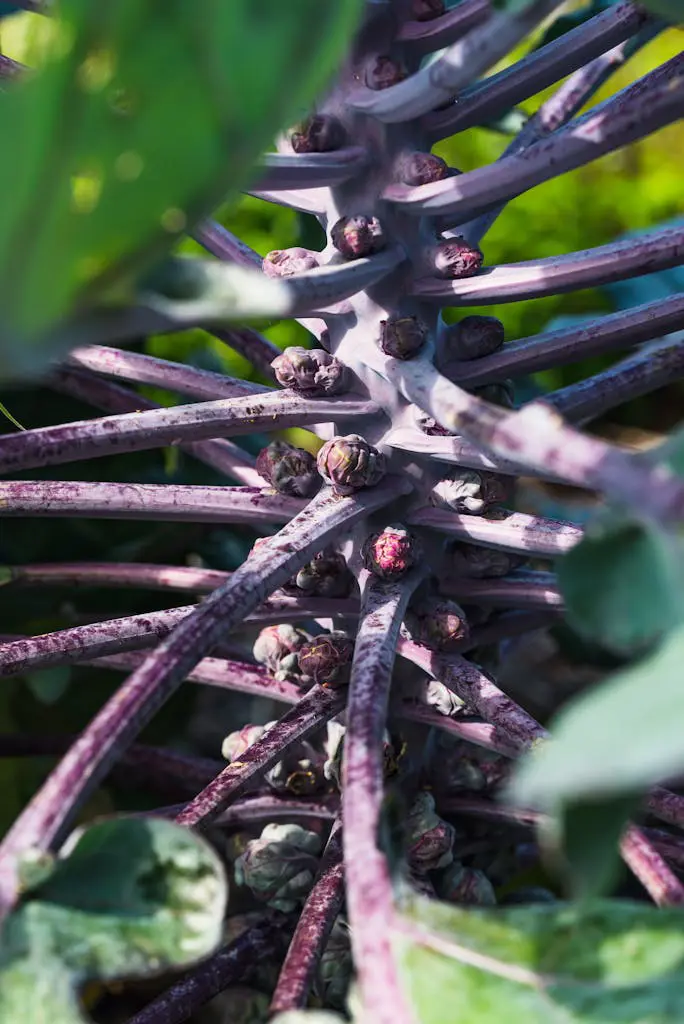
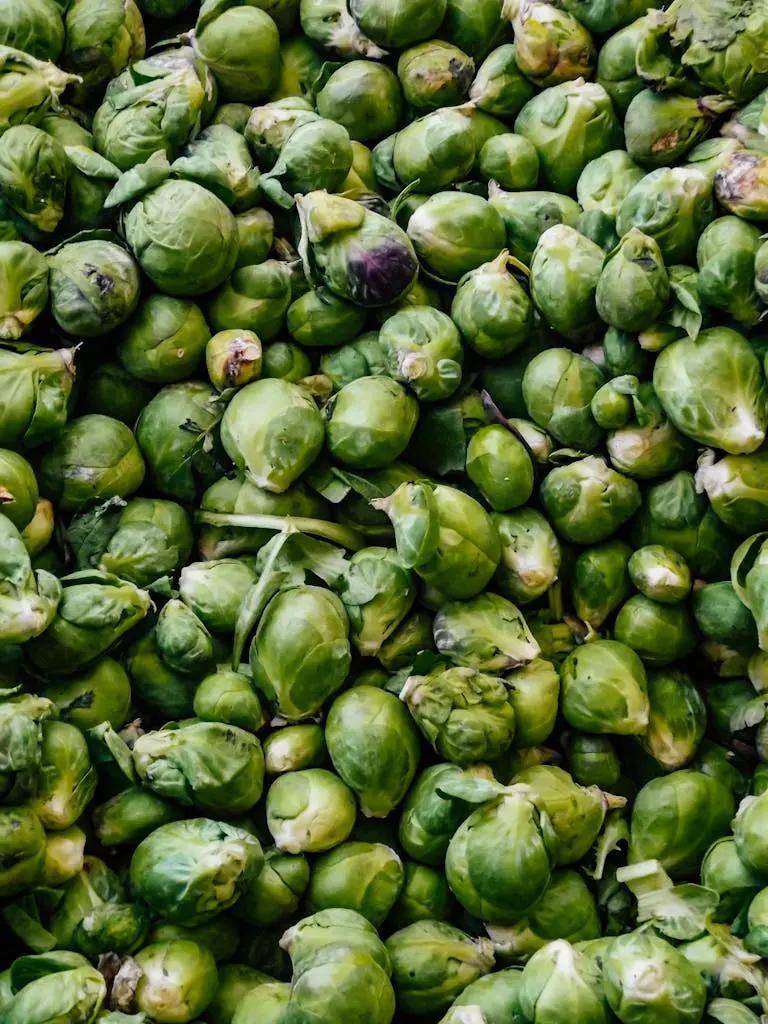
While not the easiest vegetable to grow due to their specific requirements, Brussels sprouts can be a very rewarding crop to cultivate when done properly. Their unique growth habit of producing edible buds/sprouts along the stem makes a successful harvest an accomplishment for gardeners.

When To Plant Brussels Sprouts

Source : pexels

Brussels sprouts plant are a cool weather crop that requires a long growing season of 90-110 days to fully mature and develop their small edible buds. Ensuring they have enough time on the plant before killing frosts arrive in fall is key.

For a fall/winter harvest, Brussels sprouts need a long growing season due to their maturity time. The ideal planting time is calculated by:

  • Finding your expected first fall frost date
  • Counting back from that date using the "days to maturity" on the seed packet, typically around 4 months

In regions with cold winters (lows below freezing), it's best to start seeds indoors 12-14 weeks before your expected first fall frost date. This gets transplants in the ground by early-mid summer so the sprouts have time to size up for an October-November harvest before hard freezes hit.

In milder winter areas, you can delay indoor sowing until 10-12 weeks before the first frost. Or direct sow seeds 14-16 weeks before that date. The longer growing season allows sprouts to continue maturing through winter for harvest from December-February.

No matter when you plant, choosing an early maturing Brussels sprout variety can shave a few weeks off total time to crop. Having some protection like row covers can also extend the harvest window after frosts begin.

How To Plant Brussels Sprouts

Source : pexels

Choose a planting site that receives full sun exposure - at least 6-8 hours of direct sunlight per day. Brussels sprouts need this full sun for best growth and production.

Similarly, raised garden beds are especially recommended for brussels sprouts growing, particularly in the spring and fall seasons when temperatures can be cool. The raised beds allow for better soil drainage and warmth.

The soil should be well-draining to prevent issues with excess moisture, but also moderately fertile. Brussels sprouts need nutrient-rich soil to support their growth.

Soil Preparation:

  • Before planting, work several inches of aged manure or compost into the soil. This adds organic matter to improve fertility and soil texture for the heavy-feeding Brussels sprouts crop.
  • Having a loose, nutrient-rich soil will give the Brussels sprouts plants the best start.

Planting from Seed:

  • Sow the Brussels sprouts seeds approximately 1/2 inch deep in the prepared soil.
  • If directly sowing seeds into the garden, space the seeds 2-3 inches apart in rows.
  • Once the seedlings emerge and grow to around 6 inches tall, thin them out to a final spacing of 12-24 inches apart in the row. This gives them room to develop.
  • Water the seeded area well after sowing to settle the soil around the seeds.

Planting Seedlings:

  • If transplanting seedlings instead of direct sowing, space the young plants 12-24 inches apart in the garden bed.
  • Dig the planting holes slightly wider than the seedling roots.
  • Water the plants thoroughly after transplanting to eliminate air pockets and settle the soil.

Providing the right full sun exposure, well-draining yet fertile soil, and proper seed sowing depth/spacing or transplant spacing is important for getting Brussels sprouts off to a good start in the garden.

Brussels Sprouts Growth And Maintenance

Source : pexels

Once planted, Brussels sprouts require consistent care for optimal growth and production. Water the plants deeply, about 1-2 inches per week, keeping the soil evenly moist. Apply a nitrogen-rich fertilizer monthly to fuel their development. 

As the plant matures, remove any yellowing lower leaves to direct energy into the sprout heads. Here are things that you should keep in mind.

Thinning/Spacing:

  • Once Brussels sprout seedlings reach around 6 inches tall, thin them out to their final spacing of 12-24 inches apart in the row. Proper spacing allows the plants enough room to mature and develop their sprouts without overcrowding.

Fertilizing:

  • After thinning out the seedlings, apply a nitrogen-rich fertilizer like composted manure or a balanced vegetable fertilizer according to product instructions. The robust sprout development requires ample nitrogen.
  • Repeat fertilizing the plants every 3-4 weeks throughout the growing season to ensure they have a steady supply of nutrients, especially as the sprouts start forming.

Mulching:

  • Apply a 2-3 inch layer of organic mulch like straw, leaves or grass clippings around the plants once they're established. The mulch helps retain soil moisture and keeps the soil temperatures cooler during hot summer weather when Brussels sprouts thrive.

Watering:

  • Brussels sprouts have shallow root systems, so consistent moisture is crucial for proper sprout development. Aim to provide about 1-1.5 inches of water per square foot of planted area weekly through rainfall or irrigation.
  • Be diligent about watering during hot, dry periods. Inconsistent or insufficient moisture can cause issues like small, underdeveloped or prematurely opened sprouts.

Pest Protection:

  • Brussels sprout plants are often transplanted outdoors in early spring when many insects emerge. Using floating row covers can help protect the vulnerable young plants from pests.
  • The row covers allow light, air and water through while acting as a physical barrier against insects trying to feed on or lay eggs on the plants.

Avoiding Root Disturbance:

  • The Brussels sprout root system is fairly shallow and fragile. Take care not to cultivate or disturb the soil around the plants as this can easily damage the roots, stunting growth.

Support:

  • Depending on variety, Brussels sprout plants can reach 2-3 feet tall with a mature spread of 1-2 feet wide. Staking or caging may be required, especially in windy areas, to provide support and keep heavy sprout stalks upright.

Pruning:

  • Remove any yellowing or dying bottom leaves from the plants as the season progresses. This improves air circulation and allows more sunlight to reach the developing sprouts. 
  • About 3-4 weeks before your anticipated harvest time, pinch out the terminal bud at the top of the plant. This redirects the plant's energy into maturing the sprouts rather than new top growth.

Providing the right care from spacing, fertilizing, mulching, watering, pest protection, root avoidance, support and pruning ensures the plants can focus their energy on developing a bountiful harvest of tasty Brussels sprouts.

How To Harvest

When harvesting Brussels sprouts, timing is key. The sprouts should be firm, green, and about 1-2 inches in diameter. Start by twisting off the bottom sprouts once they reach the desired size.

As you remove the lower sprouts, more will continue developing up the stalk. For a continuous harvest, pick the sprouts over several weeks. Use a sharp knife to cut sprouts off the stem if twisting doesn't work. After harvesting, immediately refrigerate the sprouts to maintain their freshness and crisp texture.

Harvesting:

  • The Brussels sprout plant develops its sprouts in a spiral pattern along the stalk, maturing from the bottom upwards.
  • Check the sprouts regularly and harvest the firm, green sprouts from the bottom of the stalk once they reach about 1 inch in diameter. Gently twist them off the stalk.
  • Don't wait too long to harvest as overripe sprouts will loosen, turn yellow/purple and have an off-flavor.
  • Continue harvesting sprouts from the bottom up every 7-10 days over several weeks.
  • After a moderate frost, which helps enhance the sprout's flavor, you can choose to pull up the entire plant, roots and all, if you want to store the remaining sprouts on the stalk.
  • Carefully remove any remaining leaves from the pulled-up stalk.
  • Then hang the leafless stalk upside down by the roots in a cool (32-40°F), dry place like a basement, garage or barn where sprouts can continue maturing slowly.

Storing:

  • If storing the entire stalks, remove the roots first but leave sprouts attached to the stalks.
  • Whole stalks without roots can keep for about 1 month stored this way in a root cellar or cool, humid basement.
  • For sprouts harvested individually, do not wash them until right before using to prevent spoilage.
  • Place the unwashed, freshly picked sprouts into a perforated or open plastic bag and store in the crisper drawer of the refrigerator at 32-40°F.
  • Stored this way, fresh Brussels sprouts should keep crisp for up to 5 days in the fridge.
  • Freeze any sprouts you won't use within that timeframe for longer term storage.

Different Varieties Of Brussels Sprouts

When it comes to Brussels sprouts, gardeners have several tasty varieties to choose from. The classic green sprout is the most common, but there are also purple-hued types like Rubine and Falstaff that add a pop of color to dishes.

For a milder, sweeter flavor, consider grow brussel sprouts varieties like Churchill or Jade Cross. Gardeners in warm climates may prefer heat-tolerant varieties like Royal Marvel or Long Island Improved. Some sprout varieties produce larger heads, while others are praised for their tender texture or early maturity. 

Churchill

  • An early maturing variety, ready to harvest in about 90-100 days from transplanting
  • Adaptable to grow well across a wide range of climates and conditions
  • Produces high yields of medium-sized, smooth bright green sprouts

Diablo

  • Known for being an exceptionally heavy producer of sprouts
  • Vigorous plant growth and high yields even in challenging conditions
  • Sprouts are medium-sized with good flavor and texture

Falstaff

  • Unique reddish-purple sprouts provide color contrast in the garden
  • The distinctive hue is retained even after cooking the sprouts
  • Does well in cooler climates, maturing in 100-110 days

Jade Cross

  • Compact 2-foot tall plants produce high yields in limited space
  • Shows tolerance to diseases like powdery mildew and ringspot virus
  • Good choice for warm areas, with increased heat tolerance

Long Island Improved

  • An heirloom/open-pollinated variety dating back to the 1800s
  • Compact 24-inch plants make it a good option for small gardens
  • Prefers the cooler temperatures of spring/fall for best sprout development

Oliver

  • One of the earliest maturing varieties, ready in just 80-90 days
  • More petite 18-24 inch plants still produce good sprout yields
  • The shorter overall season makes it adaptable to colder northern areas

The variety of differences in days to maturity, plant size, yield potential, heat tolerance, and unique colors/flavors allow gardeners to match the ideal Brussels sprout type to their climate, space constraints, and personal preferences.