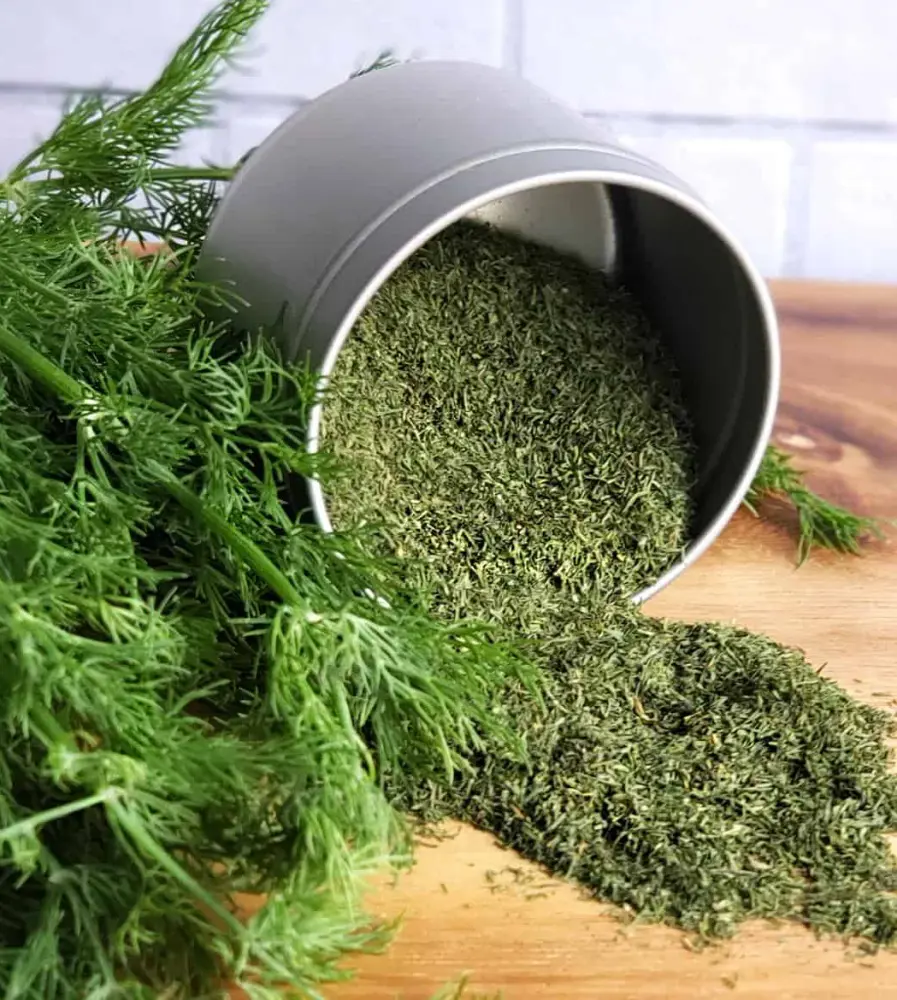
Dehydrating herbs like dill is the easiest and most convenient method of getting our beloved herb all year round. This saves you time and money as well. Besides these, dill can be used in a wide variety of dishes, adding a pleasant smell and increasing flavor.
There are different methods that you can use to dry dill in your house. This article will try to explain 12 such methods that are commonly used to dehydrate dill at home. Some of these methods are inexpensive while some are quite expensive and energy-intensive.
1. Drying in the Oven
Oven drying is one of the most common approaches to dehydrating dill at home. To do this, you first need to clean the dill with water, remove any wilted or yellowish parts of the plant, and leave some part of the stem as well.
You then need to spread the dill on a baking sheet and place that sheet in the oven. The appropriate temperature for this would be around 35 to 57°C. You can slightly open the door of the oven to allow air circulation.
Keep checking your dills in the oven every half an hour. Remember not to heat at high temperatures as this completely ruins the dills.
This must be the easiest and most cost-effective way of drying dills at home. All you need to do is collect dills, clean them, and make a bundle of them by tying them at their base. Do not forget to remove the discolored and damaged parts.
After tying the dills, you then place them in a warm and dry place with a good ventilation system for air circulation. Air drying usually takes one to two weeks, however, it might take more depending on the temperature and humidity of our local environment.
3. Solar Drying
Solar drying is also the easiest and simplest approach to drying dills. You need to uniformly spread the clean dills over a screen or a mesh and place this where the sunlight is adequate. Do not forget to bring the dills inside when the sun goes down.
This method works best in areas with good sunlight and lower humidity. It usually takes 3 days to a week for the dills to dry under the sun. However, the weather conditions might influence its drying.
You can place a fine net or a cheesecloth to prevent the contamination of dust particles, insects, or other unwanted particles.
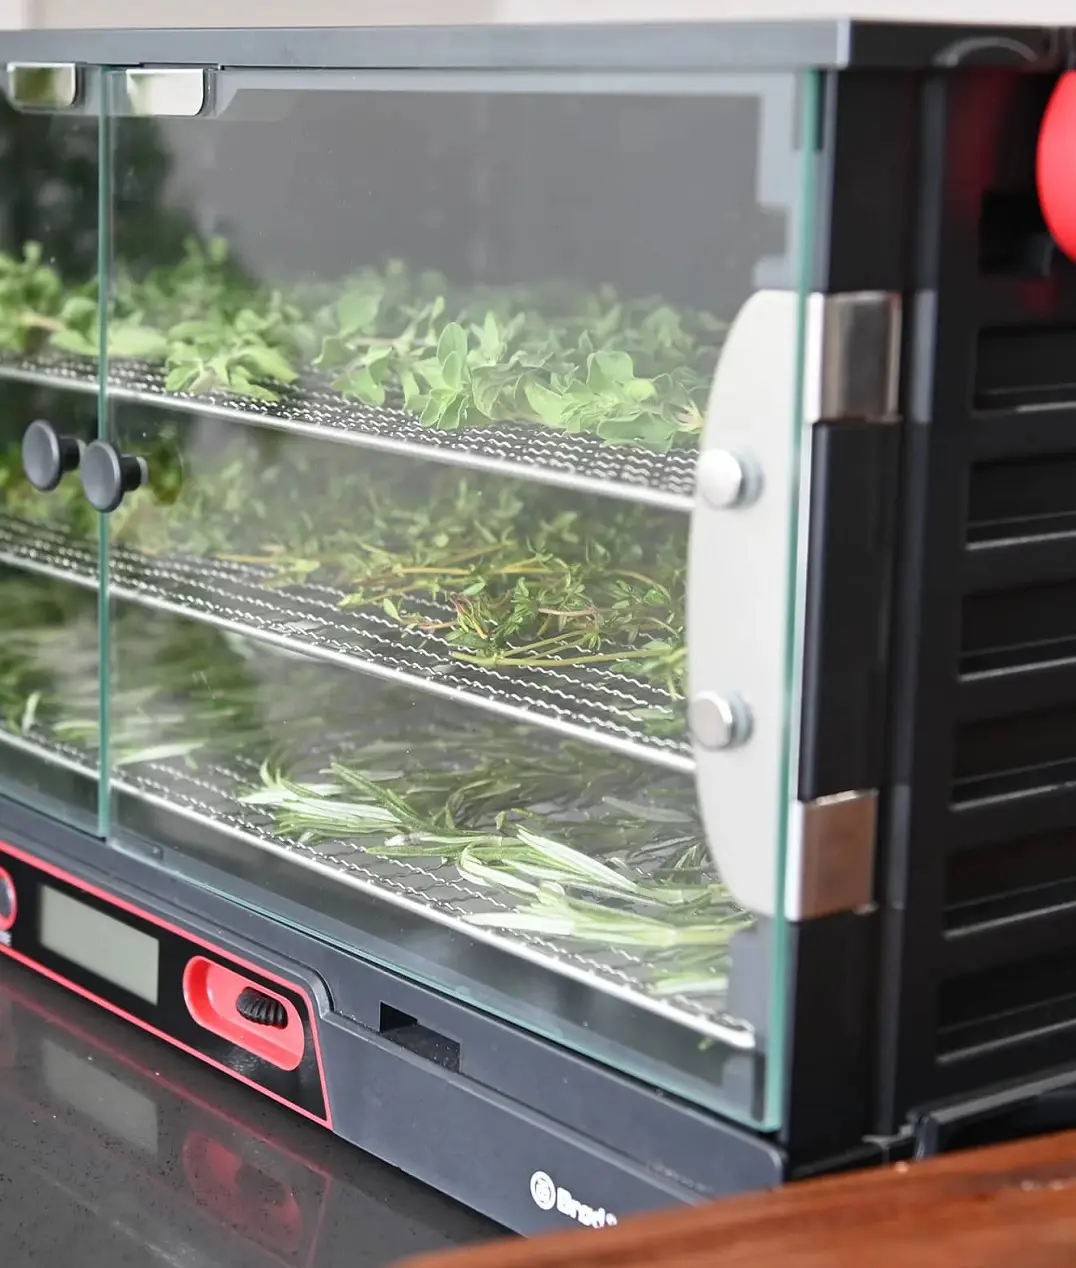
Place the clean dills uniformly over the dehydrator tray ensuring that they are not tightly packed or congested, and put it inside the food dehydrator. The appropriate temperature for this would be somewhere between 35-60°C.
This might take around four hours or more for the dill to dry. Using a food dehydrator is perfect if you have a large quantity of dill, but it would be impractical to buy a food dehydrator if you have a limited amount of dill. Additionally, a food dehydrator helps in retaining the flavor and nutrients of the dried dill.
5. Microwaving
First, you need to clean the dills with water and then place them on a paper towel. Afterward, place the dills over the microwave-safe plate sandwiched between two paper towels and put the plate in the microwave to heat at a high temperature for two minutes.
The dills start bursting in a few seconds so check and rotate the dill at each burst. This is the fastest way of drying dills, however, this diminishes their flavor and quality because of the rapid heating of the microwave.
Remove the dills as soon as they turn crispy and make sure you don't overcook.
6. Freezer Drying
To freeze dry the dills, you need to wash and pat them. Then, place them in a tray and let them freeze completely for a few hours. After the freezing is completed, place the dills in an airtight container. These dills will not be crispy or crunchy like dills dehydrated from other methods.
Frozen dill can be kept in the freezer for several months as long as we need and still retain its flavor. This method, however, is an expensive one and consumes a lot of your time and electricity.
7. Fan Drying
Dills can be dried by using a fan. You need to spread the dills over a tray or a mesh, however, a mesh is preferred as this allows air circulation from all directions. Direct a fan toward the dills so that it blows air constantly, and this will increase their rate of evaporation in the dill.
This method is inexpensive but time-consuming and takes more than twenty hours for dills to try. Try this in a dry and well-ventilated area.
Fan-drying wet dills might increase the chance of molding, so better to put the dills on a paper towel to absorb moisture before drying them with a fan.
8. Salt Drying
Salt drying is another approach that helps to draw moisture from the dills and preserve them for a long time. The aroma and the taste of dill increase when the salt and essential oil of the dill interact with each other.
To salt dry dills or any herbs, you need to first keep a layer of salt at the bottom of the container, followed by an alternate layer of dills. Follow this until the container is full. You might keep this container in the refrigerator when you do not need it. You can easily get rid of the salt by brushing dills or rinsing them in the water.
Make sure you add less salt to your food if you add salt-dried dills to it.
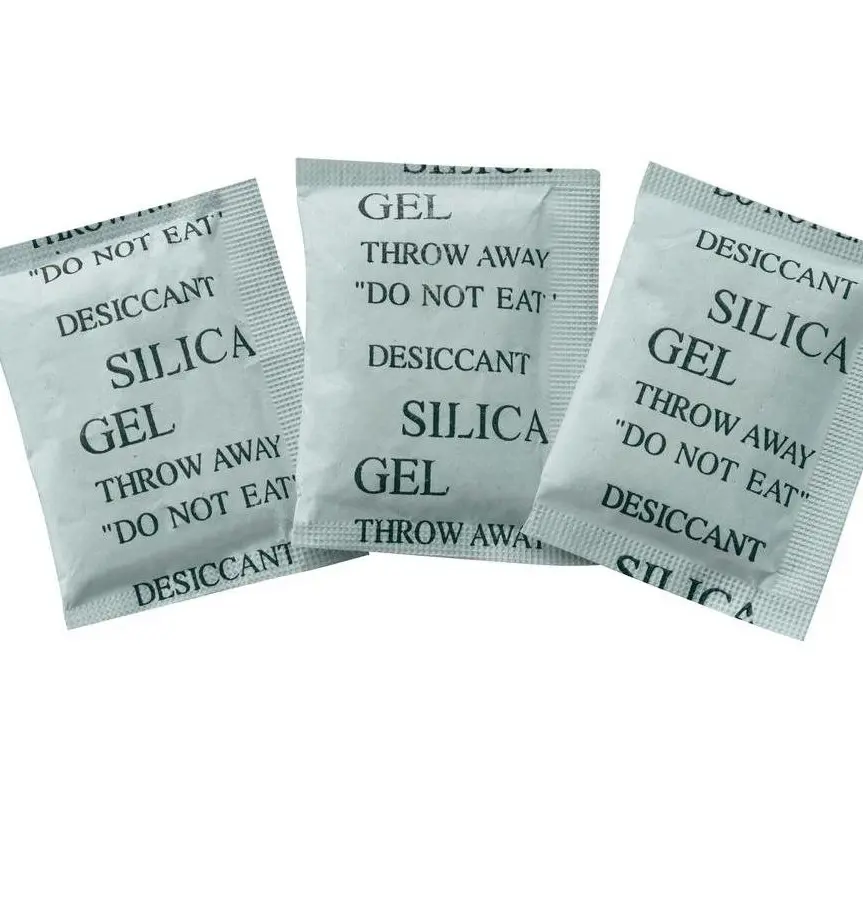
Using desiccant to remove excess moisture from dills can be another option if you want to expedite their drying. Dessicants like silica gel, charcoal, calcium chloride, etc. can be used. Silica gel is the most popular one which is made from silicon dioxide which is very porous, just like sand, and non-toxic to humans.
Keep a packet of silica gel in a vessel containing dills and airtight it. In a few days, silica gel will absorb all the moisture and dehydrate dills.
10. Radiator Drying
The heat released by the radiator can also dry dills. You can put dills over a tray or a cheesecloth and place them near the radiator. Over time it absorbs moisture from them.
You need to keep checking dills as too much heat might ruin them. You also need to turn the dills regularly so that you can prevent molding on them. You should ensure that the dill or the cheesecloth is not touching the radiator, otherwise this would cause a fire hazard.
A radiator might not provide consistent drying like that of a fan drying or air drying approach.
Dehumidifying can also help to absorb moisture from dills if it is placed in a room. Put the clean dills on the moisture-absorbent cloth or paper before dehumidifying them. Then, you need to put dills on a mesh screen which can provide good air circulation, and turn on the dehumidifier.
This will show effect in six hours or more and can take a couple of days to completely dry the dills. This method however might be costly as you need to buy a dehumidifier. Make sure you perform this in a well-ventilated room.
A herb drying rack has a series of levels dedicated to drying different herbs. You can add washed and cleaned dills in each of these levels. This method can accommodate good quantities of dills in a single try. Make sure you uniformly spread dills by preventing overlapping and crowding.
You can place this rack in a warm area with adequate ventilation and regularly check dills. This method is quite time-consuming and often takes a week or more.
Dill is an aromatic plant, whose leaves can be used as herb and seeds as spices. This plant has been used as a traditional medicine for digestion for a long time. Although it is native to the Mediterranean region, it is used as a flavoring agent in the cuisines of many countries.
Appearance:
Leaves: Dill leaves are green, delicate, and feather-like in appearance. These leaves emit an aroma when added to our food and are used as herbs, usually in the dried form.
Stems: Like leaves, the stems are also delicate. They are hallowed and grooved, and often become woody at their base.
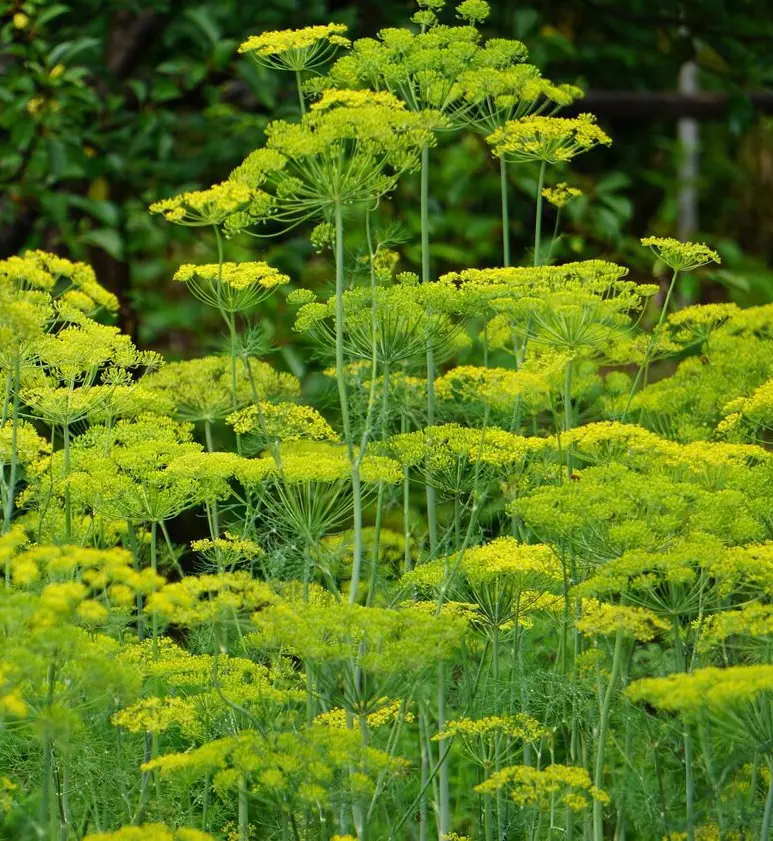
Flowers: The flowers of dill are small and umbrella-like structures. These flowers are edible. Flowers leave fruits/seeds when they bloom and are used for seasoning our food.
Roots: Dill has a long tap root system. It is not used in our household.
Character:
Growth Habitat: Dill is an annual herb sown in late spring to mid-summer and the flower usually blooms in late summer or early fall.
Flavor Profile: Dill leaves are used as herbs as they emit an aroma and enrich the flavor of our food, while the seeds are crushed and used as a seasoning agent.
Cultural Requirements: Dill grows in a warm and sunny climate and cannot withstand frost but can tolerate partial shade. Likewise, it is best suited for soil that has good organic matter and is slightly acidic.
How Long Do Dried Dill Last?
If the condition in which dried dill is kept is ideal, it will last for 2 to 3 years. However, the quality and flavor start degrading over time.
Storage Tips
Container: You need to keep the dried dills in an airtight container or a plastic bag that can be sealed. This way you can prevent the exposure of moisture as well as contaminants to our dills. In addition, a container helps to keep the aroma within it by preventing it from escaping.
Environment: If the container is kept in moisture, heat, or direct sunlight, it accelerates the loss of the scent of dills. Therefore, you need to keep it in a dry and cool environment away from direct sunlight.
Temperature: Higher temperature causes oxidation and degrades the aroma, color, and flavor of dills. So, it is better to keep the container at a relatively cooler temperature. this will increase the self-life of our dried dills.
Quality Over Time
Flavor and Aroma: The flavor and aroma of the stored dried dills is best for about a year. Then over time, it starts losing its quality, in both taste and smell. After a year or so, its effectiveness fades away and cannot have the same influence on our food that it used to have before.
Color: For a few months the color of our stored dried dills is green, however, with the influence of temperature, light, and other environmental stresses, the color gradually changes into yellowish or brownish.
How to Store Dried Dills?
The quality of dried dill depends on how you store it. If it is not stored properly it will lose its quality and longevity in a few months. So, proper care should be given when storing dried dills so that you can maintain its integrity, and quality and prolong its life.
Below are some of the techniques that can be employed to store dried dills at your home.
As we discussed earlier, an airtight container can help to keep the aroma and flavor of dried dill intact for some time. So, choosing the right container is essential when storing dills. It also can protect dill from getting contaminated by dust particles, insects, and other contaminants.
2. Store in a Cool and Dark Place
Herbs like dills are very sensitive to heat and light as direct sunlight and heat can cause oxidation in the leaves. This fastens the loss of smell and taste.
Hence, you need to keep dried dills in a cool and dark place as low temperature reduces the chance of oxidation while dark prevents the breakdown of essential oils from dills.
3. Avoid Humidity
A humid environment will increase the risk of getting mold in our dried dills. Mold can affect the taste and aroma of dill. Additionally, it can also pose health risks.
So, keep the container away from the water tank, filter, sink, or any other place that might introduce moisture to it. Keeping it in a pantry or a cupboard will be the best idea to avoid it.
4. Label and Date
The taste and flavor of dried dills remain optimum for about 3 years. So, by keeping a label and a date, you will be keeping a close look at how old the dried dills are or how long you have been using them.
You can also get an idea of the oldest batch from the date and label, and give them more priority for usage as dills' taste and flavor diminish over time.
5. Avoid Frequent Opening
When you open the lid of the container, you will be exposing moisture, air, and contaminants to the dried leaves. This degrades the quality and potency of dill.
That is why you need to open the lid of the container only if you need to use dried dill. Even if you open it, seal it afterward. In addition, avoid using a wet spoon or your hand to get dried dills.
6. Avoid Crushing
The potency of the dried dill remains intact in its whole form. When crushed, more surface area is exposed to air, temperature, humidity, etc., and loses its flavor and aroma.
You can crush dill only when you need it and keep it as a whole the rest of the time. Keeping dill as a whole slows its degradation and maintains its quality for a long time.
Benefits of Drying Dill
Both the fresh and dried dill serve their purpose. Some might prefer to keep it dry for several reasons. Some of the benefits of drying dill are explained below.
Extended Shelf Life
As fresh dill has a moisture content in it, it spoils in a few days, but dried dill can last up to 3 years which extends its shelf life. You will be saving dill from molding by drying it. Additionally, it will save dill from going to waste, especially if you grow or buy in bulk.
Convenience
It is more convenient to use dried dill from the pantry than going to the grocery store and buying fresh dill. You can then enjoy the taste and smell of dried dill for a few years, even in the seasons when it does not grow.
It can also be added to a variety of dishes from soup to marinades.
Easy Storage
Unlike fresh dill, dried dill does not require refrigeration and is kept in a normal container. In addition, there are cost-effective measures to dehydrate dill at home without using any specific equipment.
Concentrated Flavor
Dehydrating causes loss of moisture but makes the essential oils more potent, which increases the aroma and flavor of dried dill. This means you can add a relatively small amount of dried dill and still get an enriched taste and smell.
Nutrition Retention
Dried dill is as good as fresh dill, providing almost the same nutrients. Thus, you can have dried dill all year around and still take advantage of its nutrient content. Overdrying however can cause a loss of Vitamin C.
Versatility
Dried dill is versatile in our kitchen. Its leaves and seeds can have different purposes and can be used for soup, sauce, stews, salad dressing, baked goods, etc. Thus having dried dill comes in handy when making some dishes in your kitchen.
Cost Effective
Buying dill in bulk and drying them will be more cost-effective instead of buying them regularly. You can buy fresh dill from the farmer's market and dry the surplus, which is economical and also provides you constant supply of dill.