Gardening

10 Ways To Dry Basil At Home

Source : facebook

Basil surely tends to be the favorite herb in American kitchens due to its adaptation in any dish. One of the easiest ways to maintain basil's taste and aroma long after harvesting season is drying. 

So, if you want to learn how to dry basil at home, keep reading this blog. Here, we present 10 different but easy ways so that you never have to buy it from the store again.

1. Sun Drying

Source : urbanfarmie

After harvesting and ensuring the basil leaves are clean and dry, spread them in a single layer on a clean, dry surface. Place the tray where it will receive consistent, strong sunlight. Within a few days, the leaves will become completely dry and brittle.

Once dried, you can crumble them into flakes or store them whole in an airtight container. This sun-drying technique not only preserves the basil's aromatic qualities but also transforms it into a valuable addition to your collection.

2. Air Drying

Source : facebook

Air drying is the easiest and most traditional way to dry basil. Simply gather small bunches of leaves and tie them together with kitchen twine. Hang these bundles upside down in a well-ventilated area, out of direct sunlight.

This method allows the basil leaves to gradually lose moisture, enhancing their flavor and aroma. As the basil dries, its bright green color will darken. The drying process usually takes 1-2 weeks, depending on the humidity in your home.

3. Dehydrating

Dehydrating basil is a more efficient and effective preservation method compared to air drying. Using a food dehydrator ensures faster drying, better flavor retention, and less waste. But oh my, these are expensive!

Arrange the basil leaves in a single layer on the dehydrator trays. Set the dehydrator to the lowest temperature typically between 95°F-110°F. Dry at 95°F-110°F for 4-10 hours, until completely dry and crisp. Some models even have a specific "herb" setting, which is ideal.

4. Oven Drying

Source : littlehomeinthemaking

Drying basil in the oven is incredibly easy and perfect for drying a large batch of herbs at once, plus it fills your kitchen with a delightful aroma! If you're short on time, you can use this method. Start by placing clean basil leaves in a single layer on a baking sheet lined with parchment paper.

Set your oven to 105-120°F or the lowest possible setting. Leave the oven door slightly ajar to allow moisture to escape and dry the leaves for about 2 hours, checking every 30-45 minutes. Once fully dry, remove them from the oven.

5. Drying Basils in Microwave

Source : reddit

Using the microwave to dry basil leaves is a quick and easy method, but it requires careful attention. One limitation is that you can't dry large batches at once. First, pluck, wash, and dry the leaves. Lay them out in a single layer on a paper towel, ensuring they don't overlap. Set your microwave to medium power and heat the leaves for 20 seconds.

Check them, then continue microwaving in 10- to 15-second intervals until they're dry. Keep a close eye on the leaves, as microwaves often heat unevenly. Once the basil leaves are crumbly, they're ready for storage.

6. Drying Basils with Air-Fryer

Using an air fryer to dry basil is similar to using an oven. Start by preheating the air fryer to its lowest temperature setting. If your air fryer has a "dehydrate" function, it's like upgrading to the VIP treatment.

Arrange the basil leaves in a single layer on the air fryer trays or racks, leaving space between each leaf to ensure proper airflow. Place the trays in the preheated air fryer and let the basil dry for 1-2 hours, checking periodically to avoid over-drying.

7. Drying with Frost-Free Refridgerator

Source : pexels

Drying herbs in a frost-free refrigerator is a simple yet effective method to preserve their flavor and color. Begin by wrapping the fresh herbs in layers of paper toweling, which helps absorb moisture from the leaves. Place the wrapped herbs directly on a shelf in the refrigerator.

Avoid plastic bags as they would trap moisture and slow the drying process. The frost-free feature of the refrigerator then comes into play, evaporating the moisture absorbed by the paper towels. Throughout 3 to 4 weeks, this gradual process results in nicely dried herbs.

8. Salt-Drying

Drying Basils using salt is one of the most cost-effective ways to dry basils. Salt has been used for centuries to dry and preserve foods. It pulls out the moisture from herb leaves and preserves the original flavor. Salt also inhibits the growth of microorganisms by drawing water.

Start with freshly picked basils that have been cleaned and thoroughly dried. Layer fresh basil leaves with coarse salt in a container. After a week remove the basil leaves and brush off the excess salt. You should have freshly dried basils to add to your herb collection.

9. Using Electric Fan

It doesn't matter if you don't have an oven or dehydrator because you can dry basil easily with the help of an electric fan as well. To dry basil using an electric fan, start by washing and gently drying the leaves. Arrange them in a single layer on a flat surface.

Position the electric fan nearby on a low setting to gently circulate air over the leaves. Check and rotate the basil every few hours. Depending on humidity levels, it may take several hours to a day for the basil leaves to dry completely. This method preserves the flavor of fresh basil effectively.

10. Use Silica-gel

Source : madejustforu

Drying basil with silica gel is a meticulous yet effective method for preserving its flavor and vibrant green color. Begin by washing and drying the basil leaves gently to remove any dirt or moisture.

Next, prepare a clean, shallow container and create a sandwich of silica and basil leaves with basils in the middle. Seal the container with a lid or plastic wrap to prevent moisture from entering and leave it undisturbed for 1-2 weeks, depending on humidity levels and leaf thickness. And you need not worry for silica gel is completely safe.

A Step-By-Step Guide On Drying Basil

We have listed the easy steps to dry basil below;

Source : reddit

Step 1 - Harvesting and Cutting

Basil will begin to flower once its leaves on a stem are fully grown, but its flavor diminishes once flowering starts. To prepare and dry basil, harvest it after all leaves have sprouted but before flowering.

Mid-morning is ideal for harvesting when the plant is hydrated but the sun has dried the leaves. If flowering begins, cut the stem just above a pair of emerging leaves. Separate basil bunches, trim the leaves from the main stem leaving a short piece of stem, and bundle them for drying.

Step 2 - Preparation

Before drying basil, it's important to rinse the cut leaves under cold water to eliminate any dirt, chemicals, or debris that may have accumulated during growth or transport.

After rinsing, lay the leaves on a paper towel and gently pat them dry with another towel to remove excess moisture. This step helps prevent molding during the drying process.

Step 3 - Choose your preferred Drying Method

As mentioned in the above article there are various ways to dry basil. You can choose from among different methods like air-drying, sun drying, drying basil in the oven, drying in the microwave, air fryer drying, refrigerator drying to drying with the help of silica gel.

It all depends upon your choice. Dry the basils as mentioned in the ways above.

Step 4 - Storage

Once dry and crispy, remove leaves from them and store them in an airtight container. Store in a cool, dark place to maintain flavor.

For crushed basil, crumble the leaves into a jar or use a parchment paper funnel for easier transfer. Whole dried basil can last 6-12 months, while crushed basil stays good for 3-6 months. Store both types in a cool, dry place.

We hope you enjoy your dried basils all year round!

Benefits of Drying Basils

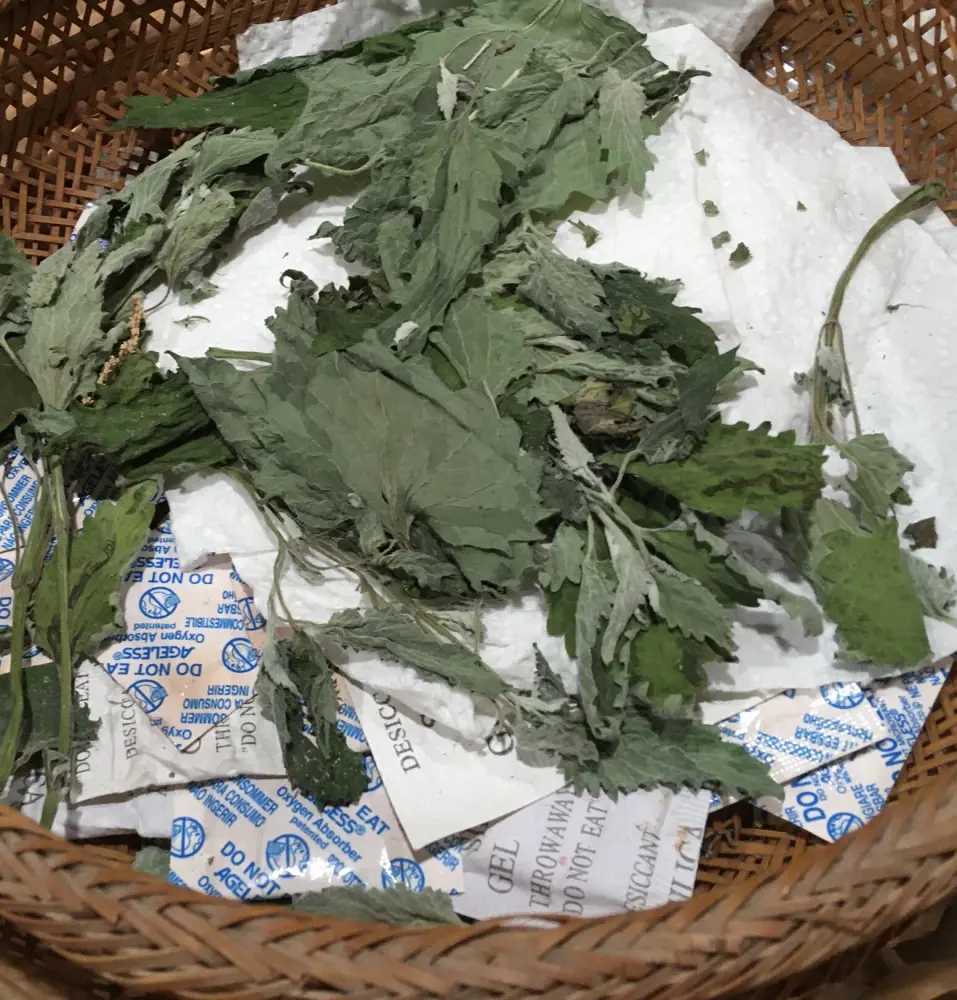
Drying Basils comes with tons of benefits and we've enlisted some ways to dry basils further below;

1. Preservation

Drying basils aids in the preservation of basils because if not dried and stored the basils will eventually rot. So drying basils is the ultimate way to preserve them and use them for quite a long time.

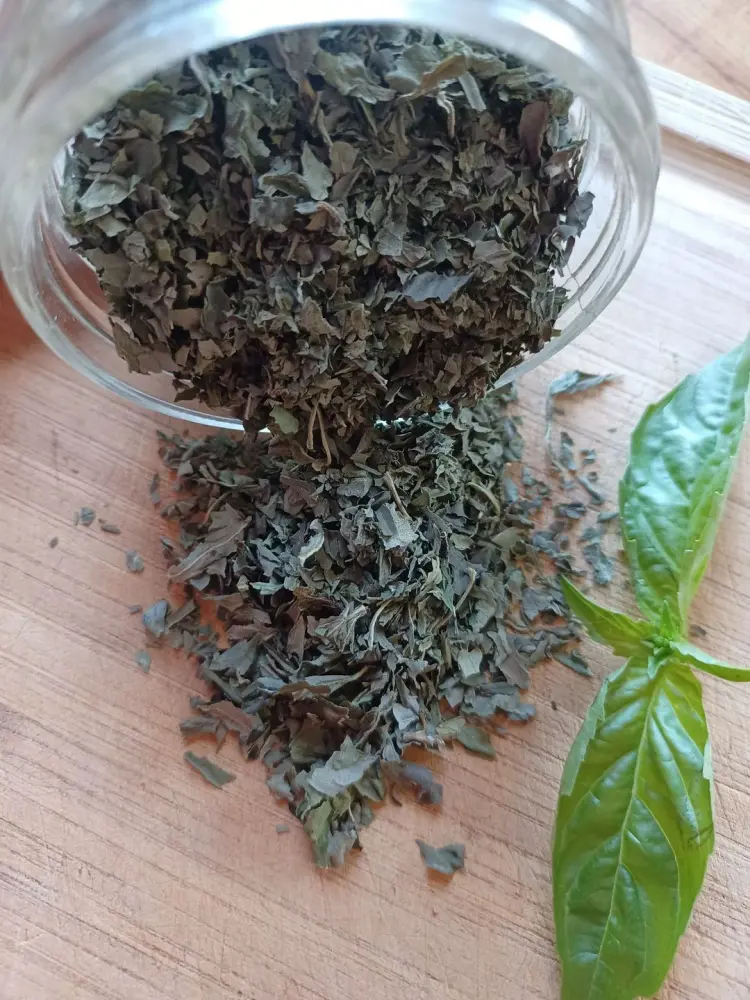
2. Intensified Flavor

Dried basil actually concentrates its flavor, making it more intense compared to fresh basil. This is because the drying process removes water content, leaving behind a higher concentration of aromatic oils and flavor compounds.

It's like the culinary version of Basil's greatest hits album-packed with all the good stuff!

3. Convenience

Dried basil offers fantastic convenience. It's shelf-stable, so you can keep it on hand for whenever inspiration strikes in the kitchen.

No need to worry about wilting leaves or spoilage as it's ready to sprinkle into sauces, soups, or onto pizzas with just a quick reach into your pantry. Plus, you can use it year-round, regardless of basil season. 

4. Health benefits

Dried Basil offers a wide range of health benefits as it is good for the respiratory system and can be consumed as an herbal tea. It can be also used to treat throat and nose infections.

It also aids in recovering from dysentery, nausea, and gas problems in the stomach.

5. Cost-effective

As we told you earlier, drying basils by yourself will prevent you from going to the spice aisle in the convenience store. So talk about how cost-effective it sounds. Once you dry and store basil, it is sufficient for 2 years. You never have to worry about spending a single penny on basils.

6. Versatality

Talk about being versatile! Dried basil serves the purpose of being a medicinal herb to the purpose of enhancing the flavor of your favorite food like Pizza. It just fits in anywhere just right.

7. Nutrient Retention

Drying also preserves many nutrients present in fresh basils so you need not worry about nutrition loss while using dried basil.

8. Travel-Friendly

Although it isn't the talk of the town but you must admit that dried basil is travel-friendly. You can carry it anywhere if you are one of those person who needs to have a pinch of basil's aroma in their diner.

9.  Culinary Experiment

Dried basil allows for experimentation in recipes without the risk of wilting or spoiling fresh herbs. So you are more than welcome to try basils to make a soup or basil cake and experiment with it as per your need.

10.  Easy Storage

Dried Basil takes up less space compared to fresh herbs. You can just store it any any air-tight container and it won't take you much space as well.

How To Store Dried Basils?

Source : reddit

Dried basil can be stored either as whole leaves or crushed. Whole leaves retain more flavor but are less convenient to use quickly. Arrange whole leaves carefully in an airtight container without crushing them. For optimal preservation, keep them in a cool, dark cupboard away from heat or sunlight.

For crushed basil, crumble the leaves into a jar or use a parchment paper funnel for easier transfer. Whole dried basil can last 6-12 months, while crushed basil stays good for 3-6 months. Store both types in a cool, dry place.

How Long Dried Basils Last?

Dried basil leaves typically maintain their best quality for about 2 to 3 years, though their actual shelf life can extend beyond this period if stored properly. Over time, dried basil can lose its potency, resulting in a diminished flavor and aroma.

Proper Storage Conditions

To maximize the shelf life of dried basil, it should be stored in a cool, dark place away from direct sunlight, heat, and moisture. An airtight container, such as a glass jar with a tight-fitting lid, is ideal for preserving the herb's flavor and aroma.

Avoid storing dried basil near the stove, dishwasher, or any other appliances that generate heat or humidity.

Potency Check

Even when stored under optimal conditions, dried basil will gradually lose its potency. To check if your dried basil is still good to use, rub or crush a small amount in your hand and assess the aroma and flavor.

If the scent is faint or the flavor is not pronounced, it's time to replace your dried basil with a fresh batch.