Sprinkler systems allow the growth of lush and green lawns. However, sprinklers that are not adjusted correctly tend to make one area too watery, with the others remaining dry; also, they waste water on the pavement.
Adjusting the sprinkler heads is what it takes for equal distribution and reasonable water use. The guide will take you through the steps in effectively adjusting lawn sprinkler heads. So make sure you follow along and don't miss any steps.
Step 1: Identify the Type of Sprinkler Head
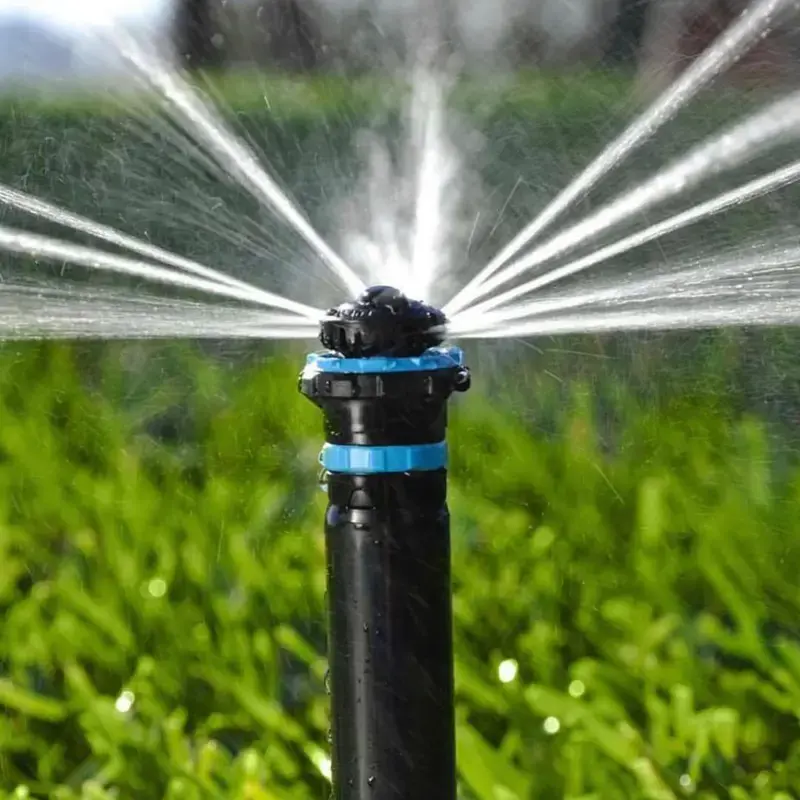
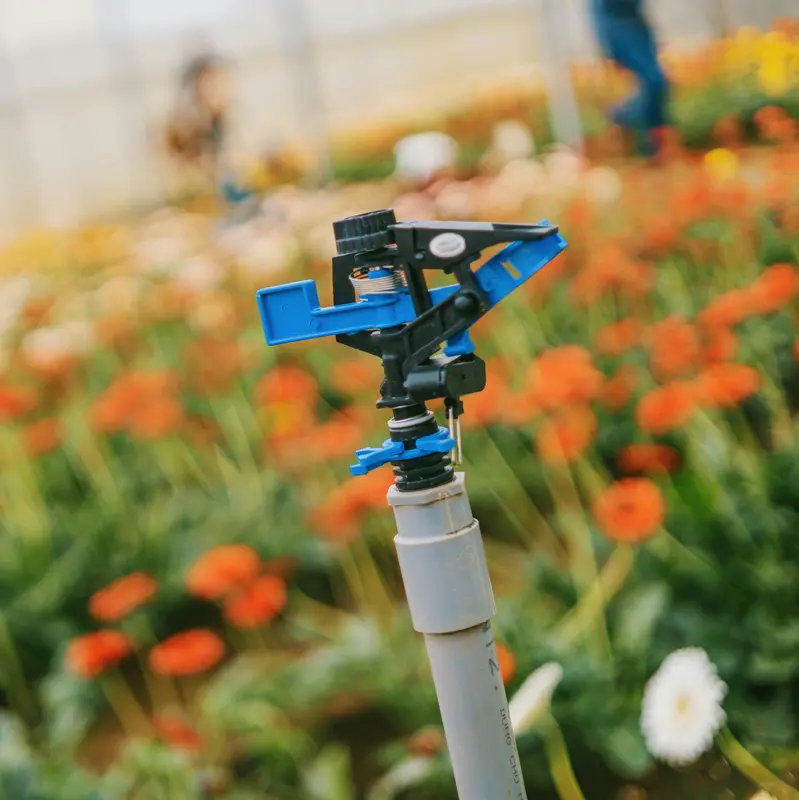
First, you need to identify the kind of sprinkler head you are dealing with a rotor, spray, or impact head. Rotor heads are used for larger areas and possess a rotating mechanism that allows them to turn around and sprinkle wide swaths of your lawn.
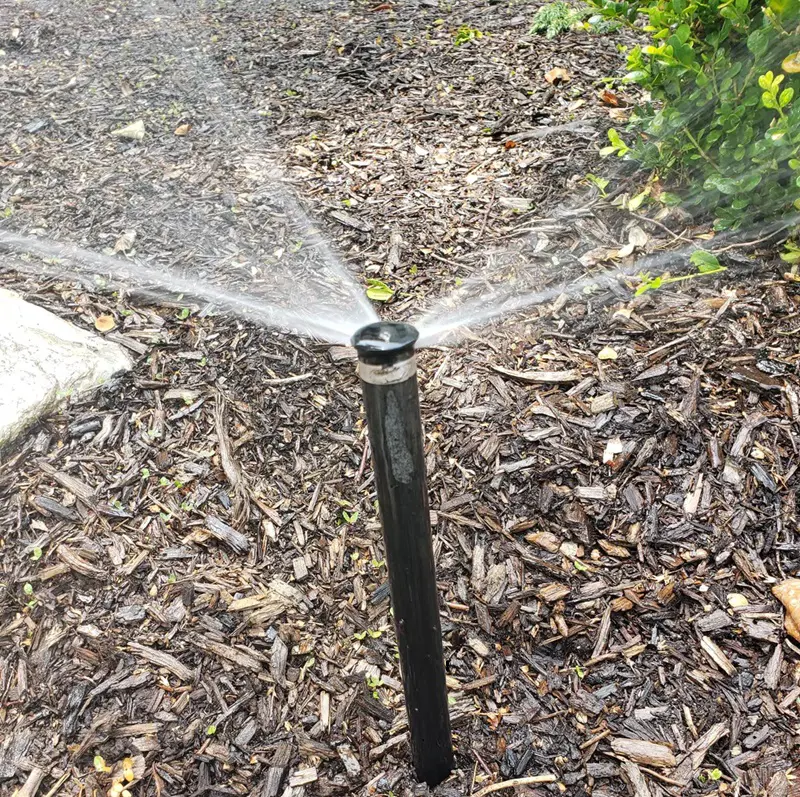
Spray heads, as opposed to the former, are fixed and better utilized for smaller, more 'fine-tuned' areas.
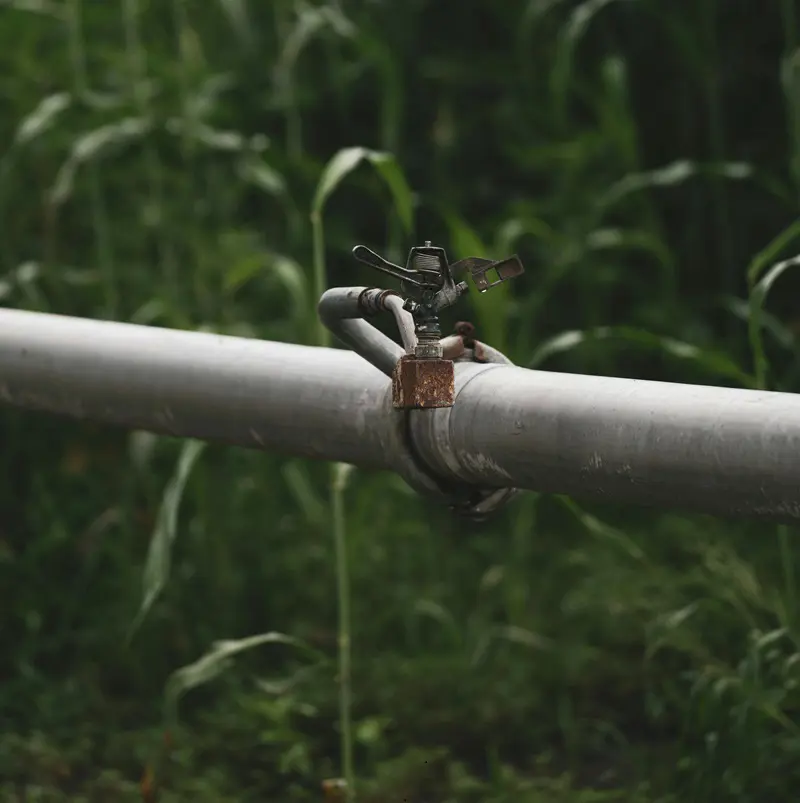
The impact heads are mainly installed in larger, usually irregularly-shaped areas and make clicking sounds, very distinctive when turning. Determining the sprinkler head type you are working with will help guide you in selecting the correct tools and procedures for adjustment.
Pro Tip: Rotor and impact heads most often come with specific adjustment tools; spray heads usually use a flathead screwdriver for adjustments. Have the proper tools on hand before beginning.
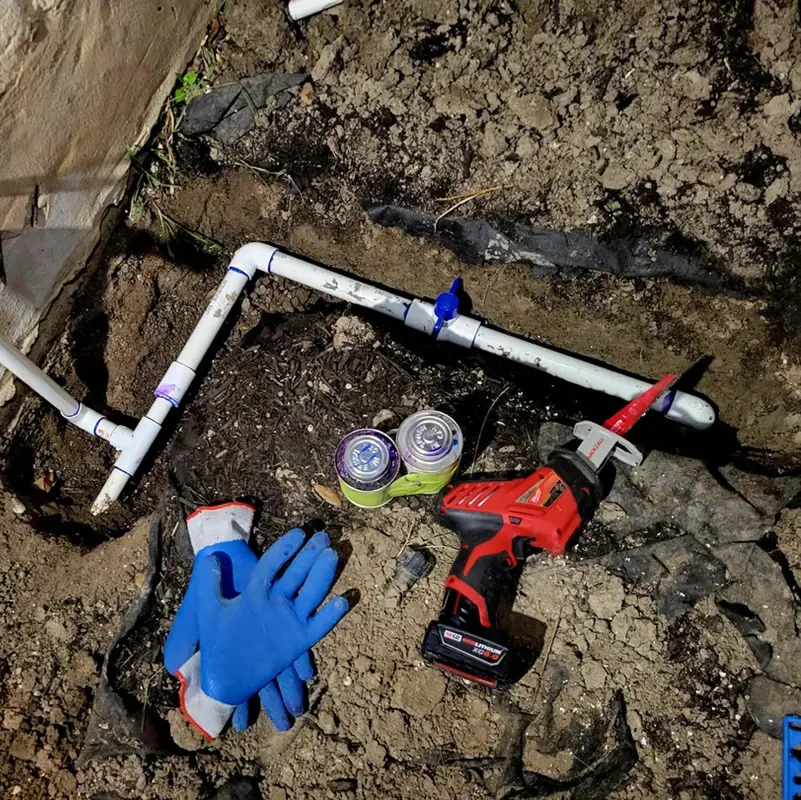
First and foremost, you should shut off the water supply before making any replacements of your sprinkler heads. You would not want to make sprinkler head changes with the water turned on; this will result in an unpleasant soaking, probably even damaging the sprinkler system.
Besides, turning off the water supply prevents the hassle of a mess and allows easy handling and inspection of the sprinkler heads. This simple step is often forgotten yet vitally important for a smooth adjustment process.
Safety First: Make sure that the main water valve to the sprinkler system is fully open counterclockwise before trying to make any adjustments.
Step 3: Locate the Sprinkler Heads That Need Adjustment
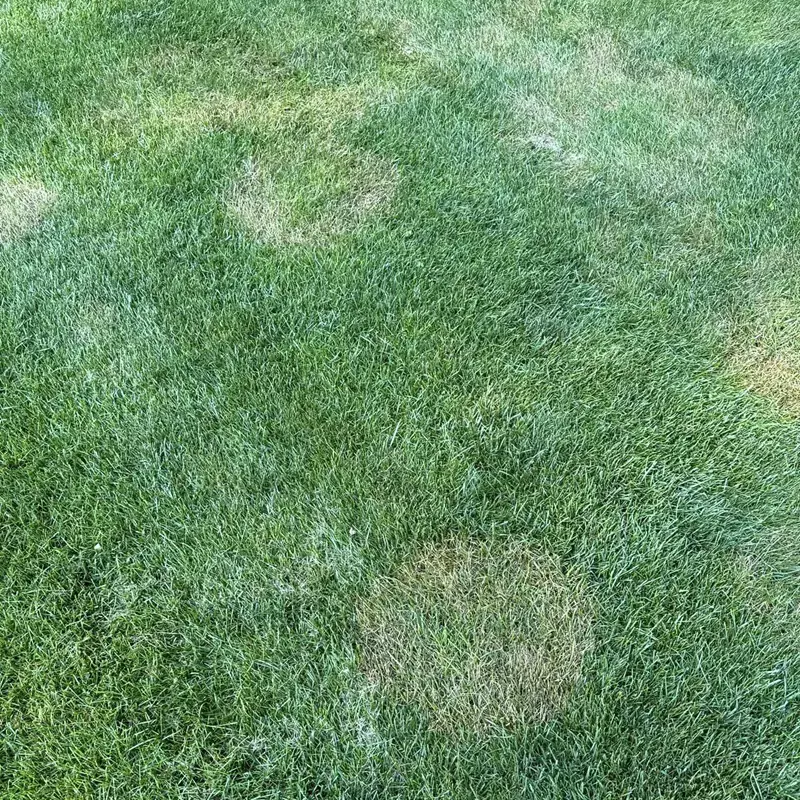
Turn the water off and then take a walk around your lawn to identify the sprinkler heads that need adjustment. A poorly adjusted sprinkler head can be identified by the water spraying onto the sidewalks, streets, and other areas devoid of grass.
There may also be patches of lawn with either too much dryness or sogginess. Observe these problem areas and jot down each sprinkler head that needs attention. This would make the adjustment process much smoother, as then you can hone in on only those sprinklers that require the fixing.
Pro Tip: Mark the areas with small flags or stakes where there is a problematic sprinkler head. It will be much easier to find them when you start adjusting it.
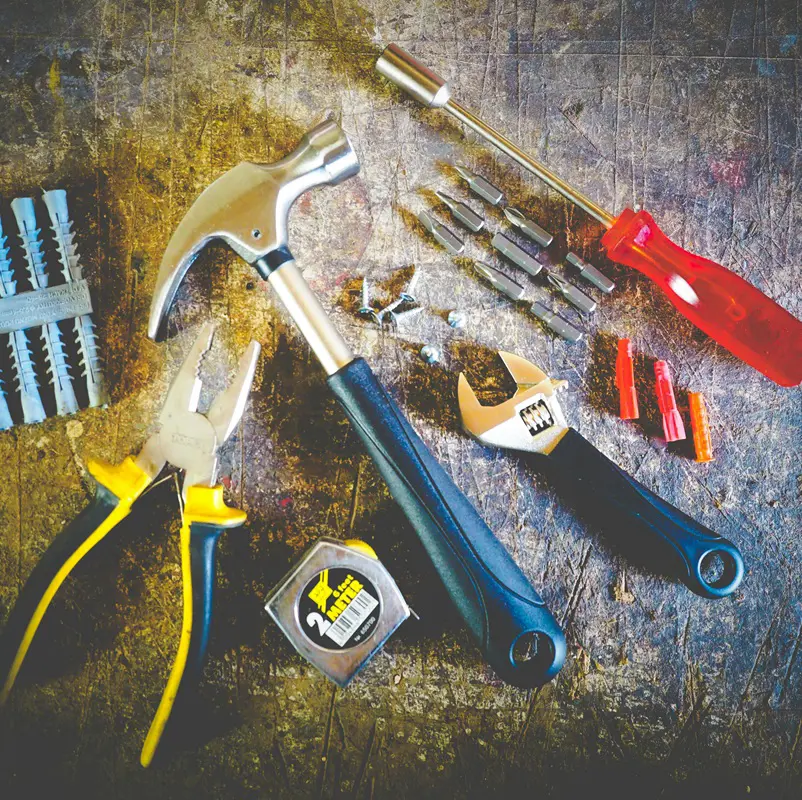
Before you make the adjustments, ensure that you have all the tools for the job: you may need a screwdriver most of the time, flathead-and sometimes a sprinkler adjustment tool or even pliers besides a small shovel to dig around the heads, if needed.
Having the right tools on hand will speed up the process, but they also tend to prevent damage when adjusting the sprinkler heads. Proper tools will make precise adjustments easier, assuring better water coverage and system performance.
Pro Tip: Sprinkler adjustment tools are usually available in most home improvement stores. Most sprinkler heads have their own special tool that makes adjustments fast and easy.
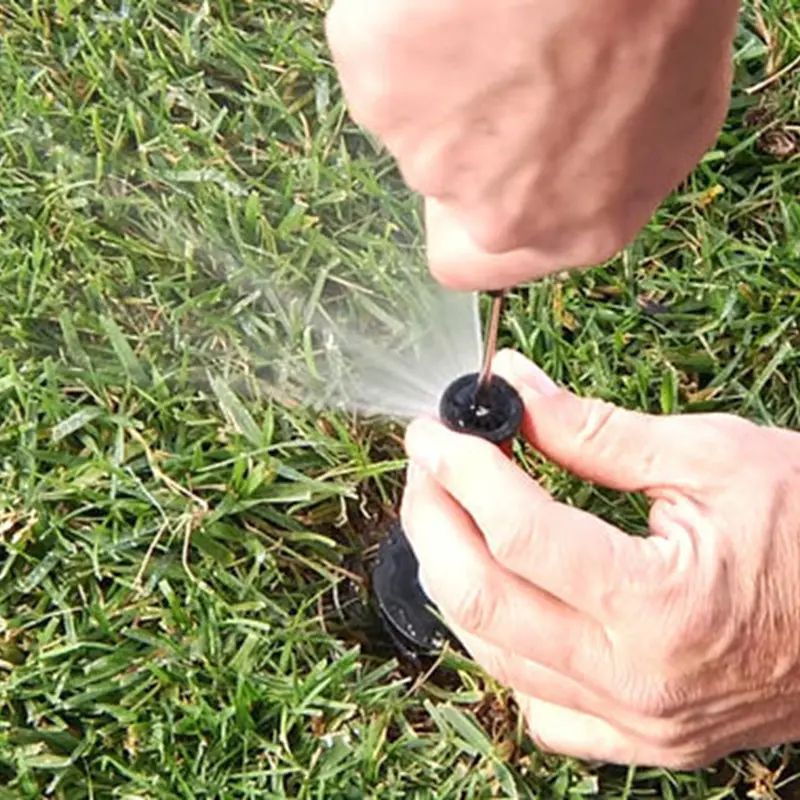
Step 5: Inspect the Sprinkler Heads
Now that you have selected the sprinkler heads that need adjustment and rounded up your tools, the next thing you should do is the sprinkler head inspection. Check each head very carefully for signs of damage, which include but are not limited to cracking, clogging, and wear and tear on parts.
Sprinkler heads that have been damaged might just not perform right after adjustments, so now is the best time to assess whether they need to be repaired or replaced in the first place.
The common ones are a clogged nozzle that disrupts the water flow. If you happen to find some damage, you'll have to replace the sprinkler head before adjustment.
Note: Sprinkler heads that cannot be repaired must be replaced. It should not be adjusted, for a properly functioning sprinkler head is very important in an effective water distribution system.
Over time, dirt and debris accumulate in and around your sprinkler heads, creating blockages that disrupt the water flow. Take only a minute to clean each sprinkler head before making any adjustments.
Use a small brush or even a cloth, gently wiping whatever kind of dirt or grime may be on the nozzle. If there is a blockage in the nozzle, clear the blockage carefully with a thin wire or a needle. Cleaning of heads will make them work as effectively as possible, and your adjustment will be effective.
Pro Tip: Sprinkler heads should be cleaned regularly, like any other yard work, so that they will not block up, allowing constant water flow.
Step 7: Adjust the Sprinkler Head Height
The height of your sprinkler heads is very important in terms of water distribution. If one sprinkler head is set too high, then it may spray over where you want it and waste the water. And if it is too low, it can't properly deliver the water.
To set the height, if the head is set too high, carefully dig around it and settle it down in the ground until it is level with the soil around it. If the head has settled too low, you'd fill in some soil around the base to bring it up to grade.
Proper positioning of your sprinkler heads will help you achieve even distribution of water across your lawn.
Pro Tip: Check the head of the sprinkler to sit even with the ground by making use of a level. This is going to help you keep off an uneven watering of the lawn and may also protect the head from lawnmowers that might damage it.
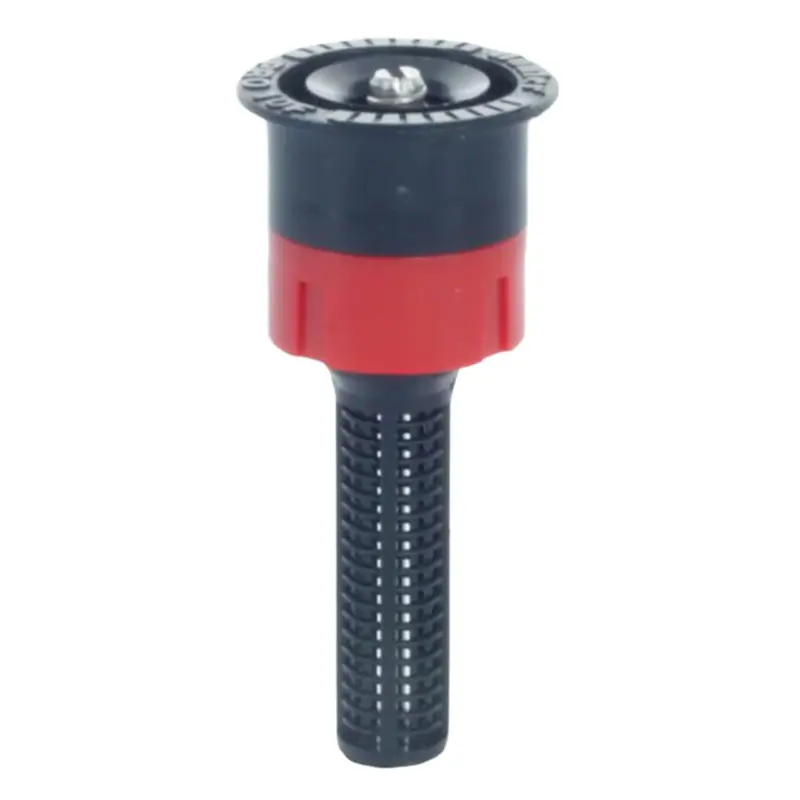
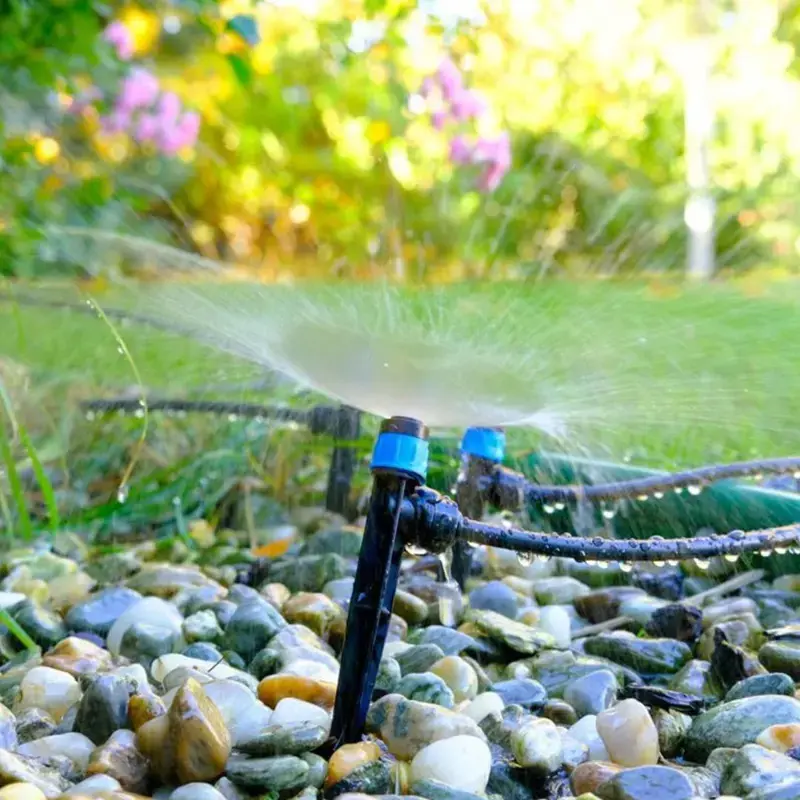
Adjusting the spray pattern is quite instrumental in ensuring that your sprinkler head covers the right area. Most types of sprinkler heads have different ways through which the spray pattern is adjusted.
In the case of rotor heads, the arc can usually be adjusted by simply turning a screw at the top of the head. You will be able to widen or narrow the range at which the sprayer sprays. Spray heads have twisted nozzles that allow changing the spray pattern from full-circle to half-circle or even quarter-circle.
By adjusting the spray pattern, you ensure water is applied exactly where it should be and it isn't wasted onto sidewalks or driveways.
Pro Tip: When adjusting the spray pattern, start with small adjustments and test the system frequently to avoid over-adjusting, which might result in new coverage issues.
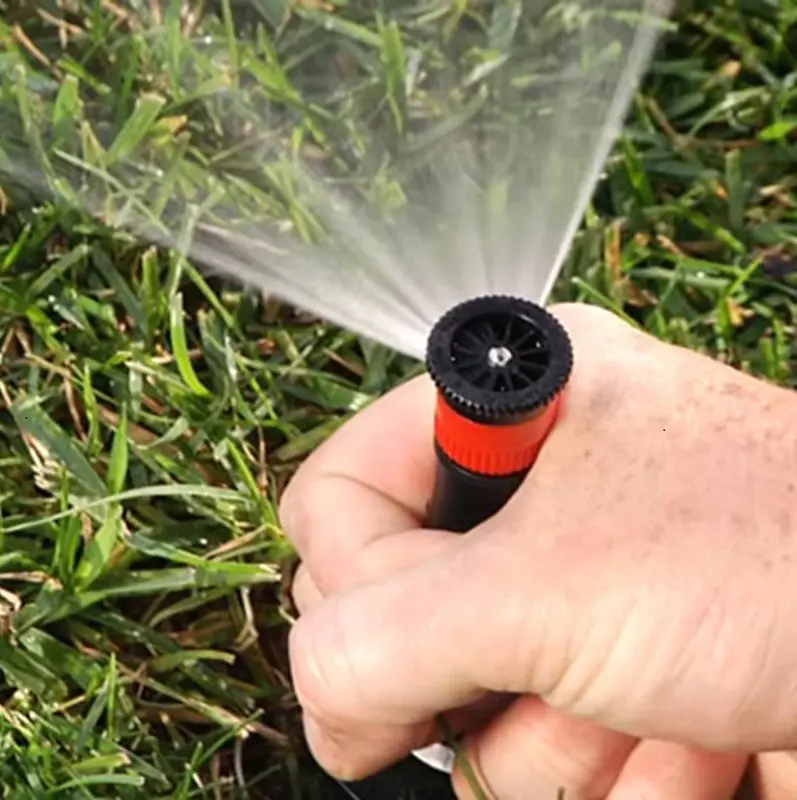
Step 9: Adjust the Water Pressure
Water pressure is one of the major factors in determining how far and effectively your sprinkler heads can spray water. Prevalent pressures in case of excess force cause misting, which results in water wastage, while too little pressure causes poor coverage.
To adjust water pressure, you can change the setting by looking for a control valve on a sprinkler head or an adjustment screw. On a rotor head, you can increase or decrease water pressure simply by turning the adjustment screw.
Pro Tip: If you note low pressure at all points in your system, the installation of a pressure regulator can normalize this issue for consistent performance.
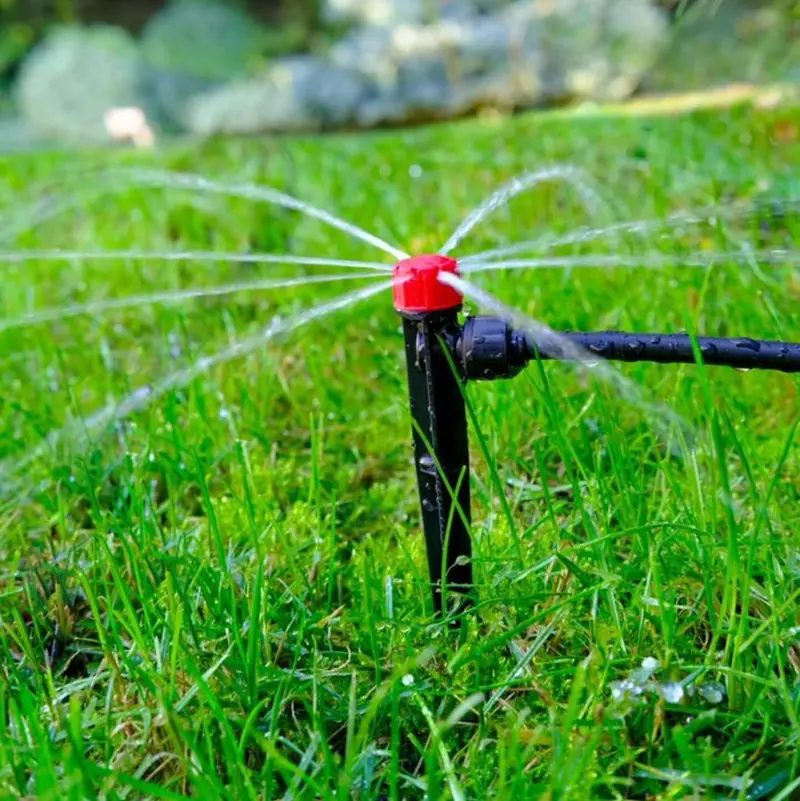
Another consideration to ensure that the sprinkler head will cover evenly is its spray distance. If your sprinkler head sprays too far, you may have parts of the spray landing in the street, driveway, or sidewalk. On the other hand, if it does not spray out far enough, portions of your lawn may remain dry.
To adjust the spray distance, look for the adjustment screw on the sprinkler head. On rotor heads, spray distance is reduced when the screw is turned clockwise and increased when it is turned counterclockwise. Spray heads can also be adjusted similarly by twisting the nozzle.
Pro Tip: Measure how far your sprinkler sprays and then compare that to the area you want to cover. Increase the amount in small increments until the spray covers the area needed for a more precise setting.
Step 11: Align the Sprinkler Head
A misaligned sprinkler head can cause water to waste by spraying off in the wrong direction. It is time to realign the sprinkler if your sprinkler head is watering the driveway or sidewalk instead of your lawn. Turn the sprinkler head from side to side until it faces the correct direction.
Most pop-up sprinklers allow you to turn the riser or nozzle by hand. This may include a minor adjustment of the turret in another direction for rotor heads to change the spray arc. Correctly aligned sprinkler heads direct water to the areas where it's needed most, preventing waste and increasing efficiency.
Pro Tip
After realigning the sprinkler head, run the system to confirm the water is being distributed evenly over your lawn.
Leaks in the head of the sprinkler lead to water wastage and a poor operating system. After adjustments are made, check for leaks. Turn the water back on and then proceed to check around each sprinkler head.
Leaks are usually caused by damaged seals, loose connections, or sometimes a crack in the head of the sprinkler. If there are leaks, take the time to tighten loose connections or replace the worn-out parts. This will save water more efficiently and allow equal pressure in your system.
Pro Tip: Take just a few minutes each month to inspect your sprinkler heads for leaks. Not only does this save you cash on your water bill, but it also protects your lawn from overwatering.
Step 13: Test the System
Now, it's time to test the sprinkler system with the adjustments made. Turn the water back on and run the system through a full cycle. Observe the water distribution, ensuring that every area of your lawn is receiving adequate coverage.
Look for spots that were missed, for overspray, or even leaks that you may have left undone. This will allow you to fine-tune those remaining areas of concern and make sure that your sprinkler heads are operating at peak efficiency.
Pro Tip: Just think-test the system out at different times of day and note effects of wind and sun exposure on water distribution. This will help make any necessary adjustments for optimum performance.
Once you have tested the system, you might find it needs one or two tweaks in adjustment to get it just right. You may want to adjust the spray pattern, adjust the spray distance, or realign that one sprinkler head that is slightly askew.
You adjust the system so that each part of your lawn is indeed getting proper water. Often, small adjustments make quite a difference in how your sprinkler system works, so do not rush to get this step over and done with.
Pro Tip: Document changes you have made so you may refer back to them later. This will make it easier to troubleshoot any issues at a later date.
Step 15: Reassess Periodically
Lawn conditions and irrigation sprinkler head performance can change over time due to factors like weather, plant growth, or wear and tear. It’s crucial to reassess your sprinkler system regularly to ensure it’s still functioning correctly. Walk through your lawn every few weeks, checking for signs of malfunction.
If you notice any issues, it's time to adjust your lawn sprinkler heads. Knowing how to set a sprinkler head and how to adjust irrigation sprinkler heads will help you maintain even water distribution. Whether you need to rotate a sprinkler head, adjust pop-up sprinkler heads, or change the direction of a sprinkler head, it allows you to catch and correct issues.
Pro Tip: Set a reminder to reassess your sprinkler system at the beginning of each new season. This is a great time to adjust sprinkler head rotation and fine-tune your system to meet any seasonal changes in your lawn’s watering needs.
Your sprinkler requires frequent maintenance if it is to perform optimally. It means cleaning the sprinkler heads, checking for leaks, and adjusting when necessary. Doing routine maintenance like a check at the start of the season will allow your sprinkler system to keep working well and efficiently.
A well-maintained sprinkler system will save water and even foster a much healthier lawn to decrease future repairs or replacement costs. Consider having a professional inspection and maintenance service once a year so that it remains in peak condition.
Common Mistakes To Avoid
Not Following Manufacturer Instructions: Each model of sprinkler head might have a different kind of adjustment. If a person does not use the manufacturer's instructions, he will end up setting the wrong settings and then the distribution of water will be poor. Always read the instructions that come along with your sprinkler heads and follow them.
Sprinkler Head Over-Tightening: While sprinkler heads should be fitted tightly into position, over-tightening them may cause their destruction. Of course, adjustments need to be firmly done but not excessive, so it will not become leakage or malfunctioning parts.
Not Checking Water Pressure: Poor coverage can be due to the adjustment of sprinkler heads without considering the water pressure. Low pressures give weak patterns of spray, while high pressures result in overspray, hence total wastage of water. Check the water pressure before adjusting the sprinkler heads.
Not Testing the System after Adjustments: After adjustments, a full cycle needs to be run to test the system. Without this, issues may not be notified that could be occurring, like uneven coverage or overspray, which would take a toll on your lawn's health.
Neglecting the Pop-Up Sprinkler Heads: These sprinkler heads tend to clog and misalign if their regular cleaning has not been done. This will lead to poor performance of the sprinkling system; therefore, check and clean the heads from time to time.
Improper spray pattern adjustment: If the spray pattern has been adjusted to wide or narrow, the water will either be wasted or the area won't be hit. Keep the spray in the right area and avoid watering sidewalks, driveways, or other non-target areas.
Not Making Adjustments for Weather and Seasonal Change: The lawn's need for water will be different in different seasons and according to the prevailing weather conditions. If you do not adjust the sprinkler heads, this may result in overwatering during rainy days or underwatering if it is very dry.
Improper Adjustment-Incorrect Tools: Improperly adjusted sprinkler heads using tools other than those recommended may result in breakage or improper adjustment. Always have proper tools on hand to perform head adjustments, such as the sprinkler adjustment key, so as not to cause damage to the head.
Importance of Adjusting Sprinkler Head
Sprinkler heads have a very crucial role in ensuring that the right amount of water gets to the right places for your lawn. The thing is, not all sprinkler heads are created equal. There are several kinds, and each one is dedicated to different types of coverage.
Each requires different kinds of adjustments to be done so that the head operates effectively. Whether you have pop-up sprinkler heads that rise above the grass when in use and retract when not, or rotor sprinklers that sweep water in an arc, proper adjustment will ensure they work optimally.
The reason for adjusting the sprinkler heads includes ensuring each part of your lawn gets the right amount of water. If the dispensation of water is not rightly distributed, there might be those places in a lawn that are dry while others may be overwatered.
Proper adjustment ensures that water is evenly dispersed for the good growth of a lush and green lawn.
Saves Water
One problem encountered when sprinkler heads are not correctly adjusted is that water lands in driveways, sidewalks, and other areas where there is no need for such watering. This is a waste of precious water, which provides a slippery surface - an accident just waiting to happen.
Adjusting your sprinkler heads so they hit only the area needing the water saves water and prevents runoff.
Too much water leads to a garden of problems with rot, mold, and fungal infections that sprout into diseases of the lawn. These diseases love extremely moist surroundings and will take a quick toll on your grass. Proper adjustment of your sprinkler heads helps avoid overwatering, thus creating a much healthier environment for your lawn to blossom in.
Promotes Healthy Grass Growth
Consistent watering is one of the prerequisites for the healthy growth of your grass. Whenever sprinkler heads have been adjusted, they evenly and consistently distribute water; that is how your lawn develops into strong roots and vibrant green blades.
Consistency in its growth also cuts down the frequency with which it requires watering. Thus, you gain time and save water in the long run, too.