Pest and Diseases

How To Make A DIY Homemade Wasp Trap

Source : instagram

Insects like wasps are crucial for our ecosystem. They pollinate flowers and keep other pest populations under control. However, problems arise when they buzz around you and your food while trying to have a nice picnic or doing some summer outdoor activity. 

This wasp problem calls for homemade wasp traps. This does not mean you cannot use ready traps. A meager selection of wasp traps exists in the marketplace, but none of them could ever come close to the top do-it-yourself wasp trap you could make at with things you already own. 

How Do I Make a Wasp Trap

This wasp trap can be hung outdoors from tree branches, fences, awnings, or wherever else your wasps tend to hang around.

Step 1: Gather What You Need 

The tools and materials you need to make a wasp homemade trap are:

Equipment/Tools

  • Permanent marker
  • Knife
  • Hole punch (optional)

Materials

  • Two-liter soda bottle
  • A piece of wire for hanging your trap (optional)
  • Something sweet (sugar, jam, juice, wine)
  • Something savory (meat, grease)

Step 2: Prep the Soda Bottle

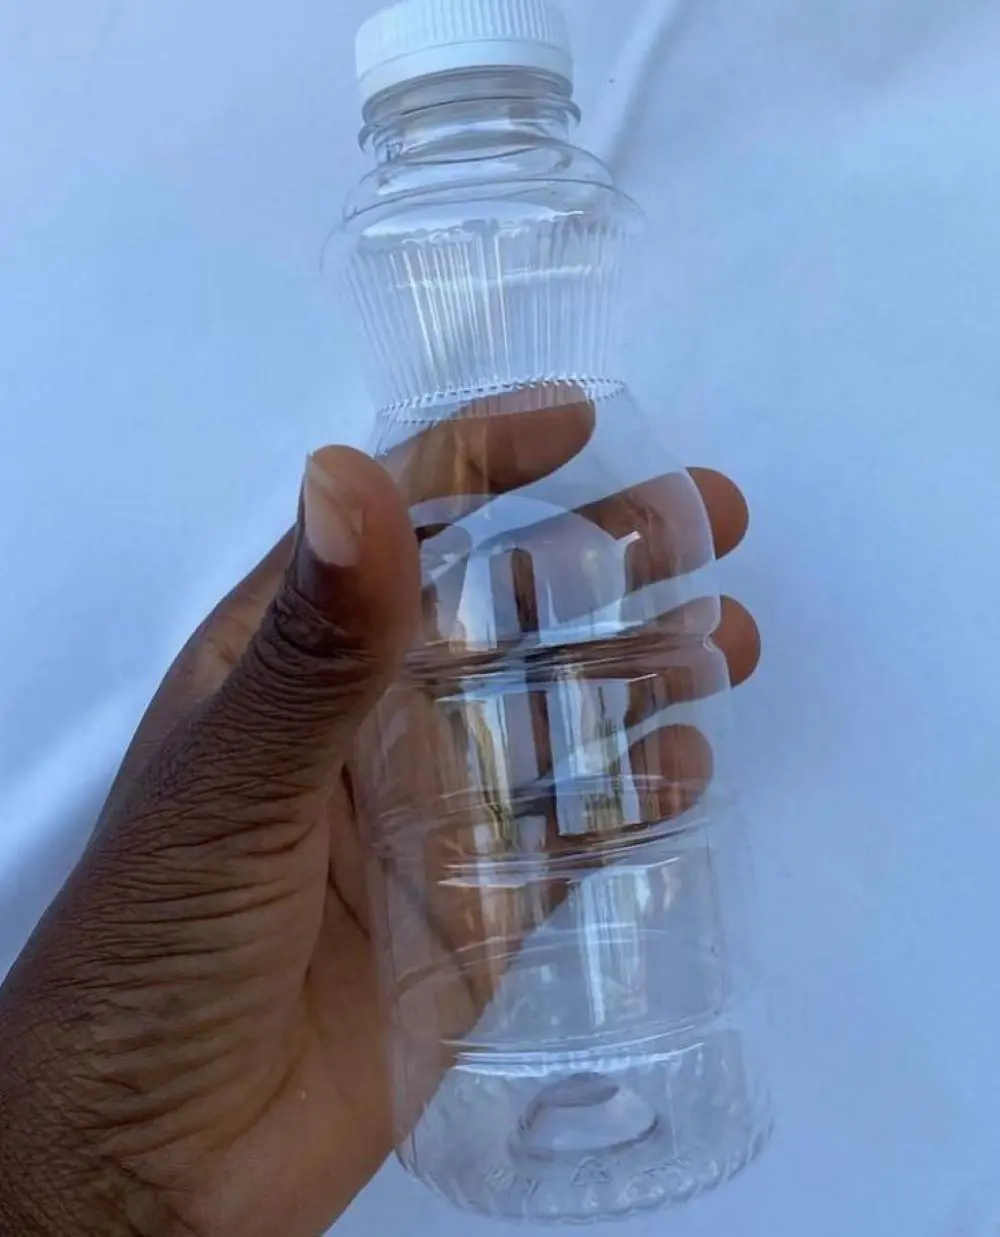
Unpeel all the labels from a 2 L (0.53 US gal) plastic soft drink bottle. It needs to be transparent so you can see if you have caught any wasps. If the selected bottle has labels that cannot be removed, you can use them but do know that it will be difficult to check for wasps.
Source : instagram

It is not compulsory to use a 2 L bottle plastic bottle to construct this wasp trap. You may use any other kind of plastic bottle or carton, provided it has a large enough opening for an entry point for the wasp.

Step 3: Mark the Cutting Point

You need to cut the bottle in two parts, so mark the bottom of the shoulder, where the curvature of the bottle starts straightening out, with a marker or masking tape. 

The line does not have to be perfectly straight, but the marker or masking tape acts as a guide and makes it easier. For a milk carton, draw the line around the top under the natural crease that forms the triangular top.

Step 4: Cut along the Marked Line

Use a razor, knife, scissors, or any cutting instrument that is sharp enough to slice through the plastic bottle. You should be comfortable using it. Cut along the marked line carefully, or you could end up hurting yourself when the bottle slips from your grasp.

You could place the bottle on a slightly damp cloth or towel to steady the bottle and reduce slippage. This wasp catcher requires both the base and shoulder portions of the bottle, so ensure you only cut along the line.

This step is optional, but you can coat the inside of the bottle parts with olive oil. Pour a teaspoon of olive oil onto a paper towel and wipe inside the bottles to grease them. Once the wasps enter the trap, they cannot climb and escape since the bottle is slippery from the oil. Clean the bottle regularly, as the oil can become tacky over time, or try petroleum jelly to avoid the tacky situation.

Step 5: Bait the Trap

Once your wasp catcher is ready, you should know how to trap wasps using attractive bait. There are different baits you can use according to season.

Spring and Early Summer Bait: Grease or Meat Scraps

Earlier in the season, during spring and summer, the queen wasp is busy laying eggs, and the developing larvae need protein-rich foods. This is why worker wasps are attracted to meat scraps or other small insects. 
Source : instagram

If you use meat in the trap during this time, you may even catch the queen wasp, forcing the rest of the nest to relocate. Place small pieces of leftover chicken, crushed crickets, or deli slices like ham inside your trap.

Late Summer and Early Fall Bait: Something Sweet

At this time of year, wasps are seeking sweet substances for energy. Vinegar is often used as a natural wasp repellant, and mixing apple cider vinegar with water is an excellent bait because wasps love the vinegar’s acetic acid. Other sweet options include sugar, jam, soda, and lemon juice.

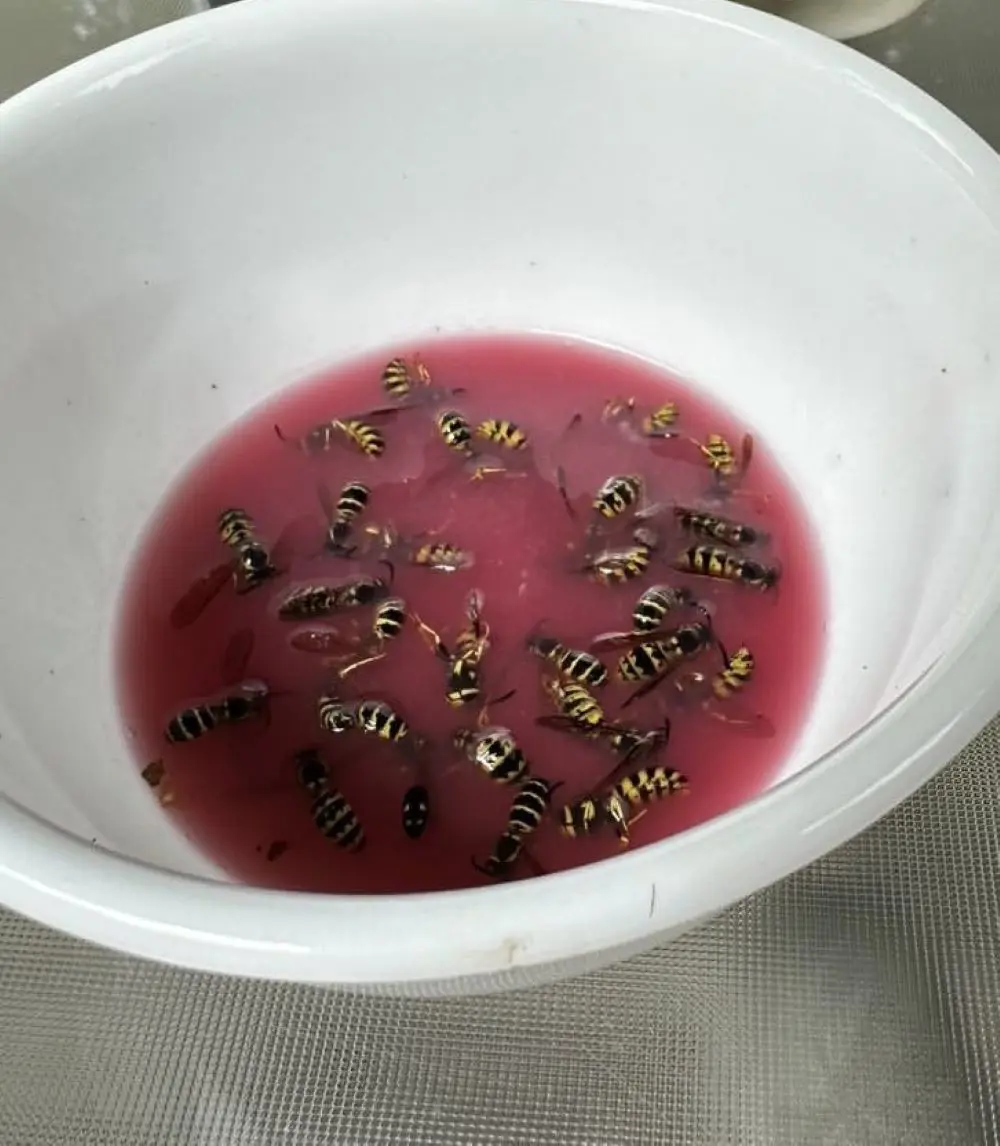
Whether you use sugar, lemon juice, or apple cider vinegar, mix them with dish soap and water. Use one teaspoon of dish soap for a cup of water. The dish soap or the surfactant liquid breaks surface tension and drowns the wasps. Don’t add the dish soap to the bait solution to release the wasp and not drown it.

Step 6: Pour the Bait Solution into the DIY Wasp Trap

Once your bait solution is ready, pour at least 2 inches inside the bottle so that it is shallow enough to force the wasps to access the bait by completely entering the trap bottle. 

Add less solution to leave at least 2 inches of space between the baiting solution and the trap opening if the bottle is shorter than the usual 2-litre soda bottle. 1 to 3 tablespoons of solution is enough if you want to attract the wasps but don’t want to drown them and release them instead. 

Step 7: Cover the Bottle with the Neck Upside Down

Turn the bottle’s shoulder upside down and use it to cover its body. The body will hold the solution, while the shoulder acts like a funnel that allows the wasps to enter but not exit the trap. Remove the cap from the bottle’s shoulder before using it as a funnel.

Tape the bottle section along the cut edges to hold the funnel in place with transparent tape. For opaque tape, like duct tape, cut the strip in half to keep the band as narrow as possible.

Step 8: Make Two Holes and Connect Them with a String

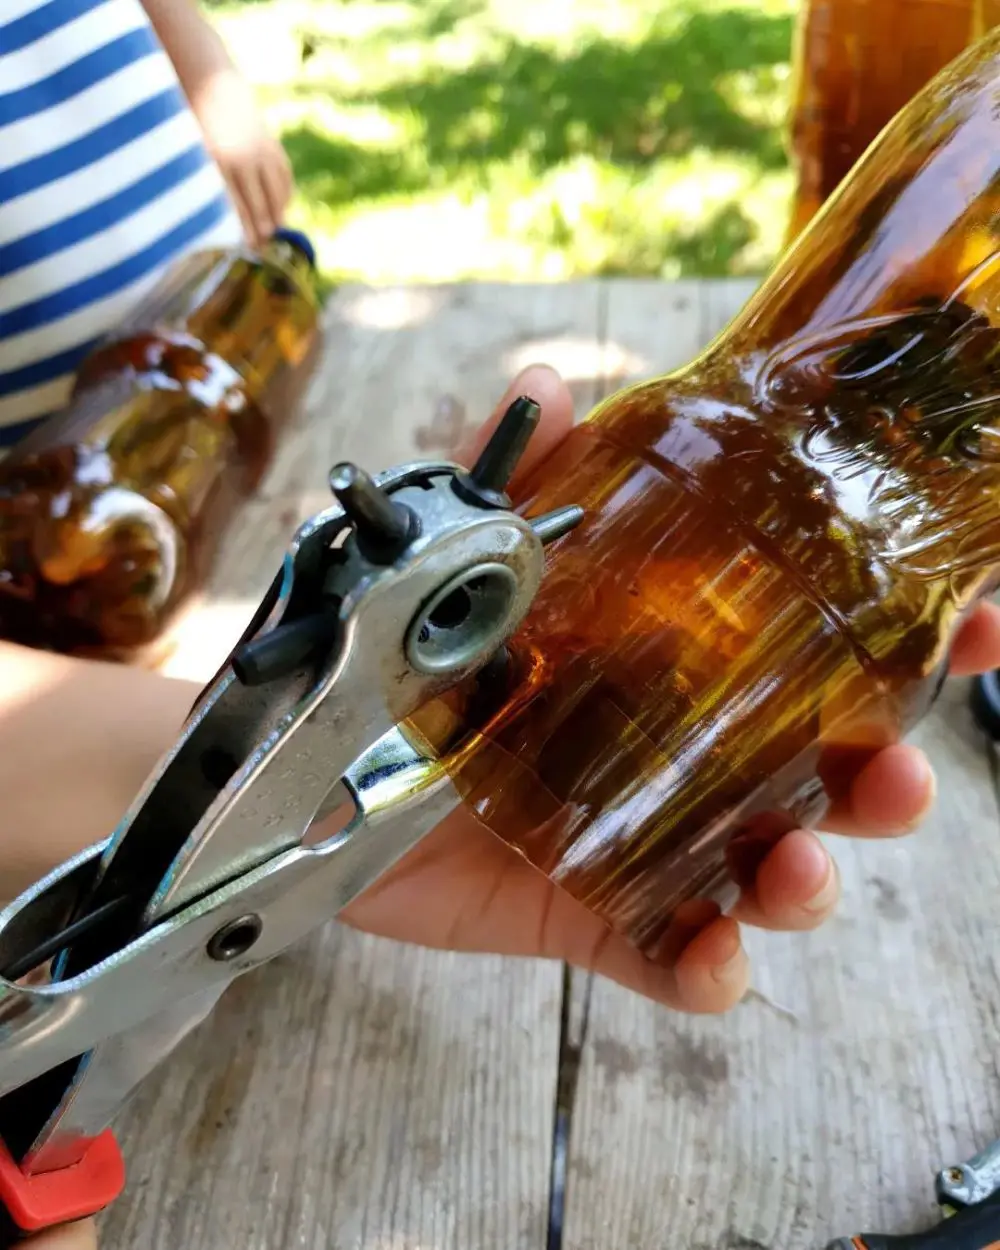
Create a handle for the trap to hang by punching two holes on opposite sides toward the edge of the trap with a hole-puncher or scissors. Tie the ends of a 12-inch long string to each punched hole.
Source : instagram

This creates a handle to hang your wasp trap. Use any string you have, but one sturdy enough to hold the weight of the trap and withstand any wind that might blow it around. A sturdy twine or even an old shoelace would work well as a handle for the wasp trap.

Step 9: Set Up Your Trap

Put the trap on a small table or stool to elevate it slightly, or hang the trap on a fence post or a lower branch of a tree. Traps hung about 4 feet from the ground tend to catch more wasps than those on low ground. 

Do not place the trap near your regular relaxing or working space, as you may accidentally get stung by the wasps when they start crowding bait. Keep the trap about 27 feet away from your usual relaxing area.

Check the trap daily to ensure it is working. If after a week you have not caught any wasps, try moving the trap to a different location where you've been seeing wasps, or try another bait.
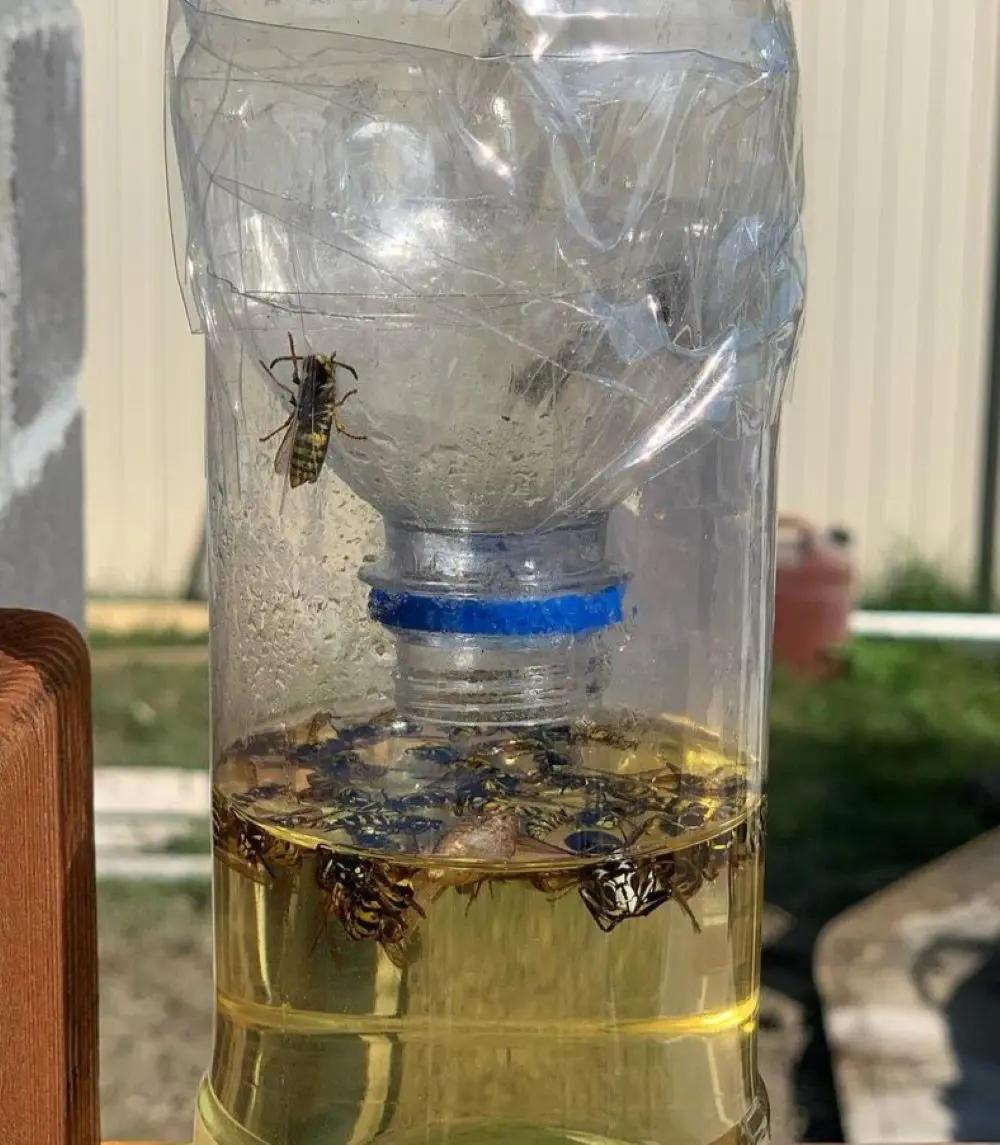
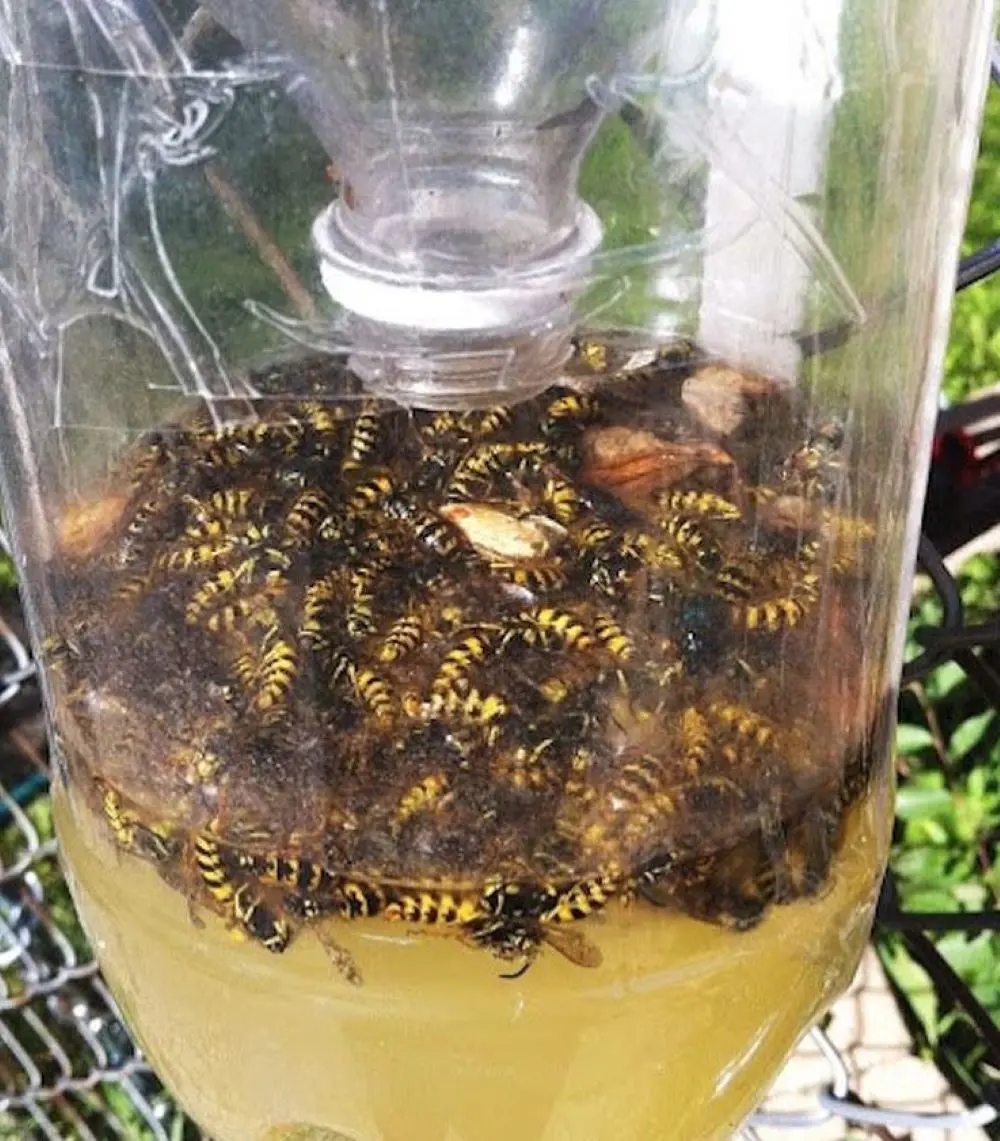
How to Refill Bait in the Trap

Dead wasps in the trap could attract more, so you should learn how to clean and refill it. 

Refill the Trap When Wasps Are Inactive

Disturbing or provoking active wasps may result in aggressive encounters and stings that cause life-threatening allergic reactions in some people. The best time to clear and refill the trap and avoid wasp stings is early morning or evening.

During this time, wasps’ activity levels drop. They rest in their nests or move slowly, allowing you to work safely without triggering a swarm of wasps. 

Clean the Trap Every Three Days

A trap filled with dead wasps may be useless in capturing new wasps because they can stand on their dead friends to avoid drowning. You should clean the trap once the bait solution is filled with dead wasps or at least every three days. 

Source : instagram

Once you are sure all wasps in the trap are dead and no live ones are buzzing nearby, you can remove the tape and discard the contents far from the entrance of your home and garden. Wear protective clothing if you have to, and be cautious.

Flush the Dead Wasps

Discarding the dead wasps in the trash may attract other colony members because dead wasps release pheromones to alert other colony members of danger. 

If the members sense their friends are in danger, they may attack in groups viciously. It is best to flush the dead wasps down the toilet.  

Refill the Trap with Bait

After discarding the insects, wash the trap and funnel with tap or warm water if it smells rotten or sour. If the smell persists, consider throwing away the trap and making a new one. 

If not, coat their insides with olive oil or petroleum jelly, prepare a new bait solution, and use it to refill the trap. 

How to Catch Wasps Inside Your Home

Hanging wasp traps around the home is an effective way to solve mild wasp problems. For an infestation, you should employ the methods mentioned below and the traps at the same time. 

DIY Wasp Spray

Homemade wasp spray is safe, unlike industrial insecticides that may harm children or pets. To make the spray, fill a bottle with water until about three-quarters full, then fill the rest with dish soap.

Close the bottle and shake to mix the solution. Once you are close enough to aim, spray the frothy mixture on the wasps. Hit them with five to ten sprays. When the solution enters the wasp's breathing tubes, they suffocate. After the wasp is killed, fold it in a paper towel and flush it in the toilet.

Insecticide

Source : instagram

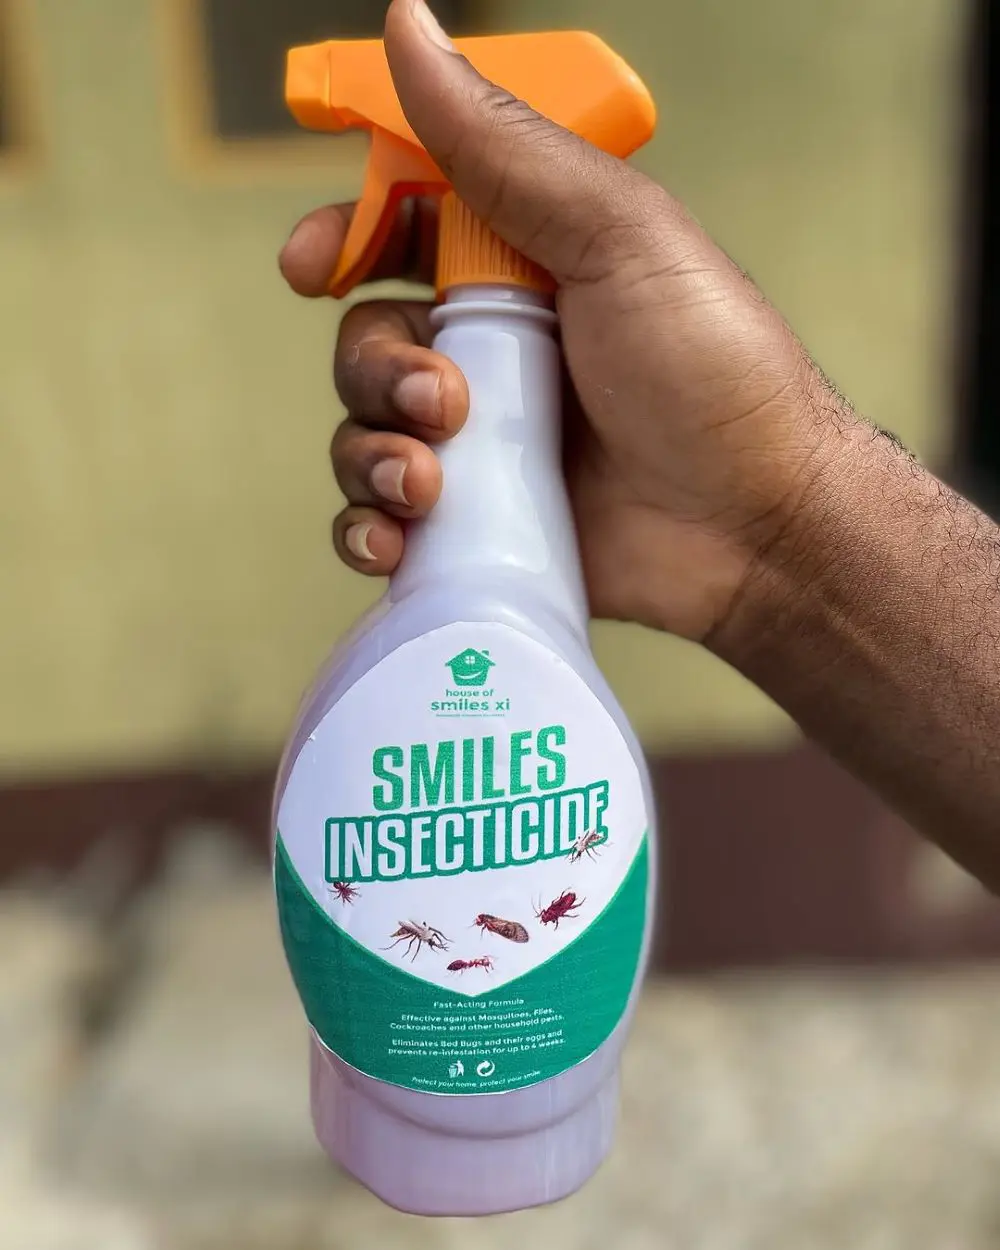
A DIY wasps spray may be better indoors, but store-bought chemical pesticides should be your go-to solution for outdoor wasps, especially if you are targeting the nest. These sprays kill on contact and have a jet spray that reaches up to 27 feet — making it less likely for you to miss your aim.

Spray the nests at sunset or sunrise when wasps are inactive to avoid attacks. Locate the entrance and spray there first before spraying all over the nest. Let the spray do its work and check back the next day. Spray again if you detect activity in the nest.

Use Essential Oil

There are so many essential oils, from peppermint, geranium, and cedarwood to lavender, lemongrass, and citronella, that deter wasps from entering a specific area. However, according to Pubmed research, using peppermint alone or a combination of clove, geranium, and lemongrass is the most effective.

Mix a few drops of each oil with water and dish soap in a spray bottle. Spray the solution outside your homes in areas where wasps may build nests, like ledges, porch roofs, crevices, and under eaves. You can even spray it on plants, as the mixture does not harm them.

How to Prevent Wasps

Wasp activity peaks during the second half of summer and early fall. The queen wasp reproduces, and the worker wasps search for food for the larvae. However, there are ways to get rid of wasps from nesting in or near your property during these seasons.

Patch up Cracks

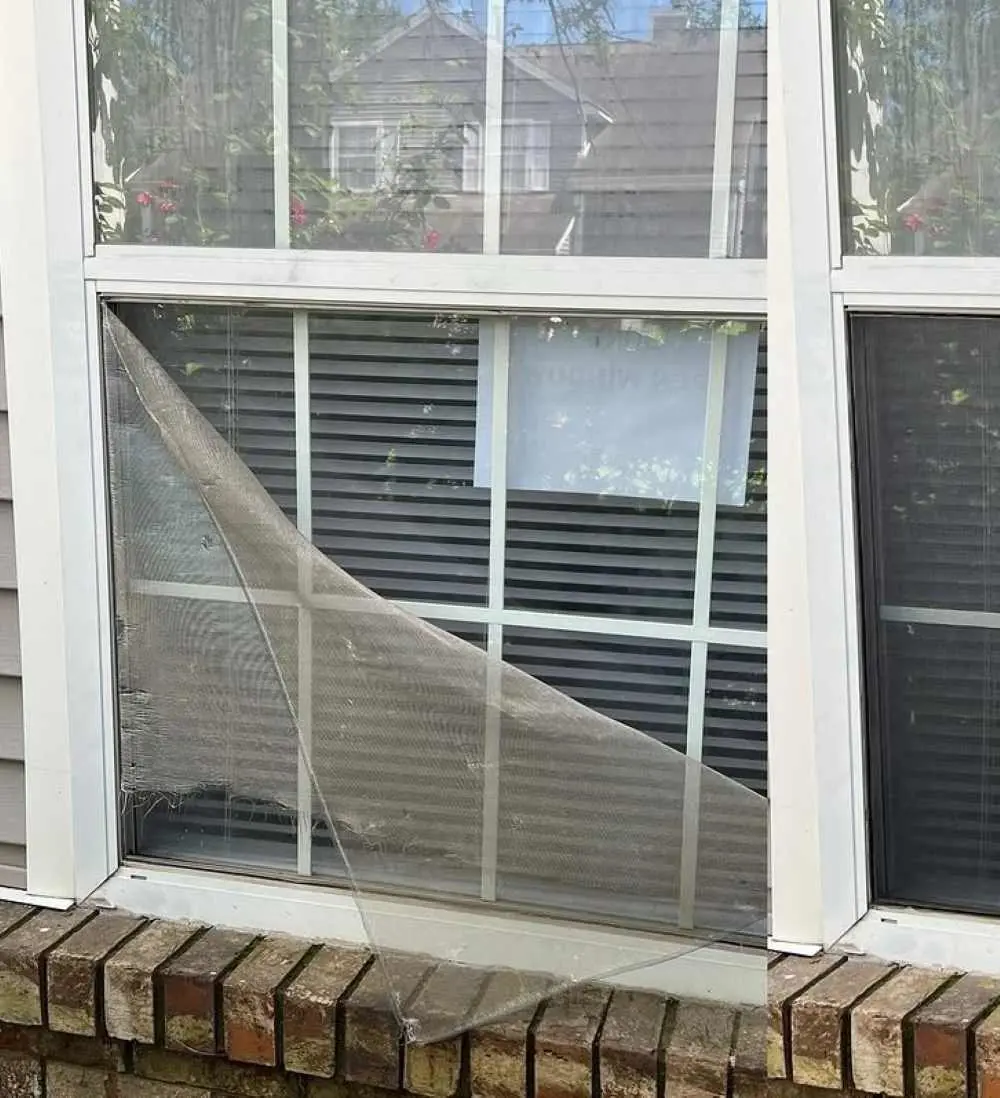
Wasps may enter your home through small gaps or cracks in your foundation. Sealing these entry points can help isolate the issue and eliminate wasps more easily. Screens on your doors or windows should not have tears since wasps can fit through tiny holes. The vents and screens leading to your attic should be in good condition and have a small enough screening to deny wasps entry.

Additionally, seal up tiny cracks or holes around the edges of the siding and where power lines enter the house with a combination of caulk or expandable foam sealant.

Source : instagram

However, if you discover wasps inside your house walls, do not seal them inside, thinking they will die off. They will not. They will chew through anything or figure out a way to escape. The best time to do all this damage repair work is late fall, when most worker wasps are dead, or in early spring before nests become active.

Keep Trash Covered

Wasp problems are worse in backyards where food sources like exposed garbage, recycling bins, and composting food matter abound. These food sources should be covered at all times with a tight seal.

Ideally, the bins should have secure locking lids, but bungee cords work exceptionally well too. Also, consider composting indoors if your compost pile near the garden is causing problems.

Do Not Let Food Sit Out

Wasps are attracted to sweets and proteins and thus invade backyard barbecues, picnic tables, garbage cans, and inside homes. They forage for left-out food, which is why cleaning crumbs or spills is crucial. 

Limit access to sugary drinks and all food sources by keeping them away as much as possible. For instance, if you enjoy drinking outdoors, pour the canned beverage into cups rather than drinking straight from the can. Wasps can get into cans and sting you when you take a sip.

Clean up the Garden

Wasps come buzzing into your garden when they get a whiff of fruits and vegetables ripening. So, when these fruits and vegetables fall on the ground and are all left to rot, wasps will swarm to your garden for the feast.

Wasps also prey on various pests crawling in your garden, like aphids and mites. Get rid of these pests to make your garden a less habitable environment for wasps.

How to Make Fake Wasp Nest

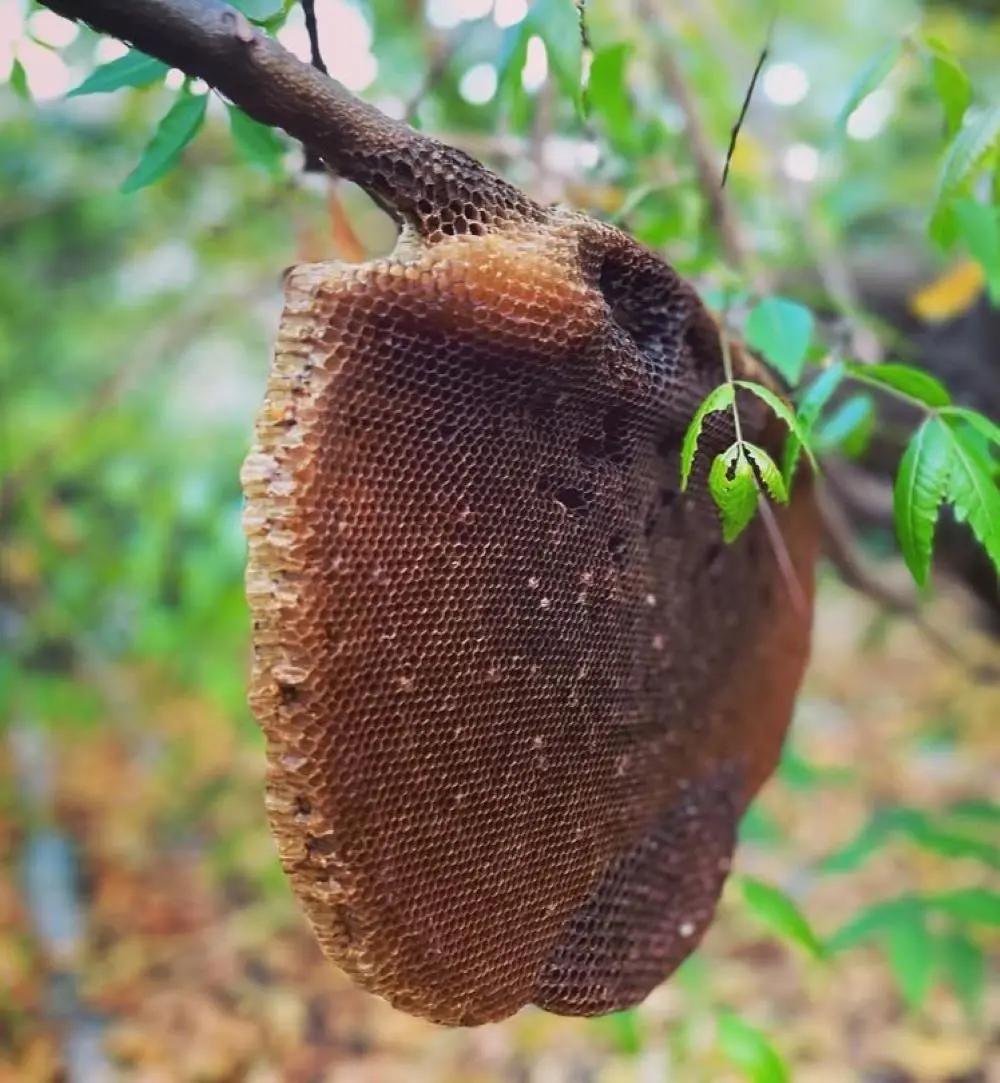
Another natural and inexpensive remedy to protect from getting stung by a wasp is a fake nest. Wasps are territorial insects and will avoid places where colonies already exist. The false nest acts as a decoy, forcing wasps to settle somewhere else without competition.

The greatest aspect of using a dummy nest is that you don’t have to get within a few feet of these stinging insects to cause harm. So, how do you create a replica nest? It is rather straightforward.  You'll need scissors, some string, tape, and a brown paper bag or paper for the project.

  • Step 1: Use a piece of brown craft paper or cut off the bottom seam of a brown paper bag to open it into a piece of paper.
  • Step 2: Cut the paper into a rectangle. The size of the rectangle depends on how big you want your fake nest to be. A rectangular shape with sides measuring approximately 2-3 feet should work well.
  • Step 3: Crumple the paper into a loose ball to give the nest a natural and irregular texture. Avoid crushing the paper into a ball, as it looks unnatural.
  • Step 4: Uncrumple the paper slightly and mold it to a nest shape. Keep folding, cutting or crumpling as you please until you are pleased with your nest. 
  • Step 5: Stuff the nest with crumpled newspapers or plastic bags for a fuller appearance. Once you have a desired shape, tape the loose ends or sections of the paper so the nest does not come undone.
  • Step 6: Attach a string or twine to one side of the nest to create a hanger with a stapler or tape.
  • Step 7: Find a suitable location to hang your fake nest. Select a location where you want to prevent wasps from nesting, like the porch, patio, or garden.
  • Step 8: Hang a hook, nail, or other suitable structure from which the nest could hang, then tie the string or twine.