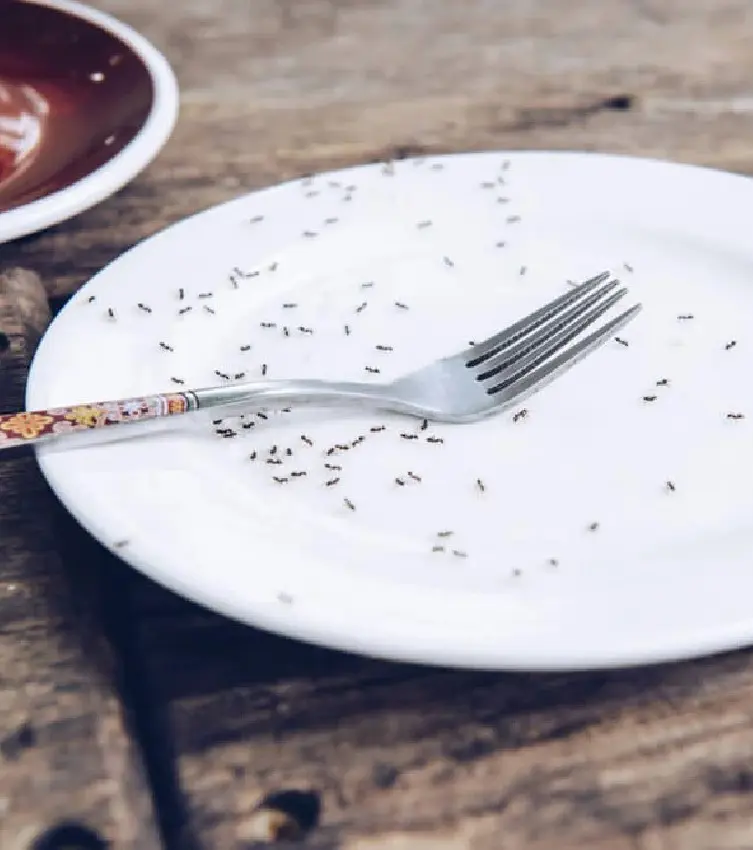
If ants are marching through your kitchen and you want a chemical-free solution, you can take matters into your own hands. This guide will walk you through making effective, eco-friendly homemade ant killer using common household ingredients.
Not only will you save money, but you will also protect your family and pets from potentially dangerous toxins. Here is everything you need to know about homemade ant traps, including how to use them, when to use them, and how to manage any infestation for the long term.
Step 1: Gather Ingredients
Like most recipes, you should start with gathering your ingredients.
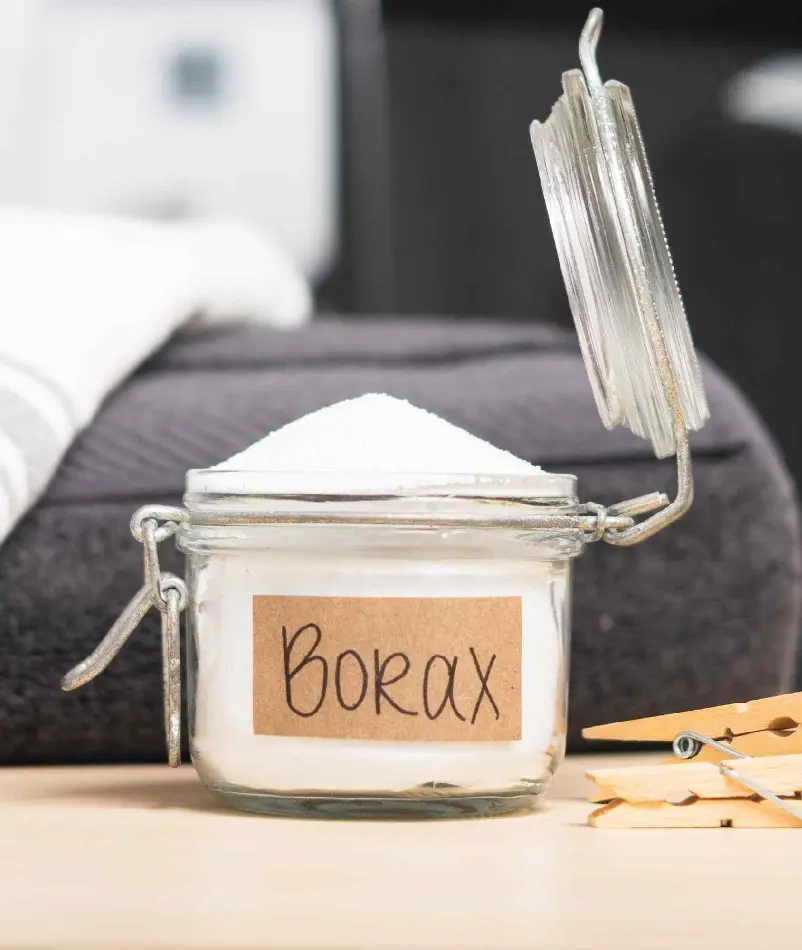
1 cup of borax (sodium borate): When ants ingest borax, it interferes with their digestive system. It disrupts their metabolism and can eventually kill them.
1 cup of sugar: Sugar acts as bait, luring ants to the borax mixture. Without sugar, ants might not be attracted to the borax,
1 cup of water: Water helps dissolve the borax and sugar, creating a liquid bait that ants can easily consume.
A few drops of dish soap: Dish soap helps the borax-sugar mixture adhere to surfaces and the ants themselves
Step 2: Prepare the Solution
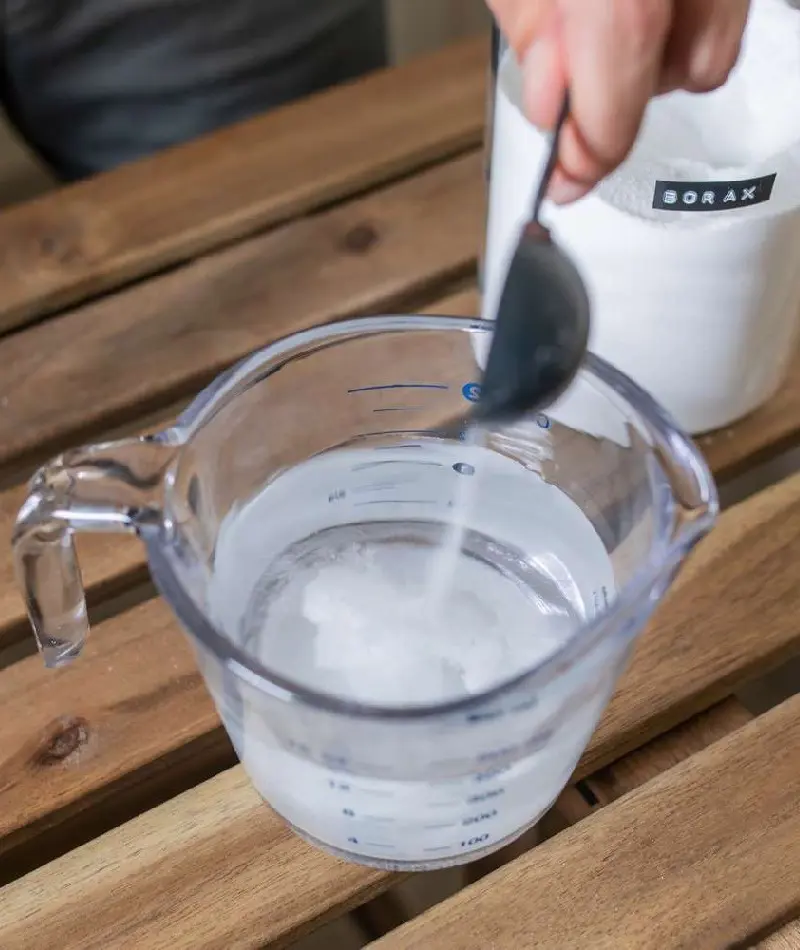
The first step in making this DIY ant trap is to prepare the solution. For this, mix 1 cup of sugar with 1 cup of borax in a container. Use separate measuring cups for the sugar and borax for accuracy.
Borax is a slow-acting poison that effectively eliminates the entire ant colony. When an anty ingests the borax solution, it returns to its colony before dying, spreading the borax to the queen and other ants. By targeting the entire colony, including the queen, borax helps to eradicate the infestation.
Gradually add 1 cup of warm water to the dry mixture. Warm water helps dissolve the borax and sugar more effectively. Pour the water slowly while stirring the mixture to ensure even dissolution. The borax and sugar water mixture should be slightly syrupy or thin, like a diluted honey.
It should be liquid enough to spread but thick enough to adhere to the bait stations or cotton balls. If it is too thick, ants might be unable to transport or consume them. If it is too thin, it might not adhere well to bait stations or cotton balls. You can adjust the amount of water slightly if needed to achieve this consistency.
Step 4: Optional - Add Dish Soap
This step is optional, but you can always add dish soap to your borax-sugar mixture for a more effective homemade ant trap.
A few drops of dish soap help the mixture stick to surfaces. Stir the soap until it is evenly incorporated into the mixture, and ensure the sugar and borax are completely dissolved in the water. The mixture should become a clear solution without any solid particles left.
Step 5: Set Out the Bait
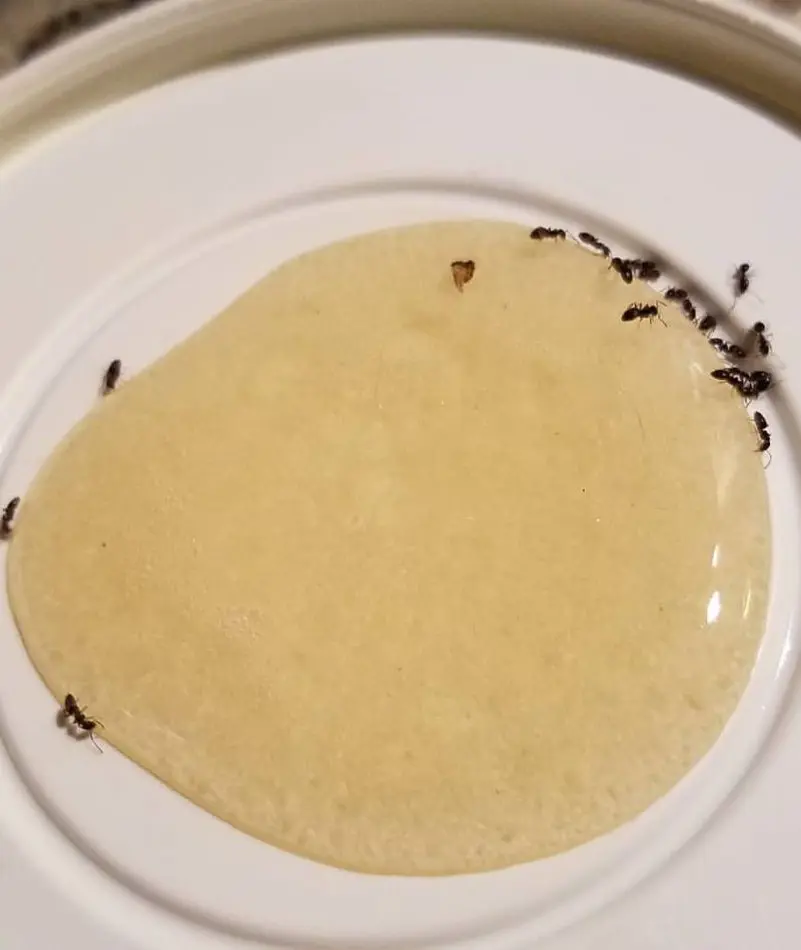
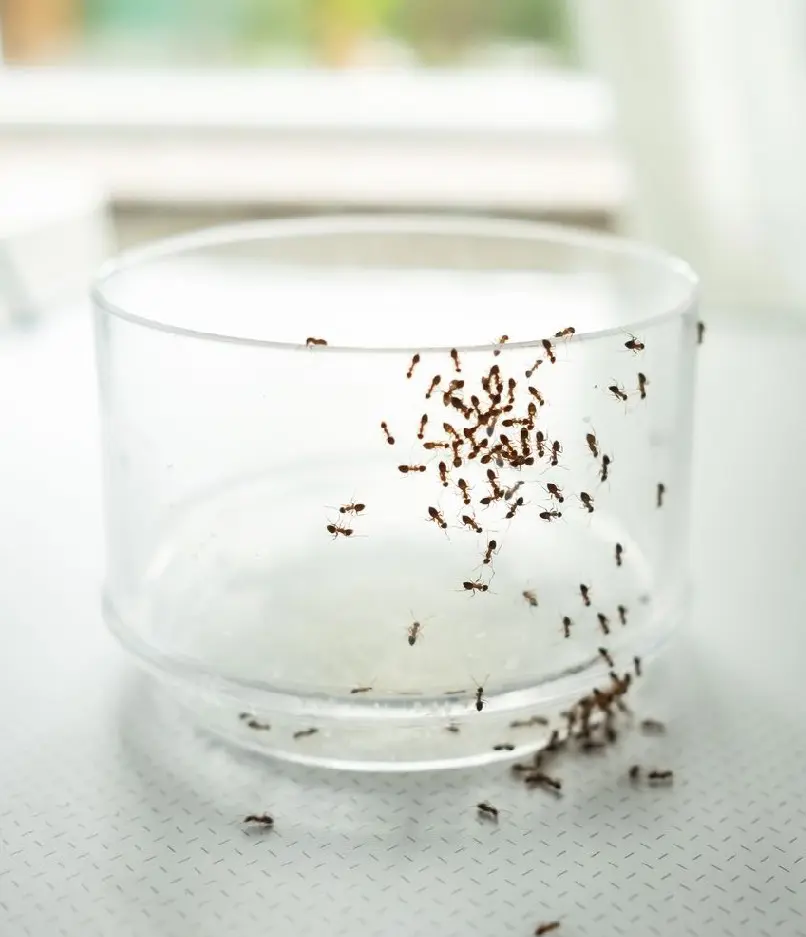
Once your mixture is ready, place it in small, shallow containers like plastic lids, jar caps, or even small dishes so that ants can access it easily. You can also use cotton balls soaked in the bait solution. Then, place the bait strategically along the ant trail once you have identified it.
If you can locate an ant nest, place the bait close to it. Ants will carry the bait back to the colony, effectively spreading the poison. Additionally, put the bait in areas where you have seen a lot of ant activity, like near food sources, garbage bins, or along baseboards.
For best results, set out multiple bait stations around your home. Ants can be spread across different areas of your home, so it is crucial to place bait in various locations to ensure they find it. This increases the likelihood that ants will carry the bait back to their nest.
Place bait stations about 5-10 feet apart. This spacing helps ensure that ants encounter the bait regardless of their path. Too close together might be redundant, while too far apart might leave gaps where ants are not exposed to the bait.
Step 7: Monitor the Bait
Examine the bait stations every 1 to 2 days. Ants can be very active, so frequent checks ensure you do not miss any activity or changes. Look to see if ants are consuming the bait. If the bait is being eaten, you should see it reduce over time. Additionally, monitor the level of ant activity around the bait stations.
If you see a significant decrease, it is a sign that the bait is working. Conversely, the bait might be ineffective if you see no change or an increase. It might also need to be relocated because ants may find new routes or create new trails.
Step 8: Avoid Disturbing the Bait
Once you have placed the bait, avoid disturbing it unless necessary. If you need to move the bait, use tweezers or other tools to handle them to reduce the risk of accidental spillage or disturbance.
It is important to avoid disturbance because ants are attracted to the bait primarily by its smell and composition, and disturbing the bait can disrupt its scent and make it less appealing to ants. Additionally, frequent disturbance can cause ants to seek other food sources. By avoiding disturbance, you also minimize the risk of contaminating the bait with other substances, which can affect its effectiveness.
Once ants are no longer a problem, clean up any residual bait to prevent accidental ingestion by pets or children. Using gloves, collect the containers or cotton balls with the ant killer mixture to avoid direct contact with the borax in the bait.
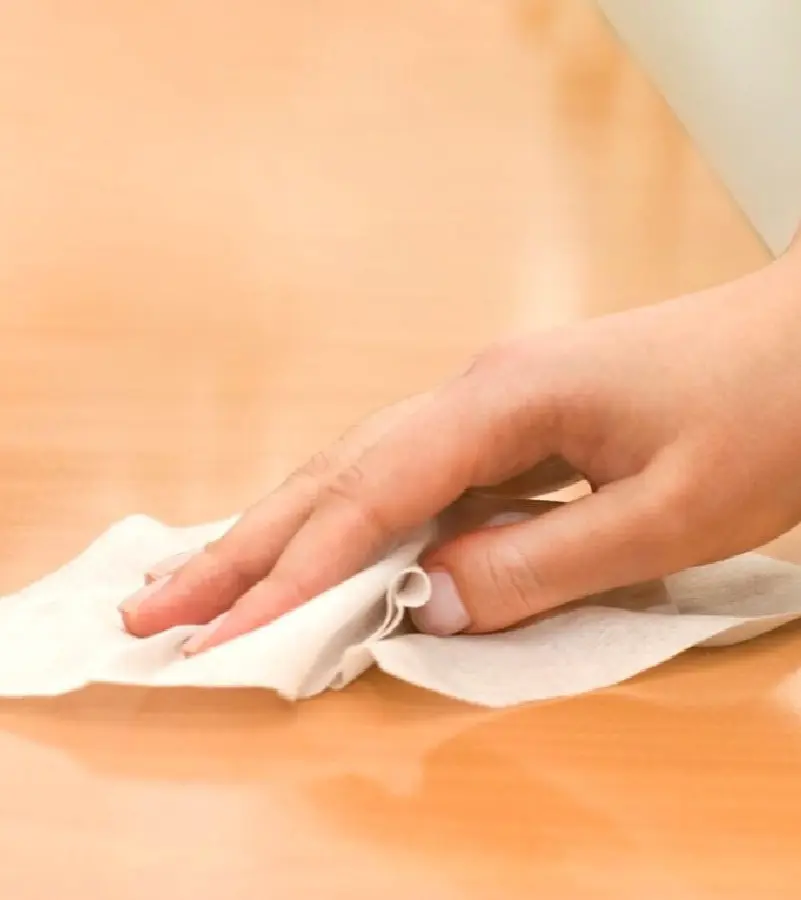
Seal them in a plastic bag and dispose of them. If the containers are reusable, rinse them thoroughly with water to remove any residue. Wipe down the surfaces where the bait was placed using a mild detergent and water. Vacuum the areas where ants were active, especially if you had placed bait directly on surfaces like floors or counters.
When to Use This DIY Ant Killer
Using homemade ant killer is most effective in the following situations:
Active Ant Trails
When you notice ants traveling along a specific path in your home, it is crucial to act promptly. Ants leave behind a pheromone trail that guides other ants to food sources or nesting sites.
To effectively use the homemade ant killer, place the bait where the ants are most active, where they will carry the poison back to the nest. This method targets the entire colony, significantly improving the chances of eradicating the infestation. Regularly check the bait stations and replenish them until the problem is resolved.
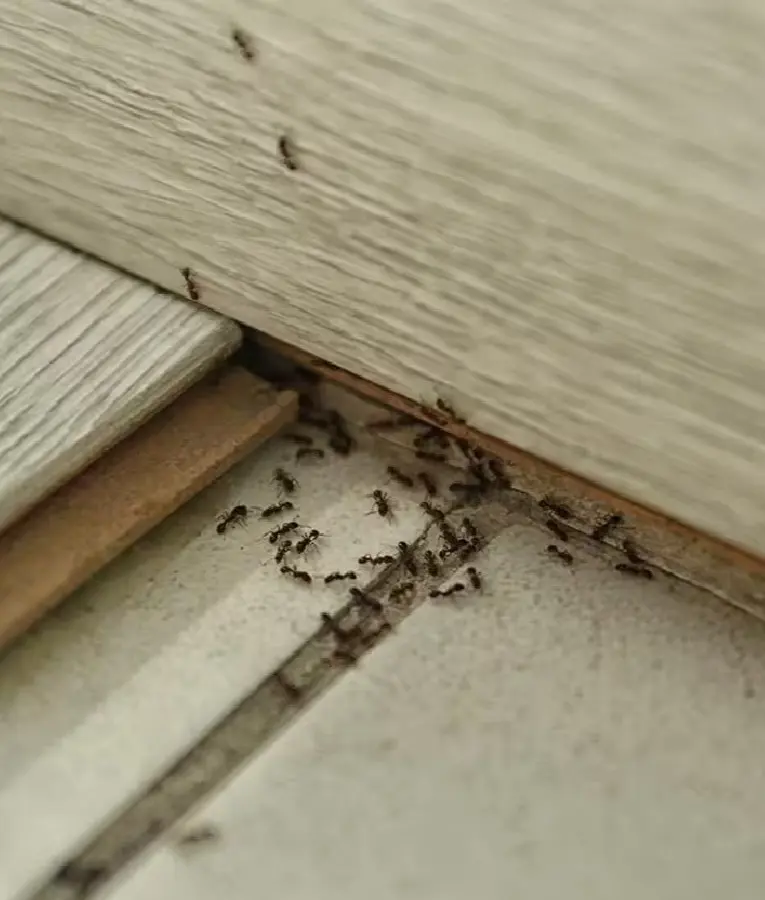
Ant Nests Indoors
If you discover an ant nest indoors, address it immediately to prevent a large infestation. First, identify the nest location, often found in hidden areas like behind walls, under floors, or inside appliances.
Once you have located the nest's entrance, place the homemade ant killer bait close to this entry point. This method ensures the problem is tackled at its source, reducing the likelihood of future ant invasions.
Ant activity surges in spring and summer. This is when ants are most active in searching for food and establishing new colonies. The increased warmth stimulates their movement and feeding behaviors, making them more likely to invade homes searching for sustenance.
During these peak seasons, ants are also more likely to build nests and expand their colonies, which can lead to noticeable infestations inside your home. It is wise to start using homemade ant killers once you detect an increase in ant activity to prevent such infestations.
When Other Methods Fail
A homemade ant killer can be an alternative if commercial ant baits or sprays are ineffective. Sometimes, store-bought solutions may not target the colony effectively, or ants might develop resistance.
Homemade ant killers, like the borax and sugar mixture, can be more potent because they use a slow-acting poison that ants carry back to their nests. This method targets the entire colony, not just the ants you see. It can be especially effective if other methods have failed to resolve the issue.
Preventive Measures
Preventive measures mean using homemade ant killer before ants become a big problem. This is especially helpful in areas where ants are common or more active, like in warmer months.
Place the bait stations around places where ants might enter your home, like near doors and windows. By using the bait as a precaution, you can avoid an ant infestation and make it easier to handle any problems before they get out of hand.
After Cleaning
After cleaning up an area where ants were active, it is a good idea to set out bait stations with your homemade ant killer. Even after cleaning, some ants might still be hiding or come back.
By placing the bait, you provide something the ants will take back to their nest, which helps kill off the entire colony. This extra step ensures that any remaining ants are dealt with, preventing them from returning.
Challenges with Ant Killer DIY
Using homemade ant killer can be effective, but it comes with some challenges:
Safety is a big concern when using homemade ant killer because of ingredients like borax that are toxic. Borax can be harmful if ingested by pets or children, making careful placement of the bait crucial.
Place the bait where pets and kids cannot reach, like on high shelves or inside secure containers, to minimize risks, and check them regularly to ensure they are secure. Additionally, use the ant killer sparingly and always follow safety guidelines. It might be better to look for alternatives or get professional advice if you have pets or small kids.
Effectiveness
Homemade ant killers usually take longer to work compared to store-bought ones. They rely on ants finding the bait, eating it, and carrying it back to their nest to share with the rest of the colony. This process can be slow because it takes time for the poison to spread throughout the colony.
You might not see a huge difference immediately, and it could take weeks to notice fewer ants. This can be frustrating if you are hoping for quick results, so it is important to be patient and keep checking and refilling the bait until the ants are completely gone.
Attract Other Species
Another challenge with using homemade ant killer is that the sugar used to attract ants can also lure other pests, like cockroaches or rodents. While you're trying to get rid of ants, the sweet smell might bring in different bugs or even small animals, leading to new pest problems.
To prevent this, carefully place the bait and keep an eye on it to ensure it is only attracting ants. If other pests start showing up, you might need to adjust how or where you set the bait, like using containers only ants can access. This helps ensure the bait works for ants without causing more issues.
Placement Issues
For homemade ant killer to be effective, proper placement is crucial. The bait needs to be positioned where ants are most active, such as along trails they frequently travel or near the entrance to their nest. If the bait is placed in areas where ants are not commonly found, it is unlikely to attract them, reducing its effectiveness.
Additionally, ants may change their foraging routes, making it necessary to monitor and adjust the bait placement regularly. Incorrect placement can result in minimal or no impact on the ant population, prolonging the infestation and making the problem harder to control.
One challenge with homemade ant killer is that it might not reach hidden ant nests. Ants often build their nests in hard-to-reach places like inside walls, under floors, or deep in the ground. If the nest is hidden or far from where you place the bait, not all the ants will find it, so the poison might not spread to the entire colony.
The queen and many worker ants could survive, keeping the infestation going. To make the bait more effective, try to place it as close as possible to where you think the nest is, but this can still be tricky if the nest is well hidden.
Cleanup Needs
After using homemade ant killer, thorough cleanup is essential to avoid lingering risks or issues. The bait mixture often contains borax, which can be toxic if accidentally ingested by pets or children. Therefore, it is crucial to remove any remaining bait from the areas where it was placed.
Additionally, leftover bait or residue can attract other pests, like rodents or insects, leading to new problems. Cleaning involves carefully removing the bait, wiping down surfaces to eliminate residue, and safely disposing of used containers or cotton balls. This step helps ensure the area is safe and prevents unintended consequences from the homemade ant killer.
Ant Infestation Management Strategies for Long Term
You might need to use other strategies with homemade ant traps to prevent ant infestation for a long time. Here are some effective strategies:
Identify the Source
Identifying and destroying ant nests is crucial for effective long-term control, as it eliminates the queen and the entire colony. Start by observing where you see ants most frequently and track them to find their nest.
Nests can be in various places, such as under paving stones, in wall voids, and in soil. Then, place ant baits along the trails and near the nest to disrupt the colony's ability to reproduce and function. For immediate results, you can use targeted insecticides specifically designed for ant nests.
Seal Entry Points
Sealing entry points is key to stopping ants from getting into your home. Ants can sneak in through even tiny cracks and gaps in walls, windows, doors, and around pipes.
To keep them out, carefully check the inside and outside of your home for any small openings. Use caulk or sealant to close these gaps, and for bigger holes, use expanding foam or weatherstripping. Regularly check for new gaps and fix them right away.
Keeping your home clean helps prevent ant infestation. Ants are drawn to food, so remember to wipe down surfaces like kitchen counters and tables where crumbs and spills might happen. Sweep and vacuum floors regularly to pick up any leftover food bits.
Immediately clean up spills and store food in sealed containers. Also, ensure trash cans are closed tightly and emptied often to avoid attracting ants. By cutting off their food supply, you make your home less appealing and keep ants away.
Use Baits Consistently
To prevent an ant infestation for a long time, using ant baits regularly is essential. Place the baits where you see ants and replace them when empty.
Switching up the type of bait can help tackle different ant species and prevent them from becoming resistant. By consistently using the baits, you will help ensure that even ants that are hidden or newly arriving will be drawn to it, gradually eliminating the infestation.
Create Barriers
Creating physical and chemical barriers is a great way to keep ants away for long. You can use natural repellents like diatomaceous earth that damages ants and dries them out.
You can use vinegar to clean surfaces or spray essential oils-water solution around your home to create a scent barrier that ants dislike. You can also use commercial ant repellents outside your home to stop ants from entering.
Monitor Regularly
Regularly checking your home for ants helps keep them away for good. Even after you have tackled an infestation, ants can come back if you miss any nests or if new ones move in. Keep an eye on areas where ants were active before, like around baseboards, in the kitchen, and near entry points.
Look for new trails or signs of ants reappearing. Catching problems early helps prevent them from growing. Keep replacing ant baits as needed, and adjust your pest control methods based on what you find.
Control Outdoor Colonies
Managing outdoor ant populations is equally important as managing indoor ones. To manage ants outside your home, keep your yard clean and tidy. Remove piles of leaves, wood, or overgrown plants that ants might use for nesting.
Trim bushes and keep the grass short to reduce hiding spots. If you find ant nests outside, treat them with boiling water or an insecticide made for ants. Also, make sure your yard stays dry because ants are attracted to wet areas.