How To Grow

How To Plant, Grow And Harvest Tea Plant

Source : pexels

You don't need a sprawling garden to cultivate your personal tea supply - even a planter on a balcony can suffice. With a bit of knowledge about the tea plant, its growing needs, and proper harvesting techniques, you can enjoy the satisfaction of homegrown tea.

From a single plant, you can create green, oolong, or black tea, depending on how you process the leaves. Read on to discover how to nurture and grow tea plant at home.

How Does Tea Grow?

Source : pexels

Tea cultivation is an art that combines tradition with modern agricultural practices. Let's explore the three primary methods of growing tea plants in more detail:

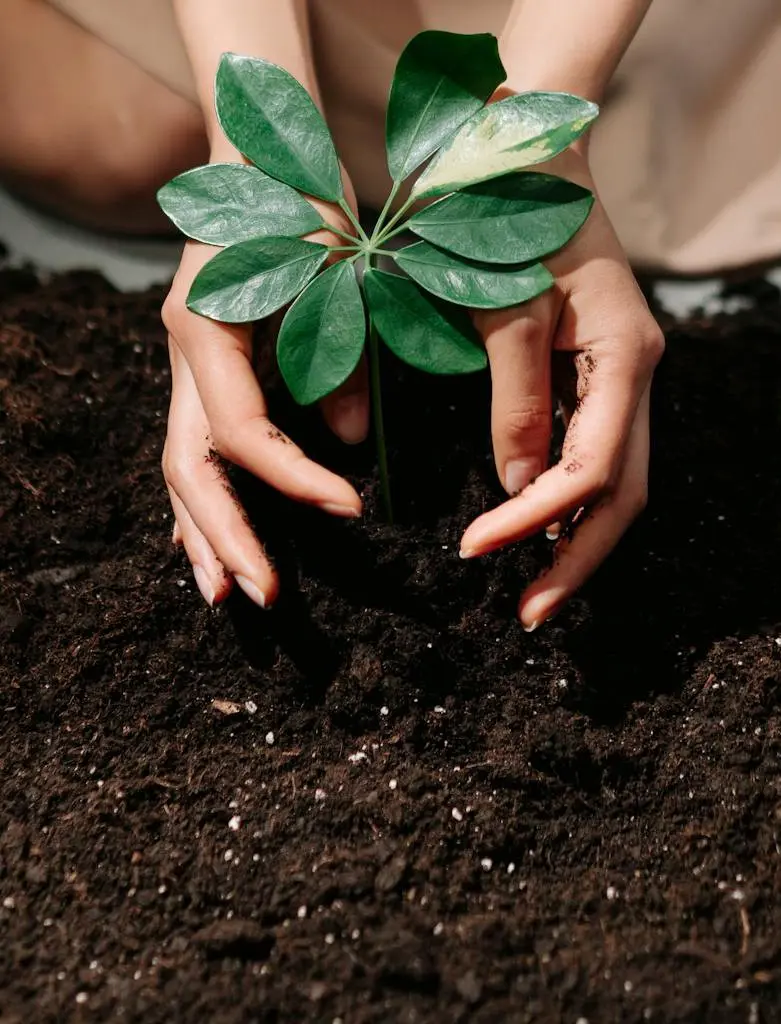
1. Growing from Seeds

Process:

  • Collect and clean fresh tea seeds
  • Soak seeds in water for 24-48 hours to stimulate germination
  • Plant seeds in a controlled environment (usually indoors) with consistent temperature and humidity
  • Once seedlings are strong enough, transplant them outdoors

Characteristics:

  • Time-consuming: Takes at least 3 years before the first harvest
  • Low success rate: Not all seeds will germinate or produce viable plants
  • Genetic diversity: Can lead to new tea varieties

Challenges:

  • Requires patience and careful nurturing
  • Sensitive to environmental fluctuations
  • Higher risk of plant loss

Best for:

  • Tea enthusiasts interested in the entire growth process
  • Researchers developing new tea varieties
  • Those with ample time and resources

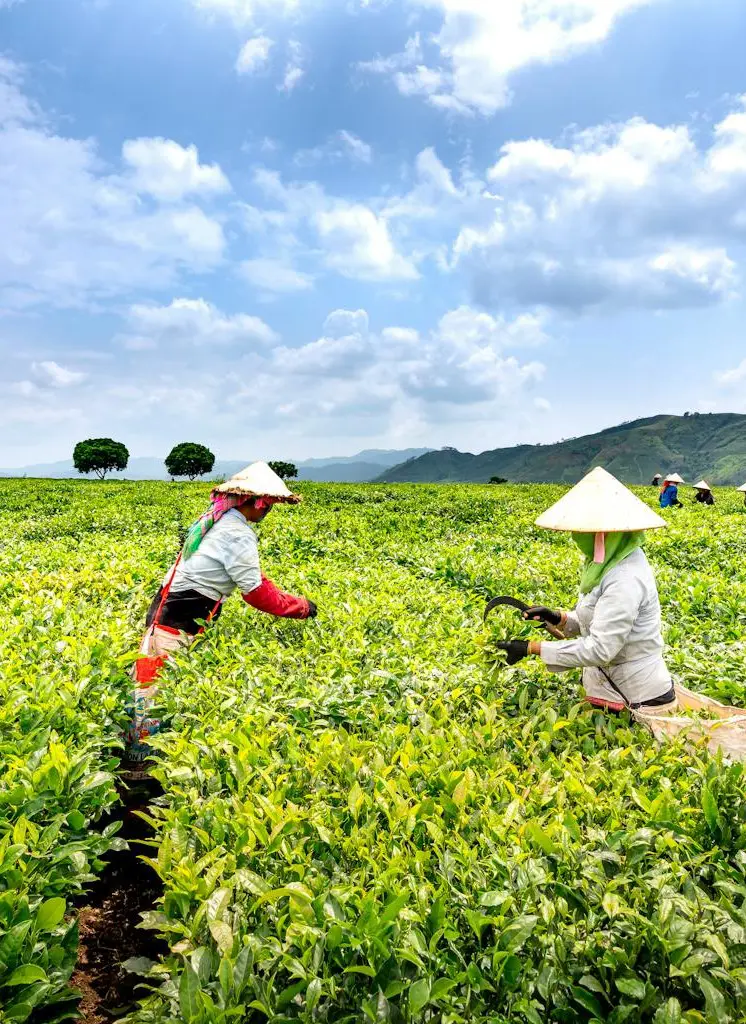
2. Planting Seedlings

Process:

  • Purchase young tea plants from nurseries or specialized growers
  • Prepare the planting area with well-draining, slightly acidic soil
  • Transplant seedlings, ensuring proper spacing (usually 4-5 feet apart)
  • Provide regular care, including watering and protection from extreme weather

Characteristics:

  • Faster initial growth compared to seeds
  • More predictable results
  • Allows for precise planning of tea gardens

Advantages:

  • Shorter time to first harvest (typically 1-2 years after planting)
  • Higher success rate than seed planting
  • Easier for beginners or small-scale growers

Best for:

  • Home gardeners
  • Small-scale tea producers
  • Those looking to establish a tea garden more quickly

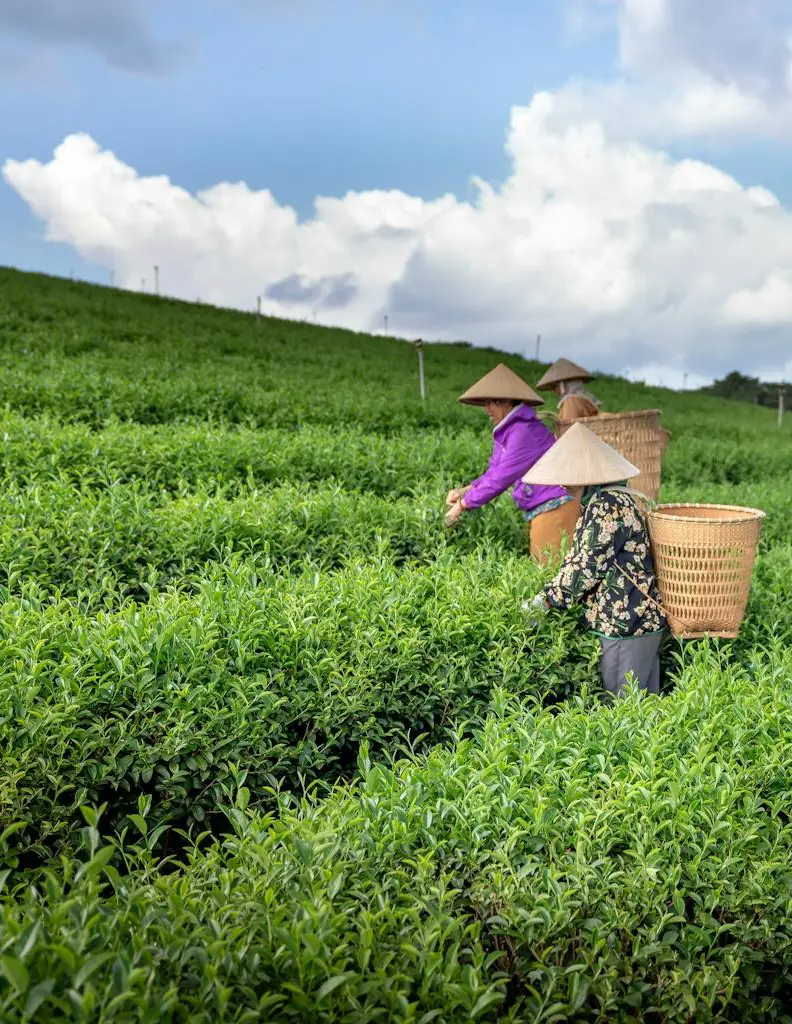
3. Propagation from Cuttings

Process:

  • Select healthy, mature tea plants for cuttings
  • Cut 4-6 inch stems, removing lower leaves
  • Dip cut ends in rooting hormone
  • Plant in a growing medium and maintain high humidity
  • Once rooted, transplant to permanent locations

Characteristics:

  • Fastest method to produce new tea plants
  • Allows for cloning of desirable traits
  • High success rate when done correctly
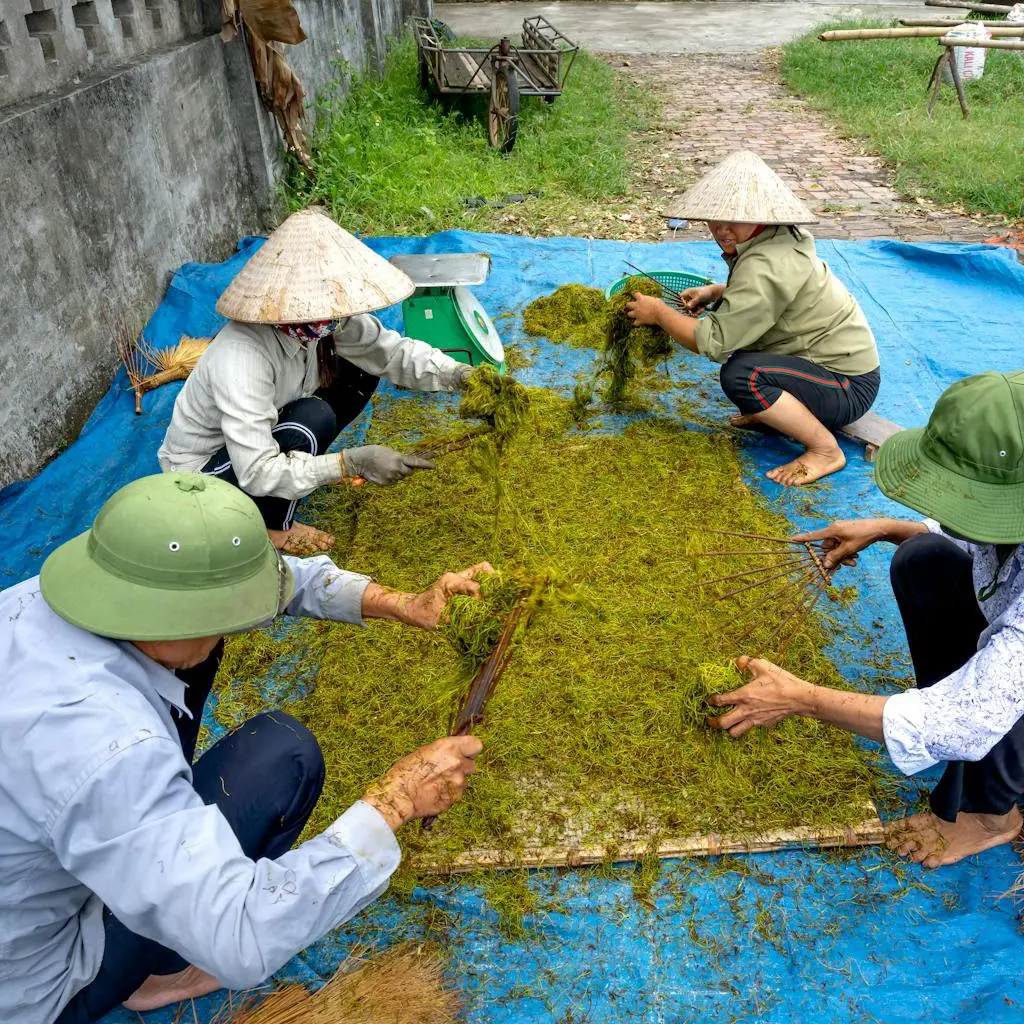
Advantages:

  • Preserves specific cultivar characteristics
  • Can produce harvestable leaves more quickly than other methods
  • Ideal for maintaining consistency in tea flavor and quality

Best for:

  • Commercial tea growers
  • Those looking to expand existing tea gardens
  • Preserving specific tea varieties

Camellia Sinensis: How To Grow Tea Plant?

Source : pexels

Growing your own tea can be a rewarding experience, offering a deeper connection to this ancient beverage. You can grow tea both outdoors and indoors. Here's how to start your own tea garden:

1. Obtaining Tea Plants or Seeds

The journey begins with acquiring the right plant material. Camellia sinens, the tea plant, comes in two main varieties: var. sinensis, which is hardier and suitable for cooler climates, and var. assamica, which thrives in tropical regions.

You can purchase seeds online or from specialty nurseries. Alternatively, consider buying pre-sprouted plants for a quicker start or taking cuttings from existing tea bushes.

2. Soil Preparation

Tea plants are particular about their growing conditions. They prefer sandy, acidic soil with a pH between 5.5 and 6.5. Before planting, test your soil using a pH kit and adjust as necessary.

To increase acidity, you can add pine needles, peat moss, or sulfur. For less acidic soil, agricultural lime works well. Ensure the soil is well-draining to prevent root rot, a common issue in tea cultivation.

3. Seed Preparation (if starting from seeds)

If you're starting from tea plant seeds, proper preparation is crucial for successful germination. Begin by soaking the seeds in water for 24-48 hours, removing any that float to the surface as these are typically not viable.

After soaking, spread the seeds on a damp towel in sunlight, misting them regularly to maintain moisture. Wait for the seed hulls to crack, which usually takes 1-2 days. This process mimics natural conditions and significantly improves germination rates.

4. Germination

Once your seeds have cracked, it's time to plant. Sow them about an inch deep in soil or vermiculite, using small pots or planter's trays. Keep the growing medium consistently moist but not waterlogged – a spray bottle can help with gentle watering.

Maintain a warm temperature, around 70°F (21°C), to encourage growth. A greenhouse or indoor setup can provide ideal conditions for this delicate stage.

5. Planting

When your seedlings reach 7-8 inches in height and have developed 3-4 true leaves, they're ready for transplanting. If you're growing in pots, choose containers at least 6 inches deep with good drainage.

For outdoor planting, space your tea plants about 3 feet apart to allow for growth. Select a location that offers partial sun and shade, ideally with at least 6 hours of sunlight daily. In colder regions, consider using raised beds for better drainage and temperature control.

6. Watering Regimen

Proper watering is critical for tea plant health. Water regularly to keep the soil moderately moist, adjusting your schedule based on climate and season. It's best to water at the base of the plant to avoid wetting the leaves, which can lead to fungal issues.

For larger plantings, consider installing a drip irrigation system for consistent moisture. Be alert for signs of over or under-watering: yellowing leaves often indicate too much water, while wilting suggests not enough.

7. Long-term Care and Patience

Growing tea is a long-term commitment. It typically takes 2-3 years before your first harvest, with plants reaching full maturity in 5-7 years. During this time, regular care is essential. Start pruning after the first year to encourage bushy growth and increase leaf production.

Fertilize in the spring using a balanced, slow-release fertilizer or organic options like compost tea. Keep an eye out for common tea pests such as spider mites or scale insects, using organic pest control methods when possible.

Pruning Your Tea Bush

Source : pexels

Pruning is a crucial aspect of tea plant maintenance, offering numerous benefits for both plant health and tea production. Here's a detailed look at how to prune your tea bush effectively:

Initial Pruning (First Year):

1. Timing:

  • Begin pruning after the plant is well-established, typically in its first year

2. Technique:

  • Identify 4-6 main branches to form the plant's structure
  • Remove weak, crossing, or inward-growing branches
  • Cut back remaining branches to encourage bushiness

3. Shape:

  • Aim for an open, vase-like structure
  • This shape allows light and air to reach all parts of the plant

Ongoing Pruning (Subsequent Years):

1. Light Pruning (Skiffing or Tipping):

  • Frequency: Throughout the growing season
  • Method: Pinch off the tips of new growth
  • Purpose: Encourages branching and leaf production

2. Maintenance Pruning:

  • Frequency: Annually, typically after the main harvest season
  • Method: Remove up to 1/3 of the plant's height
  • Focus on:
  • Removing dead or diseased branches
  • Thinning out dense areas
  • Maintaining the desired shape and size

3. Rejuvenation Pruning:

  • Frequency: Every 3-5 years or as needed
  • Method: Cut the plant back severely (up to 2/3 of its height)
  • Purpose: Reinvigorate old or overgrown plants

Benefits of Pruning:

  • Prevents overcrowding
  • Reduces risk of pest infestation and disease
  • Improves air circulation within the plant
  • Increases quality and yield of tea leaves
  • Maintains an ideal shape for harvesting

Harvesting Tea Plants

Source : pexels

Tea harvesting is a delicate process that follows the natural growth cycle of the Camellia sinensis plant. Understanding the timing and technique of harvesting is crucial for producing high-quality tea.

Seasonal Timing:

  • Winter: Tea plants are generally dormant during this period.
  • Spring: The first 'flush' of new growth appears, signaling the start of the harvesting season.
  • Spring to Summer: This is the most vigorous growing period, allowing for multiple harvests.

Harvesting Technique:

1. Identify the right shoots:

  • Look for bright green, new growth at the tips of branches.
  • The ideal harvest consists of the bud and the first two leaves.

2. Plucking method:

  • Use your thumb and forefinger for a gentle, precise pluck.
  • The shoot should separate easily from the stem if it's ready.
  • This careful hand-plucking preserves the quality of the leaves.

3. Harvesting frequency:

  • Regular harvesting encourages further growth.
  • It also promotes a bushier plant structure, which is ideal for tea production.

Benefits of Proper Harvesting

  • Encourages healthy plant growth and structure
  • Ensures the highest quality leaves for tea production
  • Allows for multiple harvests throughout the growing season

Versatility of Camellia sinensis:

The same tea plant can produce various types of tea, including:

  • Green Tea
  • Oolong Tea
  • Black Tea

The difference in tea types comes from the processing methods applied after harvesting, not from different plant varieties. This versatility allows tea growers to experiment with various production methods from a single plant species.

Harvesting Tips

  • Start early in the morning after the dew has evaporated but before the day gets too hot.
  • Be gentle to avoid damaging the plant or bruising the leaves unnecessarily.
  • Only harvest what you can process immediately for the freshest tea.
  • Keep harvested leaves in a cool, shaded place if not processed right away.

By following these harvesting guidelines, you can ensure a continuous supply of fresh tea leaves throughout the growing season, providing ample opportunity to experiment with different tea-making processes and find your preferred style of tea.

The Tea Production Process

Source : pexels

1. Harvesting:

  • Pick the youngest leaves and leaf buds, typically the top two leaves and a bud.
  • Harvest in the morning after the dew has evaporated but before the day gets too hot.

2. Withering:

  • Spread leaves out on a clean cloth or tray in a shaded, well-ventilated area.
  • Allow leaves to wilt for several hours, reducing moisture content.
  • This process makes the leaves pliable for rolling.

3. Rolling (for black and oolong teas):

  • Gently roll the withered leaves to break down cell walls and release enzymes.
  • This initiates oxidation and helps develop flavor.

4. Oxidation (for black and partially for oolong teas):

  • Allow rolled leaves to oxidize by exposing them to air
  • For black tea, oxidize fully (1-2 hours); for oolong, partially oxidize.
  • Skip this step for green tea.

5. Fixing (for green tea plant):

  • Heat leaves quickly to stop oxidation and preserve the green color.
  • Use a pan over low heat or steam the leaves for a few minutes.

6. Drying:

  • Dry the leaves completely to stop all enzyme activity and preserve the tea.
  • Use a food dehydrator, oven on lowest setting, or sun-dry on a hot, dry day.

7. Storing:

  • Once completely dry, store leaves in an airtight container away from light, heat, and moisture.

8. Brewing:

  • Use about 1 teaspoon of dried tea leaves per cup of water.
  • Steep in hot water (temperature varies by tea type) for 2-5 minutes.

Protecting Your Tea Plants from Pests and Diseases

Tea tree plants can be susceptible to various pests and diseases. Maintaining healthy tea plants involves vigilant pest management and disease prevention. Here's a comprehensive approach to keeping your tea plants safe:

Common Tea Plant Pests:

  • Caterpillars
  • Aphids
  • Mites
  • Scale insects
  • Tea mosquito bugs

Natural Pest Control Methods:

a) Homemade Pepper Spray:

  • Blend hot peppers with water
  • Strain and spray on leaves
  • Deters many insects due to capsaicin

b) Insecticidal Soaps:

  • Mix mild liquid soap with water
  • Effective against soft-bodied insects
  • Apply directly to pests

c) Neem Oil:

  • Natural, multi-purpose pesticide
  • Disrupts insect feeding and breeding
  • Apply as a foliar spray

Disease Prevention and Treatment:

1. Common Tea Plant Diseases:

  • Root Rot
  • Flower Blight
  • Algal Leaf Spot
  • Blister Blight

2. Warning Signs:

  • Black, mushy roots (root rot)
  • Brown spots on leaves or flowers (blights)
  • Stunted growth or wilting
  • Unusual leaf discoloration

3. Prevention Strategies:

  • Ensure proper drainage to prevent root rot
  • Avoid overhead watering to reduce fungal growth
  • Maintain proper plant spacing for air circulation
  • Sterilize pruning tools between uses

Severe Cases:

  • Remove and destroy heavily infected plants
  • Treat surrounding plants preventatively
  • Avoid replanting tea in the same spot immediately