How To Grow

How To Plant, Grow And Care Oats

Source : instagram

For most of us, oats are one of the healthiest breakfast items. However, their uses go beyond feeding people. They are a valuable crop commonly used as food for livestock. These plants also help protect the soil when planted between other crops. 

Oats are relatively easy to grow, but that does not mean they are low maintenance. They need to be taken good care of. If you want to grow oats successfully, this article will teach you how.

Where & When To Plant Oats

Where and when you plant oats can affect your success rate. These are some factors you should consider when growing oats. 

Climate

Oats are a cool-season crop and thrive in colder climates. They are well-suited for many USDA hardiness zones 3 to 8. These zones offer the ideal conditions for oat cultivation, providing cool spring temperatures for germination and moderate summer temperatures for optimal growth.

Growing oats in zone 8 and above can be challenging due to higher temperatures and the potential for diseases. Similarly, cooler zones below 3 have harsh winters that oats cannot tolerate, which might affect yield.
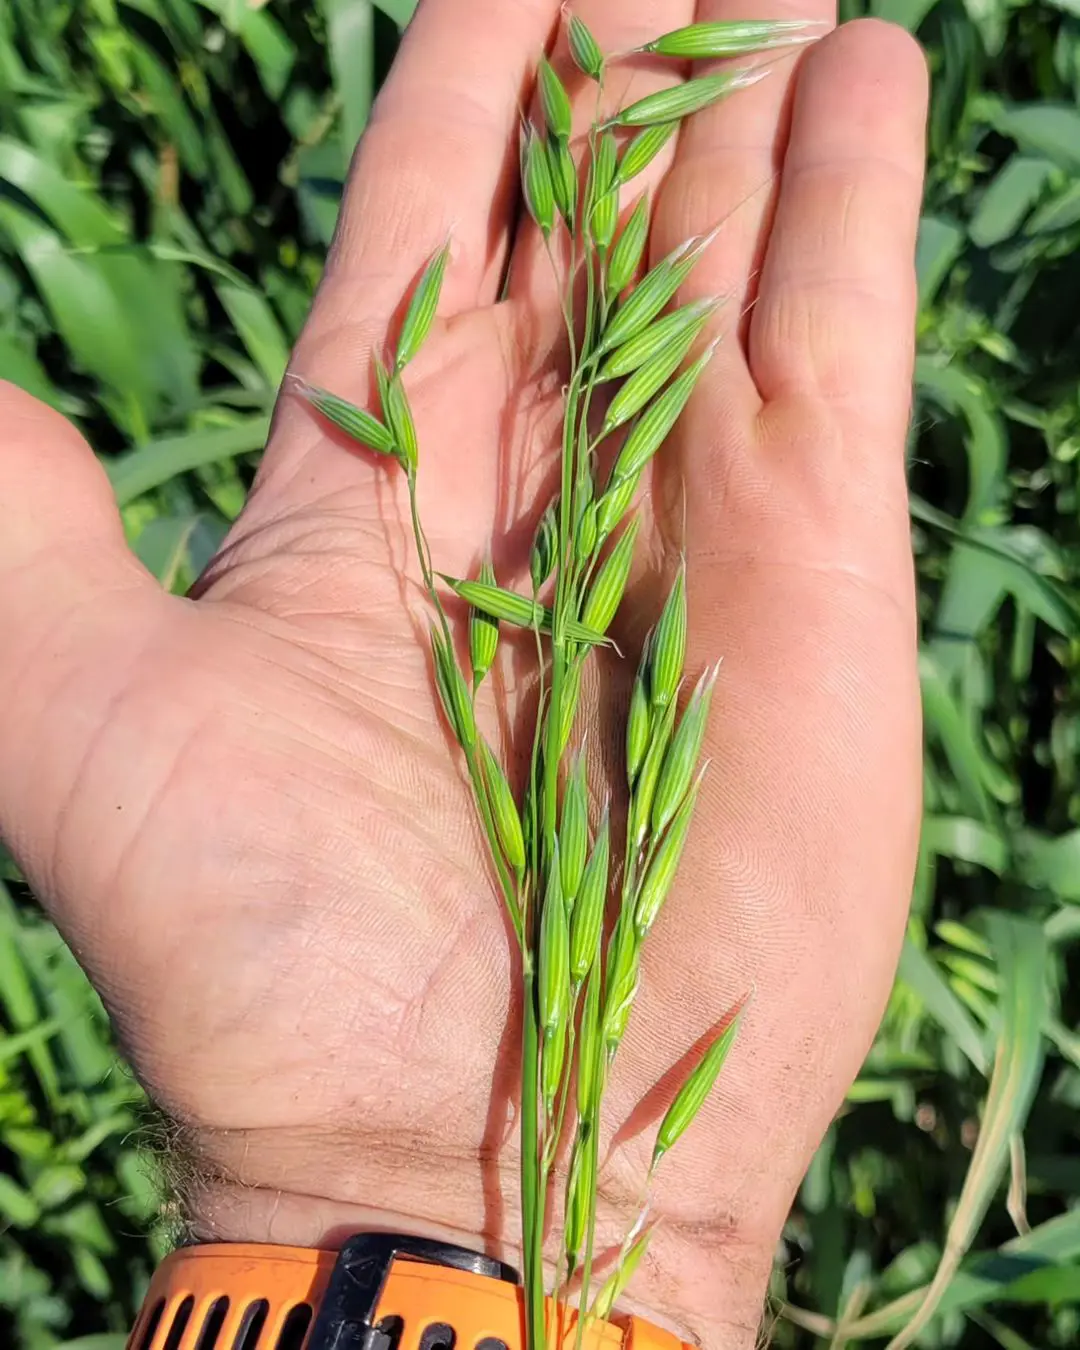
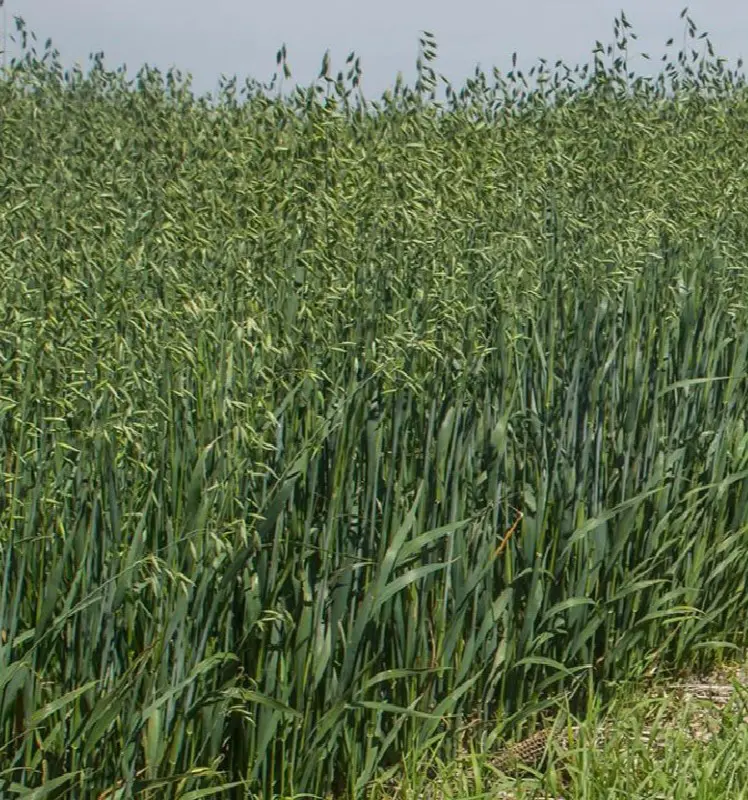
Light

Oats are sun-loving plants. They thrive in conditions with ample sunlight. They should receive at least 6-8 hours of direct sunlight daily for healthy growth, robust plants, and maximum yield.

Oats can tolerate partial shade if you can only manage a location with partial sunlight, but their growth and yield may be reduced compared to full sun conditions. Consider choosing a variety known for its tolerance to shade. If the plants appear small and weak or have pale green leaves, they might not receive enough sunlight.
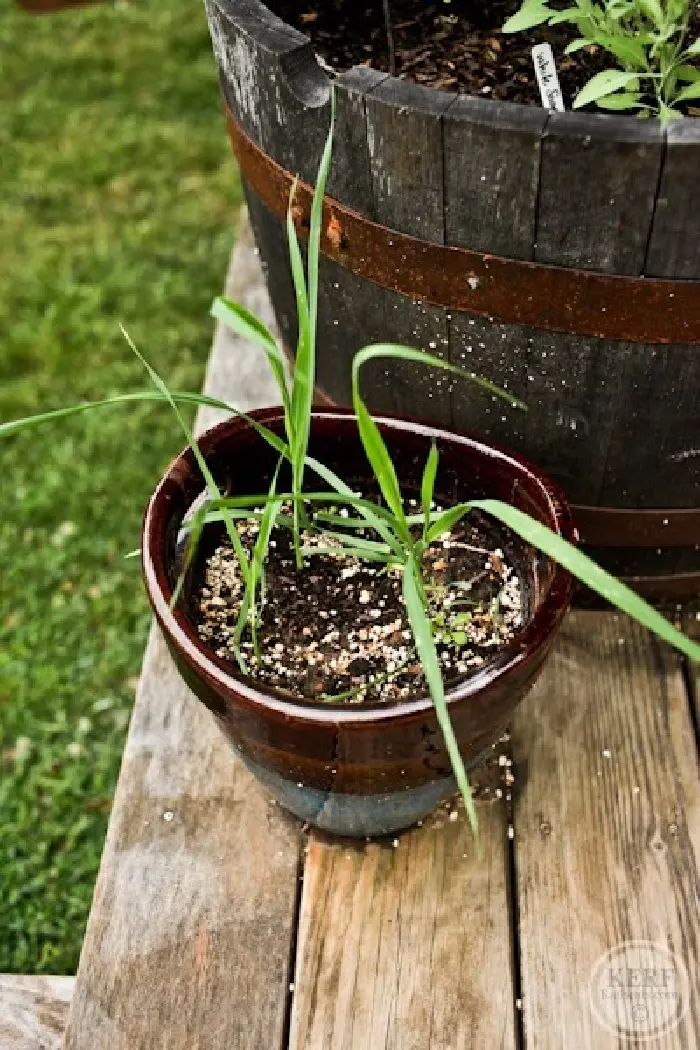
Source : sdstate

Spacing

Oats are relatively adaptable and do not require enormous space. Their seeds are sown about 1/4 inch (0.64 cm) apart, and rows should be about 7.5 to 12 inches (19-30 cm) apart. A plot of about 4 square feet (0.37 square meters) can provide enough oats for a small family.

Still, the required space will increase proportionally to your desired yield. You might want to allocate a large area if you need more yield for feeding animals or baking.

Soil

As much as oats are adaptable in various soil conditions, it is better to maintain certain conditions for optimal growth. The soil has to be well-draining to prevent root rot. It has to be loamy with a good balance of sand, silt, and clay, providing adequate drainage and nutrient retention.

Oats can tolerate a wider pH range than other grains like wheat or barley, but a pH between 6.0 and 7.0 is ideal. Additionally, soil rich in organic matter will support better growth and yield.
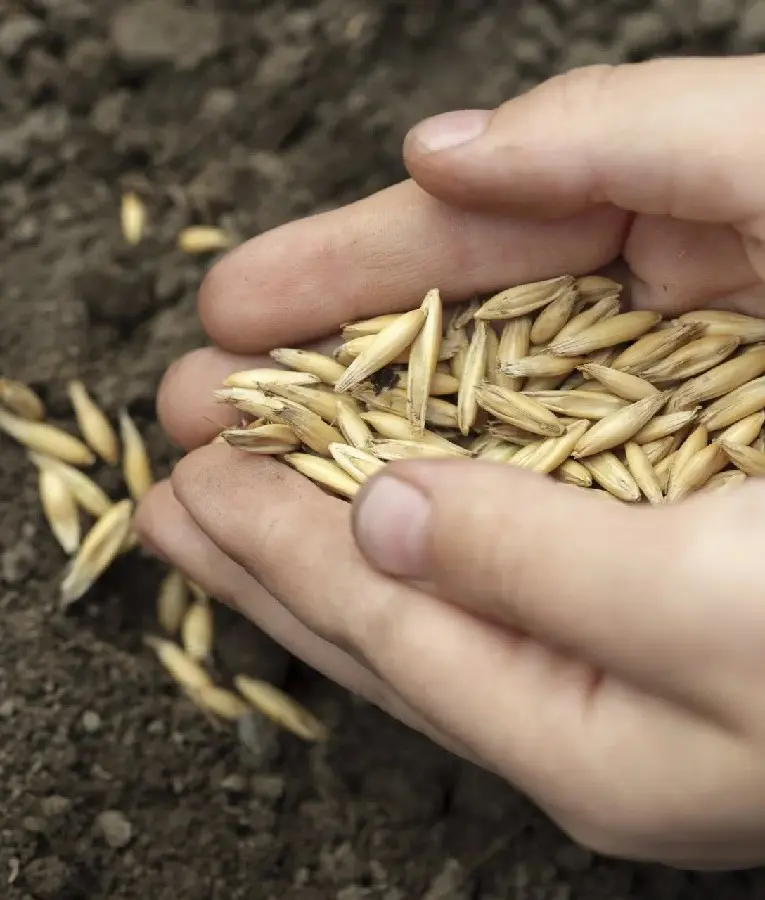
Planting Time

Oats thrive in climates with cool, moist springs or moderate summers. These plants germinate best in cold, damp conditions. While they can tolerate warmer temperatures once established, excessive heat can reduce yield.

These plants should be planted in early spring as soon as the soil can be worked or in late summer or early fall as a cover crop to improve soil health. Do note that the planting time also depends on your location's climate and purpose.

How To Grow Oats: Step-By-Step Instructions

Step 1: Choose the Right Variety

Picking the right type of oats is essential for a good harvest. There are two main types: hulled oats and hull-less oats. Hulled oats have a tough outer shell, making them better for animal feed or processing. Hull-less oats lose their shell naturally during harvest, so they are better for eating.

When choosing a type, consider your local weather and what you want to use the oats for. Some oats grow best in cooler seasons, while others can handle warmer temperatures. Make sure to pick a variety that suits your climate and purpose. 

Step 2: Prepare the Soil

Oats grow best in loose, well-drained soil with a pH of 6.0 to 7.5. Check your soil's pH and adjust it if needed by adding lime to raise the pH or sulfur to lower it. Clear the area of weeds, rocks, and debris.

Turn the soil over to a depth of 6 inches using a garden fork to make it loose and airy. Mix in compost or well-rotted manure, or add a balanced fertilizer, like 10-10-10) for nutrients. Finally, rake the soil to make it smooth and level. 

Step 3: Planting Time

Oats need cool temperatures to germinate and grow, ideally around 40°F (4°C) for germination. They can germinate at temperatures as low as 32°F (0°C), but germination will be slower.

Source : gardeningknowhow

Step 4: Sow the Seeds

Start by scattering the oat seeds evenly over your prepared soil, either by hand or using a seed spreader. Aim to use about 2-3 pounds of seeds for every 1,000 square feet. Once the seeds are spread, gently rake the soil to cover them with about 1-2 inches of soil.

This process helps the seeds make good contact with the soil, which is required for sprouting. Then, press the soil down a bit by rolling over it or simply walking on it. 

Step 5: Watering

Keeping the soil moist is key when the seeds start sprouting in 7-10 days. Water the area lightly but often to keep the soil damp. Once the oats have started to grow, you can water less frequently but give them about 1-2 inches of water each week, either from rain or irrigation.

Using a rain gauge or a container can help you measure how much water you are giving. It is best to water in the morning to reduce evaporation and help prevent diseases. During dry periods, you might need to water more often. 

Step 6: Weed Control

Weed control is essential to keep your oats healthy since weeds compete for water, nutrients, and sunlight. Check your field often, especially when the oats are young. You can pull weeds by hand in small areas or use a hoe or cultivator for larger ones.

It is best to tackle weeds before they grow strong or produce seeds. If needed, use herbicides carefully, following instructions to avoid harming your oats. Regularly checking and addressing weeds will help ensure your oat crop grows well.

Step 7: Growth and Maintenance

Once your oats start growing, they will reach 2-4 feet tall. Make sure they get enough water, especially during the dry season. Check your oats regularly for pests like aphids or signs of disease such as rust.

If you find any issues, treat them as needed. To prevent diseases, avoid watering from above and rotate your crops yearly. Keeping a close eye on your oats and taking action when needed will help ensure a healthy crop.

How To Care for Oats

Source : freepik

Growth Habit

Oats are annual, cool-season grasses that reach an average height of 1.2 to 1.8 meters (4 to 6 feet). They do not spread extensively, as they have a relatively upright growth habit.

After germination, oats produce multiple tillers (side shoots) from the base of the plant, increasing the plant's yield potential. As the plant matures, the stems elongate to support the developing seed heads. They also produce panicles at the top of the stems, which later develop into grain-filled seeds.

Fertilizing

Oats need rich soil to grow well, so start by adding compost or a balanced fertilizer before planting. This method gives your oats the nutrients they need. As the oats grow, you might need to add more nitrogen fertilizer to help them along.

Apply about 1/2 to 1 pound of nitrogen per 1,000 square feet, spreading it evenly over the soil and lightly mixing it in. Be careful not to use too much fertilizer, as it can lead to lots of leaves but fewer oats. Keep an eye on your plants to see if they need more nutrients.

Pruning

Pruning oats is unnecessary as they are grown for their grain and do not benefit from it. However, there are a few practices that can be beneficial:

  • Removing Dead or Diseased Parts: If you see any parts of the oat plants that are dead or sick, like yellow leaves or damaged stems, carefully remove them. This removal helps stop the disease from spreading and keeps your plants healthy.
  • Thinning: If your oat plants are growing too close and are very crowded, thinning them out can help. This thinning means carefully removing some plants to give the remaining ones more space. Doing so improves airflow and reduces competition for nutrients, leading to healthier plants.
  • Cutting Back Before Harvest:  As oats approach maturity, they dry out. If the plants are very tall or have too many leaves, you might need to trim the top to stop them from falling over before you can harvest them.

Mulching

Mulching helps your oat plants by covering the soil with a layer of material like straw, leaves, or grass clippings. Spread this layer around the plants after they grow but before they get too tall.

Mulch keeps the soil moist and prevents weeds from growing. Do not pile the mulch against the oat plants to prevent stem rot. Refresh the mulch as needed to keep it working well throughout the season.

Source : sdstate

Pest Management

Regularly check for common problems like aphids or caterpillars to manage pests on your oat plants. Aphids can stunt growth and distort leaves, while caterpillars may eat the plants. If you find pests, you can use insecticidal soap or neem oil to treat them or introduce natural predators like ladybugs to help control the problem.

Make sure to address any pest issues as soon as you spot them to avoid more damage. Additionally, remove any damaged or diseased parts of the plants to prevent pests from spreading.

Disease Prevention

For disease prevention, avoid watering from above, as this can cause diseases like rust and mildew. Instead, drip-irrigate or water the soil directly to keep the leaves dry. Make sure there is good airflow around the plants by spacing them out properly to avoid crowding.

Rotate your crops each year to prevent soil-borne diseases from building up. Regularly check your oats for any signs of disease, like yellowing or spots, and remove any affected plants immediately.

End of Season Care

Once the growing season ends, there are a few key steps to ensure soil health and prepare for the next growing season. 

Clearing the Field

After you have harvested your oats, clean up any leftover plant parts from the field. You can do this by picking up the stalks and leaves or using a machine to sweep them away. Removing this debris helps stop pests and diseases from hiding in the field and causing problems next season.

It also gets the field ready for any follow-up work, like soil testing or adding fertilizers, and prepares it for the next planting. Do not forget to clear away any equipment or tools you used during harvesting.

Source : gardengatemagazine

Soil Testing

At the end of the season, take a soil sample to test its nutrients and pH levels. The results will show you what your soil needs. Based on the results, add compost or fertilizer to replace any missing nutrients. Compost helps improve soil quality and keeps it moist.

If your soil is too acidic, add lime to balance it. If it is too alkaline, add sulfur. Mix these into the soil with a rake or tiller. These steps will help keep your soil healthy and ready for the next growing season.

Field Maintenance

To maintain your field after harvesting oats, focus on preventing soil erosion and improving its health. Plant cover crops like clover or rye to protect the soil from erosion and add organic matter, which boosts soil fertility.

You can also practice minimal tillage using less equipment, which helps prevent soil compaction and erosion. Adding compost or manure improves the soil’s nutrients and water-holding ability. These steps help keep your field in good condition for the next growing season.

Crop Rotation

Rotate your crops, meaning change the types of crops you plant in a field each year instead of growing the same crop repeatedly. This helps keep the soil healthy and controls pests and diseases. If you plant oats this year, try planting beans or peas next year.

Beans and peas can add nutrients to the soil and benefit future crops. This practice helps keep the soil in good shape and can lead to better harvests over time.

Potting and Repotting Oats

Oats can also be grown in pots, which is useful when you lack the space. 

Source : katheats

Potting

  • Pick a Container: Choose a container with drainage holes at least 12 inches deep and wide enough for the oat roots.
  • Prepare the Soil: Use a potting mix that drains well. Mix regular potting soil with sand or perlite if needed.
  • Plant the Seeds: Fill the container with soil, leaving some space at the top. Sow the oat seeds about 1-2 inches apart and cover them lightly with soil.
  • Water: Keep the soil moist but not soggy. Water gently to avoid washing away the seeds.
  • Provide Light: Place the container in a sunny spot or under grow lights to give the oats enough light.

Repotting Oats

You may need to repot the oats when they become too big for their current container. Look for signs like roots coming out of the bottom of the plant being too crowded. If the oats are not growing well or seem unhealthy despite good care, it might be time to repot.

Moving them to a larger pot with fresh soil gives the roots more room to grow and helps the plant stay healthy.

  • Check for Overgrowth: If the oats are getting too crowded or roots are coming out from the bottom, it is time to repot.
  • Choose a Larger Container: Select a pot about 2-3 inches wider and deeper than the current one, with drainage holes.
  • Prepare New Soil: Use the same well-draining potting mix as before.
  • Remove Oats: Gently remove the oats from their current container, loosening the edges if needed.
  • Transfer to New Pot: Place the oats in the new container, spreading the roots. Fill in with potting mix and press down lightly.
  • Water and Light: Water the oats well after repotting and adjust their light if needed to support growth.

Propagating Oats

Oats cannot be propagated from cuttings or divisions. They can only be propagated through seeds. Here is a simple guide:

  • Harvest Seeds: Cut the oat plants at the base and put them into bundles. Allow the bundles to dry, and once they are dry, remove them from the seed heads by gently rubbing the seed heads between your hands or using a threshing tool. 
  • Clean Seeds: Clean the harvested seeds to remove any remaining chaff or debris.
  • Prepare the Soil: Oats prefer well-drained, loamy soil with a pH of 6.0 to 7.5. Prepare the soil by tilling it and adding compost or a balanced fertilizer.
  • Plant Seeds: Sow the seeds directly into the prepared soil. Plant them about 1-2 inches deep and 1-2 inches apart.
  • Water: Keep the soil consistently moist until the seeds germinate, which usually takes 7-10 days.
  • Care for Seedlings: Ensure the growing oats receive adequate water and light. Thin out any overcrowded seedlings to allow space for growth.

Harvesting Oats

Source : instagram

Once the oats are mature, you need to harvest them before it is too late and use them for their intended purpose.

When to Harvest Oats

Harvest oats when the plants are mature, typically about 90-120 days after planting. The right time to harvest is when the oats turn a golden brown and the seed heads are dry.

The seeds should feel firm and hard when you squeeze them. Avoid harvesting too early, as immature seeds can be soft and will not store well.

How to Harvest Oats

To harvest oats, cut the plants at the base when they are fully mature and bundle them up. Hang these bundles in a dry, airy place or spread them out on a clean surface to dry completely. Once dry, remove the seeds from the seed heads by rubbing them between your hands or using a threshing tool. 

Clean the seeds to get rid of any leftover bits of chaff. You can use a sieve or winnow them to help with cleaning. Finally, store the cleaned seeds in airtight containers in a cool, dry place until you are ready to use or plant them again.