How To Grow

How To Plant, Grow And Care Hops

Source : instagram

If brewing beer is one of your hobbies, cultivating your own hops should be on your to-do list. Hops are an essential ingredient in beer. Historically, they were used as a preservative, and different varieties offer flavors ranging from citrusy or fruity to piney or bitter.

Though seemingly exotic, hops are not difficult to grow in the home garden. This Blog offers you all the knowledge you need regarding planting, caring and growing hops in your very own garden. So Follow Along!

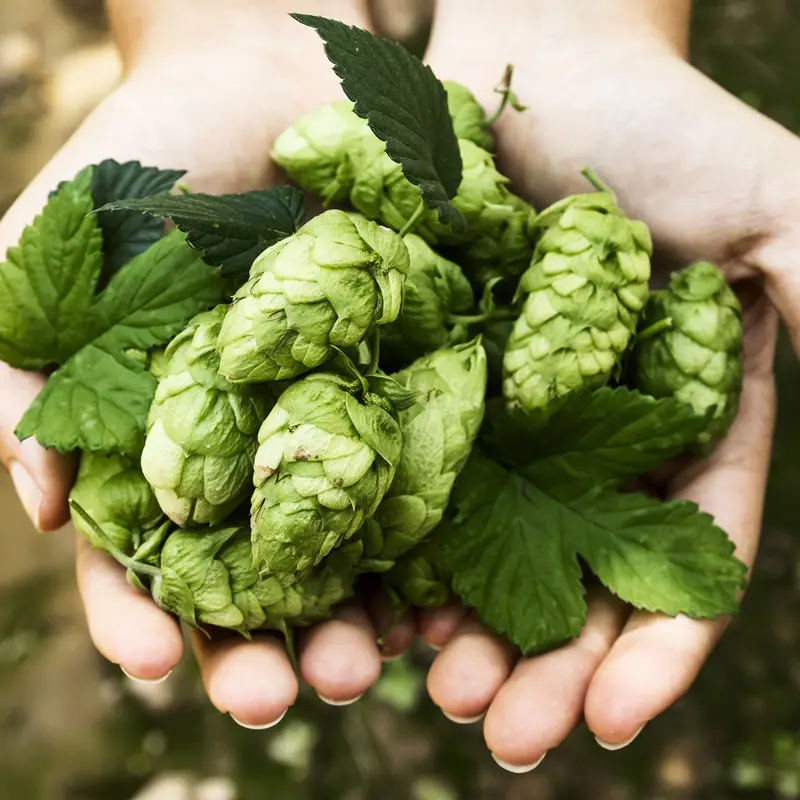
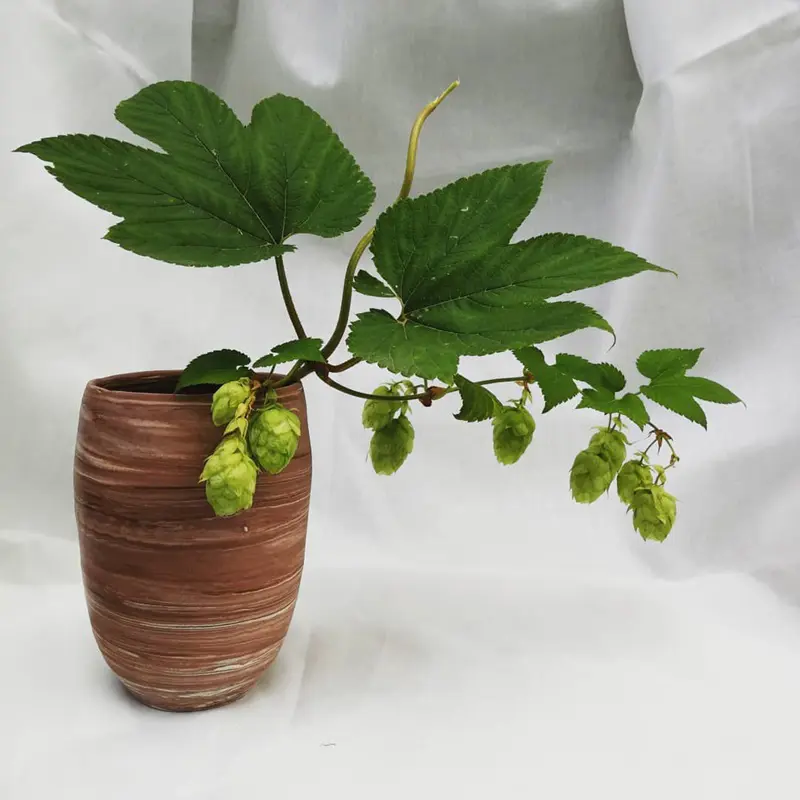
When and Where to Plant Hops Plant?

If you have a hunger for a successful plantation of hops plant in your garden, you must thoroughly consider about when and where to plant the hop plants. Tag along with us about some of the requirements to be fulfilled before planting hop plants.

Light

First things first, hop plants do well in full sunlight. We suggest you look for a space in your garden that will provide hops with at least six to eight hours of sunlight each day.

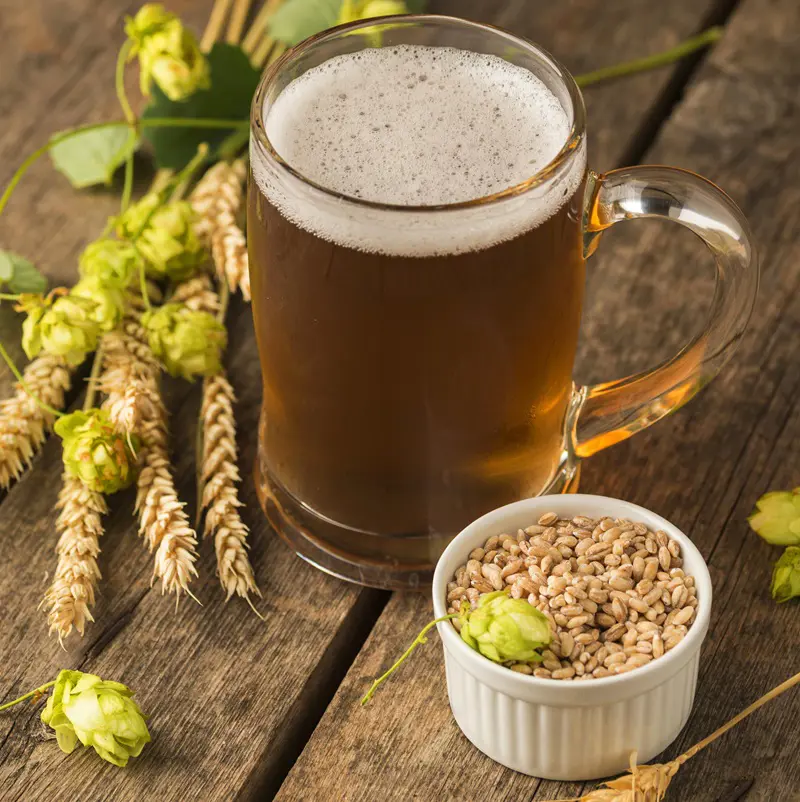
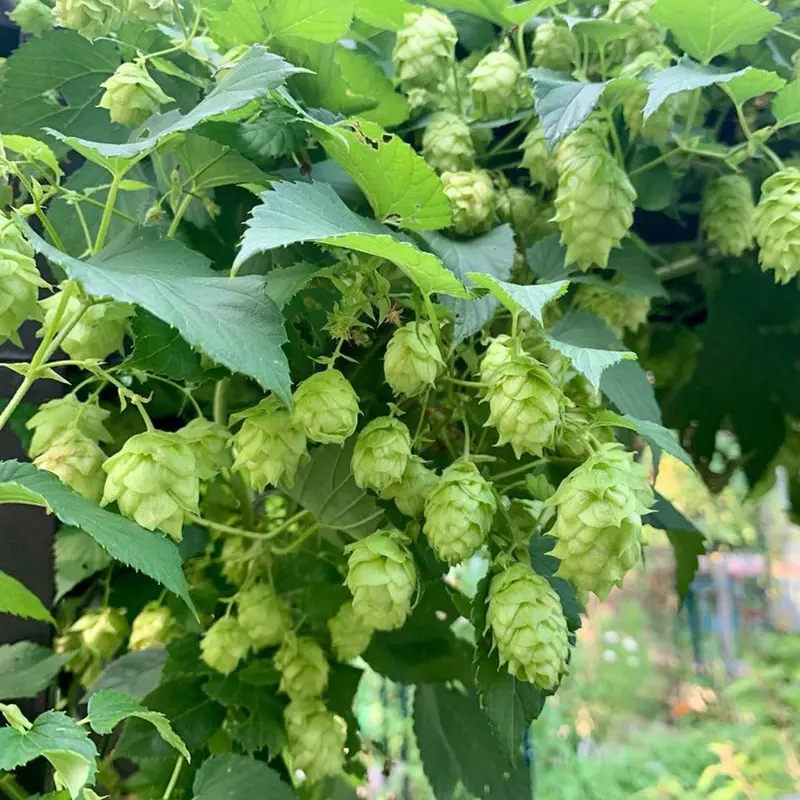
Only when hop plants receive full sunlight without any sort of shade blocking the light towards them they will grow well and gift you with all the high-quality cones that you need to enjoy your beer perfectly.
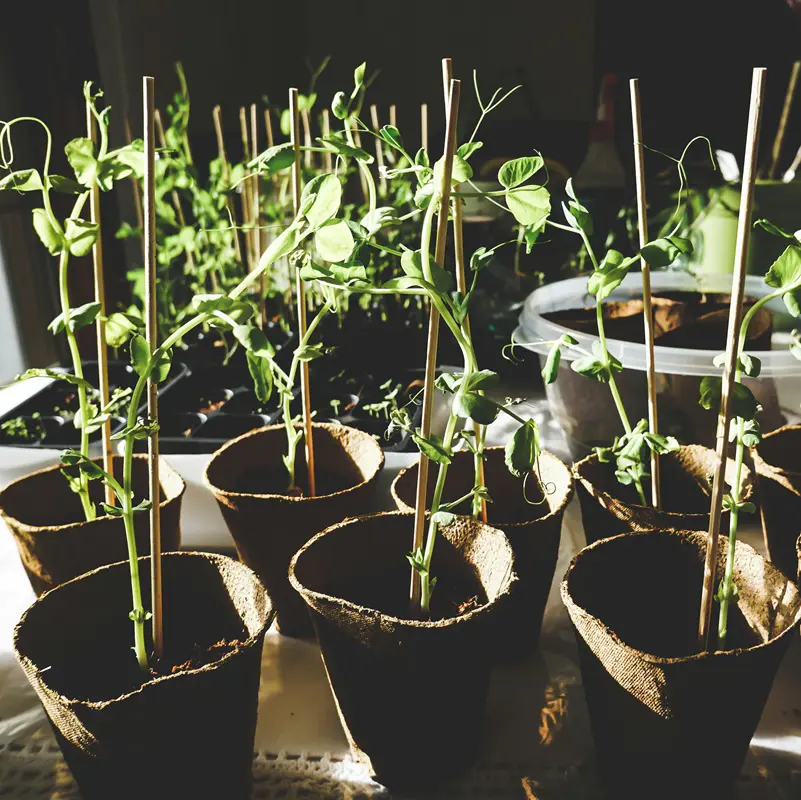
Spacing

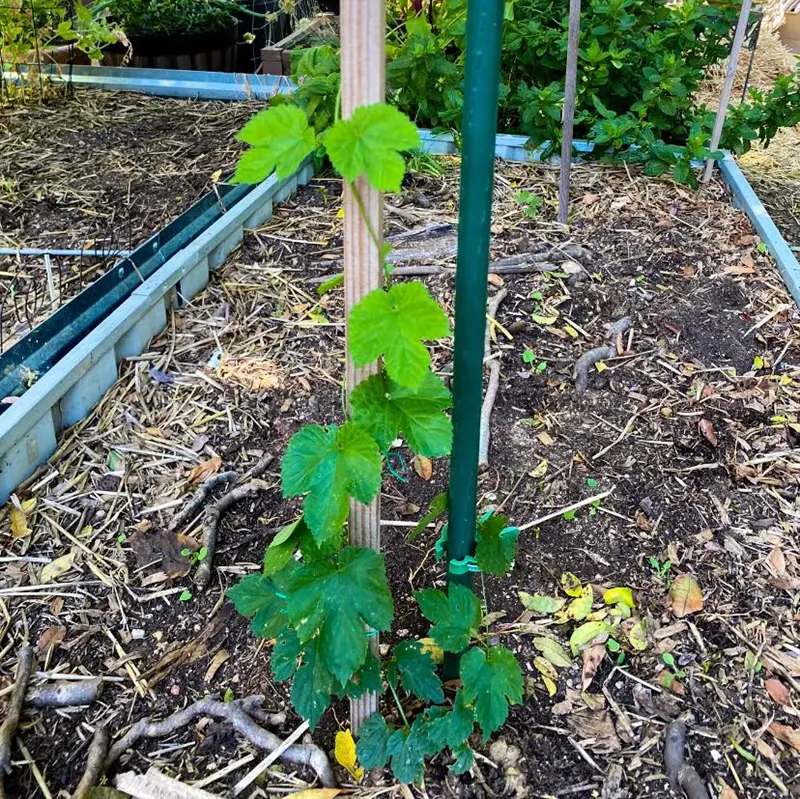
Plant hops where there is space to grow the 20-30 foot long vine. Often a trellis is built to support the plant. Other areas can be on the side of a garage, up a chimney, or on a tall, long fence.

We would suggest you plant them at least 3-5 feet apart. Only when they are planted with proper spacing, they will have enough room to grow well and spread out without having to overcrowd in the teeny-tiny space.
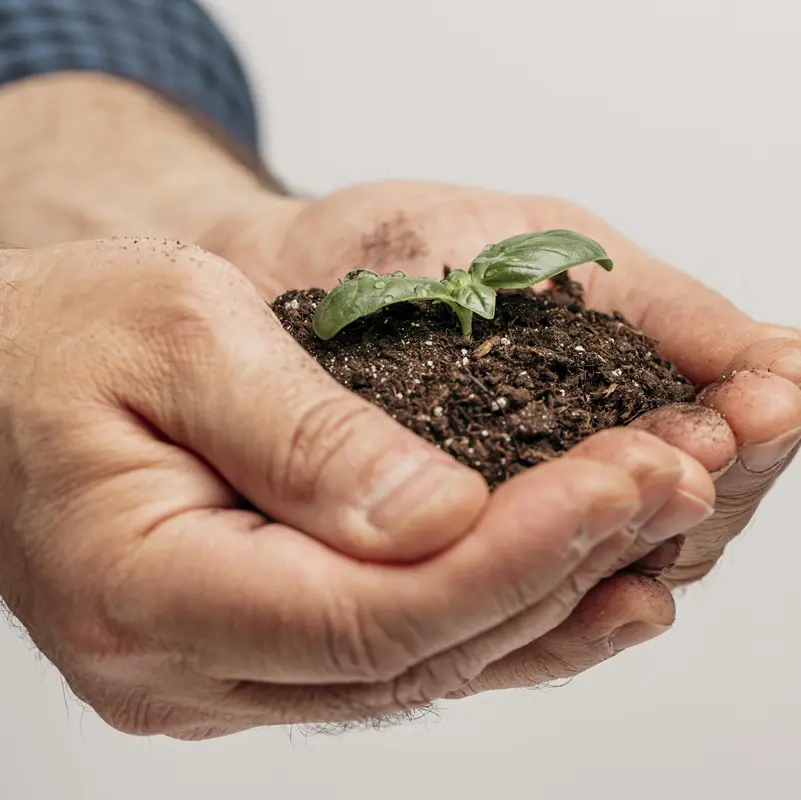
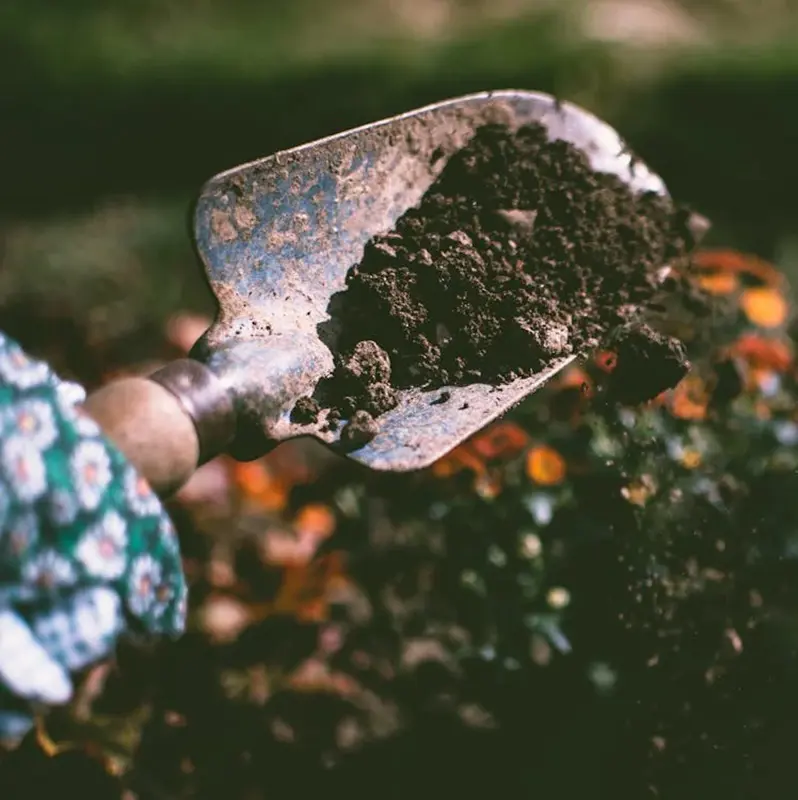
Soil

Source : facebook

Even the healthiest rhizomes may not flourish to their full potential if the soil you house them in doesn’t contain the ideal drainage or acidity levels. Ensure that your soil is loose so it will drain properly.

Also, hop plants prefer slightly acidic soil ranging from 6.0-7.0. Whether you purchase soil in a bag or use the real thing from your backyard, you can always use a pH testing kit to ensure you’re providing your hop plants with precisely what they want.
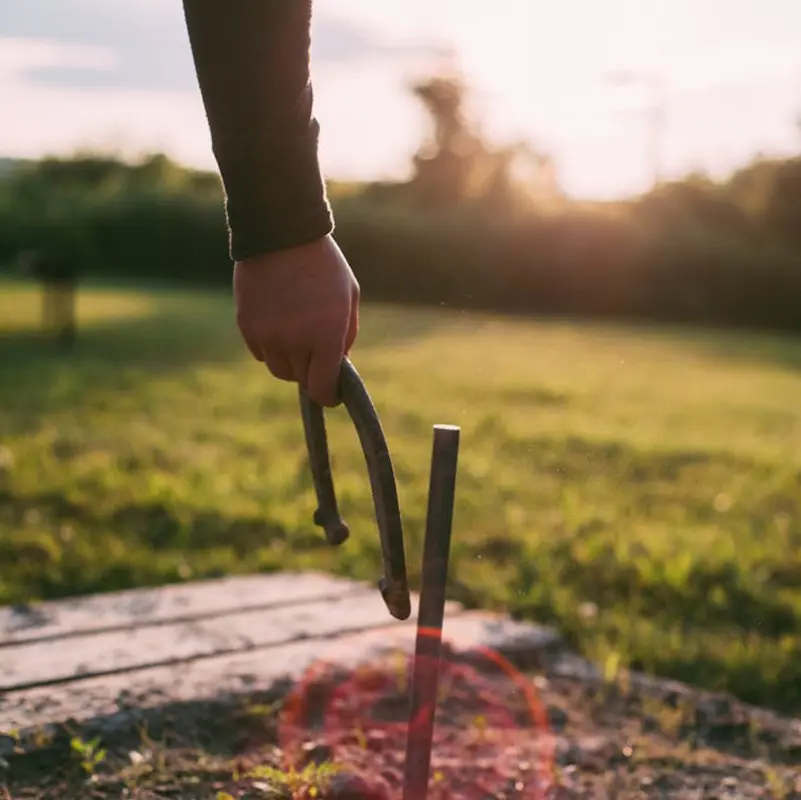
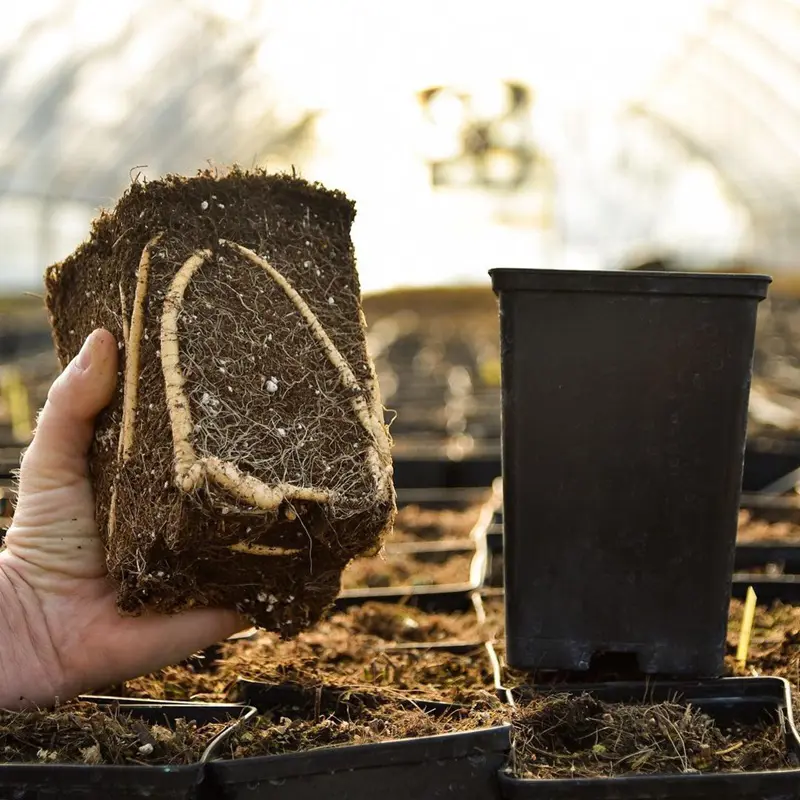
Planting Time

You are more than welcome to plant hops after the danger of frost passes, that is in early spring when the ground is workable. For most areas, this will be late March to early April.

The growing season for these plants is a long one, so the sooner they are planted, the more vigorous their growth and the resulting crop. Make sure you plant rhizomes horizontally about 1-2 inches below the soil level, with buds facing upwards.

How to Grow Hop Plants: Step-By-Step Instructions

Growing hops from seeds is less common as compared to growing out from rhizomes due to the success rate. But its not undoable at all. We've listed out the correct steps to grow hops from seeds so your planting experience becomes one huge success!

Step 1: Obtain Fresh Seeds

First and foremost, when you are about to grow hops, you need to have fresh seeds since the germination rate of seeds drops fast. Acquire seeds from a qualified nursery or gardening shop where quality can be guaranteed.

When purchasing seeds, you need to make sure they are firm and plump and not shrunken or soft. This is an indication that the seed is healthy. We strongly advise you to go for Fresh Seeds!

Step 2: Prepare Potting Mix

To grow hop plants, the potting mix needs to provide both excellent drainage and aeration. Balanced mixes must contain equal parts of peat moss, perlite, and compost.

The mixtures offer a conducive environment for the seeds to develop healthy roots and avoid any diseases. Hops seeds tends to germinate and develop well in this balanced potting mixture.

Step 3: Prepare Pots

Source : pexels

Unlike other plants, for hops, we strongly suggest you to go for smaller pots that have drainage holes. Make sure the size of the container is well-suited for the delicate seeds. The pots should provide enough space for roots to grow fully without water-logging.

Along with that, make sure you clean the pots to avoid harboring bacteria or fungi as it might result in stunted growth of your hop plants.

Step 4: Fill the pots

Fill the pots with the well-prepared potting mix, leaving about half an inch at the top to prevent the water from splashing out when the plants are watered. Gently tap the soil to remove the air pockets that might ensure proper root development and water absorption.

Because of this slight compaction, planting in the medium will be firm and may provide seeds with sufficient contact with the soil. This will eventually aid in better germination and growth of hop plants.

Step 5: Sow the seeds

Place the hop seeds in the ground about ¼ inch deep to allow good coverage for them to sprout. If you are using a seed tray, space the seeds about 1 inch apart to give the seedlings room to grow.

Once you have planted your seeds, cover them lightly with soil and gently water them so that the soil is moist but not saturated. While other factors exist, careful planting and watering help to create the desired conditions for successful germination and seedling development.

Step 6: Transplant Seedlings 

Once the seedlings develop at least two sets of true leaves, it's a sign that they are ready to be transplanted. When the weather gets warm, transplant them by digging holes. Remember the light and soil conditions.

Carefully remove the seedlings from their pots while making sure that you do not damage the delicate roots. Next place them in the prepared holes. Make sure you are gentle to the plants while transplanting to avoid the shock.

Step 7: Mulching and Staking

Source : pexels

Mulching around the base of the hops plants just after transplanting will help in retaining soil moisture and keep out weeds. Mulch provides some sort of protective barrier, making frequent watering unnecessary and keeping out weeds that would compete with the hops for some vital elements.

Since they are climbing plants, a trellis or stake should be provided that is strong enough to hold them in place as they grow. These supports must be strong enough to hold the mature plants so that they can climb with ease and not fall off their weight.

Step 8: Maintaining Moisture

Maintaining proper moisture is crucial for hop plants. Keep the soil consistently moist, ensuring it doesn’t become waterlogged, as excessive moisture can lead to root rot. Regular watering is essential, particularly during dry spells, to support healthy growth.

Deep watering is recommended to encourage robust root development and ensure the plants receive adequate hydration throughout their growing season.

How to Care for Hop Plants?

There are certain things you need to keep in mind after planting the hop plants. We have listed some ways and areas of care you should orient yourself to when caring for hop plants.

Growth Habit

Hops Plants (Humulus lupulus) are known to be vigorous climbing perennial plants because they can grow up to 20 feet or even more. They tend to exhibit twining habits that is to say that they wrap around supports as they climb.

You need to set up a strong support system because these plants will reach for the stars—or at least the top of your trellis. And one interesting fact is also that Hops have separate male and female plants, but only the female plants produce the valuable hop cones used in brewing.

Watering

As for hop plants, the soil needs to be moist. That being said do not overwater the plants as it can lead to fungal diseases and of course root rot. 

Water at the base of the plants. As the plant matures, you might eventually need to adjust the frequency of watering. Watering plants at least once or twice will suffice. However, during hot and dry weather you might need to water more frequently.

Fertilizing

Source : freepik

Hops plants tend to be one heavy feeder. They benefit from a balanced fertilizer regimen. You might consider applying a complete fertilizer with equal parts nitrogen, phosphorus, and potassium (e.g., 10-10-10) in the early spring.

Fertilizing can be done when the plants are emerging from the dormancy period. Proper fertilization will result in healthier plants that produce a great deal of cones.

Mulching

Mulching helps retain soil moisture, suppress weeds, and regulate soil temperature for hop plants. Apply a layer of organic mulch, such as straw or wood chips, around the base of the plants. Keep the mulch a few inches away from the plant stems to prevent moisture-related issues.

Replenish the mulch as needed throughout the growing season to maintain its effectiveness.

Pest and Diseases

Hops are subject to attacks of such pests as aphids and spider mites, and outbreaks of fungal diseases like powdery mildew. Monitor plants for the presence of pests, taking appropriate control action using insecticidal soap or neem oil as necessary.

Preventing fungal diseases like powdery mildew is accomplished by providing adequate circulation of air around the plants and preventing overhead sprinkling. Proper spacing and pruning will also help to minimize the risk of disease and promote good growth.

End of Season Care for Hop Plants

Previously we learned about how to care for hop plants, and this section is here to enlighten you about the areas that need to be considered as a end of season care for hop plants. If you care about it during the end season only then the next growing season will gift you with healthier cones.

Pruning

After the growing season ends and your hops plant has provided you with all the cones for the season, it's important you manage your plants properly. This can be done by pruning them appropriately and making them ready for dormancy. This way they can withstand cold and thrive well in coming seasons.

Source : freepik

How To Prune

  • Start by gathering all the tools you require to prune the hops plants. It might include using clean and sharp pruning shears, saws and even gloves and protective items.
  • Next up cut back all the old, dead, or diseased growth that has been inhibiting the hops plant. By trimming so, you will prevent the potential pests and diseases from overwintering.
  • Now cut back the old vines of hop plants from the trellis or any support structure you provided. This helps in new growth as the spring approaches. Make sure you make clean cuts. Clean cuts not only serve the purpose of aesthetics but also reduce stress on the plants.
  • Cleaning tools by disinfecting them is mandatory. This should be done after you cut the diseased parts, It is to be done to stop the spreading of diseases.
  • And point to be noted- Do not make excessive cuttings. Make sure you leave out a healthy root system and some of the perennial crown. This will be helping in stronger regrowth.

Fertilization

Although we mentioned earlier how hops are heavy fertilizer-demanding as the growing season ends, it’s crucial to adjust fertilization practices.

This will prepare your hop plants for dormancy. You can gradually reduce both the amount and frequency of fertilizer applications to avoid shocking the plant and help it transition smoothly into its dormant phase.

Protection

In regions where winters are hard, hop plants require good protection. Start by mulching the area while making sure the mulch drains well.

The vines themselves must be protected from the worst of the wind by using windbreaks or planting them in more sheltered positions. This will be very useful for people growing hops in pots or containers to move them into a greenhouse or inside during extreme conditions.

Propagating Hops Plant

Propagating hops from seeds and cutting are still prevalent but the most feasible and common method is to propagate it from rhizomes. We have listed down the steps you can follow to successfully grow your hop plants from rhizomes.

Step 1: Get Rhizomes

The first thing you do when you are about to grow hops from rhizomes is you need to have a healthy one. Secure seeds from a qualified nursery or gardening shop where quality can be assured. Choose rhizomes that are firm and without any mold or rot.

Step 2: Prepare the Planting Area

Source : pexels

As hops plants require a sunny area with well-drained soil, make sure to provide the plants with adequate light. You can do this by incorporating organic matter into the soil and ensuring that the pH is between 6.0 and 8.0.

Step 3: Preparing Rhizomes

In case the rhizomes are big, you may further subdivide them into smaller sections. All the same, ensure that each rhizome has one or two buds. As a way of preventing disease, ensure the cuts are clean.

Step 4: Planting Rhizomes

Make a hole that is about 5-10 cm (2-4 inches) deep and slightly wide to fit the rhizome. Put the rhizome in the hole bud side up. Cover it with soil and water well.

Step 5: Watering

The hop plants need constant moisture; thus, they need to be kept damp. Nevertheless, waterlogged soil should be avoided as this may prompt roots rot. Watering should be frequent, especially during the dry seasons, for good growth.

Deep watering will help the root to grow strong and allow the plants to have enough water throughout their growing season

Step 6: Provide support

Hops are climbing plants and need something to climb on; you will want to install a trellis, stakes, or a pole for the hops to climb as they grow. Be sure to have something sturdy and high enough that can house the plant's vigorous growth.

Step 7: Mulching

Mulching around the base of the hops plants immediately after transplanting will help retain the soil moisture and keep out weeds. Mulch provides some sort of protective barrier making frequent watering unnecessary and keeping out weeds which would compete with the hops for some vital elements.

Step 8: Fertilization

Feed with a balanced fertilizer or a high-potassium fertilizer to encourage good growth. Excess nitrogen encourages plentiful foliage at the expense of hop cones.

Step 9: Pruning

As your plants grow, prune them to encourage a strong vertical growth pattern. Cut out weak or damaged growth to divert the plant's vigor into producing healthy, vigorous shoots.

Step 10: Aftercare and Checking

Be on the lookout for pests and diseases. Aphids, spider mites, or powdery mildew can infect the hops. Provide timely treatment to avoid any problems in its healthy growth.

Potting and Repotting Hop Plants

Though uncommon, it's not impossible to grow hops plants indoors. With proper guidance you can grow hop plants is containers with success. 

Potting a Hop Plant

Source : instagram

  • Start with pot selection, select a pot bottomed with holes for proper drainage to prevent waterlogging. It should be a bit bigger than the root mass of the hops seedling or cutting.
  • Now prepare a potting mix. Ideal use of a potting mix that would consist of fine, well-draining, organic matter. Potting mixtures developed for vegetables or herbs will work also.
  • Fill the pot with potting medium, with enough space left to fit the root ball.
  • Gently place the hops plant into the container, ensuring the root ball is covered by soil.
  • Water the newly potted hops plant deep to allow excess water to drain.
  • The container should be placed in sunny areas that receive 6–8 hours of direct sunlight each day. Hops thrive in full sun but can adapt to good, indirect light if necessary.
  • Hops prefer an intermediate level of humidity. If you live in a dry climate indoors, you might want to use a humidifier or put your pot on top of a tray with stones and water.

Re-Potting a Hop Plant

Source : instagram

  • Re-pot your hops plant when its root ball has outgrown the existing pot, or the potting mix is impoverished through leaching.
  • Choose a New Pot: Pick a container 2-3 inches in diameter larger than the existing one.
  • Fill the new container with fresh, well-draining container mix.
  • Take the plant out of its old container with the greatest care.
  •  Gently work the roots loose and trim any damaged or circling roots.
  • Place the hops plant in the new container and fill it with fresh container mix.
  • Water the repotted hops plant plenty and make sure that excess water is drained out.
  • Place the hops plant into a sunny location to get 6 to 8 hours daily.

Harvesting Hop Plants

When it’s time to harvest hops, you'll want to ensure you're getting the best quality cones for brewing. Here’s how to know when to harvest and how to do it properly:

When to Harvest?

  • Color Change: Cones turn yellowish-green and skins become dry.
  • Aroma: Mature hops have a strong, pleasant smell.
  • Cone Condition: Cones should be sticky with mature lupulin.
  • Timing: Harvest from late August to September.
  • Monitoring: Check cones regularly as harvest time nears.

Source : freepik

How to Harvest?

  • Manual Harvesting: Carefully pick the cones by hand to avoid damaging the plant. You can use a hop-picking tool if you have a large number of cones.
  • Avoid Force: Gently twist or pull the cones from the bines. If the cones are mature, they should come off with minimal effort. Be careful not to pull too hard and damage the plant.
  • Quality Control: Only harvest cones that are fully mature. Immature cones may not have the desired aroma or bitterness.
  • Handling: Place harvested cones in a clean container, and avoid bruising them. This helps maintain the quality of the hops.
  • Drying: After harvesting, hops need to be dried quickly to prevent mold and preserve their flavor. 
  • Storage: Store dried hops in airtight containers in a cool, dark place. Proper storage helps retain their freshness and potency.

Types of Hops Plant

There are wide varieties of hops plant, but have enlisted top three common hops that are grown all across the globe;

Cascade

Cascade hops are recognized for their bright, lively flavors of citrus and grapefruit, finishing out with floral and spicy notes on the nose. They provide a refreshing complexity to American Pale Ales and IPAs, thus being a favorite among brewers and beer aficionados alike.

Centennial

Centennial hops bring together citrus and pine f GK flavors with floral, citrusy aromas. It's often considered a "super Cascade," versatile and frequently used in American Pale Ales and IPAs, providing both balanced bitterness and an aromatic profile.

Citra

Citra hops are most famous for their bright, juicy tropical fruits and lime flavor characters with a powerfully strong aroma of citrus and the tropics. Very popular in IPAs and Pale Ales, they're used to add bold refreshing characteristics that further enhance the nature of these hop-forward beers.