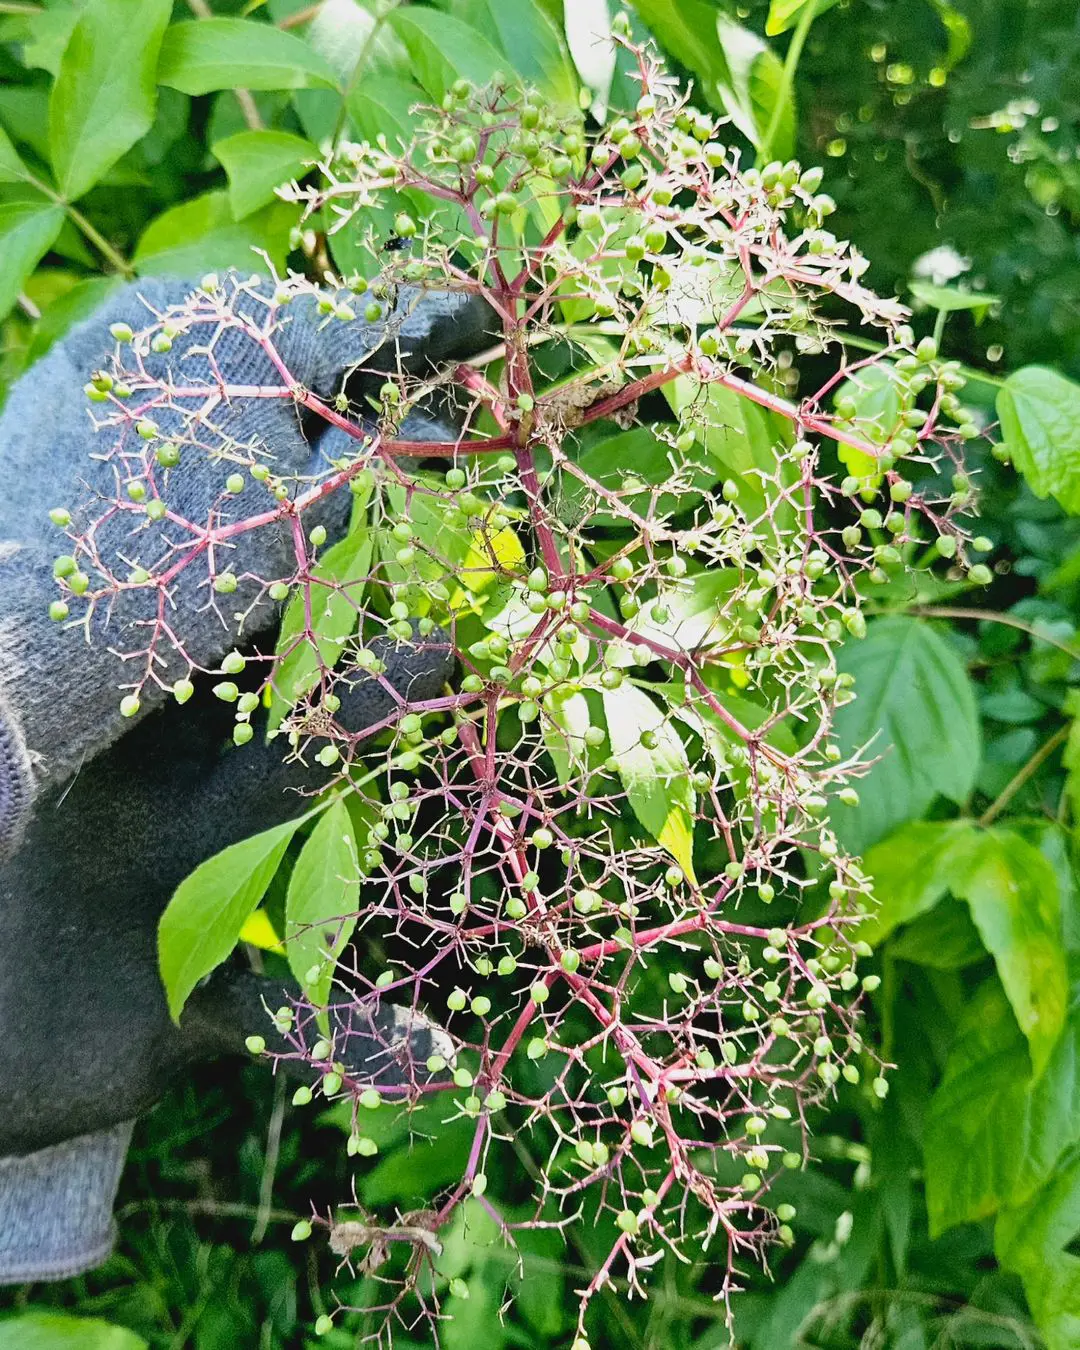
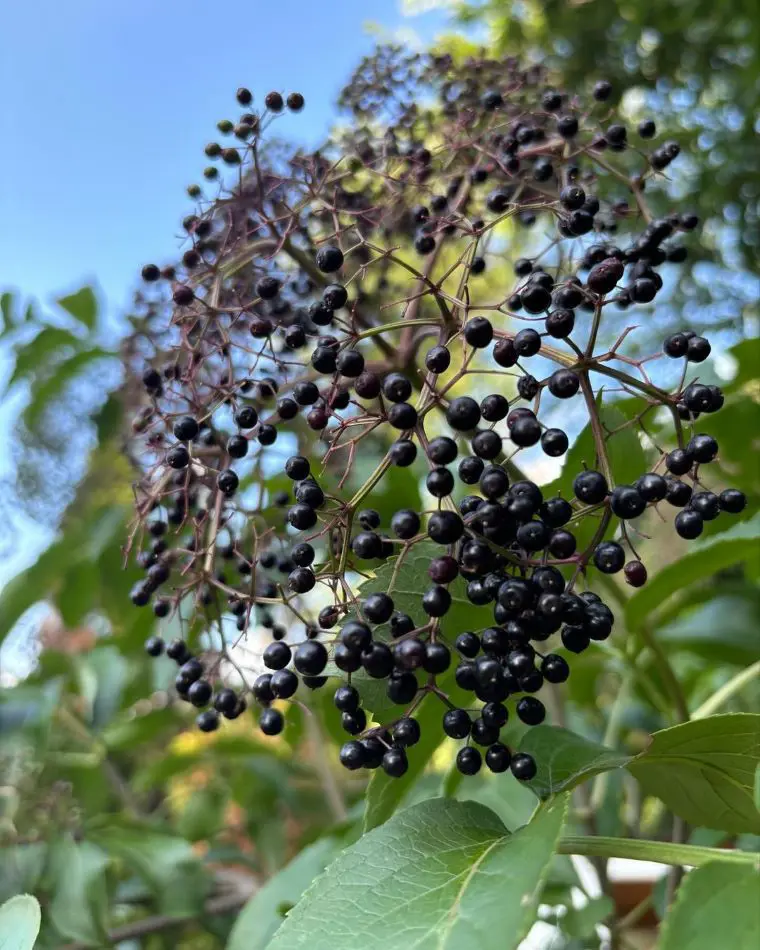
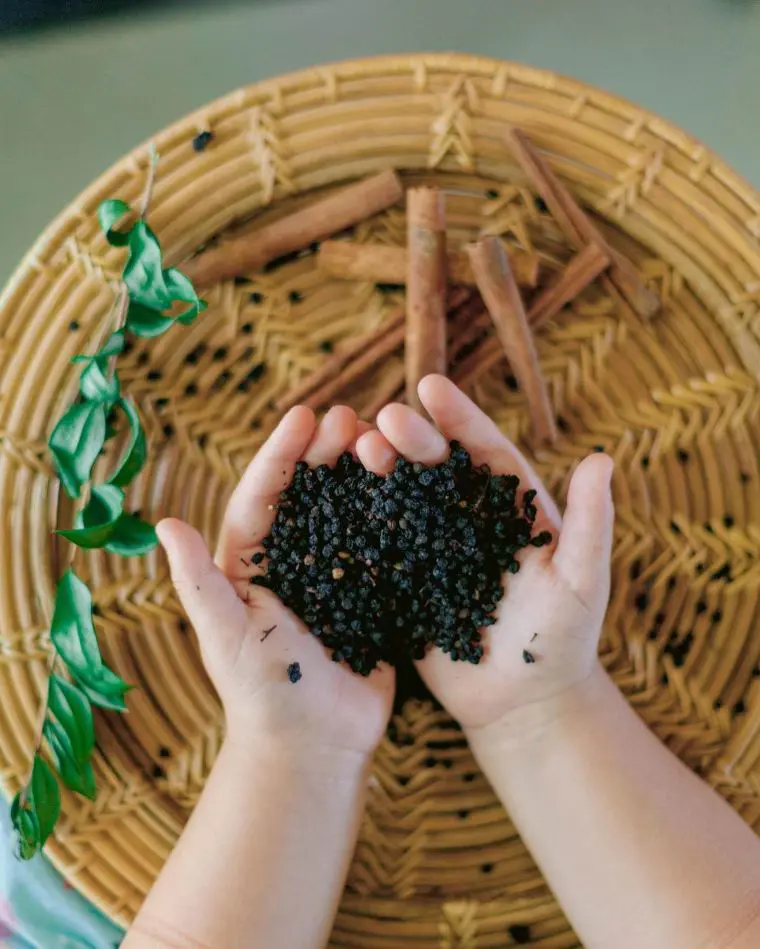
Elderberry bushes are an excellent addition to any garden, offering beautiful white flowers in summer and clusters of purple-black berries in fall. These versatile plants are not only easy to grow but also provide delicious and potentially health-boosting fruit.
If you are looking forward to planting this beauty, you are in the right place. We will equip you with the essential knowledge to plant, grow, and care for your very own elderberry bush, ensuring years of fruitful harvests.
What is Elderberry?
Elderberry (Sambucus spp) is a genus of flowering shrubs or small trees native to many regions around the world, including North America, Europe, and Asia. However, elderberry consumption requires caution.
Here's a quick overview of elderberry:
Common Name: Elderberry, American elder, wild elderberry, common elderberry
Elderberry bushes are a rewarding addition to your garden, offering beautiful white flowers in summer followed by dark purple to black berries in fall. These fast-growing, cold-hardy shrubs thrive in full sun and well-drained soil.
While relatively low-maintenance, regular watering, especially during the first few years, and late-winter pruning will keep your plant healthy and produce abundant fruit. Elderberries are self-fertile to some degree, but planting multiple varieties can significantly increase your harvest.
Here is how you can grow, plant, and care for elderberries -
How to Plant Elderberry Trees?
When to Plant
The best time to plant elderberry trees depends on your climate. For areas with mild winters, planting it in spring is ideal. So, plant elderberries in early spring as soon as the soil can be worked. But fall planting is recommended for colder climates with harsh winters.
So, plant elderberries in late summer or early fall, at least 6 weeks before the first frost. This allows the roots to be established before winter dormancy.
Location
Elderberry thrives in a sunny location with at least 6-8 hours of direct sunlight daily. They can tolerate some partial shade, but full sun promotes better flowering and fruit production.
The soil should be moist but well-draining. Elderberries don't do well in soggy conditions. Consider amending your soil with compost or other organic matter to improve drainage if your soil is heavy clay.
Spacing, Depth, and Support
Elderberry bushes mature to be 6-10 feet tall and wide. When planting multiple elderberries, space them 6-8 feet apart to allow for proper air circulation and fruit harvesting. If planting rows of elderberries, consider leaving 10 feet of space between each row.
For depth, dig a hole for your elderberry tree that is twice as wide as the root ball and slightly deeper. The root ball should sit level with the surrounding soil when planted.
Similarly, elderberry bush are generally self-supporting and don't require staking unless they are in a very windy location. However, for young plants or those heavy with fruit, you can provide temporary support with a stake and loose ties.
Elderberry Tree Care
Elderberry trees are known for their easy-going nature, but a little extra care goes a long way in maximizing their fruit production. Let's delve deeper into their specific needs:
Sunlight
Elderberries are sun-worshippers, ideally needing 6-8 hours of direct sunlight daily. This sunlight fuels flower and fruit production, leading to a bountiful harvest. While they can tolerate some shade, expect fewer flowers and berries.
Soil
Happy roots mean a happy elderberry! Well-drained, moist soil is essential. If your soil leans towards clay, amending it with compost will improve drainage and provide vital nutrients for the plant.
Plant Material
Start with healthy elderberries! Choose disease-free plants, whether opting for bare-root options (dormant plants with exposed roots) or container-grown elderberries.
Temperature and Humidity
Organic elderberry is a tough cookie! They are cold-hardy, tolerating a wide range of winter temperatures. Humidity levels aren't a major concern, although good air circulation around the plant is important to prevent fungal diseases.
Irrigation
Regular watering is key, especially during the first few years after planting and during dry periods. Consistent moisture is crucial for healthy growth and fruit development.
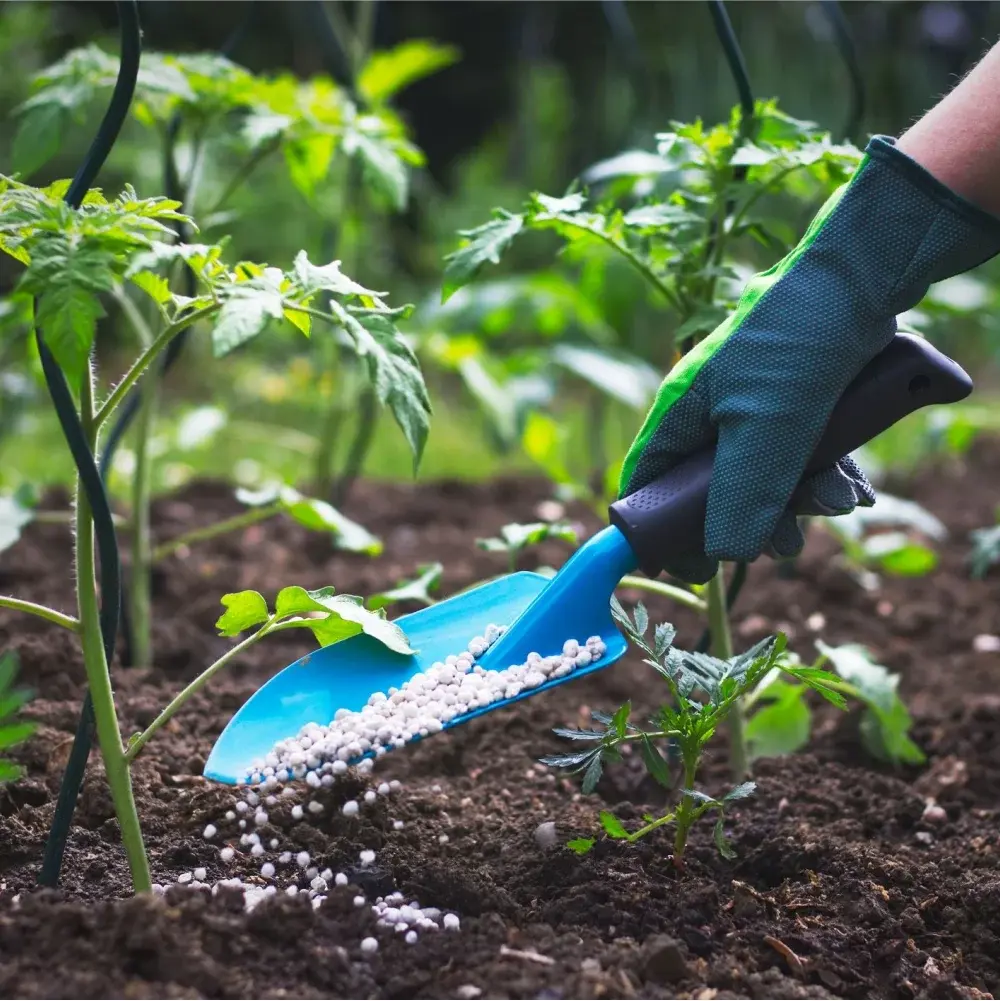
Elderberry trees are not heavy feeders, but a light application of nitrogen fertilizer in early spring can give them a spring boost. Additionally, applying a layer of compost annually will provide sustained nutrients.
Pollination
Elderberry trees are somewhat self-fruitful, meaning a single plant can produce some berries. However, planting multiple varieties (at least two) significantly increases your harvest. This is because elderberries benefit from cross-pollination, where pollen from one variety fertilizes the flowers of another, producing more abundant fruit.
Pruning
Prune your elderberry trees in late winter while they are still dormant. This is the time to remove any dead, diseased, or broken branches. Additionally, consider thinning out some healthy branches to improve air circulation within the plant.
This not only helps prevent disease but also allows more sunlight to reach the inner branches, promoting more even fruit production throughout the plant.
Propagating Elderberry Trees
Basically, there are three different ways to propagate elderberry plants. You can grow them via seeds, softwood cutting or hardwood cuttings.
Seeds Propagation
Elderberry seeds can be propagated, but it's generally considered a less successful and more time-consuming method compared to softwood cuttings. Their seeds have a natural dormancy period, meaning they require a cold stratification period to simulate winter and trigger germination. This can take several months.
Similarly, it has low germination rates in comparison to softwood cuttings. Also, seeds from existing elderberry bushes may not produce plants identical to the parent plant, especially if they were pollinated by another variety.
There are two main methods for propagating elderberry trees:
Softwood Cuttings
This is the most common and successful method for elderberry propagation. Here's a breakdown of the steps involved:
• Timing: Take softwood cuttings in early spring when new growth is just at its cusp of maturity, typically before July.
• Selecting Cuttings: Choose healthy, non-flowering stems that are 6-8 inches long and have at least 2-3 nodes (leaf bumps). Make a clean, angled cut just below a node at the base of the cutting.
•Preparing the Cuttings: Optional, but some gardeners recommend dipping the cut end of the stem in a rooting hormone to encourage root development. Remove the lower leaves from the cutting, leaving a few nodes exposed.
• Planting the Cuttings: Fill a pot with a well-draining potting mix like a combination of peat moss and perlite. Moisten the mix and make a hole deep enough to accommodate two-thirds of the cutting. Insert the cutting and firm the soil around the base.
• Creating a Greenhouse Environment: Create a mini greenhouse for your cuttings by placing a clear plastic bag over the pot and securing it with a twist tie or rubber band. Ensure some air ventilation by poking a few small holes in the bag.
• Care and Maintenance: Place the pot in a location with bright, indirect sunlight. Keep the soil consistently moist but not soggy. Mist the cuttings every few days to maintain humidity.
• Rooting and Transplanting: After 6-8 weeks, roots should begin to develop. Once the roots are well-established, gradually harden off the plants by introducing them to outdoor conditions over a period of a week or two. Once the danger of frost has passed, you can transplant your new elderberry trees to their permanent location in the garden.
Hardwood Cuttings
This method is less successful than softwood cuttings but can still be attempted. Here's what you need to know:
• Timing: Take hardwood cuttings in late winter or early spring before bud break.
• Selecting Cuttings: Choose thicker, mature stems, about 10-12 inches long, from healthy elderberry plants.
• Preparing the Cuttings: Make a clean, angled cut at the base of the stem and another straight cut just above a bud at the top.
• Storing Cuttings: Tie the cuttings together in bundles and store them in a cool, moist location, such as a refrigerator, or bury them in a trench outdoors, with the top ends exposed.
• Planting the Cuttings: In early spring, prepare a trench in a shaded area of your garden. Lay the cuttings horizontally in the trench, with about two-thirds of the cutting buried and the remaining third exposed. Cover the trench with soil or mulch.
• Care and Maintenance: Keep the soil moist throughout the growing season. By late summer or the following spring, new shoots should begin to sprout from the buried portion of the cutting. Once established, transplant the new elderberry trees to their permanent location.
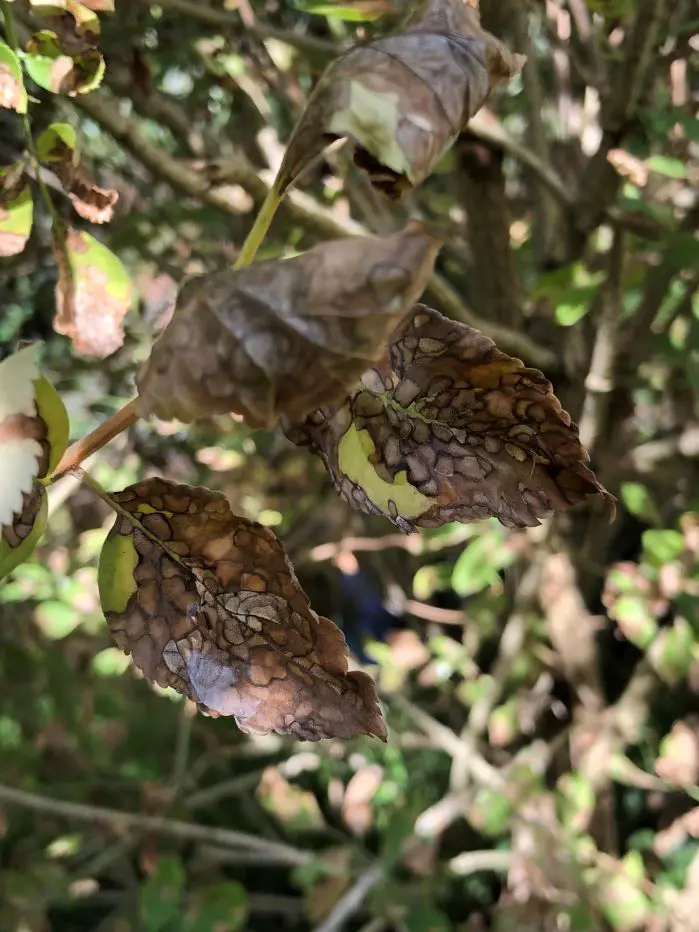
Common Pests, Diseases & Solution
Elderberry bushes, despite their reputation for being easy-care plants, can attract a few pests and diseases that can affect the health and productivity of your plant. Here's a more detailed breakdown of the common threats:
Pests
• Elderberry Borer Beetle: This is the most significant insect pest of elderberries. Adult beetles are long and slender, with black and yellow stripes. They lay eggs on the stems, and the hatched larvae burrow inside the canes, disrupting sap flow and weakening the plant.
• Spotted Wing Drosophila (SWD): This invasive fruit fly poses a growing threat to elderberry crops. Adult SWD flies resemble small black gnats and are attracted to ripening berries. They lay eggs inside the fruit, and the hatched maggots can cause the berries to become mushy and unfit for consumption.
Diseases
• Powdery Mildew: This fungal disease appears as white or gray powdery patches on leaves and stems. It thrives in cool, humid conditions and can stunt plant growth and reduce fruit production.
• Anthracnose: Another fungal disease, anthracnose causes sunken, brown, or black lesions on leaves and fruit. In severe cases, the lesions may enlarge and cause leaves to drop prematurely or fruit to shrivel and rot.
• For borers: Regularly inspect your plants for adult beetles and handpick them if possible. For young larvae, insecticidal soap can be effective. Keeping the base of your plants free of debris can also help deter egg-laying.
• For SWD: Use netting to exclude flies from reaching your berries. Regularly harvest ripe berries to minimize the window of opportunity for egg-laying.
• For fungal diseases: Good air circulation around your plants is essential. Avoid overhead watering, which can spread fungal spores. Prune away any diseased branches to prevent further spread. In severe cases, fungicides may be necessary, but always follow safe application practices and consult with a local nursery or gardening expert.
By understanding these potential threats and taking preventative measures, you can keep your elderberry bushes healthy and producing abundant fruit for years to come.