How To Grow

How To Plant, Grow And Care Chestnut Trees

Source : instagram

Having a majestic chestnut tree in your garden can be quite a challenge, but a rewarding one for sure! These chestnut trees with historic value provide some of the sweetest nuts in the world. 

The trees are native to North America and have been growing for thousands of years. The sweet chestnuts are not only enjoyed by humans but it has a craze among animals as well. There are some considerations you need to keep in mind before growing chestnuts and this blog is right here to guide you on the right track.

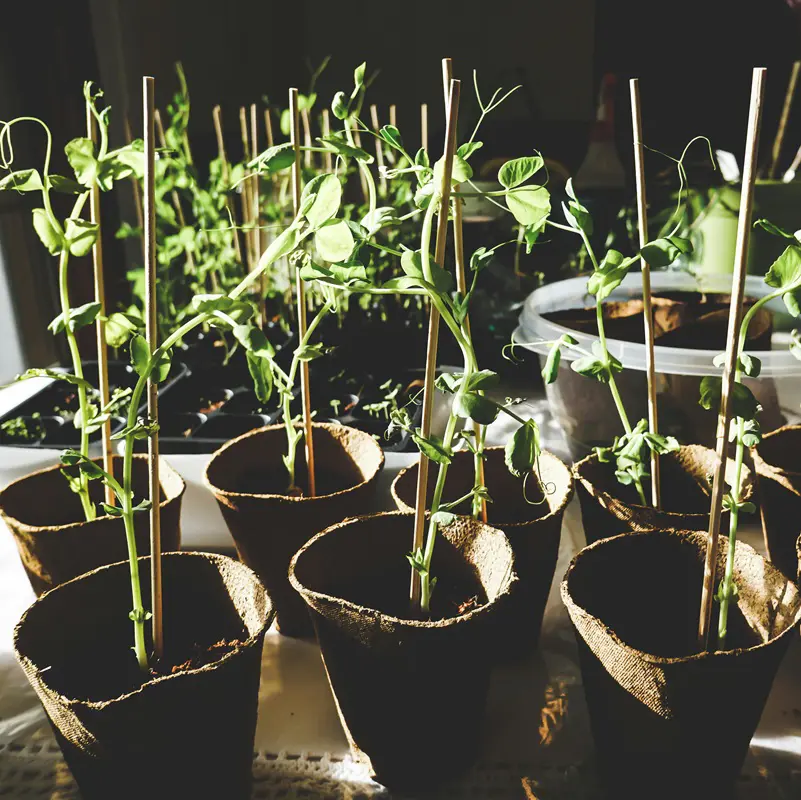
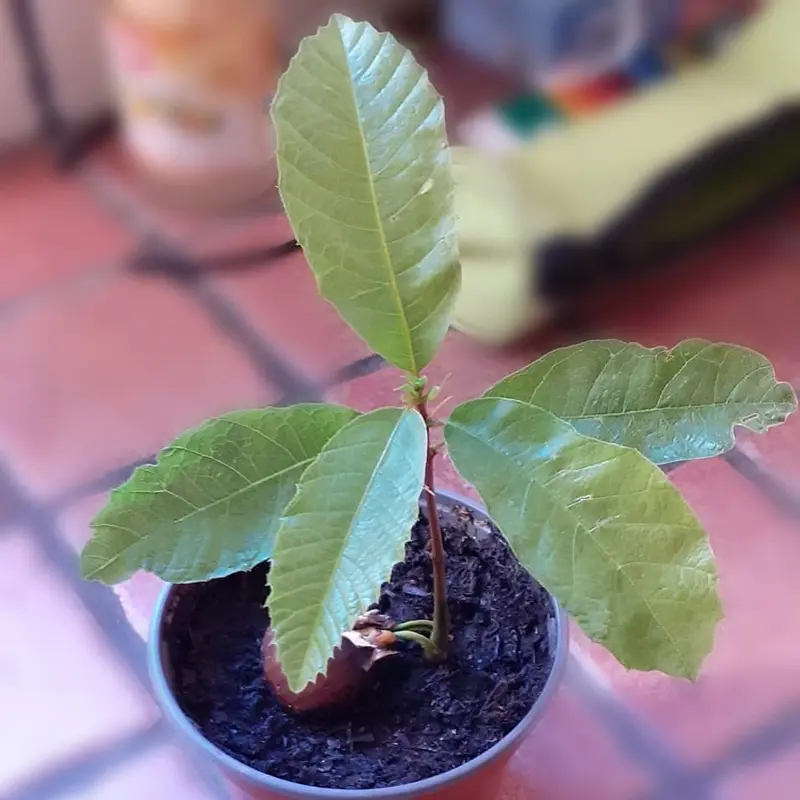
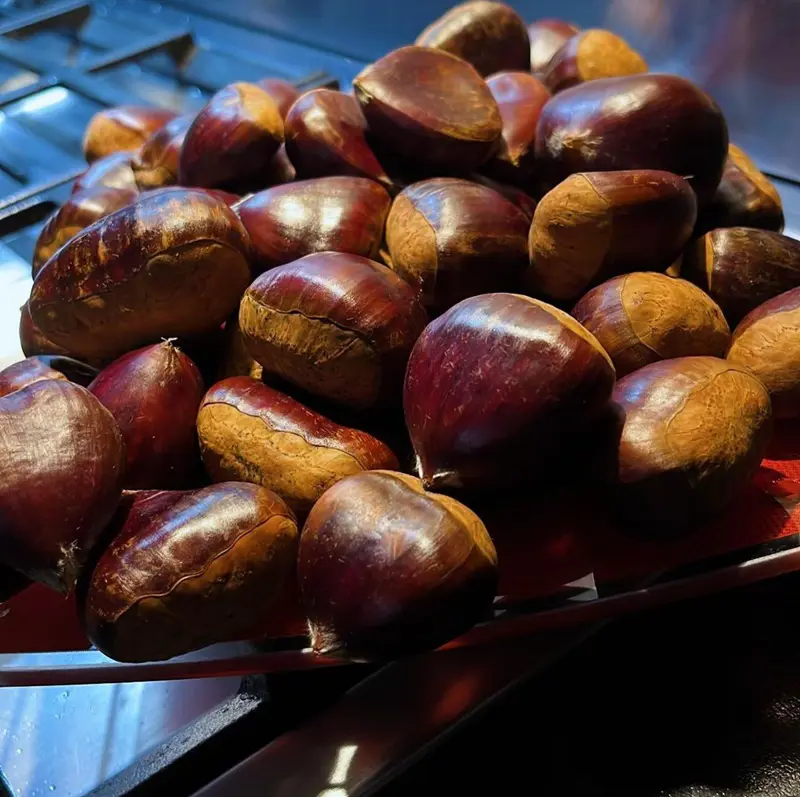
When and Where to Plant Chestnuts?

Do you want to plant chestnut but have been puzzled by a series of thoughts that always end up with "But where to plant it?" and "When should I plant it?" This has been the most common question among the gardeners. So follow along to find answers;

Light

To flourish well, chestnut trees need at least six hours of direct sunlight every day. So you might want to choose a place that receives ample amount of sunlight each day. 

In the absence of sunlight, chestnut trees will for sure produce fewer nuts and may even be susceptible to pests and diseases. So for the healthy growth of the Chestnut tree, sunlight is a must!

Spacing

Source : instagram

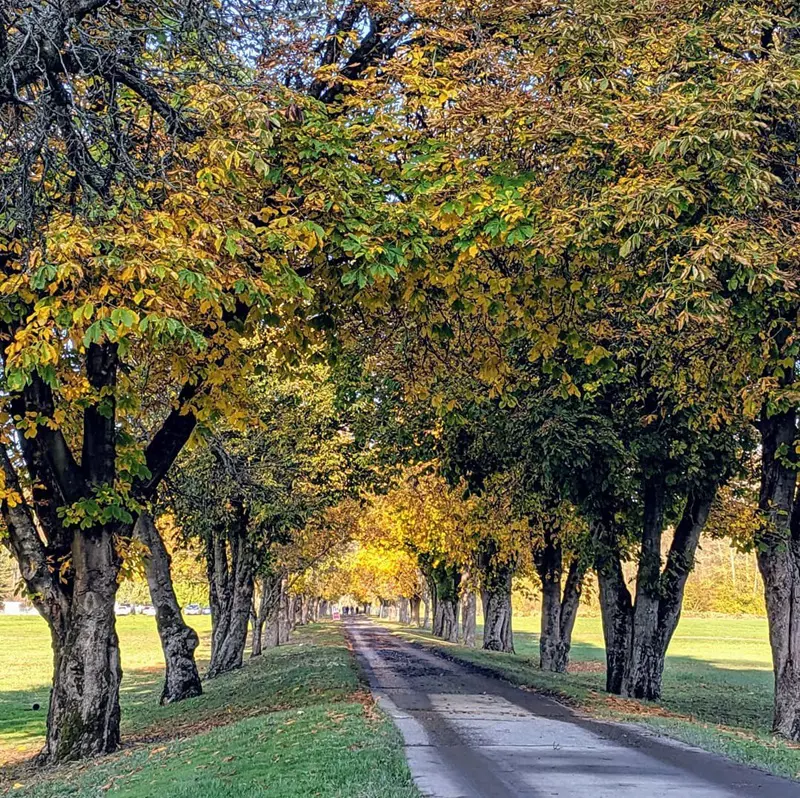
Chestnut Trees can grow up to 60 feet tall and 40 feet wide. For optimal growth, it's recommended to plant them with a spacing of 30 feet by 30 feet (yielding 54 trees per acre) or 40 feet by 40 feet (25 trees per acre).

This spacing will provide extra room for branches to expand and roots to settle down without having to compete for nutrients with other chestnut trees. So make sure there is room for proper spacing before planting chestnut trees.

Soil

The soil requirement for chestnut trees is to choose a well-draining soil that is slightly acidic to neutral. Soil with a pH ranging from 5.5 to 6.5 sits just right with chestnut trees. 

Since chestnuts are super sensitive to heavy clay soils, make sure you take precautions before planting. Maybe try planting chestnuts on a slope. Be sure your soil has good drainage as waterlogged soil will lead to root rot and you don't want that for sure.

Planting Time

The season for planting chestnut trees whether from seeds or seedlings is springtime. Planting chestnut trees during the spring season gives time for trees to grow fully and develop their root system before facing the stress of summer.

Planting during the Spring season will promote the healthy growth of trees with the maximum number of nuts produced.

How to Grow Chestnut Trees: Step-By-Step-Instructions

Growing chestnut trees incorporates various steps and if you are looking forward to growing it from seeds, here's everything you need to know.

Step 1: Obtain Fresh Seeds

First and foremost, when raising chestnut trees, one needs to have fresh seeds since the germination rate of seeds drops fast. Acquire seeds from a qualified nursery or gardening shop where quality and freshness can be guaranteed.

When purchasing seeds, you need to make sure they are firm and full and not shrunken or soft. This is an indication that the seed is healthy. We strongly advise you to go for Fresh Seeds!

Step 2: Prepare Potting Mix

To grow chestnut seeds, the potting mix needs to provide both excellent drainage and aeration. Balanced mixes must contain equal parts of peat moss, perlite, and compost.

The mixtures offer a conducive environment for the seeds to develop healthy roots and avoid fungal diseases. Chestnut seeds will then germinate and develop well in this balanced potting mixture.

Step 3: Prepare Pots

Source : pexels

You need to select a pot that is at least 4-6 inches in diameter for adequate spacing of seeds to grow a proper root system. Adequate pot size prevents overcrowding of the roots and leads to weak growth.

This will provide an exit point for excess water at the bottom of the pots, ensuring there is no excess accumulation of it at the base. This will not support waterlogging and death of the roots. 

Step 4: Fill the pots

For optimal chestnut seed germination, fill your pots with prepared potting mix, leaving about an inch of space at the top. This will prevent soil from spilling over when you water the seeds.

Think of this step as making sure your seeds have a nice, fitted bed with all the right equipment—just enough space to expand without the threat of soil overflow.

Step 5: Plant the seeds

For planting chestnut seeds, you need to bury them at least 1 inch deep in the potting mix. This depth will allow the perfect coverage to promote successful germination.

If you are considering sowing multiple seeds in a single pot, ensure at least 2-3 inches of spacing. This will provide seedlings enough room to grow well into seedlings.

Step 6: Transplant Seedlings

The seedlings should be ready to transplant in mid-May after the last dangerous frost. When planting the seedlings, make the hole twice as large as the root ball. Be sure to remove the rest of the nutshell that is attached to the root.

This helps prevent animals from pulling up the seedlings to get to the nuts.

Step 7: Mulching and Staking

Lay down a layer of mulch that’s organic, like shredded bark or wood chips, around the bottom base of the chestnut tree to conserve soil moisture and quash the growth of weeds.

Be sure to leave a gap between the mulch and the trunk of the tree to prevent rot and pest infestation. Additionally, consider staking young chestnut trees to provide support and stability until they become established.

Step 8: Maintain Moisture

Source : pexels

Chestnut seedlings require proper moisture conditions for perfect growth. The soil should constantly be kept moist but not waterlogged. Excessively wet soil leads to waterlogging, which might cause the rotting of roots and other related problems.

On the other hand, when the soil becomes too dry, it always stresses the seedlings, slowing down their growth. So monitor thoroughly and water as the plant demands.

How to Care for Chestnut Tree?

After successfully planting the chestnut, there are some things you need to consider to care for chestnut trees. Only after optimal care, you can enhance the protection and health of trees.

Growth Habit

Chestnuts are known to be quite large. They often reach a height of 50-80 feet. Their growth habit is marked by wide spreading shape and no wonder it makes chestnut trees one of the most impressive plants in the garden.

 In their early years, chestnut trees grow rapidly, filling out their space with vigor. However, as they mature, their growth rate slows down, leading to a more steady and gradual expansion. 

Watering

Chestnut trees need to be watered frequently during dry seasons. They do best in well-drained soil. However, since too much moisture might harm their roots, it is imperative to prevent waterlogging. 

Although they may withstand some dryness once established, chestnut trees still require regular hydration. Deep watering is advised to encourage deep root formation for optimum growth. For the trees to have enough water during their growing season, try to provide them with around 1 inch of water every week.

Fertilizing

Source : pexels

The best time to feed chestnut trees is early in the spring, when growth is just beginning, and the trees need that extra little push to produce growth over the coming season.

 Always follow the recommended rates of application by the manufacturer to ensure that your trees are receiving the right amount of nutrients without over-fertilization.

Mulching

Lay down a layer of mulch that’s organic, like shredded bark or wood chips, around the bottom base of the chestnut tree to conserve soil moisture and quash the growth of weeds.

Be sure to leave a gap between the mulch and the trunk of the tree to prevent rot and pest infestation. Additionally, consider staking young chestnut trees to provide support and stability until they become established.

Pest and Diseases

It’s essential to keep a vigilant eye out for common diseases and pests that can affect chestnut trees, such as chestnut blight, powdery mildew, and chestnut weevils.

Chestnut blight, caused by a fungal pathogen, can be particularly damaging, while powdery mildew is a fungal disease that thrives in humid conditions. Chestnut weevils, on the other hand, are insects that can harm the nuts and foliage.

End of Season care

When the season ends, there are certain things you need to care for to ensure the chestnut trees are healthy. We have listed some end-of-season care. Make sure you go through them!

Pruning

Getting hit by a low-hanging branch with a chestnut burr while mowing is not pleasant! The trees grow in the pattern somewhat naturally, but some limited pruning to remove branches that get crossed or hang down may be necessary.

Do not over-prune since they are not like peaches that require annual heaving pruning.

Source : pexels

How to Prune?

  • Start by selecting an appropriate season to prune which includes late winter or early spring before new growth starts.
  • Next up you need to prepare tools. For this use clean, sharp pruning shears, loppers, and a pruning saw.
  • Now you can finally cut back to healthy wood, making clean cuts.
  • Make sure you thin out the crowded areas of chestnut trees. Open up the canopy for better air circulation and light.
  • You need to reshape the tree by maintaining a balanced structure by removing disruptive branches.
  • Be thorough and gradually cut back long or unruly branches if needed.
  • The essential step that comes under pruning is disposal. Dispose of pruned material, especially diseased branches.
  • You also need to check for signs of stress or disease while pruning and ensure proper healing.

Fertilization

A balanced fertilization schedule promotes chestnut tree health and productivity. General-purpose fertilizer should be applied in late autumn before the tree has gone into dormancy.

This will replenish soil nutrients, foster root growth throughout winter, and get the tree off to a good start the following spring. If soil tests show a lean in one or other direction on certain nutrient elements, you would adjust your fertilization strategy accordingly.

Protection

To safeguard your chestnut trees through the winter, consider adding a layer of mulch around the base to insulate the roots and maintain soil moisture. 

Prune any weak or poorly placed branches that might be prone to breaking under the weight of snow. In regions prone to pests or diseases, applying dormant oil or copper-based sprays can offer protection against overwintering pathogens.

Propagating Chestnut Trees

Propagating chestnut cuttings is more difficult than directly planting chestnut seeds. So strong recommendations would be seed propagation. But if you still want to propagate through cuttings, we have listed step step-wise step method.

Step 1: Choose a Healthy Cutting

Start by choosing a healthy shoot from the previous year's growth of a mature chestnut tree. Be sure that each cutting is about 10-15 centimeters (4-6 inches) long and has at least two nodes. Do not use cuttings from mature shoots that have flowers or that are very woody.

Step 2: Cuttings Preparation

Remove all leaves in the lower half of the cutting. If cues need to be taken, the lower end of the cutting may be dipped in rooting hormone to enhance rooting, but this is unnecessary in most cases.

Step 3: Planting

Source : instagram

Fill a pot with a good draining potting mix or a mix of peat and perlite. Poke a hole down through the center of this soil and place the cutting therein, making sure at least one node is covered. Squeeze the soil at the bottom of the cutting to keep it in place.

Step 4: Humidity equalization

Place a clear plastic bag or propagation dome over the top of the pot. Prevent drying out of the cutting and develop roots.

Step 5: Light and Temperature

Keep the pot in a warm bright place, but not in direct sunlight. Ideal temperatures for rooting are around 20-25°C (68-77°F).

Step 6: Locking in Moisture

Mist the cutting and inside the plastic cover every few days to maintain the humidity of the inside environment. The potting mix should be kept consistently damp but not waterlogged.

Step 7: Monitor Roots

The rooting may take a few weeks. The check for roots can be done by tugging the cutting gently to see if it resists; or the cover, very carefully, can be opened and the bottom of the cutting can be looked upon.

After the rooting has become established, gradually acclimate the rooted cutting to outdoor conditions by gradually increasing the amount of time the plastic cover is removed daily.

Step 8: Hardening Off

Once the cutting has developed a robust root system, start acclimating it to outdoor conditions by gradually removing the plastic cover for longer periods each day.

Step 9: Repotting

Once the cutting is nicely rooted and growth in new shoots can be noted, it is ready to be potted up into a larger pot with fresh growing medium or to be outdoors and transplanted into a prepared garden bed.

Potting and Repotting Chestnut

It is possible to grow chestnut trees indoors in pots before planting them outdoors. With proper care, you can successfully cultivate a clove tree in a container.

Source : instagram

Potting a Chestnut Tree

  • Select a pot with holes in the bottom for drainage of excess water. It should be somewhat larger in diameter than the root ball of the seedling or young tree.
  • Use a good, well-draining potting mix that contains organic matter and is formulated for trees or large plants, if possible.
  • Fill the pot with potting mix, leaving enough space for the root ball.
  • Gently place the chestnut tree in a pot with soil covering the root ball.
  • Water well the newly potted chestnut tree to settle the soil.
  • Place the potted chestnut tree in a warm and sunny area. If possible, it should be in full sunlight because chestnuts are trees that prefer to grow in bright light.
  • Keep the tree's environment humid, especially during the indoor period. This can be achieved by using a humidifier or by placing the pot on top of a tray filled with pebbles and water.

Repotting a Chestnut Tree

  • Repot when the root ball becomes too big for the current pot, or the potting mix has no more nutrients.
  • Select a pot that is at least 2-3 inches wider than your present pot.
  • Fill a new pot with fresh potting mix.
  • Gently remove the chestnut tree from the old pot. Loosen any circling or damaged roots gently.
  • Place the chestnut tree in a new pot, filling it with fresh potting mix.
  • Water deeply to help the roots of your newly repotted chestnut tree adjust.
  • Keep positioning in a warm, sunny spot with direct sunlight.

Bear in mind that Chestnut Trees eventually need to be planted in the ground!

Harvesting Chestnuts


After taking care of your chestnut tree for a long, the time will come when you can finally start harvesting. you must be aware of when and how to harvest.

When to Harvest?

Being aware of harvesting chestnuts is crucial for obtaining the best quality spices. Here are some key indicators:

  • Color change: The most crucial sign is a color change. The Outer burr of the tree turns yellowish brown. This indicates that the tree is ready for harvesting.
  • Shape: the Burr of the tree begins to split open which indicates it's ready to harvest
  • Timing: the chestnut tree harvesting period generally varies but usually it falls in September to November.
  • Consistent monitoring: check the trees regularly during harvesting season for better output.

Source : instagram

How to Harvest?

  • Manual harvesting: chestnuts are usually harvested by hand to prevent damage to the tree or by using tools like nitgatherers
  • Gentle removal: carefully pluck the tree to avoid damaging the tree or nuts.
  • Selection: only harvest fully ripe nuts with the characteristics of yellowish-brown burr with split open.
  • Quality control: Harvest only the required amount to avoid wastage and allow the remaining immature nuts to mature.
  • Avoid force: use gentle pressure when picking nuts to prevent damage to the tree. If possible, let the nut fall naturally.
  • Timing: Harvesting at the right stage ensures optimal flavor and avoids pest damage.
  • Handle with care: prevent bruising or damaging the nuts for quality.

Types Of Chestnut Trees

There are several species of chestnuts, including:

Source : instagram

American Chestnuts (castanea dentata)

American chestnuts are cultivated primarily in eastern North America. They are large, fast-growing trees with sweet nuts.

European Chestnuts (castanea sativa)

European chestnuts are mostly grown in southern Europe and Asia Minor region. The tree is large with edible nuts, which are widely cultivated. These nuts are mainly used in timber and traditional cuisines.

Chinese chestnuts (castanea mollissima)

Chinese chestnuts are commonly cultivated in China and Korea. Trees are small and more shrub-like. These nuts are often used in breeding programs.

Japanese chestnuts (Castanea crenata)

These nuts are native to Japan and South Korea mainly. Japanese chestnuts are medium-sized trees with large nuts. These nuts are mostly used in orchards and breeding.

Seguin’s chestnut (Castanea seguinii)

Seguin’s chestnuts are mostly grown in China. The tree is of dwarf species, more of a shrub. These are small nuts and are mostly used for breeding.

Henry’s chestnut (Castanea henryi)

Henry’s chestnuts are commonly found in China. The tree is tall with small and sweet nuts. These nuts are less common in cultivation.