
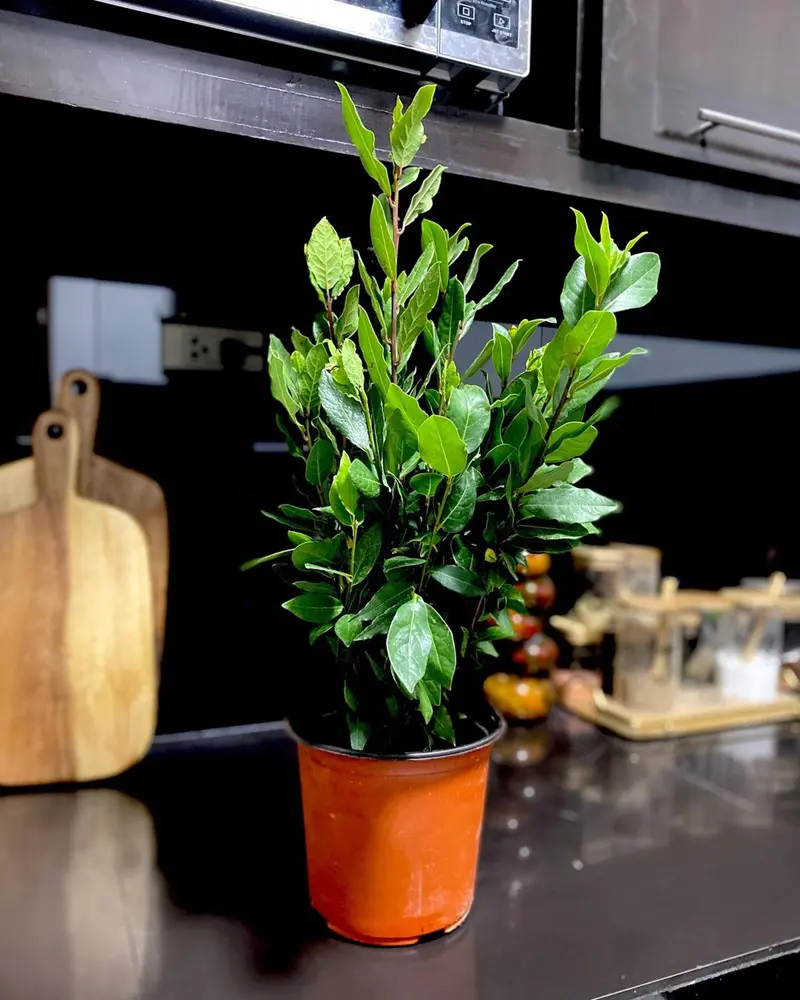
Bay leaf plants, scientifically known as Laurus nobilis, are evergreen shrubs or small trees that are prized for their aromatic leaves, which are commonly used in cooking. Originating from the Mediterranean region, bay leaf plants are relatively easy to grow and care for, making them a popular choice for herb gardens.
This comprehensive guide will cover everything you need to know about planting, repotting, caring for, and maintaining bay leaf plants, including the different types, pruning techniques, propagation methods, growing in pots, overwintering strategies, and common pests and issues.
How to Plant a Bay Leaf Plant
- Selecting the Right Spot: Bay leaf plants thrive in well-drained soil and full sun, although they can tolerate partial shade. Choose a location that receives at least 6 hours of sunlight daily.
- Soil Preparation: The ideal soil for bay leaf plants is slightly acidic to neutral (pH 6.0-7.0). Ensure the soil is well-drained to prevent waterlogging, which can lead to root rot. You can improve soil drainage by adding sand or perlite.
- Planting Time: The best time to plant bay leaf plants is in the spring after the last frost. This gives the plant ample time to establish itself before the onset of winter.
Bay Leaf Plant Planting Process
- Dig a hole twice as wide and as deep as the root ball of the plant.
- Place the plant in the hole, ensuring the top of the root ball is level with the soil surface.
- Backfill with soil, firming it gently around the base.
- Water thoroughly to settle the soil and remove air pockets.
Types of Bay Leaf Plants
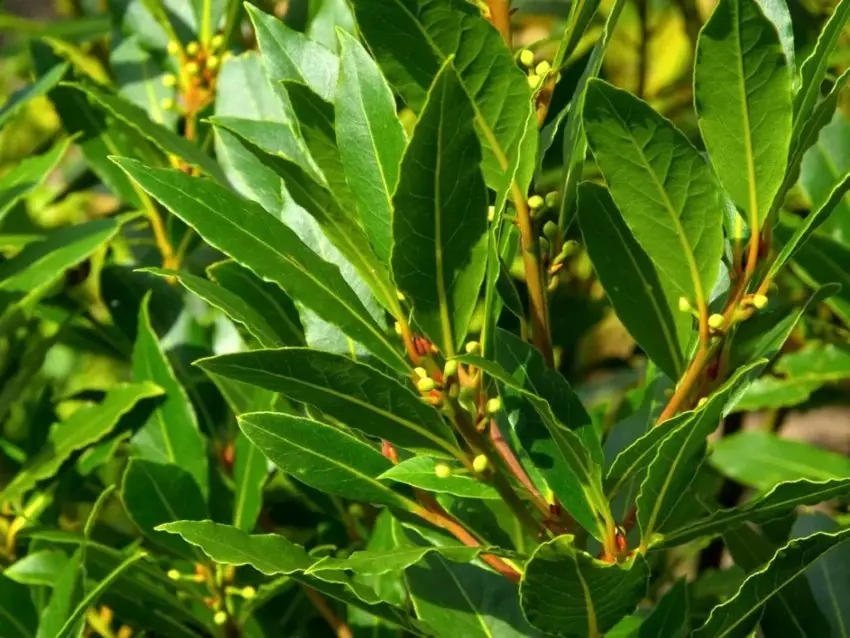
1. Laurus nobilis
This is the most common and widely recognized variety, often referred to as sweet bay or Grecian laurel. Its leaves are aromatic and are a staple in many culinary dishes. The plant can grow into a sizable shrub or small tree, making it versatile for both gardens and containers.
2. Laurus nobilis 'Angustifolia'
Also known as narrow-leaved bay, this variety features thinner, more elongated leaves compared to the standard Laurus nobilis. The narrow leaves have a slightly different, more intense flavor profile, which some chefs prefer for specific recipes. It also tends to have a more compact growth habit, making it a good choice for smaller spaces or container growing.
3. Laurus nobilis 'Aurea'
This striking cultivar is known for its distinctive yellow-green foliage. While it is primarily grown for its ornamental value, the leaves are also aromatic and can be used in cooking, though they are less commonly used than those of the standard Laurus nobilis. The 'Aurea' variety adds a splash of color to gardens and containers, making it a popular choice for decorative planting.
Bay Leaf Plant Care
Soil
Bay leaf plants thrive in well-draining soil that is slightly acidic to neutral, with a pH range of 6.0-7.0. Poorly drained soil can lead to root rot, which is detrimental to the plant's health.
To improve soil drainage and aeration, consider incorporating organic matter such as compost or well-rotted manure. If your garden soil is heavy clay or prone to waterlogging, amending it with sand or perlite can help enhance its drainage capabilities.
When growing bay leaf plants in containers, use a high-quality potting mix formulated for herbs, ensuring it includes components like peat moss, perlite, or vermiculite for optimal drainage and aeration.
Watering
Bay leaf plants prefer consistently moist soil but do not tolerate waterlogging. Water deeply when the top inch of soil feels dry. Reduce watering in the winter months when the plant's growth slows down.
A good practice is to water early in the day to allow any excess moisture on the leaves to evaporate, reducing the risk of fungal diseases.
Fertilizing
Feed bay leaf plants with a balanced, slow-release fertilizer in the spring. Avoid over-fertilizing, as this can lead to excessive foliage growth at the expense of flavor.
Organic fertilizers, such as compost or well-rotted manure, can also be beneficial and provide a steady release of nutrients.
Mulching
Apply a 2-3 inch layer of organic mulch around the base of the plant to retain moisture, suppress weeds, and regulate soil temperature. Keep the mulch a few inches away from the stem to prevent rot. Mulching also helps improve soil structure and fertility over time.
Temperature and Humidity
Bay leaf plants prefer temperatures between 60-75°F (15-24°C). They can tolerate occasional temperature drops but need protection from prolonged cold spells.
Humidity should be moderate; if growing indoors, mist the leaves occasionally or use a humidity tray to maintain adequate moisture levels in the air.
Light Requirements
Bay leaf plants need plenty of sunlight to thrive. Place them in a location where they receive at least 6 hours of direct sunlight daily. If grown indoors, a south-facing window is ideal. If natural light is insufficient, supplement with grow lights to ensure the plant gets the light it needs.
Pruning Guide for Bay Leaf Plant
Reason To Prune
Pruning bay leaf plants is essential for maintaining their shape, promoting bushier growth, and eliminating dead or diseased branches that can hinder overall health and appearance.
Pruning Timing
The optimal time for pruning bay leaf plants is in late winter or early spring, just before new growth emerges. Pruning during this period encourages vigorous growth throughout the growing season.
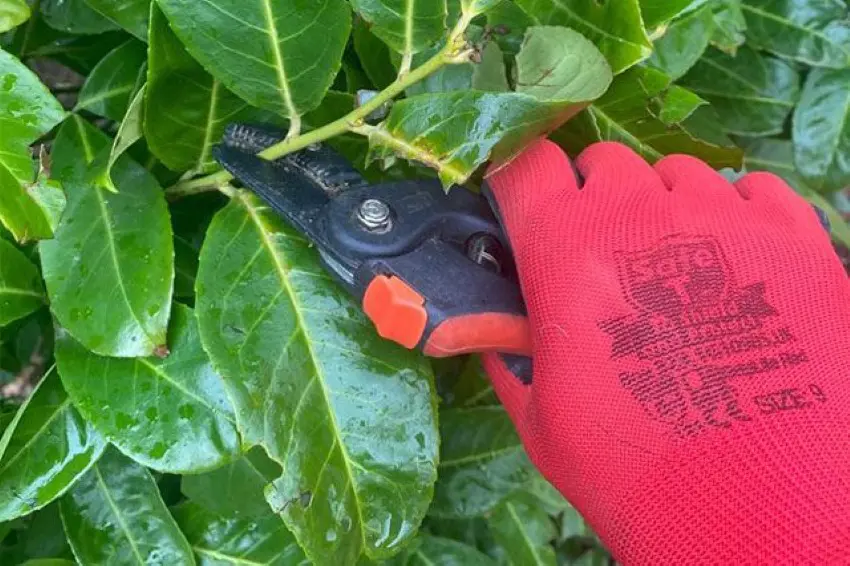
How to Prune:
-
Tools: Use sharp and clean pruning shears to ensure smooth cuts that minimize damage to the plant.
-
Initial Cuts: Begin by inspecting the bay leaf plant for any dead, damaged, or diseased branches. These should be removed first to prevent the spread of disease and to improve the plant's overall health.
-
Thinning Out: Identify areas where branches are densely packed or crossing each other. Thin out these crowded areas by selectively pruning branches to improve air circulation and sunlight penetration into the inner parts of the plant. This practice reduces the risk of fungal infections and promotes even growth.
-
Shaping: Trim back any overgrown branches to maintain the desired shape and size of the bay leaf plant. Focus on cutting just above a node or bud to encourage new growth from the trimmed branch.
-
Final Touches: Step back periodically to assess the plant's appearance as you prune. Aim for a balanced and aesthetically pleasing shape while ensuring that the plant's natural form is respected.
Aftercare:
After pruning, monitor the bay leaf plant for any signs of stress or disease. Provide adequate water and nutrients to support recovery and new growth. Applying a layer of mulch around the base of the plant can help retain moisture and regulate soil temperature.
Propagating Bay Leaf Plants
From Cuttings
- Take a 4-6 inch cutting from a healthy branch in the late spring or early summer.
- Remove the lower leaves, leaving only a few at the top.
- Dip the cut end in rooting hormone to encourage root development.
- Plant the cutting in a pot filled with a mix of peat and perlite.
- Keep the soil moist and place the pot in a warm, bright location but out of direct sunlight.
- Roots should develop in 4-8 weeks, after which the cutting can be transplanted to its final location.
From Seeds
- Collect seeds from mature bay leaf plants in the fall.
- Soak the seeds in warm water for 24 hours to soften the seed coat.
- Plant the seeds in a pot filled with a seed-starting mix.
- Keep the soil moist and place the pot in a warm, bright location.
- Germination can take several weeks to months, so be patient.
Growing Bay Leaf Plants in Pots
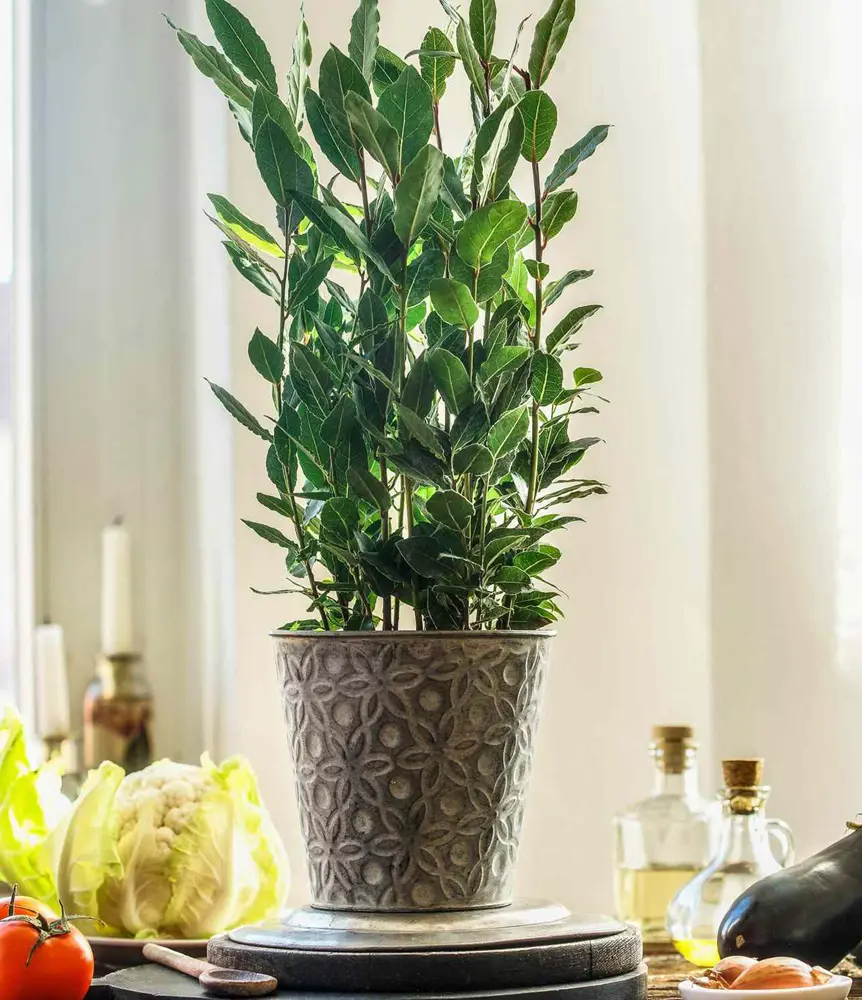
- Pot Selection: Use a pot that is at least 12 inches in diameter with good drainage holes.
- Potting Mix: A well-draining potting mix is essential. You can use a commercial mix designed for herbs or make your own by combining equal parts of potting soil, sand, and perlite.
- Watering and Fertilizing: Container-grown bay leaf plants dry out faster than those in the ground, so monitor soil moisture closely and water when the top inch of soil feels dry. Fertilize with a balanced liquid fertilizer every 4-6 weeks during the growing season.
- Positioning: Place the pot in a location that receives at least 6 hours of sunlight daily. If growing indoors, choose a bright, south-facing window.
How to Repot a Bay Leaf Plant
When to Repot
Bay leaf plants should be repotted every 2-3 years or when they become root-bound. Signs that a plant needs repotting include roots growing out of the drainage holes and stunted growth.
Choosing a Pot
Select a pot that is 2-3 inches larger in diameter than the current pot. Ensure it has good drainage holes.
Repotting Steps
- Water the plant a day before repotting to reduce stress.
- Gently remove the plant from its current pot, taking care not to damage the roots.
- Place a layer of fresh potting mix at the bottom of the new pot.
- Position the plant in the center and fill in around the roots with potting mix, firming gently.
- Water thoroughly to help settle the soil.
Overwintering Bay Leaf Plants
- In Cold Climates: Bay leaf plants are hardy to USDA zones 8-10. In colder regions, they need protection from frost.
-
- Move potted plants indoors before the first frost.
- Place them in a cool, bright location, such as a sunroom or unheated greenhouse.
- Reduce watering but do not allow the soil to dry out completely.
- In Mild Climates: Mulch around the base of outdoor plants to protect the roots from cold temperatures. Consider using a frost cloth or burlap to shield the foliage during particularly cold spells.
Common Pests
- Scale Insects: These pests appear as small, brown bumps on the leaves and stems. They can be treated with insecticidal soap or horticultural oil.
- Aphids: Small, green insects that suck sap from the leaves, causing them to curl and yellow. Remove them with a strong jet of water or treat with insecticidal soap.
- Spider Mites: Tiny red or yellow mites that cause stippling and webbing on the leaves. Increase humidity around the plant and use miticides if necessary.
Common Issues
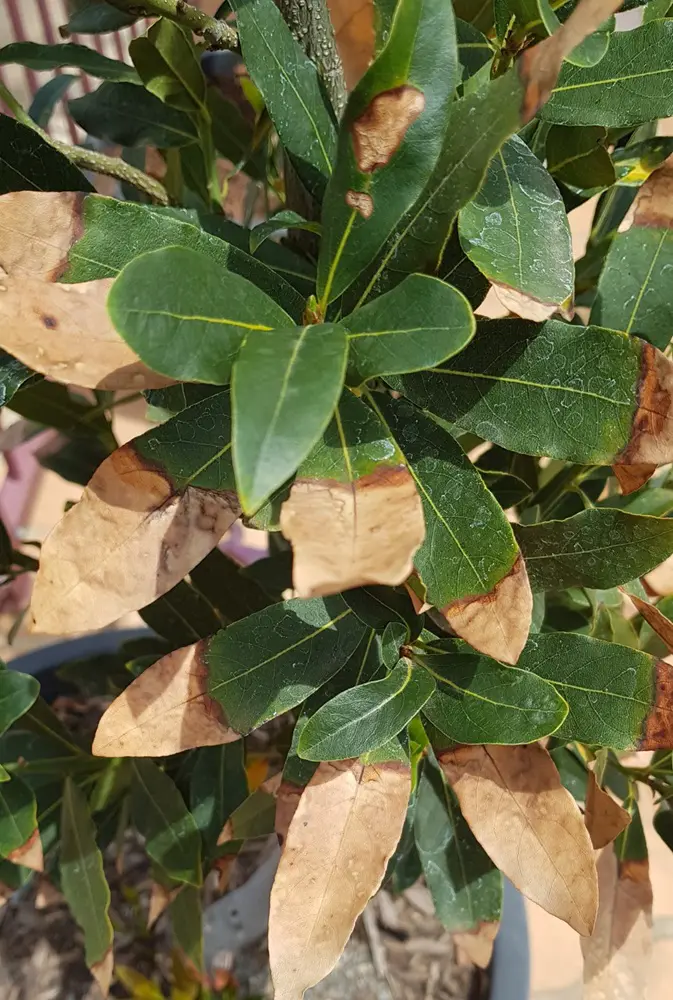
- Leaf Spot: Fungal disease causing brown or black spots on the leaves. Remove affected leaves and improve air circulation around the plant.
- Root Rot: Caused by waterlogged soil. Ensure good drainage and avoid overwatering.
- Yellowing Leaves: Can be a sign of nutrient deficiency, overwatering, or poor drainage. Adjust watering practices and consider a soil test to determine if fertilization is needed.
- Slow Growth: Bay leaf plants are naturally slow-growing, but poor growth can also be caused by inadequate sunlight, poor soil, or insufficient nutrients. Ensure the plant is receiving adequate care and make necessary adjustments.


