If you're looking for an easy, year-round burst of greenery, consider the arborvitae. This evergreen tree checks a lot of boxes for residential landscapes. This plant is hardy, low-maintenance, and versatile enough for arborvitae hedges, accent planting, windbreaks, and privacy screens.
Whether planted in rows or as solitary specimens, their dense, finely-textured boughs offer endless opportunities for low-care landscape interest. Details on how to properly grow arborvitae and care for these low-fuss evergreens are below.
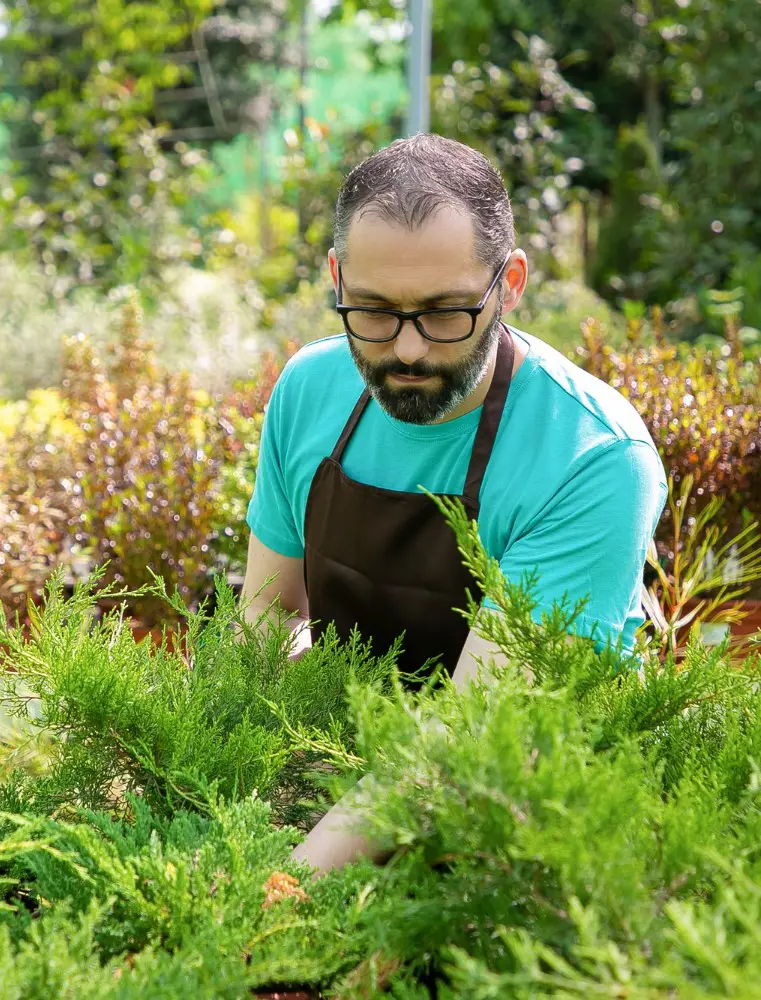
Where to Plant Arborvitae Green
Arborvitae trees are evergreen marvels that offer year-round visual interest to any landscape. These trees thrive in conditions that provide either full sun exposure or partial shade.
For optimal growth, they require at least 6 hours of direct sunlight each day, preferably during the morning hours. Additionally, arborvitae trees have a considerable thirst, necessitating consistently moist soil conditions. Ensuring regular watering is crucial to maintain their vibrant green hue and overall health.
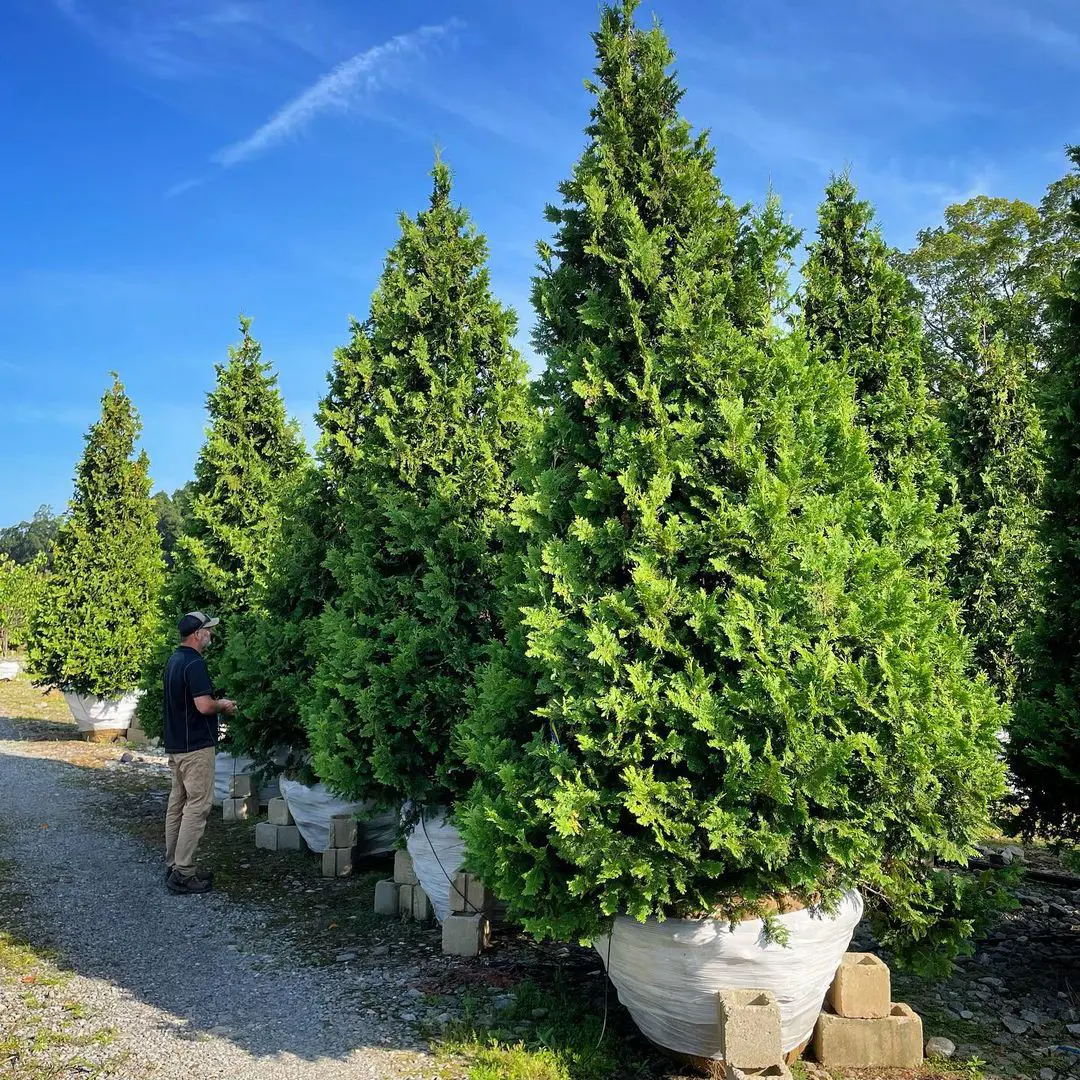
When planning to plant arborvitae trees, it is essential to consider their mature height. Certain varieties, such as the green giant arborvitae, can reach impressive heights of 60 feet or more at maturity.
Therefore, it is prudent to choose planting locations that provide ample clearance from overhead power lines and buildings to accommodate their eventual stature.
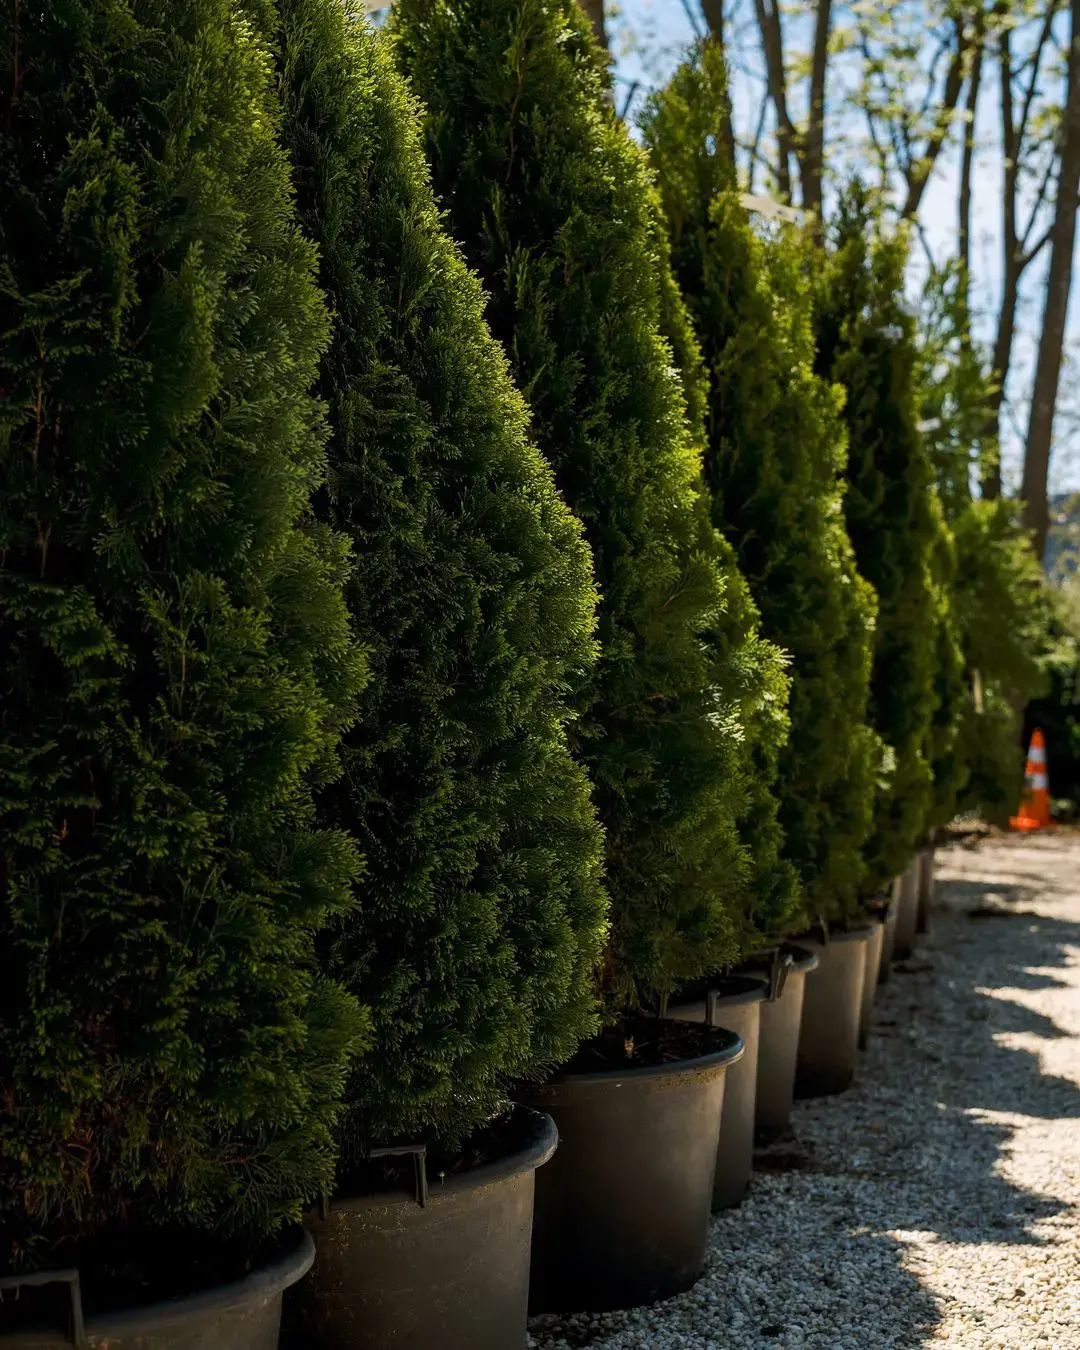
One of the most remarkable features of arborvitae trees is their dense evergreen foliage. This characteristic makes them suitable for:
Creating "living walls" that offer privacy and seclusion
Planting in neat rows to serve as effective windbreaks and sound barriers along garden perimeters
Framing walkways or serving as stunning backdrops to accentuate the beauty of other plants
Choosing the right time to plant arborvitae trees is crucial for their successful establishment and growth. These evergreen marvels thrive best when planted during the optimal periods of early spring or late fall.
Planting in early spring, after the last frost has passed, allows the roots to take advantage of the warm, moist soil conditions as the growing season begins.
Alternatively, planting in late fall, before the ground freezes, gives the roots a chance to settle in and prepare for an energetic burst of growth in the following spring.
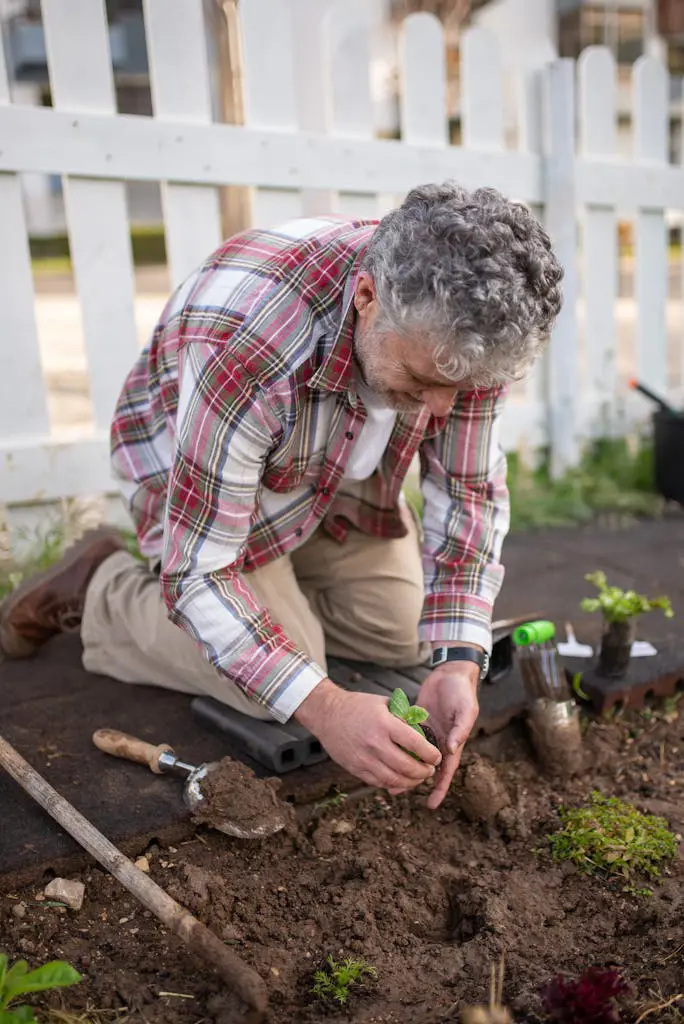
Proper planting techniques play a vital role in ensuring the long-term health and beauty of arborvitae trees. The planting process begins with carefully selecting a suitable location that meets the tree's requirements for sunlight exposure and well-draining soil conditions.
Digging a hole of appropriate size and depth, combined with careful root preparation, sets the stage for successful transplantation. Attentive backfilling, watering, and mulching techniques further contribute to the tree's establishment, providing essential moisture retention and weed suppression.
Follow these steps for a successful planting:
1. Site Preparation: Choose a location that receives full sun or partial shade and has well-draining soil. Arborvitae trees thrive in consistently moist but not waterlogged conditions.
2. Hole Digging: Dig a planting hole that is at least two to three times the size of the root ball. This allows for easy root growth and soil settling.
3. Root Preparation: Remove the tree from its nursery container or unwrap it from the burlap or wire basket. Gently loosen the roots with your fingers to encourage outward growth.
4. Positioning: Place the tree in the hole, ensuring it is standing upright and at the same depth as it was in the nursery container.
5. Backfilling: Backfill the hole halfway with the original soil, and gently firm it around the roots. Soak the soil with water to settle it and remove any air pockets.
6. Completing the Planting: Finish backfilling the hole with the remaining soil, creating a slight mound around the base of the tree to allow for settling.
7. Watering: Water the tree thoroughly immediately after planting, ensuring the entire root zone is moistened.
8. Mulching: Apply a 2- to 3-inch layer of organic mulch around the base of the tree, leaving a few inches of space around the trunk. Mulch helps retain soil moisture and suppresses weed growth.
When using arborvitae as a privacy fence or windbreak, it's essential to space the trees appropriately. Allow a distance of 3 to 4 feet between each planted tree to ensure proper growth and air circulation.
How fast do arborvitae grow? Well, it grows at a relatively leisurely pace of less than one foot per year.
Arborvitae, often referred to as the "tree of life," are elegantly simple evergreen shrubs that bestow year-round beauty to any landscape. With their stately form, dense foliage, and incredibly easy care, they make wonderful living screens for privacy, protective windbreaks, or eye-catching accent plants.
To keep your arborvitae looking their vibrant best, follow these comprehensive care tips:
Light Requirements
Arborvitae thrive in full sun exposures, ideally receiving 6 or more hours of direct sunlight daily. This abundant light allows them to develop their rich emerald-green color and naturally tight, pyramidal shape.
While some partial shade is tolerated, too much will inhibit dense branching and result in sparse, leggy, and unsightly growth.
Soil and Moisture Needs
These versatile shrubs grow best in consistently moist, well-draining soil with a loamy texture and a neutral to slightly alkaline pH ranging from 6.5 to 8.0. Proper drainage is crucial to prevent waterlogging, which can lead to root rot and other issues.
During the establishment phase, which typically lasts for the first year after transplanting, arborvitae require weekly, slow watering. The use of a soaker hose or trickle irrigation system is ideal, as it gently and evenly distributes water directly to the root zone without disturbing the foliage.
Once established, arborvitae only need a thorough watering when the top inch of soil becomes dry to the touch. Apply water a few inches from the trunk out to the dripline to reach the deeper roots.
Similarly, potted arborvitae grown in containers may require daily watering during hot, dry, or windy conditions to prevent the soil from drying out completely
Temperature and Humidity Tolerance
While cold tolerance varies between cultivars, many arborvitae can survive brutally cold temperatures down to -30°F to -40°F. In the coldest regions (USDA zones 2-4), eastern arborvitae (Thuja occidentalis) exhibits superior cold-hardiness
Some winter browning and minimal needle shed is a normal adaptation, not a cause for concern. However, severe one-sided browning concentrated on the windward side indicates winter burn damage.
Often caused by delayed winter dormancy, abrupt temperature swings, frozen roots, or inadequate moisture uptake. Prune out any winter-burned foliage in spring once new growth emerges, but if the entire plant turns brown, it likely won't recover
Overwintering
In cold climates, apply a 2-4 inch layer of organic mulch like bark chips or leaves around the base, a few inches from the trunk. This insulating cover protects the roots from freezing and helps conserve precious soil moisture.
Even during winter, continue providing about 1 inch of water weekly if the soil is unfrozen and drying winds persist. The roots will still take up some moisture during winter to hydrate the foliage.
After heavy snowfall, gently brush or shake off excessive snow loads from the branches to prevent bending or breaking. For young or newly planted arborvitae still establishing roots, wrapping the lower portion in burlap creates a sheltering microclimate and shields against desiccating winds.
Fertilizer
When planted in proper, nutrient-rich soil, established arborvitae generally don't require fertilization to thrive. Over-fertilization can promote lush, overly vigorous growth that is more susceptible to winter damage.
To encourage denser branching or provide a temporary boost for lackluster growth, apply a balanced, slow-release fertilizer in early spring as new growth emerges. Carefully follow product rate instructions to avoid over-fertilizing.
Since heavy snow and ice can easily break the branches of arborvitae, it's important to brush off any accumulations after a storm. Any broken or damaged limbs should be promptly pruned to maintain the plant's overall shape and health.
For optimal foliage density, prune arborvitae in the spring, taking care to only trim where leaves are actively growing and avoiding cutting back to the bare wood or base of the plant. Dead branches should also be removed as they appear.
How tall do arborvitae grow? These towering evergreens can reach staggering heights of 40-60 feet when fully matured, with a spread of 10-15 feet wide.
Potting and Repotting
Arborvitae can thrive in containers, but it's important to note that they should be grown outdoors rather than indoors. To minimize the need for frequent repotting, which can be stressful for the plant, start with a large 20-gallon container.
Use a well-draining, soil-based potting mix and maintain consistent moisture levels, keeping the soil damp but never soggy.
How to Propagate Arborvitae
Arborvitae can be easily propagated from cuttings rooted in late summer or early fall. Follow these steps for successful propagation:
1. Cutting Selection
Use sharp garden shears to snip a 5 to 9-inch twig from a healthy branch, preferably one less than a year old.
Make the cut at a 45-degree angle.
Choose a cutting with soft, green foliage and a woody base.
2. Preparation
Strip any foliage from the base of the cutting.
Dust the base with rooting hormone powder to encourage root development.
3. Planting
Fill a grow pot with a moist organic soil mix or moistened horticultural sand.
Stick the bottom half of the cutting into the prepared potting material.
Tamp down the potting material to keep the cutting upright.
4. Environment
Place the pot in a location with filtered light, avoiding direct sunlight.
Cover the pot with a glass or plastic dome to create a humid environment.
5. Watering
Water the cutting whenever the soil feels dry, ensuring consistent moisture.
Arborvitae cuttings require almost constant moisture to thrive during the rooting process.
6. Rooting and Transplanting
It typically takes about 6 weeks for the cutting to develop roots.
Once roots have formed, you can transplant the new plant into a larger pot if necessary.
In the spring, plant your rooted arborvitae outdoors in its permanent location.
Pests and Problems
While arborvitae are generally low-maintenance plants, they can still be susceptible to certain issues and pests. Being aware of these potential problems can help you take preventive measures and address any concerns promptly.
Winter Burn
One of the most common issues faced by arborvitae is winter burn, which can occur during frigid weather conditions.
The first sign of winter burn is the browning of the foliage, often appearing on the side of the plant facing the prevailing winds.
In severe cases, winter burn can cause significant damage and even kill the trees.
Fortunately, there are burn-resistant varieties of arborvitae available that are better equipped to withstand harsh winter conditions.
Spider Mites
Spider mites are tiny pests that can bother arborvitae, especially during hot and dry summer days.
These pests are often difficult to detect until it's too late, as their feeding causes browning of the foliage that cannot be reversed.
To control spider mites, use insecticidal soap or horticultural oil, but exercise caution during periods of intense summer heat, as these sprays can also cause burning of the plants.
Bagworms
Bagworms are another pest that can attack arborvitae.
In midsummer, you may notice small brownish "bags" resembling tiny pine cones hanging from your tree. These are the cocoons of bagworms.
If left unchecked, bagworms can defoliate arborvitae and cause significant damage.
Regularly inspecting your plants and removing any bagworms or their cocoons by hand can help prevent infestations.
By being proactive and monitoring your arborvitae for signs of these pests and problems, you can take the necessary steps to maintain the health and beauty of your plants.
Addressing issues promptly and implementing preventive measures, such as choosing burn-resistant varieties or using appropriate pest control methods, can go a long way in ensuring the longevity of your arborvitae.