Gardening

How To Install A Drip Irrigation System

Source : instagram

A drip irrigation watering system is a reliable way to ensure every plant in your garden gets the right amount of water it needs to thrive. It also improves water efficiency by delivering water only to where it’s needed.

Installing a drip irrigation system is a piece of cake and this blog is here to show you how to set up this simple watering solution to help ensure your plants flourish over the warmer months. Follow Along with us for the simplest steps!

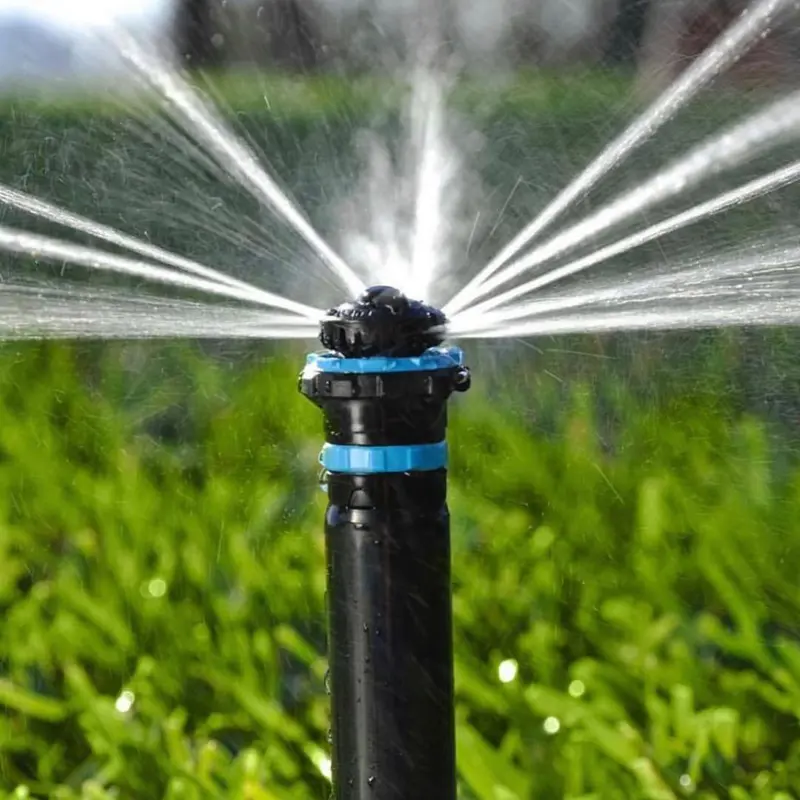
Step 1: Planning your Drip Irrigation Layout

There is a popular saying that goes "Success is the residue of planning". So the first step to installing your Drip Irrigation system would be to plan. You can start by mapping your garden, locating plants, and determining their water needs. Consider sun exposure, slope, and soil type.

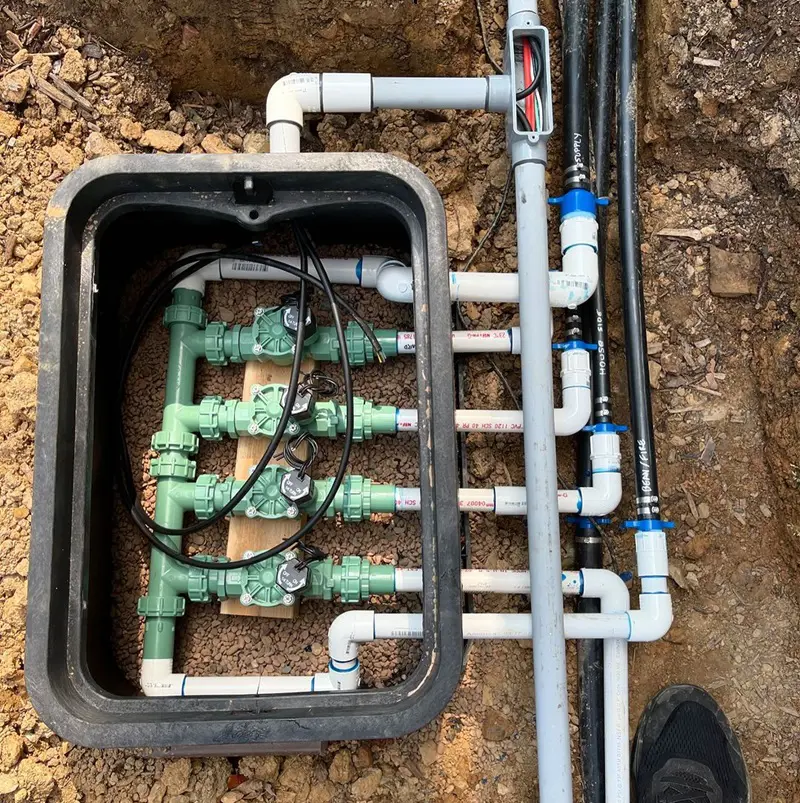
Plan a layout that assures even coverage. You should also decide on placement for the mainline and branch lines while planning. Create a rough drawing and mark down the water source location and the path of the main tubing.

Design Considerations for Drip Irrigation Layout

For successful planning, there are certain things that you need to keep into consideration. Consider the type of plants, their spacing, and the volume of water they will require while setting up your design.

Note the slopes, sun exposure, and winds to which the sprinkler water might have to contend. Group plants that require similar volumes of water to achieve water efficiency.

Step 2: Gathering Tools and Materials

Of course, when you are becoming a professional you need tools and certain materials. Installing a Drip Irrigation System is no different. You need to collect all the necessary tools and materials including drip tubing, emitters, connectors, a backflow preventer, pressure regulator, filter, and timers before starting.

You'll also need a hole punch, stakes, and a cutter. There are various products that you can choose from but we highly suggest you go for the ones with the highest quality. You can organize all items in a designated area. 

Source : instagram

Choosing Right Materials

Choosing the Right materials is quite important. You need to select materials that can stand up to the outdoors, such as UV-resistant tubing and rust-resistant connectors. Choose emitters and sprayers according to the watering needs of your plants.

Also, consider a good timer and an optional rain sensor for weather-based adjustments. Quality materials ensure the life and performance of a system.

We have listed some essential tools and materials so you don't have to;

Essential Tools

  • Pruning shears or pipe cutter
  • Hole punch for tubing
  • Measuring tape
  • Shovel or trowel
  • Hammer (for ground stakes)

Essential Materials

  • Backflow preventer
  • Connectors and fittings
  • Emitters and micro-sprayers
  • End caps
  • Filter
  • Ground stakes
  • Main tubing (½-inch and ¼-inch)
  • Pressure regulator

Step 3: Install Backflow Preventor

A backflow preventer is a very simple device, yet one of the most important, to protect the safety and quality of your water supply. Attach a backflow preventer to the water source.  Follow the manufacturer's instructions for proper installation.

This component is very important, especially when fertilizers or chemicals are used. This keeps irrigation water from siphoning backward into the main line. Develop a tight connection; check for leaks. 

Types of Backflow Preventor

The different types of backflow preventers are atmospheric vacuum breakers, pressure vacuum breakers, and double-check valves. Each type of backflow preventer provides different classes of protection from water contamination.

Select the appropriate type for the irrigation system design and local requirements. Appropriate selection provides a safe and healthy water supply.

Step 4: Install Pressure Regulator

Install a pressure regulator after the backflow preventer because drip irrigation requires constant water pressure. This avoids damage to the system due to overpressure. Make sure to use a pressure regulator rated for your system.

Mount it properly and check if the device is working right. Properly calibrated pressure regulation will ensure that there are no leaks through the tubing and emitters and that the water flows uniformly through them, thereby increasing the lifetime of this system.

Source : instagram

Importance of Pressure in a Drip Irrigation System

Too much pressure can cause ruptures and emitter damage, while pressures that are too low might not be effective for watering. A pressure regulator balances the flow and protects your system. Proper regulation allows uniform water distribution.

Step 5: Install Filter

Add a filter to remove large sediment particles and other debris from the water, which could block your system. Put this on the downstream side of the pressure regulator. Take time to tighten the filter properly to create a tight seal. Check the filter efficiency regularly for cleaning.

Only then will there be extended life and uniformly distributed water on all plants, through both emitters and tubes. This simple gesture will avoid blockages and undue watering by ensuring a clean filter at the end for a smooth irrigation system.

Types of Filters

Some of the available filter options include the screen, disc, and sand filters. All these have the potential to work well in removing debris from the water, although how well they do in fact function will depend on pre-existing conditions.

Therefore, go for a filter that best fits your source of water and the systems. Cleaning the filter regularly keeps it blockage-free for smooth water flow through the filter system.

Step 6: Connect To Water Source

Attach the main tubing to the water source by screw twisting to ensure a secure, leak-free connection. Use an adaptor if it is necessary. Turn the water on for a few seconds to leaks-check all the connections.

If need be, re-tighten to get a tight fit. This is one of the very basic steps in the process of setting up a reliable water supply to your drip system. A good connection from the water source provides a solid base for a smooth and hassle-free irrigation set-up.

Source : instagram

Connecting To Different Water Sources

You must also have the surface idea to connect drip irrigation to outside faucets, rain barrels, and well systems. Always use the right adapters and fittings for a tight, secure connection.

A pump can be installed to run directly from the source in the case of low pressure. Proper connection will ensure a continuous supply of water for efficient irrigation.

Step 7: Lay Out the Main Tubing

Unroll the main tubing and lay it along your planned route by following your design layout. Drive stakes through it to keep it straight and flat. Add other lengths or create corners with fittings. Keep it above grade level for easy access and avoid sharp bends. 

You're going to lay the backbone of the system that delivers water to the emitters in this step. The proper placing and securing of the main tubing is very important for efficient and uniform watering.

Techniques for Laying Out Main Tubing

Various methods of main tubing layout include straight lines, grid, and contour following. Staking or burying tubing for aesthetic purposes. Avoid sharp bends; they create kinks. Proper layout techniques ensure smooth water flow and reduce maintenance.

Step 8: Install Emitters and Micro-Sprayers

Source : instagram

With the main tubing in place, you can start poking holes in the main tubing and insert emitters or micro-sprayers as needed concerning plants. Space appropriately for good coverage. Attach the emitters firmly without any leakage.

The flow rate may be adjusted at this step. Apply micro-sprayers without any overspray. This step customizes the irrigation system according to your garden needs, hence achieving engineered water savings.

Choosing and Positioning Emitters

Choose and positioning emitters plays a do-or-die role, so choose emitters by flow rate, plant type, and soil conditions: Consider adjustable, fixed-flow, or microsprayer.

Position the emitters near the potential root zone of a plant; this will keep it in place without movement. Proper selection and placement optimize water use and the health of the plants.

Step 9: Securing and Fine-Tuning Your Drip Irrigation System

To secure your drip irrigation system, start by staking and clips holding tubing and components in place to prevent movement. Inspect all connections and make sure they are tight and not leaking. 

This step secures the stability and efficiency of your system.

Fine-Tuning Water Distribution

Regulate emitter flow rates and micro-sprayer patterns according to plant demand. Employ adjustable emitters or flow restrictors to meet plant demands. Check water distribution and readjust it to apply uniformly across the area covered by plant roots.

Remember seasonal changes and plant growth when making continual adjustments. 

Step 10: Install Timers

Installing Timers is very important as a part of installing a Drip Irrigation System. Installation of timers on the schedule for watering, ensuring that your plants are uniformly moist. 

Program these timers according to your plants' needs concerning the local weather. Connect the timers to the water source and the main tubing. Test if everything works fine through the timers. Automatically controlled timers save time and effort while providing an exact amount of irrigation.

Benefits of Automated Timers

  • Automated timing of watering at stipulated timings, not missing a single cycle.
  • The automatic irrigation timers will greatly cut down on water loss because water will be delivered only when needed.
  • They eliminate the need for manual watering, which in turn saves time, with little to no manual labor input.
  • Various available time schedules to set different watering for different zones.
  • The weather sensors will adjust watering requirements based on current conditions, including rainfall or temperature.
  • Timers facilitate more efficient use of water, leading to healthier plants.

Step 11: Test the System

Turn on the water and run the system for a full cycle to check for leaks, clogs, or even water distribution. Observe each emitter and micro-sprayer, making sure they are working properly. Adjust the flow rates and positioning as required.

It is important to test all these at this period of the installation stage for their identification and fixing before their regular use. Thorough testing ensures your system is ready to provide efficient and reliable watering to your plants.

Troubleshooting Timer Issues

Of course, mechanical things sometimes come with issues. Spot the common timer problems: incorrect settings, power loss, or wiring problems. The power source, battery backup, and programming need to be checked.

Confirm that the timer is connected to the water source and system. Following this, troubleshooting and solving timer problems can be undertaken without loss of time.

Step 12: Final Touch

After testing, neaten up the installation. Exposed tubing may be buried or camouflaged for aesthetic purposes and still be accessible for maintenance. Trim excess tubing and secure any loose ends. In case of need, label the components of the system so that they will be easily identifiable.

It improves the looks of your garden and secures the functioning of the system. A clean, well-organized setup reflects careful planning and attention to detail and offers a professional touch in finishing off your irrigation system.

Aesthetic and Functional Final Touches

It's a world of aesthetics and drip irrigation systems could be one as well. Make your garden inviting by covering up or camouflaging the tubing and components in your garden. Mulch or ground cover plants will bury any visible parts.

These finishing touches allow everything to look nice, clean, and user-friendly.

Step 13: Water your Vegetation

Source : instagram

Now that your system is all fired up, set the timers and let the irrigation begin. Be sure to check in periodically to ensure that the soil is getting enough moisture for your plants. Move to seasonal adjustments and plant growth.

There starts a consistent and effective way of watering your garden. Enjoy less hassle with a well-watered garden as it allows your plants to grow with much less effort needed.

Step 14: Maintain Your Drip Irrigation System

The Drip Irrigation System requires periodic maintenance to give out its best. Check periodically for leaks, blockages, and wear in the system. Clean the filter and flush the tube of this debris. Replace damaged components in good time.

Adjust the system as the plants grow in size, changing their watering needs. Regular maintenance will allow your drip irrigation system to serve for long and efficiently, thus providing constant watering to your garden all seasons round.

Tips to Maintain Regular System Maintenance

Mount a maintenance schedule for checking leakages, cleaning filters, and inspecting emitters. Flush the system to remove both debris and sediment. Replace worn or damaged components. 

Winterize the system so that it will not get damaged in cold climates. Consistent maintenance prolongs the life of a system and guarantees reliable performance.

Step 15: Troubleshooting Common Issues with Drip Irrigation

Identify and correct minor problems such as blockades, leakages, and mal-distribution. Watch out for blocked emitters, damaged tubing, and incorrect pressure rating. Replace faulty components and adjust the flow rates as needed.

The system shall be periodically inspected to enable early detection of problems. Troubleshooting allows your system to run smoothly, thus no waste of water and ensuring your plants get the right amount of moisture. It keeps your garden healthy and lush, too.

Source : instagram

Drip Irrigation Common Problems and Solutions

Clogged emitters, pressure changes, and uneven water distribution are some of the most common problems in drip irrigation. Learn to identify symptoms like dry spots or water pooling. Clean the appropriate methods and tools to fix the problem.

Knowledge about common issues and their solutions will ensure a properly functioning system and healthy plants.

Advantages of Installing Drip Irrigation System

There are various advantages of installing a drip irrigation system, we have listed advantages further below;

  • Water efficiency: decreases water losses and allows for accurate watering.
  • Reduced cost: by saving water bills and labor costs.
  • Better plant health:  allows for even moisture and minimizes the chances of diseases.
  • Weed control: limits the water available to weeds, therefore controlling them.
  • Flexibility: can be used across various landscape forms and can be scaled up or down.
  • Soil preservation: reduces soil erosion and maintains structure.
  • Automation: can be easily scheduled using timers; it also allows for less maintenance.
  • Eco-friendly: adaptable to practices that save the environment and promote sustainability

Don't have a second thought and install your drip irrigation system already!